Bordado Guide — Fifteen Basic Embroidery Stitches Every Beginner Should Learn and Master
How I learned 15 Basic Embroidery Stitches Every Beginner Should Learn
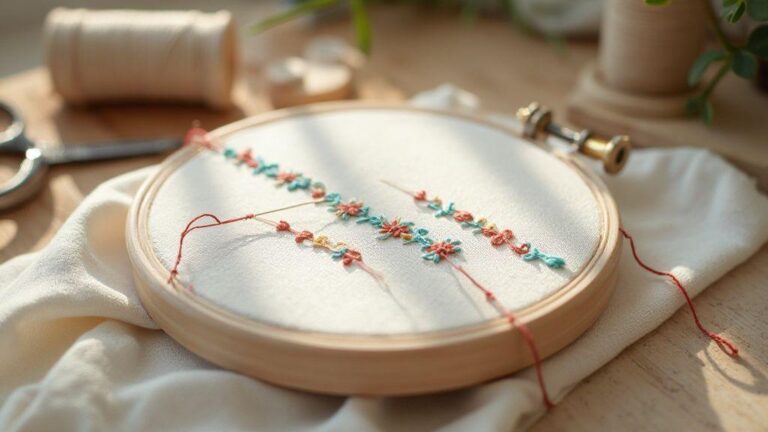
I started with a simple idea: stitches can tell a story when I breathe, stay steady, and keep my hands relaxed. I bought a cheap kit, chose plain practice fabric, and picked a tapestry needle that felt comfortable. Perfection wasn’t the goal—progress was. I kept a small notebook to note which stitches felt easy and which still challenged me. With each session, tiny victories emerged—little shapes, lines, and the realization that I could create something decorative rather than just poke holes in fabric. This journey centers on the 15 Basic Embroidery Stitches Every Beginner Should Learn, and mastering them became a confidence boost as much as a skill.
I soon saw that the process matters as much as the result. When I finally did a backstitch correctly, I felt I could conquer a small hill, followed by the running stitch, the satin stitch, and the chain stitch. Practice taught me where the thread wants to move and where I need to guide it. It’s a mix of patience, watching the thread’s path, and pausing to reset. Those moments of clarity are why I return to embroidery—the stitches become familiar friends you can rely on.
I also learned you don’t need perfect fabric or flawless threads to begin. I started on a worn scrap with colors I liked. The key is consistency: a routine short enough to fit my day but long enough to build muscle memory. Sharing small wins with a stitching buddy helps turn a quiet hobby into a little ritual I look forward to.
My first steps in this bordado guide
My early steps were simple: try stitches I saw everywhere—running stitch, backstitch, satin stitch, or even split stitch. I watched a few quick videos and practiced on scrap fabric. The first attempts looked rough, but I stayed encouraged. Labeling each sample with the stitch name and what I learned helped me remember what to reach for next time.
After a few sessions, I moved from scraps to a tiny project—a heart on a small canvas. I kept stitches even and the thread gentle. I realized tension matters as much as the stitch itself: too tight puckers the fabric, too loose makes the line wobble. I learned to adjust by feel, not just sight, and that small adjustment was a turning point toward more confident stitching.
I kept notes on what worked: mid-tone thread was easier to see against fabric; a thinner needle glides smoother on plain weave; counting stitches out loud helped me stay consistent. These little tricks added up, and soon the heart looked closer to my vision, fueling my excitement.
Why basic embroidery stitches matter to me
These stitches are my building blocks. They let me create with intention, not luck. With the basics, I can branch into shapes, letters, and small patterns without fear. It’s like relearning the alphabet for fabric and thread. Each stitch teaches control, rhythm, and patience, and the real value lies in the process—slowing down, measuring space, and planning a thread path. The right stitch also makes it easier to fix small mistakes, which makes me braver to try new ideas. Finishing a piece and saying, I made this, is empowering.
This set scales with me. As I gain confidence, I can tackle more complex designs. The 15 Basic Embroidery Stitches Every Beginner Should Learn become stepping stones, kept handy as a reference to remind me that growth in bordado is steady, not sudden.
Tools I use for Basic Embroidery Stitches
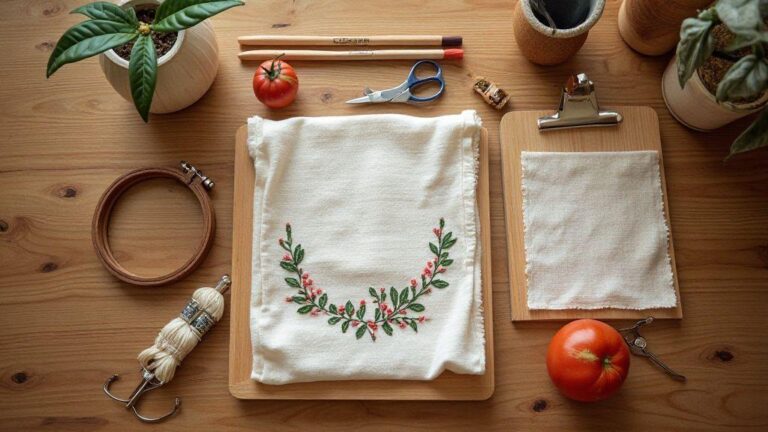
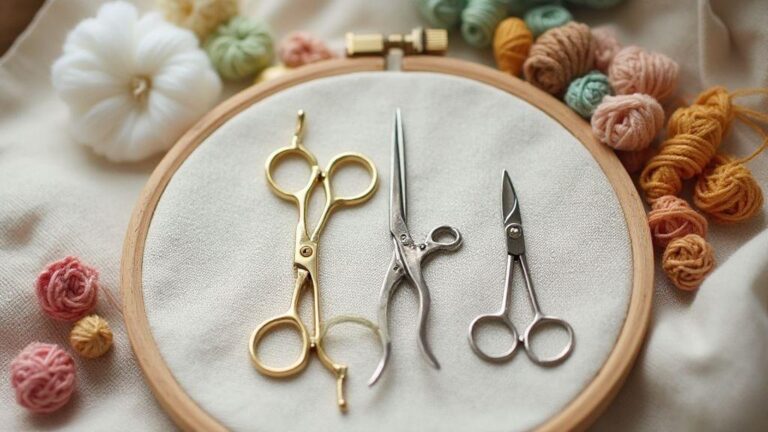
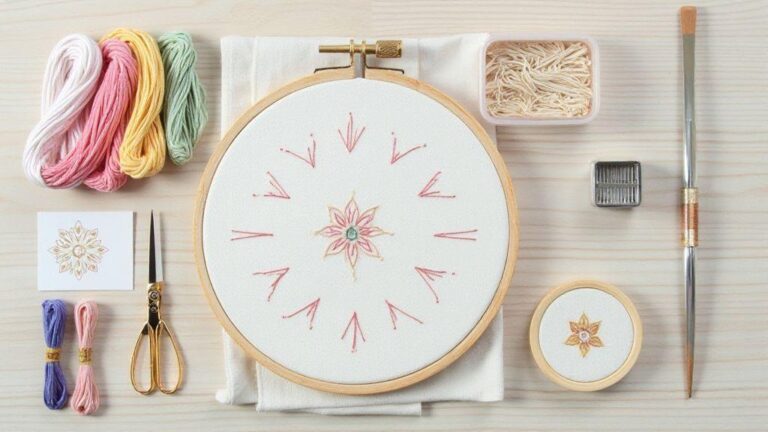
My toolkit is simple and reliable. For basic stitches, I start with a sharp embroidery needle, a small pair of scissors, and a few spools of embroidery floss in neutral shades like white and black, plus a couple of bold hues. The needle should have a sturdy eye and a medium shaft to thread easily and push through fabric without snagging. Scissors stay close at hand, and a pin cushion keeps pins tidy. A light-thread locator helps me see stitches on darker fabrics.
I also rely on a fabric marker and a thimble. The marker sketches light guidelines for even stitches, which I erase later. The thimble protects my finger when pushing through tight weave fabrics. A small hoop or frame keeps fabric taut, yielding neat stitches. The goal is fewer tools and less mess for clearer work. A clean, flat workspace with good lighting helps me spot uneven stitches early, and a scrap fabric swatch lets me test stitches before committing.
Choosing needles and thread for hand embroidery techniques
Needle size and type should match the fabric. For light cotton or linen, I reach for a sharp embroidery needle around size 7 or 8; tougher fabrics like canvas call for size 5. The eye must fit the floss without tugging. I keep a few needle sizes ready for different fabrics.
Thread choice matters as much as the needle. I usually start with 6-strand embroidery floss, splitting it to the right number of strands for the stitch. Delicate lines on light fabric use 2 strands; bold fills use 3 or 4. I thread gently and twist the floss to remove kinks before starting, and I test a stitch on scrap to ensure the thread lies flat. I also keep a stash of cotton perle for thicker lines and a few skeins of metallic or variegated floss for accents. The goal is to match thread weight with fabric texture and stitch type to avoid fraying or bulk on the backside. Color is chosen to sit nicely next to the fabric, refined after a quick test stitch.
Picking hoops and fabric in my bordado guide
Hoops come in wood, plastic, and metal. I prefer a lightweight wooden hoop, 6 to 8 inches in diameter, to hold fabric taut without stressing the edges. For travel, a collapsible hoop helps, but I avoid ultra-tight clamps that can leave marks. Stability without distortion is the aim.
Fabric choice affects the result more than any other tool. Beginners benefit from plain cotton or linen with a smooth weave. I avoid overly loose fabrics that stretch as I stitch and rough weaves that snag threads. Mid-weight fabric provides a clean, even surface. I test a stitch on scrap to confirm tension and appearance. I often choose light-colored fabrics to help see stitches clearly; when using dark threads, a lighter background prevents stitches from vanishing. A small chalk pencil helps map out patterns before I begin.
Caring for my tools and supplies
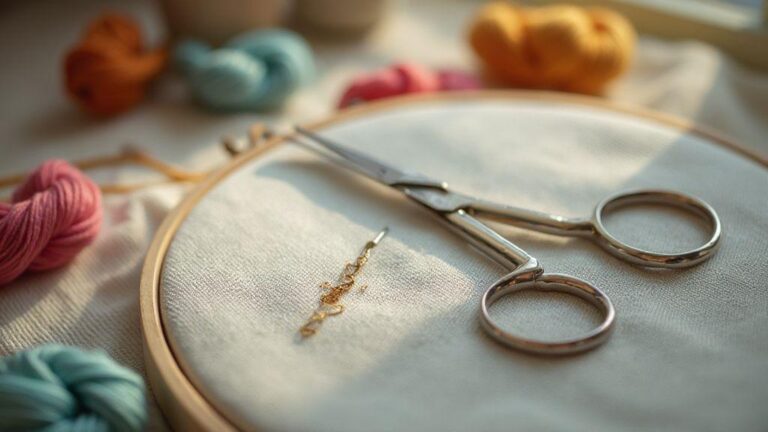
I clean tools after each session: wipe chalk lines, loosened threads, and hoop dust. I keep needles dry and rust-free in a pin pouch. I wind scraps into a small ball to keep the workspace tidy.
Step-by-step embroidery stitches I teach
Steady practice with clear steps makes embroidery feel approachable. I break stitches into simple, repeatable moves you can apply to many fabrics. My routine is simple: set up, pick a color, anchor, stitch, and finish. This helps me stay in the flow and build handfeel quickly. I rely on repetition that feels natural, not perfect symmetry. I emphasize how fabric, thread, and needle interact, and I remind myself to pause, adjust grip, and keep going. This practical approach keeps embroidery enjoyable and productive.
Backstitch tutorial for clear outlines
To outline, I use a clean backstitch. Start at the initial point, take a short forward stitch, then go back to the previous hole. Keep stitches short and even for a straight line. If a stitch slips, slow down, adjust the thread angle, and pull gently. For long outlines, pause to check symmetry with the design. Backstitch provides a reliable foundation for crisp, intentional lines.
Chain stitch tutorial for flowing lines
The chain stitch gives a smooth, connected line. Bring the needle up, form a small loop on the surface, and pull through to create a link. Each link should be similar in length. Move ahead and pass the needle through the previous loop to form the next chain, adjusting tension to avoid fraying or bunching. For curves, rotate the wrist to follow the arc. If a loop tightens or loosens, back up to the last link and adjust. Consistency makes the chain stitch a natural, flowing line on the fabric.
My daily step-by-step practice plan
I commit to 15–20 minutes of focused practice daily. I begin with a quick warm-up of long straight stitches, then run through a backstitch or chain stitch on a small scrap, checking line and stitch size. I end with a quick review of what felt smooth and where I struggled, so I can improve tomorrow. I keep a practice sheet tracking stitches, fabric type, and thread weight, noting how I held the needle, where tension felt off, and any adjustments. I repeat the same exercises until they feel automatic, then layer in more complex shapes or multi-stitch combinations.
Satin stitch tutorial and French knot tutorial tips
Satin stitches give a smooth, glossy fill. I start on clean fabric with a sharp needle, pull a single thread through the top layer to avoid bulk, and use a medium-length thread. I keep stitches short, even, and spaced to stay flat; if the fabric puckers, I recheck tension and stabilization. I finish with a small back stitch or a tiny knot on the back and trim close. Practicing on a swatch helps me keep satin fills consistent.
French knots add texture. I bring the needle up at the knot location, wrap the thread around the needle two to four times, then insert back near the starting point. Maintain steady tension to keep the knot from being lumpy. If a knot sits high or wonky, center it with a gentle pull and trim excess ends close to the base. Practice on a scrap circle before placing knots inside letters or motifs. If a knot looks uneven, redo it. A thimble or glove helps steady the hand during wraps. When finishing a row of knots, check texture, and weave loose ends under nearby stitches to keep the back neat. Plan the design on paper first and mark the fabric with a light erasable pencil to ensure even satins and knots. Center-out work helps balance the piece.
Satin stitch tutorial basics I follow
Begin with a stabilized fabric and a sharp needle. Use a short floss length to avoid tangling, and place small, evenly spaced stitches that lie flat. If a stitch pucks, ease tension slightly and let the fabric settle. Keep the satin surface smooth by testing stitches on scrap first, and press lightly from the back after finishing to set the stitches.
French knot tutorial made simple
Bring the needle up at the knot site, hold the thread taut, and wrap around the needle 2–4 times depending on desired chunkiness. Insert back near the starting point with steady tension. If the knot is too loose, add a wrap or two; if too tight, reduce wraps. Keep the thread length modest to avoid bulky knots. Practice on a scrap circle before embedding knots in letters or motifs. A steady hand and a thimble help, and I weave the ends under nearby stitches for a clean back. If a knot is off, redo it rather than let it ruin the design.
Fixing satin and knot problems fast
If satin stitches gap or puff, re-stabilize the fabric in the hoop, loosen tension slightly, reseat stitches, and resume with even pressure. If puckering persists, remove a few stitches and rework with gentler tension. For French knots, rewrap with fewer wraps and lighter pull-through. If needed, reseat the knot and start again with shorter thread to avoid tangling. Weave tails under nearby stitches to tidy the back.
Mastering backstitch, chain, and other core stitches
Practice turns basic stitches into reliable tools. Backstitch provides clean outlines, while chain stitch adds texture and rhythm. Satin and running stitches offer fills and lighter areas. With time, you’ll switch between them confidently, keeping your pieces deliberate rather than stitched together.
Backstitch tutorial uses and examples
Backstitch defines edges with a solid, continuous line. Start behind the fabric, bring the needle to the front, and stitch straight ahead, always returning to the end of the previous stitch. Keep stitches uniform—about the width of a thread—for a smooth line. Use backstitch to outline simple motifs, then add satin fills inside. It’s great for tiny text on totes or handkerchiefs, and curves stay fluid with evenly spaced stitches.
Chain stitch tutorial for texture and borders
Chain stitch adds texture and a rope-like line. Start by bringing the needle up, form a small loop, pull through, and anchor by passing through the loop. Repeat along the line, varying spacing for shadow and highlight effects. Tighter chains read clearly along edges, while longer chains work well for stems and vines. A contrasting thread can emphasize the decorative effect, while a matching color blends more into the design.
When I choose each stitch
Choosing a stitch depends on the space and effect you want. For crisp outlines that endure wash, backstitch is ideal. For decorative lines with texture, chain stitch shines. For soft fills, satin stitch or a series of running stitches works well. When unsure, test small samples on scrap fabric to see which stitch best suits the fabric and thread you’re using.
Projects I use to practice the 15 Basic Embroidery Stitches Every Beginner Should Learn
I keep practice practical with simple samplers and small gifts, so progress is visible and motivating. These projects let me compare how each stitch behaves on different fabrics and threads, guiding tool choices for future work. When I finish, I have something tangible to show or gift, not just notes.
Practice is repetition with a purpose. I rotate through fabrics like cotton, linen, and felt to feel how fibers take the stitch. My plan is simple: learn one stitch, apply it to a small area, then move to another stitch. A casual setup—a bright workspace, favorite scissors, and a playlist—helps practice feel less like work. If I mess up, I reset and try again on the same spot. Treating mistakes as lessons helps me apply the 15 Basic Embroidery Stitches Every Beginner Should Learn more effectively in future projects.
Simple samplers I made to learn skills
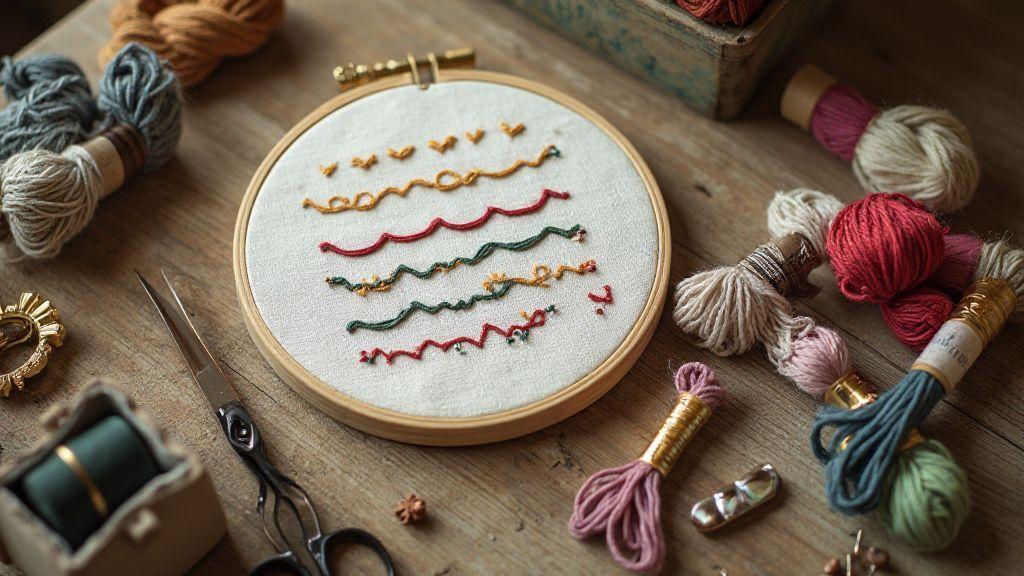
My simple samplers form the backbone of practice. Each sampler clusters stitches from running to satin stitch in a grid, letting me see how they interact on the same fabric. I keep the fabric small and the thread choices simple so mistakes are easy to spot and correct. A single line of backstitch can transform the look of a piece, and these samplers become a memory map of my early progress in mastering the 15 Basic Embroidery Stitches Every Beginner Should Learn.
Small gifts and patches to try embroidery stitches for beginners
Small gifts provide real-life practice. A handkerchief, a canvas tote, or a felt pin backer offers a practical stage to test stitches. I choose a simple shape or name and decorate it with a few stitches to see how it holds up with handling. Patches are another great approach—embellishing jackets, backpacks, or notebooks with stitched squares teaches durability and style in one go. These quick projects translate practice into usable, display-worthy results.
Washing and caring for finished projects
After finishing, I wash lightly to see how the threads behave. Cool water and gentle soap, air-dried flat, let me spot color bleed or loose stitches. If issues appear, I fix them before gifting or use. Simple care rules—avoid harsh detergents, keep out of direct sun, store flat when possible—help embroidery last longer and stay fresh.
If a piece is a gift, I wrap it with a note about how it was made and remind the recipient that the 15 Basic Embroidery Stitches Every Beginner Should Learn were used with care. Small maintenance like trimming tails and securing knots keeps the finished piece neat and presentable.
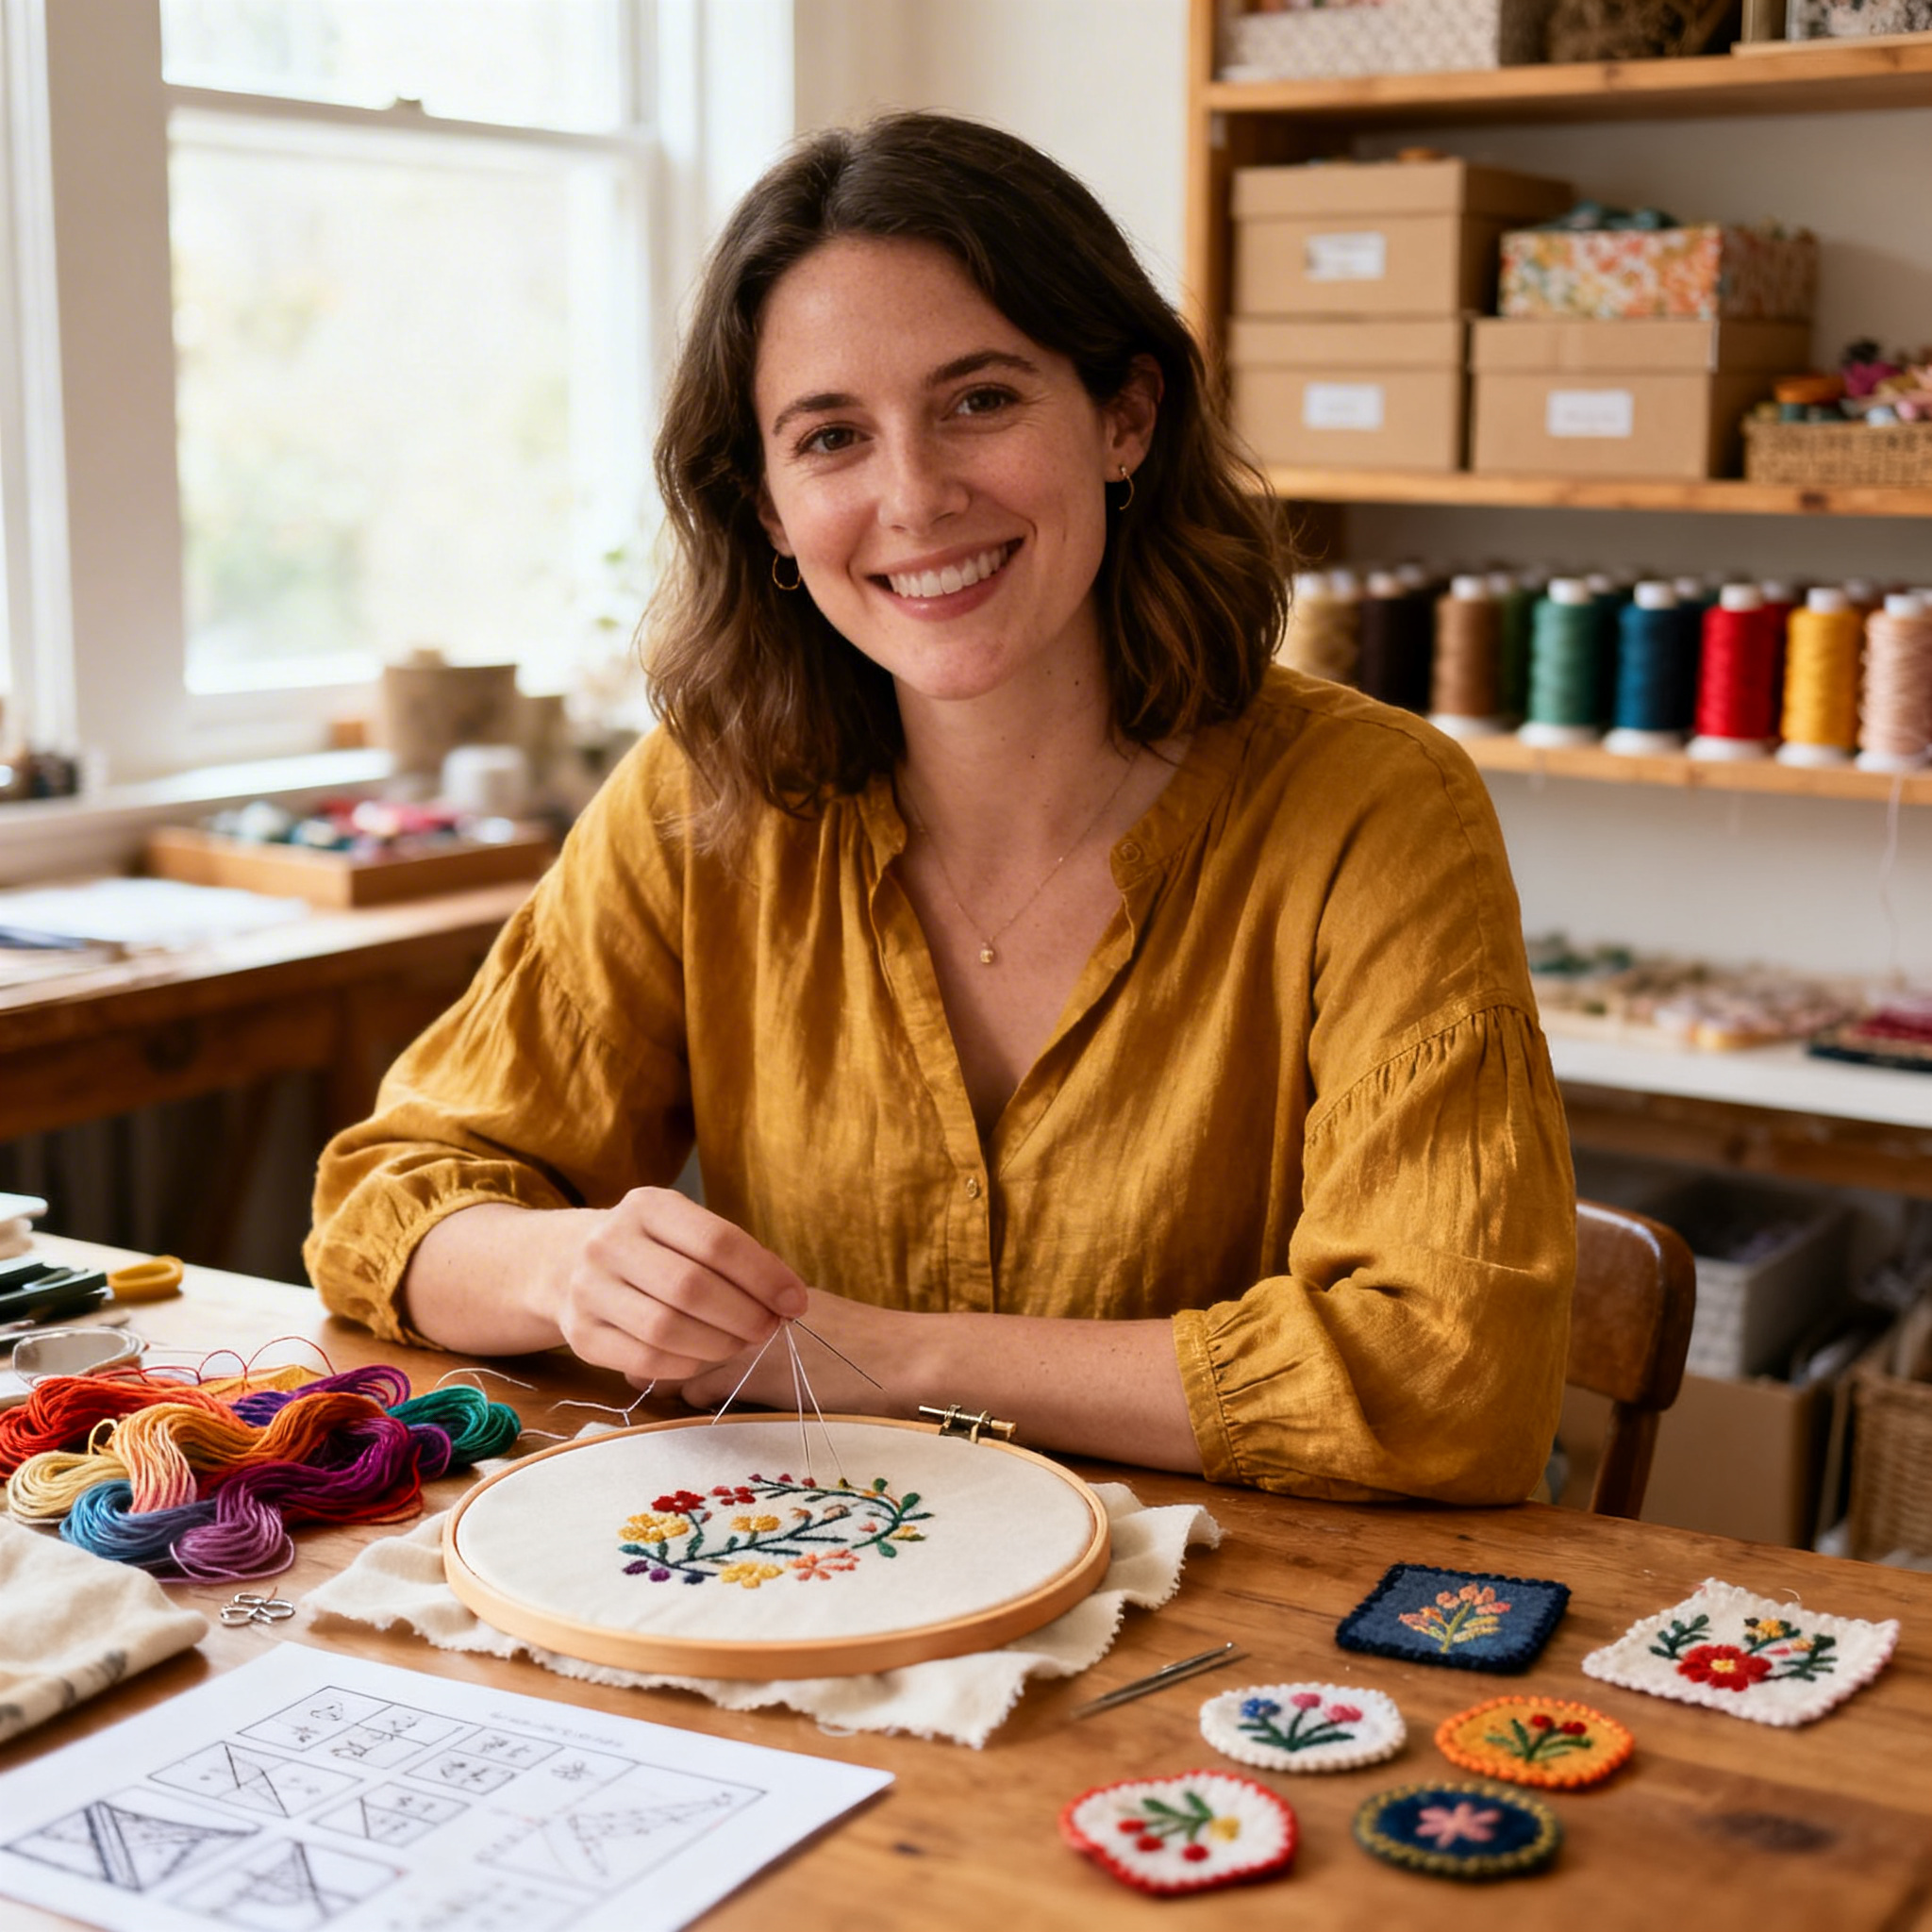
I’m Sophie Caldwell, the author behind granaboom.com, and I believe hand embroidery is one of the simplest, most relaxing ways to create something beautiful with your own hands. I started this blog to help beginners learn hand embroidery without feeling overwhelmed by complicated instructions or “perfect” results.
Here you’ll find beginner-friendly guides to decorative embroidery stitches, along with clear step-by-step practice ideas and patterns you can use to build confidence. My focus is on making the learning process easy: simple explanations, helpful stitch combinations, and small projects that look polished even when you’re just starting out.
Welcome to granaboom.com—grab your hoop, choose a few colors, and let’s stitch one line at a time.