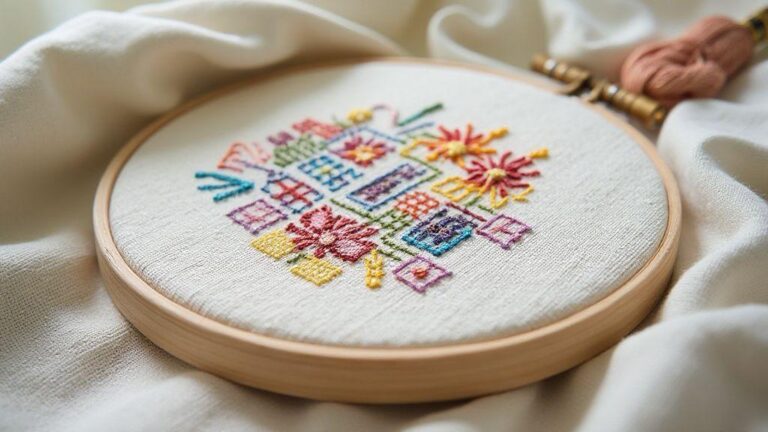
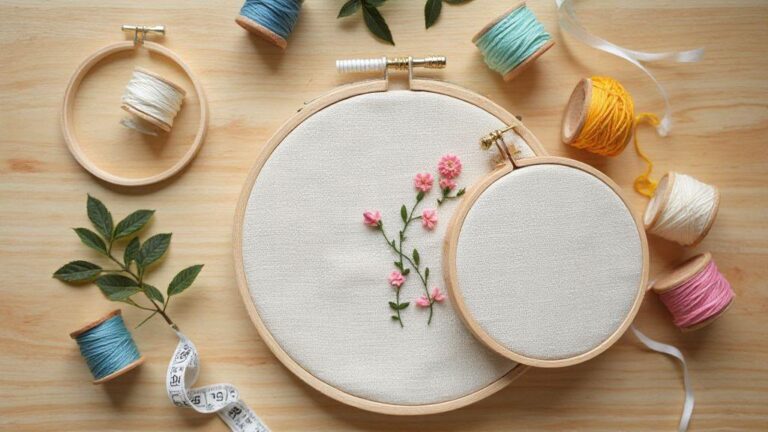
How to Organize Embroidery Supplies at Home with Bordado-inspired Storage Ideas for a Tidy Creative Space
How to Organize Embroidery Supplies at Home
A practical approach to organizing embroidery supplies at home makes planning projects faster and stitching more enjoyable. This guide covers thread sorting, hoops and needles, compact storage, portable kits, and daily maintenance in a human, expert voice.
How I Organize Embroidery Supplies at Home: Thread Sorting
I’ve learned that a simple order in my thread stash saves time when planning a project. My system starts with sorting by type, then by color, and finally by how I’ll actually use each spool. This keeps my desk clean and my brain focused on stitching, not digging through tangled skeins. When I pull out a project, I know exactly where the floss lives, and that peace of mind is worth its weight in finished projects.
My floss lives in clear containers I can see through, so I don’t forget what I have. I keep cotton floss, vari-colored variegated skeins, and metallic threads in separate sections. If a spool is almost empty, I add a note on the lid to remind me to restock. That habit means I’m rarely caught with a mid-project panic of I’m out of thread. It’s tiny, but it keeps momentum going.
I label containers with a quick color swatch and the color number. It helps when I’m away from my sewing space and want to grab the right shade. If a thread brand changes packaging, I update the label so I don’t mix up codes later. Simple, steady routines make a big difference over time. How to organize your embroidery supplies like a pro. If you’re just starting, the complete beginner’s shopping list for hand embroidery can help you stock essentials.
My embroidery floss storage hacks
I keep a small, shallow drawer dedicated to floss packs for easy access. I stack packs vertically to see more colors at a glance. Binder rings on a pegboard hold loose strands and skeins for quick color decisions. Long-plied threads stay on plastic bobbins with ends tucked under to prevent unraveling; I label each bobbin with color number and a quick shade note like warm pink. A separate tray stores specialty threads to avoid mingling with regular cotton.
If you share a workspace, consider a portable floss kit—a compact box with frequently used colors and a mini scissors—so you can stitch anywhere without dragging the full stash. The complete beginner’s shopping list for hand embroidery can help you build that starter kit.
Embroidery thread organization by color
Color is king. I group threads from light to dark within each color family to visually pick gradients quickly. A color wheel helps decide which hues belong together for shading, and I keep notes about color families for reference on future projects. I label by color-family boundaries to keep blues, greens, and warm tones in their own zones for fast palette decisions. I log colors used in a project to restock exact shades next time, keeping the stash practical and affordable.
How I Organize Embroidery Supplies at Home: Hoops and Needles
My space is simple and tidy so I can jump into a project without hunting for tools. I label hoop types by storage area—wooden hoops in one bin, plastic in another—so mismatched sizes don’t stack up. A small desk tray holds the needles I’m using, plus a tiny thread cutter. This routine saves time and keeps the workspace calm, which helps stitches come out cleaner.
The best organization is the kind you won’t ignore, so I tailor storage to how I work: quick access to hoops, a clear place for needles, and a rule to put everything back after finishing. It’s simple, but it sticks. How to Choose the Right Embroidery Hoop for Your Project can help you pick the right hoops for future projects.
Hoop and needle storage solutions I use
Hoops live in a tall rack for larger sizes and a shallow bin for smaller ones. I label each shelf by hoop size for quick visibility. For needles, a small magnetic tray on my desk holds them securely and makes grabbing what I need fast. I group tools by activity—hoops and stabilizers near the window for good light, scissors and threaders near my chair—to keep my brain uncluttered. A spare set of common hoop sizes lives in a labeled tote to prevent workflow derailments.
I rotate needle types based on what I’m stitching: dense satin stitches call for sharps; delicate outlines use finer needles. I keep only what I actually use to keep the tray light and easy to browse. If you’re unsure how to select hoops, see How to Choose the Right Embroidery Hoop for Your Project. For sharp tools and cutting performance, check The Best Scissors for Embroidery and Why It Matters.
My needle cases and magnet tricks
The main needle case is a slim, snap-top box with labeled compartments for sharps, ballpoints, and embroidery needles. I prefer seeing needle colors through the lid so I know what’s on hand. Between projects, I sort by size and type, then return the case to a labeled drawer. A magnetic strip on a cabinet door holds leftover pins and loose needles, keeping metal bits off the desk and in reach. I cap needle ends and store them point-down in a shallow tray for safety.
For rush projects, I create a quick-access current batch spot with needles I’ll use today in a shallow dish near my work area. When the day ends, I return them home to speed tomorrow’s setup. For guidance on needle types, see Embroidery Needles Explained.
Safe needle storage idea
Store needles with points away from the container edge in a segmented tray. Point-down in each section, and keep a small childproof cap for the sharpest needles in a separate compartment to reduce accidents.
Compact Bordado storage ideas for small rooms
In tight spaces, I keep only weekly-use items in sight and pack the rest in labeled storage elsewhere. Clear containers help me see threads, needles, and small scissors at a glance. A dedicated tote for threads, a separate box for hoops and fabrics, and a small needle pouch keep things from tangling. Group items by activity—threading, stitching, finishing—and store floss cards in slim binders for easy color flipping. If space is ultra-tight, stack multi-compartment organizers to reduce footprint while keeping supplies distinct. Vertical space, like a pegboard for scissors, hoops, and small rulers, keeps the desk clear and fast to reach. How to Organize Your Embroidery Supplies Like a Pro.
Compact embroidery supply storage with pegboards
Pegboards adapt to changing Bordado needs. Rows for thread skeins, floss cards, small hoops, and a needle/pin tray keep items separated and visible. Labeled jars or bins hang from the board for beads, metallic threads, chalk pencils, and seam rippers. Trays stay level and off the floor to prevent spills, and a light-colored pegboard helps colors pop visually. For a broader look at organizing strategies, see How to Organize Your Embroidery Supplies Like a Pro.
Stackable boxes and drawer tips for Bordado
Transparent-lid boxes keep floss, fabrics, and hoops organized. Drawer dividers prevent jamming and speed access. Group like items together; label exteriors clearly. A grab-and-go kit near the work area holds a project, a few skeins, and a pair of scissors for quick sessions.
Within drawers, separate threads, needles, and scissors. For shallow drawers, use shallow organizers to avoid shifting. A compact, ready-to-go kit helps maintain momentum even in small spaces. The complete beginner’s shopping list for hand embroidery can guide starter selections.
DIY Bordado organizers I made to organize embroidery supplies
DIY Bordado organizers evolve from jars to a mini-studio. I start with clear jars for visibility and upcycled tins as bobbin lids. A bobbin board made from a foam insert holds spools in carved grooves, labeled by color family to ease switching. I keep a simple workspace with a fabric mat, pincushion, and spare needles in a small pouch, adding one new organized touch every few weeks to keep the system usable without feeling overwhelmed.
Consider adding a magnetic strip for needles or consolidating color families to reduce jars if you’re starting out. The complete beginner’s shopping list for hand embroidery can help you stock basics.
Upcycled jars and tins for thread
Old jars become practical thread homes—clear visibility, neat rows, and easy access. Wash, dry, and label lids with color names or codes. For smaller spools and bobbins, cookie tins with punched lid holes provide quick access and stacking stability. Group threads by color family to prevent mixing and mark low colors with a dot to restock soon.
If jars aren’t available, clear-front plastic containers work similarly. The key is visibility plus accessibility. For beginners stocking your kit, the complete beginner’s shopping list for hand embroidery is a helpful reference.
DIY thread holders and bobbin boards
Thread holders use a lightweight, sturdy setup: a thin wooden board, foam insert, and dowels for standard spools. Foam grips thread ends, preventing slips. A separate bobbin board with shallow grooves hosts bobbins, plus a color-family label near each groove for quick switching. A magnetic strip holds needles and a few scissors on the side for easy access. This compact system saves time and reduces rummaging. This is especially handy if you’re unsure about thread types; see What is the Difference Between Embroidery Floss, Perle Cotton, and Wool Thread for quick guidance. Everything sits in a shallow box so you can pull it out and work, then tuck it away when done.
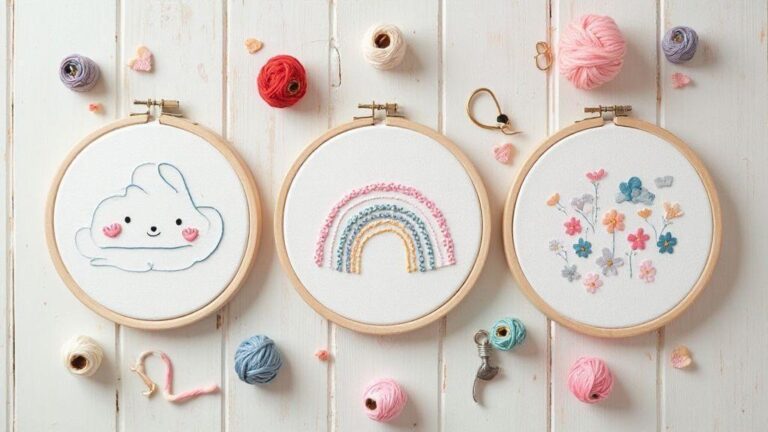
Simple craft projects
Keep a few warm-ups like a tiny pin cushion or fabric coaster set to practice stitches and check tension. A small fabric swatch book with uniform fabric squares helps compare textures and thread behavior. These mini projects provide quick wins to sustain momentum. If you’re curious about thread varieties, explore the guide on the difference between embroidery floss, perle cotton and wool thread.
Portable embroidery kit ideas I use on the go
On-the-go kits focus on compact staples that fit in a pocket: a small hoop, a couple of floss colors, and a few needles. Layer gear to ride in a backpack or tote without snagging. Include a fabric spool holder, a scratch pad, and a compact scissors for quick projects that don’t require a full workspace.
Plan with a mental checklist: Is the needle sharp? Are threads neatly wound? Is the hoop secure? If yes, you’re ready to stitch anywhere. For beginners stocking a portable kit, the complete beginner’s shopping list for hand embroidery is a handy reference.
Travel case essentials for embroidery
A compact case with dividers keeps needles, a gauge, thread, and small scissors organized. Stock a few coordinating tones to avoid overfilling. A tiny needle threader helps with quick starts, especially after travel. Include a fabric swatch or practice piece for stitch testing, a small ruler for planning, and a damp wipe or mini hand sanitizer for quick cleanups. For a quick guide on selecting tools, see The Best Scissors for Embroidery and Why It Matters.
Building a compact embroidery supply storage kit
Build a compact kit with a slim pouch and elastic loops for needles, a mini scissor, and a couple of bobbins. Separate light colors from dark ones and label common shades for fast picking. Add a small thread cutter, a spool pin, and, if space allows, a tiny magnifier for detail work in quiet corners. If you’re starting out, the complete beginner’s shopping list for hand embroidery can help you stock essentials.
Grab-and-go kit
A grab-and-go kit holds a mini hoop, 2–3 matching colors, and a single needle in a zip pouch. It travels in a bag pocket and is perfect for a quick stitch. Test it by pulling out and finishing a tiny design in a random spot to ensure readiness and simplicity. For beginners building a starter set, see the complete beginner’s shopping list for hand embroidery.
How I keep a tidy creative workspace for embroidery
Keep a dedicated workspace and finish projects there to prevent clutter from piling up. Empty a small trash bin daily and use a shallow tray for ongoing projects to keep stitches and fabrics within reach yet out of the way. Group tools by task in a single felt pouch, with labeled bins for hoops, stabilizers, and marking tools. Return everything to its home with a simple, repeatable path. A visual cue board keeps track of what’s in use, what’s running low, and what needs restocking, reducing wasted time and keeping the space calm and welcoming. For more strategies, see How to Organize Your Embroidery Supplies Like a Pro.
Home sewing and embroidery organization tips
Organize by function: fabrics, threads, stabilizers, and notions. Store fabrics flat or neatly folded in labeled drawers; threads in a clear, labeled box by color family; stabilizers in a tall bin with a lid; notions like bobbins, needles, and chalk in a small stackable organizer. Maintain a simple inventory—note what you have and what’s running low—and perform a quick weekly tidy to reset tools and threads. If you’re starting out, the complete beginner’s shopping list for hand embroidery can help you stock essentials.
Labeling, inventory, and daily cleanup to organize embroidery supplies
Label containers clearly with readable text, using color coding to show where items belong. Daily cleanup should be fast: put away tools, wrap threads, and wipe surfaces. A routine keeps items in their homes and the workspace ready for the next project. Maintain order with a weekly tidy: wipe surfaces, refill low supplies, and recheck labeling. A small basket by the door for washing or returning items helps prevent clutter and keeps embroidery enjoyable.

I’m Sophie Caldwell, the author behind granaboom.com, and I believe hand embroidery is one of the simplest, most relaxing ways to create something beautiful with your own hands. I started this blog to help beginners learn hand embroidery without feeling overwhelmed by complicated instructions or “perfect” results.
Here you’ll find beginner-friendly guides to decorative embroidery stitches, along with clear step-by-step practice ideas and patterns you can use to build confidence. My focus is on making the learning process easy: simple explanations, helpful stitch combinations, and small projects that look polished even when you’re just starting out.
Welcome to granaboom.com—grab your hoop, choose a few colors, and let’s stitch one line at a time.