Best Scissors for Embroidery Projects to Elevate Your Bordado Precision and Speed
Choosing the Best Scissors for Embroidery Projects
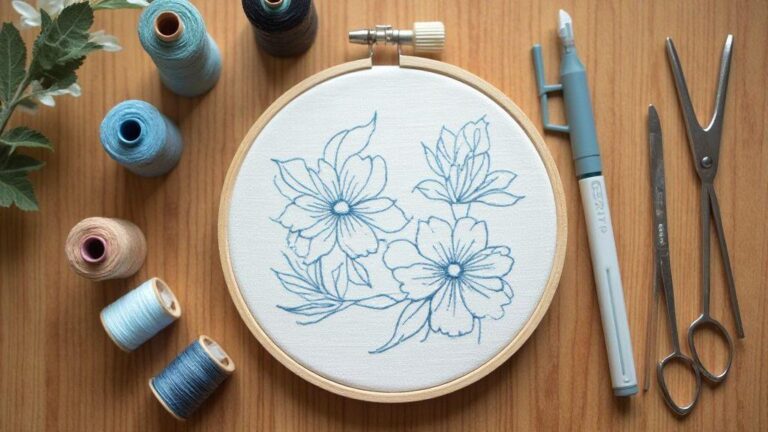
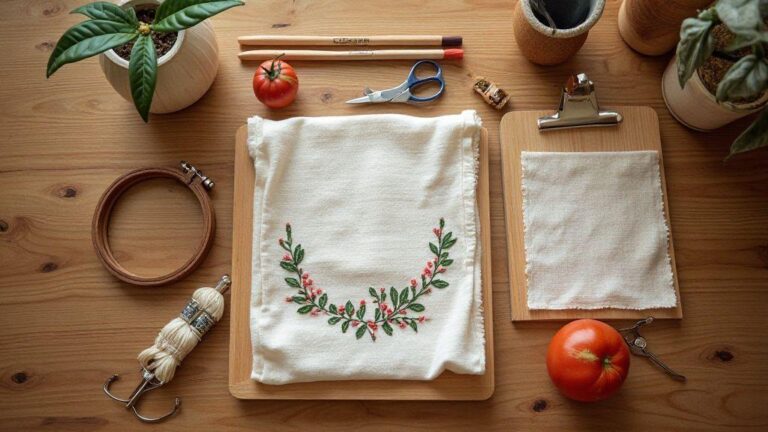
I’ve learned that the right scissors can make or break an embroidery session. When I switch to the correct pair, my stitches glide, and I waste less fabric and thread. The goal isn’t flashy names or big price tags—it’s clean cuts, easy access to tight spots, and comfort through long sessions. If you’re after the Best Scissors for Embroidery Projects, use these guidelines to choose wisely. For beginners, the Complete beginner’s shopping list for hand embroidery offers a good starting point.
Material and blade type for clean cuts
I prefer high-quality steel that stays sharp after many snips. For embroidery, a finely honed blade matters more than chunky, blunt edges. Fine-pointed tips slip into small gaps without snagging threads. A hollow-ground or micro-serrated blade helps hold fabric in place near dense stitches. Forged steel with a satin finish resists corrosion and won’t leave flecks on light fabrics. If blades are too thick, the fabric fights back; thin, precise blades keep cuts tidy and predictable.
Blade alignment is crucial. Misaligned blades cause uneven cuts. I test by gently closing on scrap fabric and looking for wobble. A good pair closes with a confident snap and feels balanced—comfortable in hand, not heavy on one side. Construction matters more than material: a sharp, well-made blade that stays sharp saves time and frustration.
If you plan to use a hoop, consider the insights on how to choose the right embroidery hoop for your project.
Tip shape and size for stitch access
Tip shape is everything for tight corners or trimming near satin stitches. I prefer slender, pointed tips to maneuver between stitches and avoid cutting threads I want to keep. For broader trims along open edges, a slightly broader tip protects the fabric while delivering clean cuts. Blade length matters: shorter blades for small hoops, longer blades for bigger projects. Comfortable handle spacing that fits my grip is essential; a balanced pair with a soft grip feels natural.
I avoid overly curved blades for embroidery; straight or mildly curved tips guide cuts along a clean line. That predictability keeps stitches neat and fabric intact. If you’re new to embroidery, try a few tip shapes on scrap fabric to learn what works best for you.
Quick buying checklist
- Sharp, high-quality steel blades with a fine point
- Blade alignment that closes cleanly
- Slim, precise tips for tight spaces
- Comfortable, balanced handle grip
- Lightweight feel for long sessions
- Corrosion-resistant finish and durable construction
Keep this list handy when shopping. If a pair checks every box and fits your budget, investing a little more pays off in the long run. Look for easy replacement parts or a warranty.
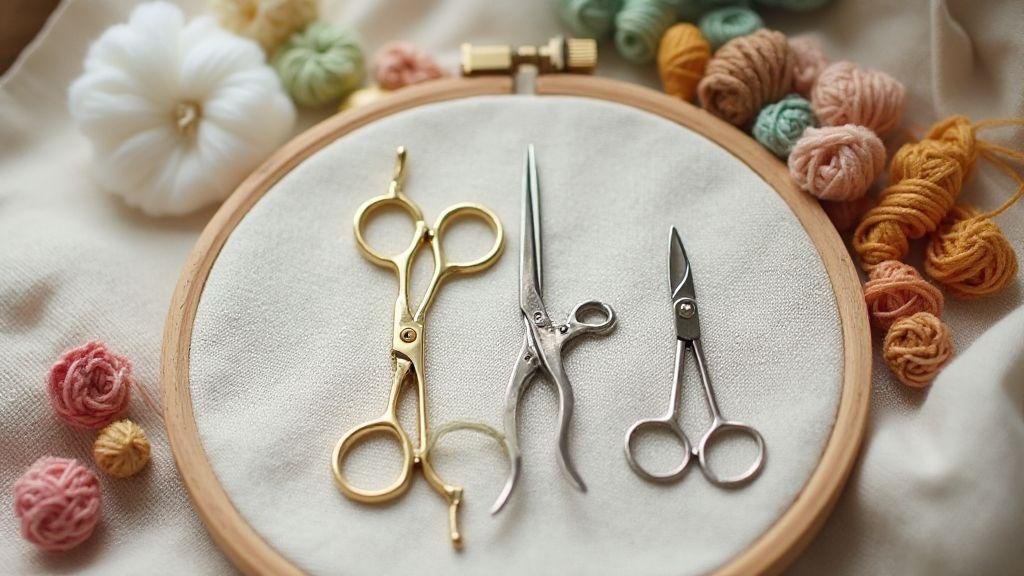
Micro Tip Scissors for Bordado Precision
I rely on micro tip scissors when I need to control tiny cuts around delicate stitches. Slim blades let me snip close to threads without snagging. The balance matters too; a comfortable grip prevents hand fatigue during long sessions.
They’re essential for navigating beads, dense threadwork, and soft fabrics like linen or cotton. The blades should stay closed until you’re ready to cut, then deliver a single, deliberate motion for a clean finish. The best micro tip scissors feel like an extension of my hand: compact, light, and sturdy enough to cut thread cleanly.
When to choose micro tip scissors for bordado
Use micro tip scissors in tight spaces or with dense stitching to reduce fraying and snagging. They’re great for trimming loose ends near finished seams or cleaning up knots close to the fabric’s surface. They also help with thread management, letting you snip flush to the fabric without leaving a stub. If your project has curved edges or small motifs, these scissors are your best friend. Switch when a standard scissor forces you to reposition and risk a mistake.
If you’re turning photos into embroidery patterns, you can consult How to turn any photo into an embroidery pattern for design ideas.
Embroidery scissors for precision cutting in tight spots
Embroidery scissors are light and nimble, with short blades for tiny, controlled snips that sit flush with the fabric surface. They excel in detail work, allowing you to reach intricate areas from multiple angles and finish hand-stitched borders or interlaced patterns with confidence. A sharp edge stays longer with minimal maintenance, which saves time.
When choosing, look for pointed tips, a comfortable grip, and a springy action that makes snipping feel effortless. A well-made pair will stay sharp through many projects.
Best micro tip models to consider
Look for thin yet strong blades, refined tips for tight corners, and a comfortable handle. A solid locking mechanism helps keep blades aligned when not in use. For beginners, a sharp basic pair works well; for experienced embroiderers, a micro-serrated edge can grip slippery threads.
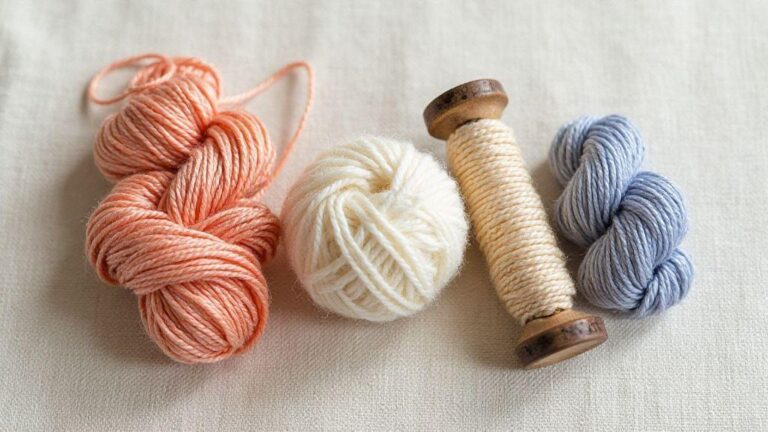
Consider your fabrics and stitches: delicate silk or metallic threads benefit from finer points, while cotton or linen may require a sturdier pair.
If you’re preparing designs, the six best methods to transfer embroidery patterns onto fabric can be handy. See the 6 best methods to transfer embroidery patterns onto fabric for options. If you prefer a more traditional approach, transfer paper can be a great fit as well. For a more visual technique, try the lightbox method tracing patterns onto fabric like a pro.
Sharp curved scissors for embroidery reach
Curved scissors feel like an extension of the hand. They let you trim around delicate stitches or inside a hoop, angling toward the fabric edge for neat tails and intact fabric. The curved design reduces the need to reposition and helps you follow the contour of stitching, especially with dense threadwork.
Curved blades improve trimming control by letting you guide the cut toward the thread or knot without sliding across fabric fibers. They’re particularly useful for trimming inside busy designs or reaching inside stitch loops.
When sharp curved scissors for embroidery beat straight blades
Curved blades hug the fabric’s curve, allowing close trims near seams without awkward angles. They excel in tight spots, knots, and near beads, delivering smoother edges with less visible clipping. For many projects, curved scissors outperform straight ones in tricky areas.
Curved scissors maintenance
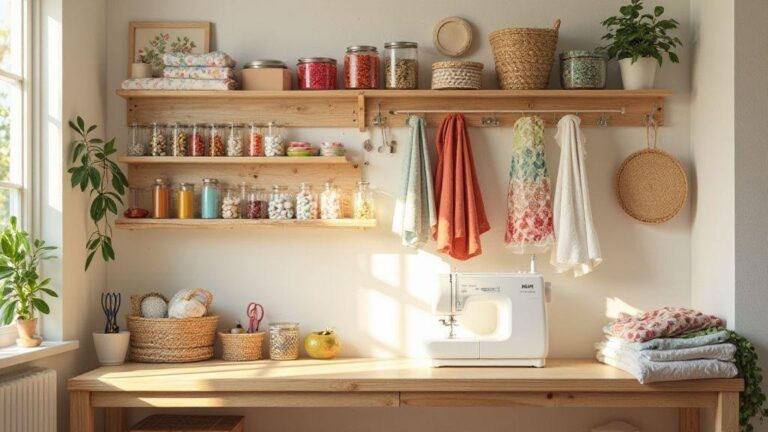
Keep curved scissors sharp and clean. Wipe blades after use, apply a light oil to the pivot, and check for nicks. Store in a sheath or dedicated spot. If misalignment appears, avoid forcing the blades; realign or seek professional sharpening. For overall tool care and workspace efficiency, see How to organize your embroidery supplies like a pro.
Ergonomic embroidery scissors for speed and comfort
Ergonomic designs cut cleanly without forcing the grip, helping you work faster and with less fatigue. A balanced weight and spring-back action reduce finger strain, while soft-touch handles and contoured grips support precise control near delicate threads. An ergonomic pair should feel like a natural extension of your hand.
Grip styles that reduce hand fatigue
Different grips can dramatically reduce fatigue. A classic loop grip with generous openings suits larger hands, while a smaller loop or mitten-style handle distributes pressure more evenly. Soft or textured surfaces prevent slipping, letting you maintain control on slippery fabrics. Even weight distribution and optional spring-loaded designs can speed up your workflow. The right grip is personal, but comfort and control are non-negotiable.
Ergonomic embroidery scissors for speed tips
Choose blades aligned to the pivot for minimal wobble and a micro-serrated top blade to grip the thread. A shorter cutting surface helps reach tight corners, and a fine point can maneuver between threads without snagging. Regular maintenance—keeping blades sharp and clean—improves speed and reduces extra passes.
Testing ergonomics before buying
Test the scissors in your stitching setup: grip as you normally would and make several cuts through scrap fabric. Check for grip comfort, weight feel, and blade alignment with your intended line. Ensure the tips clear the fabric without snagging near dense stitches. If available, try demonstrations or trial pairs to assess real-world comfort.
If you’re new to embroidery, the complete beginner’s shopping list can be a helpful starting point as you test different grips and sizes.
Materials and finish: stainless steel and gold plating
I prefer stainless steel for durability: it holds an edge, resists corrosion, and provides reliable heft without bending. A smooth finish adds ease when gliding along delicate fabrics. Gold plating adds precision for detail work: it reduces friction, allowing tighter, cleaner cuts on fine stitches, and looks premium, boosting confidence during intricate tasks. The combination of stainless steel with gold plating offers durability plus precise control, ideal for dense motifs and delicate silk threads.
Why stainless steel embroidery scissors matter for durability
Stainless steel lasts through years of needlework, resisting corrosion and maintaining edge integrity. It remains predictable in weight and feel, giving you confidence with large patterns.
Gold plated embroidery scissors for fine detail and corrosion resistance
Gold plating enhances edge glide and provides extra protection against oils and moisture during long sessions. It helps extend the time between sharpenings without compromising precision.
Cleaning and rust prevention
Wipe gold-plated scissors after use to remove fibers and oils. A light rinse is fine if threads were wet, but dry thoroughly. Avoid abrasive cleaners that could wear the plating. Store in a dry place. If tarnish appears, use a gentle cleaner sparingly. Regular maintenance keeps blades sharp and finish intact, ensuring reliability across many projects. If you’re planning projects like a linen tote bag, see how to embroider a linen tote bag from start to finish for tailored tips. For cushion-focused work, the guide how to make an embroidered throw pillow cover can be helpful as well.
Specialty options: left-handed, lightweight, professional tools
When considering specialty options, start with left-handed scissors. They fit naturally in the grip and improve control, especially during long sessions. For delicate work or long projects, lightweight tools reduce wrist strain while maintaining precision. Professional tools prioritize consistency and durability, resisting corrosion and staying balanced after daily use. They’re an investment in smoother seams and cleaner finishes, whether you’re at a club, class, or studio.
Choosing left handed embroidery scissors correctly
Test blade alignment with your right hand resting on the handle. The blades should close cleanly without rubbing. Look for left-handed engineering rather than mere mirrored designs. Check the pivot for easy tightening and stable use, and ensure a comfortable grip with textured handles to prevent slips. Stainless steel helps maintain a sharp edge and resist rust. For broader gear guidance, see the complete beginner’s shopping list.
Lightweight scissors for intricate embroidery and pro use
Balance matters: hold the tool mid-handle to assess how it sits in your palm. A fine, pointed tip lets you trim near knot ends without slipping. For professional settings, ensure the joint stays tight after weeks of daily use. Durability remains important even in lighter tools. For more on organizing your supplies for efficiency, check How to organize your embroidery supplies like a pro.
Balancing price and professional performance
Price matters, but durability and performance matter more. A mid-range pair that stays sharp longer often saves money over time. Look for warranties or replacement parts, and weigh quick performance against long-term reliability. For a broader perspective on project planning, see the Best Scissors for Embroidery Projects.
For projects with borders and edges, you may find value in how to create a repeat pattern for borders and edges to plan clean, repeating finishes.
If you’re planning pillow projects, the guide how to make an embroidered throw pillow cover offers a practical walkthrough. For pattern preparation, transfer methods, and pattern-based planning in general, you can also explore the 6 best methods to transfer embroidery patterns onto fabric and the lightbox method tracing patterns onto fabric like a pro.
For additional guidance on design generation, you can turn photos into patterns with How to turn any photo into an embroidery pattern. If you’re after a straightforward transfer technique, how to use transfer paper for embroidery step by step is a solid resource. And if you’re curious about turning patterns into repeat borders, see how to create a repeat pattern for borders and edges.

I’m Sophie Caldwell, the author behind granaboom.com, and I believe hand embroidery is one of the simplest, most relaxing ways to create something beautiful with your own hands. I started this blog to help beginners learn hand embroidery without feeling overwhelmed by complicated instructions or “perfect” results.
Here you’ll find beginner-friendly guides to decorative embroidery stitches, along with clear step-by-step practice ideas and patterns you can use to build confidence. My focus is on making the learning process easy: simple explanations, helpful stitch combinations, and small projects that look polished even when you’re just starting out.
Welcome to granaboom.com—grab your hoop, choose a few colors, and let’s stitch one line at a time.