Cheap Embroidery Supplies That Actually Work to Transform Your Bordado Projects and Save You Time
How I shop Cheap Embroidery Supplies That Actually Work
I’ve learned to be picky about cheap embroidery supplies. I don’t want weak threads that break mid-stitch or needles that bend after a few uses. My method is simple: seek value that still performs reliably. I keep a short list of essentials I won’t skimp on—good embroidery floss, sturdy stabilizers, and sharp needles—and I compare prices and reviews to ensure the savings are real. The goal is to build a stash of Cheap Embroidery Supplies That Actually Work, not just cheap stuff that ruins projects. For practical starter ideas and budget-friendly options, see budget-friendly embroidery kits that are actually worth it.
I start with a tiny shopping list and a budget. Value shows up in trusted brands, not just the lowest price. I pay attention to material quality and brand history; if reviews flag inconsistency, I skip it. By focusing on proven performers at lower prices, I keep projects steady and costs low. It’s about balancing cost with reliability, not chasing the cheapest tag. The differences between floss types are explained in detail, so I can pick the right kind for each project.
When testing a new brand, I buy a basic color set or a small pack first. If it holds up, I buy more. I stock up during sales, but I don’t go overboard. My strategy blends a few high-value essentials with bargain finds that have strong feedback, so I’m not caught short on threads or stabilizers mid-project. This approach keeps embroidery affordable while delivering neat, durable results. The differences between embroidery floss, perle cotton, and wool thread can guide those choices.
Where I Find Cheap Embroidery Supplies That Actually Work
I seek value packs or economy bundles, but I read the fine print. I check thread count, material, and colorfastness. If a blend dulls a stitch, I pass. I also verify the seller’s return policy in case the product doesn’t match expectations. Trusted retailers with clear policies are my go-tos because buying cheap is fine, buying wrong is frustrating. Colorfastness details help, and the color choices can be guided by how to choose the right colors for shaded embroidery.
I watch seasonal sales and clearance shelves. You can find great deals in big stores or small shops with weekly specials. Online marketplaces often offer coupons, loyalty points, or bundles that stretch a little further. I don’t chase every discount, but I pounce when the price is truly low and the reviews are solid. That’s how I find Cheap Embroidery Supplies That Actually Work without wasting time or money. I also rely on tips from How I Save with Embroidery Accessories on Sale to maximize savings.
How I Compare Prices and Reviews
I compare prices across trusted sources and note the lowest available offer, then check for consistency in reviews. One or two glowing comments aren’t enough; I look for patterns like fraying threads, shrinking stabilizers, or dull needles. If many mentions point to quality issues, I skip it. Savings should come from the product performing its job, not from frequent replacements. For a deeper understanding of floss types, see The difference between embroidery floss, perle cotton, and wool thread, and consider how colorfast options affect wearables with How to choose the right colors for shaded embroidery.
I test the deal’s math too. A lower price on a tiny pack isn’t helpful if I burn through it quickly. I calculate how many projects I can complete with a bundle and compare to typical needs. A larger pack that saves per-use without sacrificing performance earns a spot in my cart. Cheap Embroidery Supplies That Actually Work should reduce replacements and improve finishes, not create extra work. Bundles and bulk purchases are explored in Affordable Bordado Materials and Discount Embroidery Kits, which helps me decide when a kit is the smarter buy.
Local Stores and Online Marketplaces
Local stores can surprise me with bargains on end caps or discontinued lines. A knowledgeable clerk can save time with practical tips. I’ll grab a starter bundle in person if the price beats online options and I can inspect texture and color in daylight. It feels safer to buy fabric and stabilizer face-to-face when trying a new brand.
Online marketplaces offer a broad mix of price and selection, but I’m wary of fake reviews and misleading listings. I double-check seller ratings and shipping times. I also watch for bulk listings that turn a small purchase into big savings, as long as quality checks out. If I can confirm both price and performance, I grab it. That’s how I keep Cheap Embroidery Supplies That Actually Work in stock. I also consider pattern-transfer options to ensure accuracy; manuals and guides on transferring patterns can help, such as the 6 best methods to transfer embroidery patterns onto fabric.
My Picks for Budget Embroidery Threads
Good embroidery doesn’t have to break the bank. My budget thread picks offer decent color range, smooth stitching, and lasting results without sticker shock. I favor brands that are consistent, easy to replace, and clearly labeled for colorfastness. When penny-pinching, I still want a finish that looks intentional, not frayed or dull. For guidance on floss options and brands, see The difference between embroidery floss, perle cotton, and wool thread, and for color planning, How to choose the right colors for shaded embroidery.
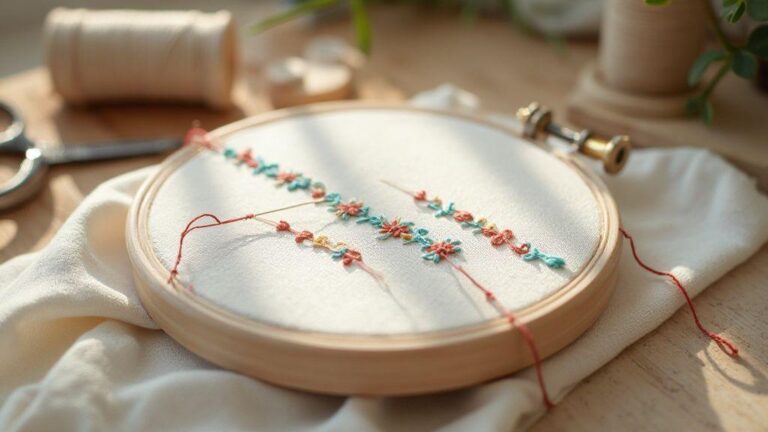
For everyday projects, I use a mix of cotton and polyester options. Cotton provides a classic matte look, while a sturdy polyester blend handles high-sheen finishes or heavy embroidery on bags and jackets. If a floss line feels scratchy or tangles easily, I swap to something smoother, even if it costs a bit more per skein. The rule: a thread that behaves well saves time and frustration.
If you’re new to budget embroidery supplies, start with color families you’ll use often. A basic set with skin tones, greens, and a few blues covers many projects. Test new inexpensive floss on a small sampler first, checking for fraying, shade variation, and how it handles satin stitches and backstitches. If it survives, it’s a win for budget-friendly embroidery. For more on floss options, explore The difference between embroidery floss, perle cotton, and wool thread.
What to Look for in Affordable High-Quality Embroidery Floss
Look for floss that glides through fabric with minimal fraying and lint shedding. A smooth finish helps achieve tight stitches without tugging. If the thread keeps shredding, it ruins the line and mood. Brands that dye evenly and resist fading after washing are valuable. Check how color looks as it’s wound on the skein; too much variation can look sloppy.
Consistency across skeins matters. I’ve had projects ruined by mismatched skeins. I prefer lines that label color numbers clearly and offer reliable batch matches. Packaging that protects floss from moisture and dust helps prevent tangles or stiffness. I want a thread that doesn’t split as I pull it, saving time on re-woops and keeping stitches neat.
When choosing, test shades side by side in daylight and indoor lighting. If a color shifts or muddies after washing, swap to another line. Cheap embroidery supplies that actually work will let you finish faster and love your results. For a broader view on floss textures, see The difference between embroidery floss, perle cotton, and wool thread.
Thread Fiber, Weight, and Colorfast Facts
I consider fiber, weight, and colorfastness. Cotton floss is common for budget threads, offering a traditional matte finish and good body for many stitches. For tight satin stitches, a medium weight that’s not too mushy or thin works best. Mercerized cotton adds a subtle sheen without a premium price.
Weight changes how stitches lay on fabric. A medium-weight floss suits most projects; very fine threads work for delicate details but can require more care. Ultra-thin options can pill or split otherwise. For colorfastness, look for threads that resist fading after washing and light exposure. If a skein isn’t labeled colorfast, test it on a small sample before using it on a final piece.
Colorfast ratings help plan wearable projects. If a shade shifts after washing, avoid using it on a main piece. Colors that stay true stitch after stitch are worth keeping. For color planning, How to choose the right colors for shaded embroidery can be a helpful companion.
Storage Tips to Keep Threads Neat
Store threads in a labeled box with dividers. Each skein gets a labeled pocket to prevent tangling. Clip the end under the label to prevent unraveling. For longer projects, spool leftovers onto small cards or bobbins and label with color numbers. This setup makes it easy to grab the shade you need.
Keep everything in a cool, dry place away from direct sunlight to prevent fading. When traveling with floss, a small zip bag with dividers keeps things tidy. Neat threads save time and keep your mood steady during big projects. For more on organizing, see How to organize your embroidery supplies like a pro.
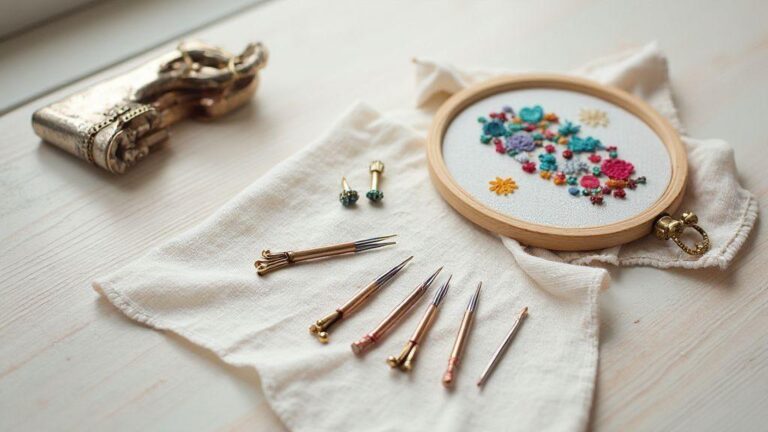
How I Choose Inexpensive Embroidery Needles
I start with how I actually use the needles. For garland-like stitches and simple outlines, cheap needles can work, but I look for a balance of strength and smoothness. I check the eye size and point shape, because snag-free entry saves time. The feel in my hand matters; if it’s slippery or gritty, it slows me down.
I compare affordable, reliable brands and read quick reviews from crafters with similar goals. If a needle breaks after a short session, it’s out. If it slides through fabric with minimal effort, it stays. I prefer pack sizes that let me test without wasting money.
Finally, I test the needle in real sewing with satin stitches and backstitches to gauge tension and rigidity. If it hangs up or sounds rough, it’s out. Good cheap needles save time and keep projects moving. For a clear guide on needle types, see embroidery needles explained which type should you use.
Best Needle Sizes for Bordado Projects
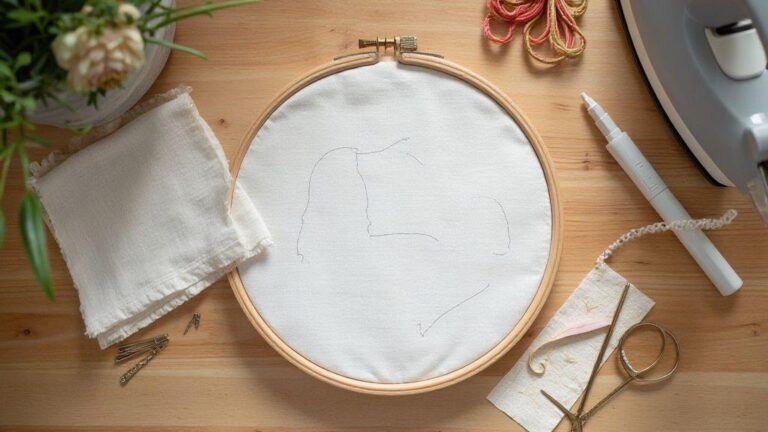
For most bordado projects on cotton or linen, start with a size 7–9 needle for regular thread and a size 1–2 for thinner floss. If using thicker wool or floss, lean toward size 5–7 to push the thread through without tearing fabric. For fine detailing, choose a narrow needle with a fine point; for big fills or satin stitches, a larger needle helps cover more area. Re-check the fabric after inserting the needle to avoid ragged holes. To ensure you’re using the right hoop for your fabric, consult How to choose the right embroidery hoop for your project.
Cost-Effective Stabilizers and Cheap Embroidery Hoops
You don’t need fancy gear to get good results. Budget stabilizers and hoops can perform well when chosen for the fabric and design. Start with stabilizers that do the job without breaking the bank. For lightweight fabrics like cotton or jersey, tear-away stabilizers are convenient and easy to remove after stitching. For woven fabrics, cut-away stabilizers offer durability and control.
Pair stabilizer thickness with fabric weight; too thick makes hooping hard, too thin can let the design poke through. Consider a small sampler pack to test stabilizers with your favorite fabrics. For starter options and guidance, The Complete Beginner’s Shopping List for Hand Embroidery offers a solid checklist of essentials.
When to Use Cost-Effective Stabilizers
For light fabrics, tear-away stabilizers leave no residue and wash away easily. For delicate knits, a light wash-away stabilizer helps avoid stiff patches. For dense stitching on sturdy fabrics, a cut-away stabilizer keeps the fabric intact after removal. Layer stabilizers as needed, especially on cuffs or collars with high stitch density. Test a small patch to see how stabilizers behave with your machine.
Choosing the right stabilizer by fabric helps prevent distortion. On woven fabrics like linen or twill, cut-away stabilizers are a good default. If unsure, start lighter and add more as needed. A proper stabilizer saves time and reduces post-stitch touch-ups. For more on beginner-friendly kit options, see The complete beginner’s shopping list for hand embroidery.
Choosing the Right Cheap Embroidery Hoops by Fabric
Cotton and linen respond well to medium-tension hoops with smooth inner surfaces. For jerseys or knits, use slightly looser tension and a hoop with more give. Denim or canvas benefits from sturdier hoops that clamp firmly without bowing. If a hoop starts to bend, replace it to avoid misalignment.
Test two or three hoop sizes on scraps to gauge distortion and stabilization needs. A thin layer of stabilizer between fabric and hoop helps with slippery fabrics like satin or chiffon. Beginners can start with a basic reliable hoop set and expand with experience. Cheap Embroidery Supplies That Actually Work are out there—try a few options and see what sticks. For starter guidance, check The Complete Beginner’s Shopping List for Hand Embroidery.
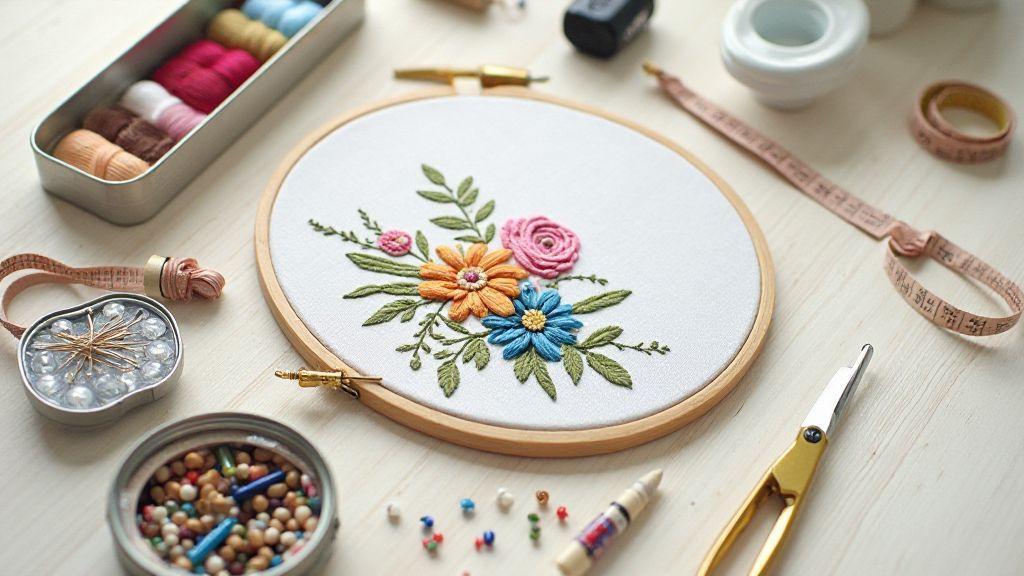
Affordable Bordado Materials and Discount Embroidery Kits
I’m always on the hunt for affordable bordado materials that don’t skimp on quality. Discount embroidery kits should offer clear instructions, enough thread variety, and sturdy hoops that won’t bend. A good kit balances price with the chance to finish a project. Starter colors that mix with existing threads and simple patterns help practice stitches without overwhelm. Keep a notebook to track which colors you liked for smarter future buys.
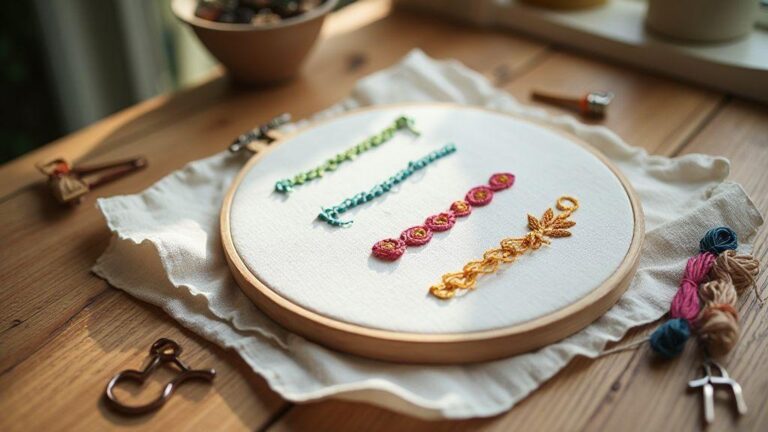
Evaluate kits by stitching a quick sampler on scrap fabric to gauge thread strength and needle smoothness. If the fabric is rough or thread frays easily, it’s a sign you’ll waste time later. When a kit balances reasonable price with decent fabric, sturdy hoop, and clear diagrams, bookmark it for regular buys. The goal is steady practice and consistent results, not big splurges.
Bundled sets with threads, needles, and grips help you stay organized. Seek versatile color options—earth tones plus a pop color—that you can reuse across projects. Shipping costs matter, so compare total cost after shipping to ensure real savings. It’s all about getting value for a fair price without sacrificing joy. For budget-friendly bundles, see 7 budget-friendly embroidery kits that are actually worth it.
What a Good Discount Embroidery Kit Includes
A good discount kit should have clear, easy-to-follow instructions and a basic color selection that mixes well. A sturdy hoop with a screw tightening mechanism helps keep fabric flat. A few needle sizes for various fabrics saves time hunting for tools. A simple project or practice patterns keeps motivation high.
Beyond basics, look for a stitch guide or notebook with diagrams. Photos showing key stitches help you spend less time guessing and more time stitching. A range of thread colors and a couple of metallic or specialty threads can elevate a simple design without a steep price. If a kit includes reusable packaging or a small organizer, it helps keep your workspace tidy.
Durable tools matter too. Avoid flimsy needles or a bent hoop, and choose a kit with smooth, strong needles and a hoop that holds fabric flat without leaving marks. Honest sizing and material details help you buy with confidence for the long haul. For further guidance on affordable kits, explore 7 budget-friendly embroidery kits that are actually worth it.
How I Save with Embroidery Accessories on Sale
I save by tracking sale cycles and stocking basics like needles, hoops, and neutral threads ahead of time. Bundles are often cheaper than singles, and I compare unit prices to ensure real savings. For thread, I favor smaller, color-coordinated lots over giant skeins I won’t use. On sale, I choose colors I actually use and avoid extras. Reusing good-quality old threads helps stretch the budget further. If free shipping is offered after a minimum purchase, I combine items to hit the threshold.
I keep a small inventory list: what I have, what I’ll need, and what I’ll use soon. This prevents duplicates and maximizes sales value. When shopping discounts, quality remains key—cheap doesn’t mean junky. Durable hoops, smooth needles, and fray-free thread are non-negotiables for Cheap Embroidery Supplies That Actually Work. For broader savings strategies, see How I Save with Embroidery Accessories on Sale.
Time-Saving Embroidery Tools I Rely On
The right tools save hours, not minutes. Start with a lightweight hoop that grips without pinching, a self-healing mat for quick trimming, and sharp scissors for threads. A magnetic needle threader, a compact box of universal needles, and a small bag of extra bobbins with different thread colors help maintain momentum.
A fabric pen or erasable marker that wipes away cleanly lets you plan stitches without flow disruption. A small seam ripper should be within reach. These tools keep you in the groove when the stitching heat is on. For pattern tracing ideas, see the lightbox method tracing patterns onto fabric like a pro.
Time-Saving Embroidery Tools for Prepping and Stitching
For prepping, use a stiff hoop to keep fabric flat, a spray bottle to dampen interfacing or stabilizer, and a transparent ruler for precise placement.
During stitching, a thread stand helps prevent tangles, a quick-set thimble protects your finger, and a lint-free wipe cleans oils from fingers so thread doesn’t drag.
A clip-on LED lamp improves visibility in low light, and an erasable chalk pencil marks placement that washes away later, preventing lasting marks.
Simple Maintenance to Keep Supplies Working Longer
Simple upkeep extends tool life. Wipe scissors clean and dry after use. Oil machine parts regularly to keep stitches even and quiet. A small bag of desiccant helps prevent moisture damage in humid months.
Rotate bobbins and needles to avoid dull edges. Wipe needles after finishing and store in a protective case. Store stabilizers flat to prevent bending and crinkling. Check thread paths and tension on the machine; if a snag occurs, fix the route and test on a scrap before continuing. A tidy workspace prevents small issues from becoming big delays.
Quick Cleaning and Care Rules
- Wipe blades and scissors after use, dry them, and store closed to avoid rust.
- Keep needles in a dedicated case and change them regularly; dull needles slow you down.
- Store threads in a cool, dry place; color-coding helps prevent wrong shade pulls.
- Clean fabric dust and lint from your hoop and machine plate weekly to avoid build-up. For more on keeping your supplies organized, see How to organize your embroidery supplies like a pro.

I’m Sophie Caldwell, the author behind granaboom.com, and I believe hand embroidery is one of the simplest, most relaxing ways to create something beautiful with your own hands. I started this blog to help beginners learn hand embroidery without feeling overwhelmed by complicated instructions or “perfect” results.
Here you’ll find beginner-friendly guides to decorative embroidery stitches, along with clear step-by-step practice ideas and patterns you can use to build confidence. My focus is on making the learning process easy: simple explanations, helpful stitch combinations, and small projects that look polished even when you’re just starting out.
Welcome to granaboom.com—grab your hoop, choose a few colors, and let’s stitch one line at a time.