Chain Stitch Tutorial With Real Examples Step-by-Step Bordado Embroidery Projects Tips and Techniques to Master Quickly
Chain Stitch Tutorial With Real Examples for Beginners
This chain stitch Tutorial With Real Examples for beginners starts from the basics and shares real-life techniques I actually use when stitching. A chain stitch is simple, forgiving, and great for outlines or filling shapes. I’ve learned it by practicing on scrap fabric, then moving to small projects like simple napkins or a tote bag. If you need a quick win, this method gets you there fast, with a stitch that looks neat and holds up over time. As you practice, you’ll notice the tension and rhythm click into place, and your embroidery will feel like second nature.
The core idea is that one loop connects to the next, forming a chain of stitches that looks like a continuous line. I keep the needle moving smoothly, not yanking it or pulling too tight. That helps the chain lay flat and prevents puckering. With a little patience, you’ll see steady hand control and clean stitches even on fabric with a tight weave. Let’s get into step-by-step steps so you can try this right away.
When a chain stitch comes together, it’s satisfying because it’s simple and versatile. Use it for outlines, edges, or filling shapes with a bit of texture. It’s forgiving if your tension isn’t perfect at first. The key is practice: start with a straight line, a small shape, then move to more complex designs. Now I’ll break down the steps and tips so you can master this technique.
chain stitch tutorial step by step
I start by threading my needle and bringing the thread to the fabric’s top surface. I anchor with a small knot or a tiny backstitch to keep the thread from slipping. The first stitch goes from back to front, a short distance. I go back into the fabric a short distance ahead and pull through, creating a loop that sits toward the back. Each subsequent stitch anchors into the previous loop, forming that familiar chain. I aim for even spacing so the chain lines up nicely. If I pull too tight, the fabric will pucker; too loose and the chain looks floppy. Practice on a scrap before you commit to your project.
A good trick I use is to keep my finger along the line I want to follow, guiding the needle with a light touch. When I pull through, I don’t yank—just smooth, even tension. If you want a longer chain, extend the stitch length a bit and let the loops connect. If you need a corner, pause the chain just before the bend, then continue in the new direction, keeping the loop path consistent. Marking the starting point and endpoint with light pencil marks helps you stay on track. With time, you’ll feel the rhythm and won’t need to think about each loop.
To finish, I bring the needle to the back, make a tiny securing stitch, and tie off the thread. I trim the end close to the fabric so there’s no bulk. If I’m stitching on delicate material, I reduce stitch length and use shorter loops to avoid snagging. Chain stitches can be used for borders or strong outlines, and I often test a few samples to decide how dense I want the chain. This approach keeps projects neat and predictable.
chain stitch embroidery for beginners
For beginners, I recommend starting with a simple outline. I pick a small shape or letter and map a clean path with light pencil marks. I thread my needle, anchor with a small knot, and begin the chain along the line. Keeping stitches evenly spaced helps the design read clearly. I sometimes practice by tracing a printed pattern onto fabric with transfer paper so the path stays clear as I work—especially helpful on darker fabrics where markings would otherwise be invisible.
When I fill an area with chain stitches, I work in rows. The first row anchors the edge, then a second row offset from the first creates a brick-like texture—depth without overwhelming a beginner. If I want a run of color, I switch threads carefully at the edge, tying off the old color and starting anew for a smooth transition. The key is to keep tension steady and not pull the fabric in any direction. You want a clean, flat surface, not a crumpled one. With practice, you’ll create simple, charming embroidery you’re proud to wear or gift.
I also like experimenting with different thread weights. A thinner thread gives a delicate line, while a thicker thread creates a bold border. Start with a medium weight so you can see how it sits on the fabric without overpowering the design. If your fabric shows through, switch to a higher-contrast thread or use a backing fabric to reduce show-through. Small projects like hand towels or napkins are perfect for trying out these variations.
Tools and Thread Choices for Chain Stitch
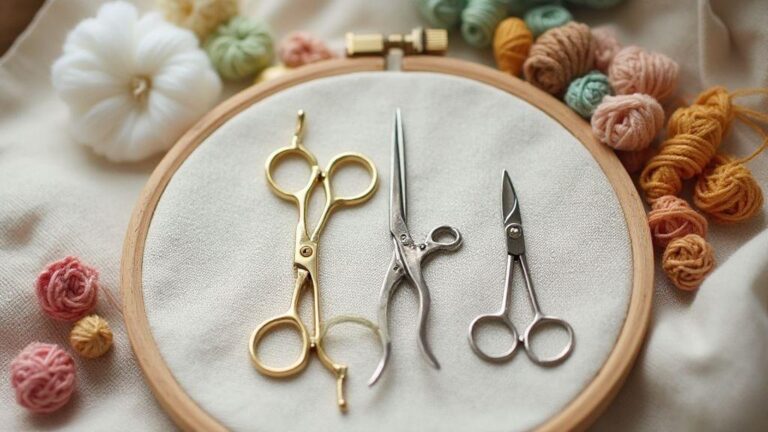
I’m nerdy about my tools because good materials keep embroidery clean and patience intact. I start with a small, sharp pair of scissors, a fabric pen for marking, and a lighted magnifier to see tiny stitches. A wooden hoop with a tight grip helps me keep even tension. I keep a mini thread snip on my wrist so I don’t chase loose ends. For threads, I mix cotton floss with a few specialty threads, like metallic or silk threads, kept separate to avoid tangling. Simple tools that work consistently save time and give me confidence to try new patterns. I keep a small tray of colors I reach for often, and I batch-clip the ends so I’m not fiddling while I stitch.
When I plan a project, I map out the color palette first, then pick threads that match the mood. I prefer cotton for its matte finish and strong feel, which keeps chain stitches tidy. For texture, I add one or two metallic or silk threads, kept separate to avoid tangling. A good needle matters more than you’d think: sharp needles for clean holes, size 7 or 9 for most mid-weight cottons. I stitch in layers so the final piece lies flat. In short, my toolbox is small, reliable, and organized to keep me focused on the threadwork itself.
I set up a simple workflow: spare needles ready, floss wound onto bobbins, hoop cleaned between sessions. I label favorite color pairs for quick grabs. My approach to thread choices is practical—value, smoothness, and colorfastness matter as much as look. If I’m teaching, I emphasize starting with a basic palette and adding accents later. Chain stitches, backstitches, and satin stitches all benefit from consistent tension, so I practice on scrap before a real project. My setup isn’t fancy, but it’s predictable and keeps me moving.
Needles, Threads, and Hoop Basics
Needle choice is a quiet game-changer. I use a sharp needle for clean holes and a bigger eye for floss so threads don’t fray. I keep a few spare needles in the pouch. For threads, cotton floss is my go-to, but I also keep simple, single-filament threads for tighter chain stitches. I avoid multi-strand floss when I want a tight, even line; I split strands to keep the stitch neat. The hoop should grip firmly without tearing the fabric; a loose hoop means wobbly stitches and a crooked pattern.
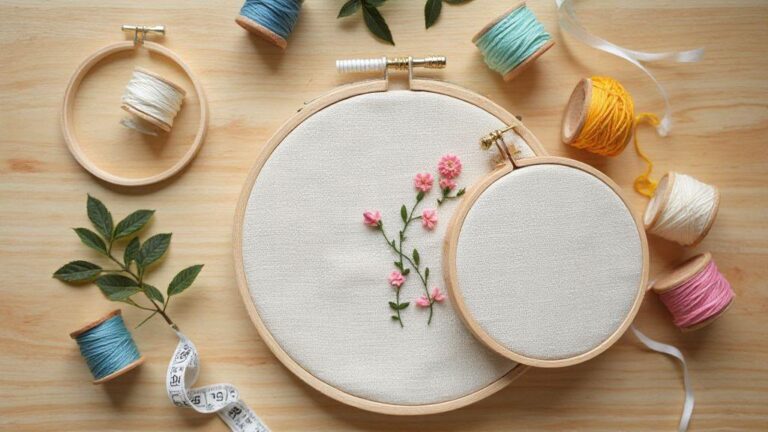
The hoop’s pressure matters. If the fabric buckles, I loosen the screw slightly to let the fabric breathe, then retighten. For chain work, I often use a smaller hoop to keep the area tight and easy to control. I rotate the hoop as I stitch to keep the fabric flat and avoid crowding the same area. Tubular or woven fabrics need a different approach; I switch to a bigger hoop and adjust tension to avoid puckering. The basics stay the same: clean holes, smooth thread, and a steady grip that doesn’t tire my hands.
When I start a piece, I thread a single strand for a light chain and two strands for a bolder line, depending on the fabric’s weight. I test stitch a tiny line on scrap first to check tension and adjust if needed. Consistency is the secret—good color aside, patchy chain mistimes tension. I use a fabric marker to outline stitches so I don’t wander from the plan. Small rituals keep work precise and enjoyable.
Fabric Selection for Chain Stitch Patterns and Real Examples
Cotton fabrics with a tight weave are my first pick for chain stitches because they hold the stitch neatly without snagging. I avoid fabrics that are too loose or stretch easily, as the chain can distort quickly. For lighter projects, I use cotton drill or percale for clean lines. For richer texture, linen or a cotton-linen blend works well; the chain stitches sit nicely while the fabric breathes. If I want a bold effect, I choose a thicker, smooth fabric like twill, which shows the chain stitch well without looking bulky. I keep scrap swatches on hand to compare how each fabric handles the stitch.
Consider the project’s end use: garments should resist fraying and hold shape after washing; home decor calls for sturdier fabrics. If I’m showing online, I pair a simple chain stitch pattern with plain weave to highlight the stitch, then add a decorative example on textured cloth to show versatility. My goal is to keep fabrics predictable so the chain stitch stays the star. I test a short chain on each fabric before starting the main pattern to see how it drapes and how the color reads. Real Examples show how fabric behavior influences tension and movement.
Examples I like include a small leaf motif on cotton poplin, a geometric chain on linen for a rustic look, and a chained border on sturdy denim. Each fabric teaches something about tension and how the stitch behaves with movement. If unsure, I lean toward mid-weight cotton or linen blends for forgiving results. The key is keeping the fabric flat in the hoop and choosing a thread color that contrasts enough to be visible but still harmonious with the fabric’s tone. Chain Stitch Tutorial With Real Examples often helps me explain these choices clearly to friends or students.
Preparation Tips
Prep work sets the stage for smooth stitching. I wash and iron fabrics to remove sizing and reduce puckering, then trim frayed edges. I pin the fabric taut in the hoop and test stitch on a scrap to confirm tension before the actual piece. If I notice misalignment, I redraw guide lines with a fabric pen and re-stretch. A small damp cloth keeps the hoop clean and stitches neat. A clean workspace helps me stay focused and reduces mistakes.
I pre-cut extra thread lengths and wind them onto bobbins, and I set a color order—lightest to darkest—so I can grab threads quickly without changing the plan mid-stitch. For chain stitches, I orient the fabric to keep direction clear and avoid abrupt turns. Finally, I label the work with the project name and date to track progress for future tutorials or references.
Chain Stitch Variations and Progression
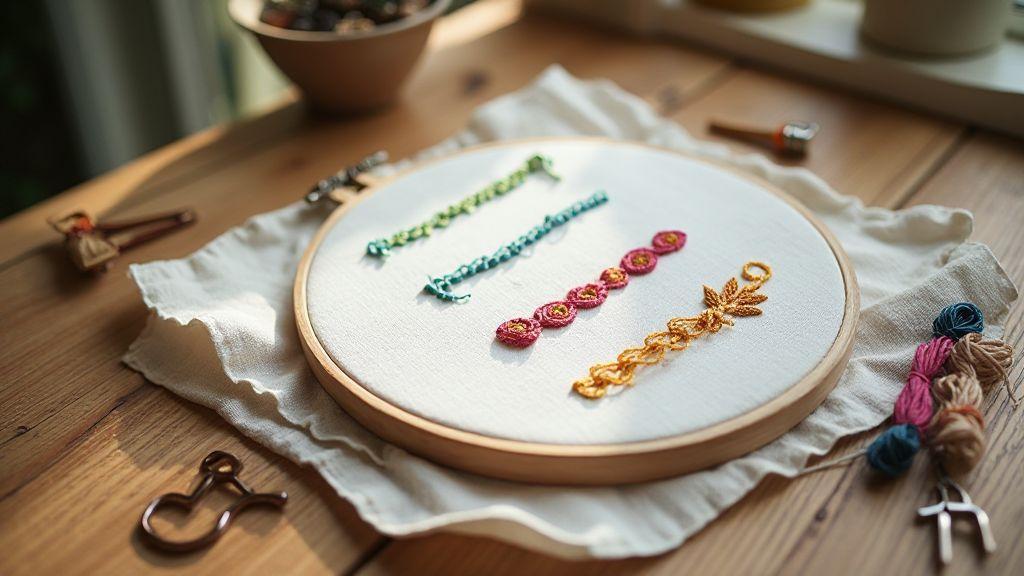
I love how the chain stitch opens up texture without getting too fussy. Starting simple and layering in variation keeps things approachable and lets the design grow with me. In this section I’ll walk you through moving from easy chain stitches to more advanced techniques with practical tips I actually use when embroidering. If you’re aiming for a natural, rope-like line or a bouncy decorative edge, this progression keeps things clear and doable.
First, I keep goals in mind: what should the stitch do for the design? A tight, uniform line works for outlines, while a looser chain creates a fluffy fill. I test on scrap fabric before committing, because nothing wastes time like stitching a whole motif only to realize I don’t like the texture. Mastering core grips and tension tricks lets me switch styles in minutes.
As we progress, I also consider fabric and thread. Smooth cotton works well for tight chain work, while linen or felt responds differently to needle pressure. My advice is to match thread weight to the fabric’s openness, and don’t rush the setup. The chain stitch isn’t a race; it’s a rhythm you tune until it sings.
chain stitch beginner to advanced
Starting as a beginner, I learn a steady, consistent loop, aiming for uniformity. I focus on the height of each stitch, keeping it short and close to the fabric so the line sits neatly. My hands learn the feel of the stitch, and I begin to see how slight tweaks in pull tighten or loosen the loop. This stage builds confidence and a clean edge for outlines or simple fills.
As I gain practice, I add a tiny twist: I vary the spacing to create subtle texture. Keeping the chain tight gives a crisp look; widening it makes a softer, rope-like line. I also start combining chain stitches with simple backstitch or satin work to see how they interact. This exploration teaches placement and rhythm, not just technique.
Moving toward advanced, I start using longer chains and stacked rows for fuller fills. I’ll chain in different directions to avoid a flat look, creating a woven or scalloped feel. I experiment with thread types—polyester for durability, cotton for a softer drape—to see how the chain behaves. The key is consistency plus deliberate variation to keep the piece lively rather than repetitive.
Chain Stitch Step by Step: Paso a Paso
Paso a paso, I break it down so I can keep my place. First, I anchor my thread with a small knot or securing backstitch. Then I bring the needle up at the starting point, pull through until I have a short loop on the surface, and pass the needle through this loop to form the chain. I repeat, letting the loop length guide the stitch height. I avoid pulling too tight, or the chain will curl or pucker.
Next, I adjust chain length by controlling how far I pull the needle through. Short chains give me a neat line; longer chains create a bolder, rope-like texture. I test as I go, ensuring stitches stay aligned and the line doesn’t drift. If I notice wobble, I slow down, re-check my grip, and restart from a nearby anchor.
Finally, I finish with a tiny backstitch to secure the chain. If filling, I start a second row offset from the first to avoid a dotted look. This step-by-step approach keeps me focused and makes the process enjoyable as the result.
Choose the Right Stitch
Choosing the right chain stitch depends on the goal: tight outlines, soft fills, or decorative edges. For a clean edge, use short, even chains with steady tension. For texture, lengthen the chain slightly and vary spacing. For bold effects, try longer chains and double rows. Test small samples to compare variations on the fabric; this choice shapes the mood of the whole piece.
Real Examples Chain Stitch Embroidery Projects I Love
I stitch because I love the rhythm of chain stitch and the little surprises it makes on fabric. Real examples show how simple stitches can become bold art with thoughtful choices. I pull from projects I’ve finished and those I’ve watched others finish—each one demonstrates how chain stitch can shine with the right fabric, thread, and design. I keep returning to projects that feel doable yet look like they took longer, which is my sweet spot. Real examples prove that chain stitch isn’t just a technique; it’s a canvas for personal style.
When starting a new chain stitch project, I look for patterns that stay relaxed and forgiving. Real examples teach me to pick motifs that work with the looped nature: organic shapes, letters, and small borders that let the chain line breathe. I’ve learned to pair lighter fabrics with slightly bouncier threads and to let stitch length be a touch irregular for charm. The best results often come from stitching by eye, so the piece feels alive.
If you’re curious how a finished piece looks, I compare it to simple home items: a pillow cover, a tote bag, or a wall hoop. Everyday surfaces show how chain stitch can elevate the ordinary. The best projects are practical: easy to finish, quick to display, and satisfying to touch. I keep collecting real examples so I can imitate the parts I love and adapt them to my own room or wardrobe. The bottom line: Chain Stitch Tutorial With Real Examples shines when it’s worn, used, and seen in real life.
Floral and Lettering Real Examples Chain Stitch Embroidery
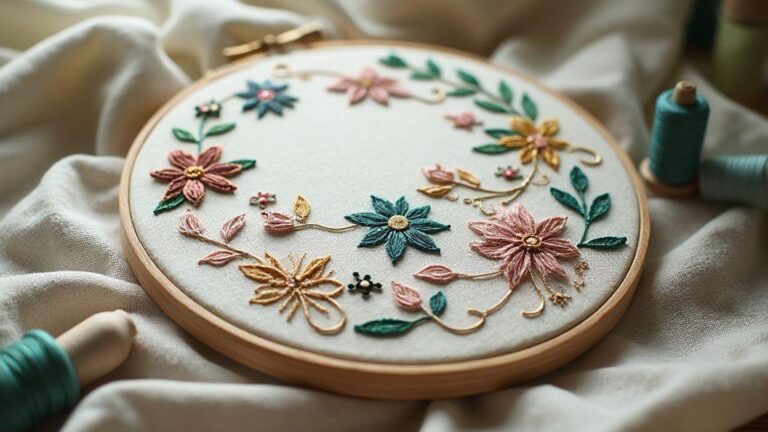
I love mixing floral motifs with lettering because the chain stitch flows naturally around curves and lines. In floral pieces, I start with a soft outline and fill with short, even chain stitches for delicate petals. Lettering tends to be bold, with slightly longer chains that read clearly from a distance. Real examples show me anchoring letters with small stems or leaves so the words don’t feel separated from the flowers. I test thread colors on scrap fabric first—the right contrast makes the whole piece pop without shouting.
For a floral-and-letter piece, I pick a light background and a mid-to-dark thread for the main design. The chain stitches form a friendly rhythm as I move around the fabric, like a dance I know by heart. I use split-shank or couching techniques for outlines to keep the piece neat, especially on slightly puckered fabric. Real examples remind me to keep lettering legible—avoid overly fancy scripts in small sizes, and give each letter breathing room so the chain texture doesn’t blur them together.
To finish, I back the fabric lightly, trim threads cleanly, and press from the back with a light touch. The result is a cheerful piece that looks hand-made yet polished. Real examples show how a tiny border or a few accent leaves can tie the floral and text together, making the design cohesive. For a quick start, pick a short quote you love and a simple flower, then build outward with the chain stitch while keeping lines smooth and confident.
Hand Embroidery Chain Stitch Projects for Home
I often make small hand embroidery chain stitch pieces for home because they’re easy to rotate with decor seasons. My go-to pieces are simple hoops, little wall hangings, or a top edge on a linen napkin. Chain stitch gives a friendly, tactile look that suits casual spaces. Real examples show me to choose fabrics with a soft hand and a bit of weight so stitches sit nicely and don’t curl. I keep colors calm but add one bright note to keep the eye moving across the piece.
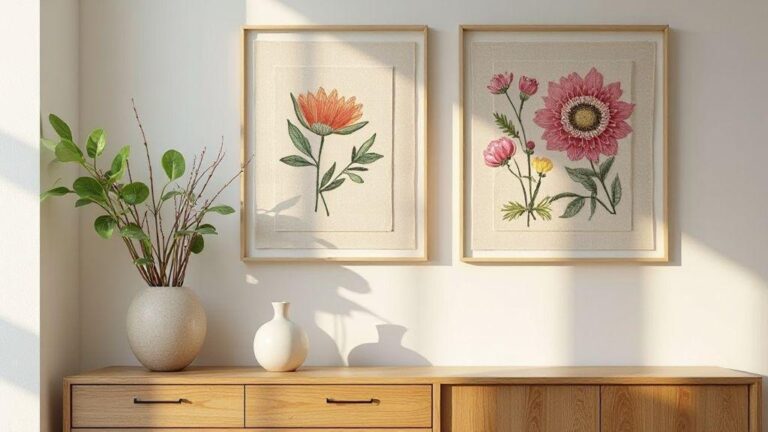
When designing a home piece, I lean into practical shapes: a heart outline on a napkin border, a tiny pattern along a pillow edge, or a linear row of chain stitches that becomes a border. Real examples teach me to keep density even but leave room for breathability; this keeps the piece from looking stiff. I finish with a simple frame or fabric-wrapped hoop so it’s ready to hang or prop on a shelf. The goal is a warm, lived-in feel you can enjoy daily.
For care, I use colorfast threads and seal edges gently so the piece lasts. Real examples show how a well-sewn home piece becomes a small daily joy. If a piece feels too busy, I simplify it—fewer motifs, bigger spaces—so the chain stitches shine without crowding the fabric.
Project Sizing Guide
I size projects by considering where they’ll live and how often they’ll be seen. For wall hoops, I start with 4 to 6 inches for a simple floral or word design. For gallery-like pieces, I go 8 to 12 inches with lighter detailing. For pillow accents, I aim for 3 to 6 inches per side, so the embroidery reads as part of the pillow. On napkins and towels, I keep motifs under 4 inches to prevent weight and easy washing.
I always test stitch density on scrap fabric of the same type and weight. Real examples help me see how chain progress looks at different sizes. If a design feels tight, I scale down a bit; if loose, scale up slightly. The right size keeps the chain stitches clear and the piece comfortable to handle, wash, and display.
Learn Chain Stitch Quickly with Focused Practice
I’ll share a simple path to getting chain stitch right fast. I’ve practiced enough to know what helps when thread won’t behave or the stitch looks wonky. The key is steady, short practice sessions that focus on control and consistency, not speed. I start with feeling the needle pass through fabric and how the thread lies after each stitch. I notice when the loop forms too loose or too tight, and I adjust hand position or fabric grip accordingly. With repetition, the motion becomes automatic, and the stitch stays neat without bunching.
My first goal is to understand the rhythm of the chain stitch. I break it into two parts: the pull and the loop. I practice the pull until the thread lies flat, then practice the loop until it sits neatly under the needle. When I have a smooth pull and a decent loop, I add a second stitch to see how the chain holds. If the loop flares or the line wobbles, I slow down and reset, because speed without control disrupts the result.
If you want to improve, use small, specific drills. Line up a row of stitches on scrap fabric and pay attention to stitch length. If a stitch is too long or too short, reset and redo the last few stitches to maintain a consistent line. Test different fabrics and threads to learn how tension changes with each material. Tracking what works helps you adjust next time, and progress feels real.
learn chain stitch quickly
I start with a light hand and a medium needle. The motion is mostly wrist with a little finger guidance, not brute force. I practice making a loose loop that creates a chain link on the surface, then tighten the loop just enough to anchor without puckering. I repeat to feel the difference between too loose and just right. After several consistent stitches, I extend to a short row to see how the line looks along a fabric edge.
Next, I stitch along a line at the fabric edge. I focus on keeping loop spacing uniform. If a loop grows too big, I stop, loosen, and redo that stretch. Repetition helps me sense when I’m close to a perfect chain, and when I’m veering off. I finish with a small test piece evaluating tension, alignment, and how stitches sit on the surface texture.
Master Chain Stitch Fast Guide
I keep a practical, not theoretical, fast guide. First, secure the fabric so it won’t shift. Then pass the needle through, pull to form a small loop, and pull again to tighten. Repeat to create the chain. Keep each stitch the same depth and length, with loops snug inside the previous loop. If the chain skews, realign with a gentle adjustment and resume.
I also use markers on scrap fabric to track stitch length. Measure a few stitches, then keep the same count for the rest of the line. This helps me stay consistent under a time target, which motivates improvement while staying precise. When I can do a tidy row, I add small variations like starting from a corner or turning corners to test control.
Speed and Control Drills
I do short, focused speed drills to train speed and control. I set a timer for 2 minutes and aim for a steady rhythm rather than speed. The goal is even tension and consistent loop size while moving along a straight line. If speed causes stitches to loosen or tighten unexpectedly, I slow down, reset my grip, and recheck fabric tension. These drills help me keep a clean chain even as I push for better timing. I finish with a quick row review to confirm consistency of stitch length and loop shape.
Finishing, Care, and Chain Stitch Tips and Techniques
I’ll walk through finishing properly so your embroidery looks neat and lasts. Finishing starts as soon as you tie off the last thread. I pull the final stitch snug but not so tight that the fabric distorts, then trim close to the knot. If I’m using a hoop, I’ll gently press the fabric to set the stitches before securing. For a clean edge, I weave the tail into the back in small, tight loops so nothing sticks out. I avoid pulling too hard on the threads, which can warp the stitch pattern.
Care is simple but important. I wash by hand in cool water with a gentle soap, then lay flat to dry to keep stitches from distorting. If the piece is small, I roll it in a towel to remove excess moisture before laying flat. For storage, I keep embroidery in a breathable bag or box, away from direct sunlight. I label pieces with the stitch type and fabric so I remember what I did later. If I notice fraying, I reinforce by weaving a few extra stitches in hidden areas.
When it comes to chain work, I treat finishing like the rest of the stitching. I maintain a tight but flexible tension so the chain doesn’t loosen over time. I test a tiny area to see if the thread color bleeds, and I avoid over-wrapping the core thread, which can make the chain bulky. If I spot a snag, I fix it carefully and restitch that segment rather than pulling threads through the entire piece. This care ensures smooth, even chains that stay bold.
how to secure the last stitch and knots
I secure the last stitch by making a tiny backstitch or knot behind the work and then weaving the tail under several stitches before trimming. I avoid leaving long tails that can catch on fabric or be pulled out. If I’m working on dense fabric, I’ll use a small, tight knot and then hide the tail with a few extra stitches. I always check the back of the design to ensure there are no loose loops that could snag later.
I use a quick lock method for knots: after the final pass, bring the thread to the back, loop once, go forward a stitch, then loop again and pull tight. This creates a secure stop so the last stitch won’t unwind. If I’m worried about wear, I choose a slightly thicker thread for the final knot. It gives a sturdier hold without looking bulky on the front. This approach works well for chains and other dense stitches too.
Chain Stitch Tips and Techniques
For chain stitches, consistent length matters. I work with a consistent pull and catch to create uniform links. If a link seems short or long, I pull lightly to adjust that link, not the entire chain. I practice on scrap fabric to keep the motion smooth, since a small stumble shows up across the piece. When I need a thicker chain, I use two threads together and wrap evenly. If the fabric weave hides the chain, I test a few stitches to see how visible the chain remains and adjust tension accordingly.
For a clean edge, I start with a tiny anchor and then move into the chain, keeping the working thread on the correct side of the needle. If a stitch snags, I stop, pull the thread through the next loop, and reinsert the needle carefully to maintain flow. I pause between rows to prevent over-tightening and keep the chain even. This approach makes chain stitch easy to learn and fun to master, especially with practice and real examples. For reference, this technique is part of Chain Stitch Tutorial With Real Examples.
Repair and Storage Tips
If a chain stitch breaks, don’t panic. Find the break, finish the row, and rejoin from the last good stitch with a fresh thread. If you have to rework a small section, cut a new length and weave in the tail afterward to keep the fabric clean. For storage, roll pieces gently, not folding them too tight, to avoid crease marks on the stitches. Store finished pieces in a breathable container with tissue to prevent moisture buildup, and avoid plastic bags that trap humidity.
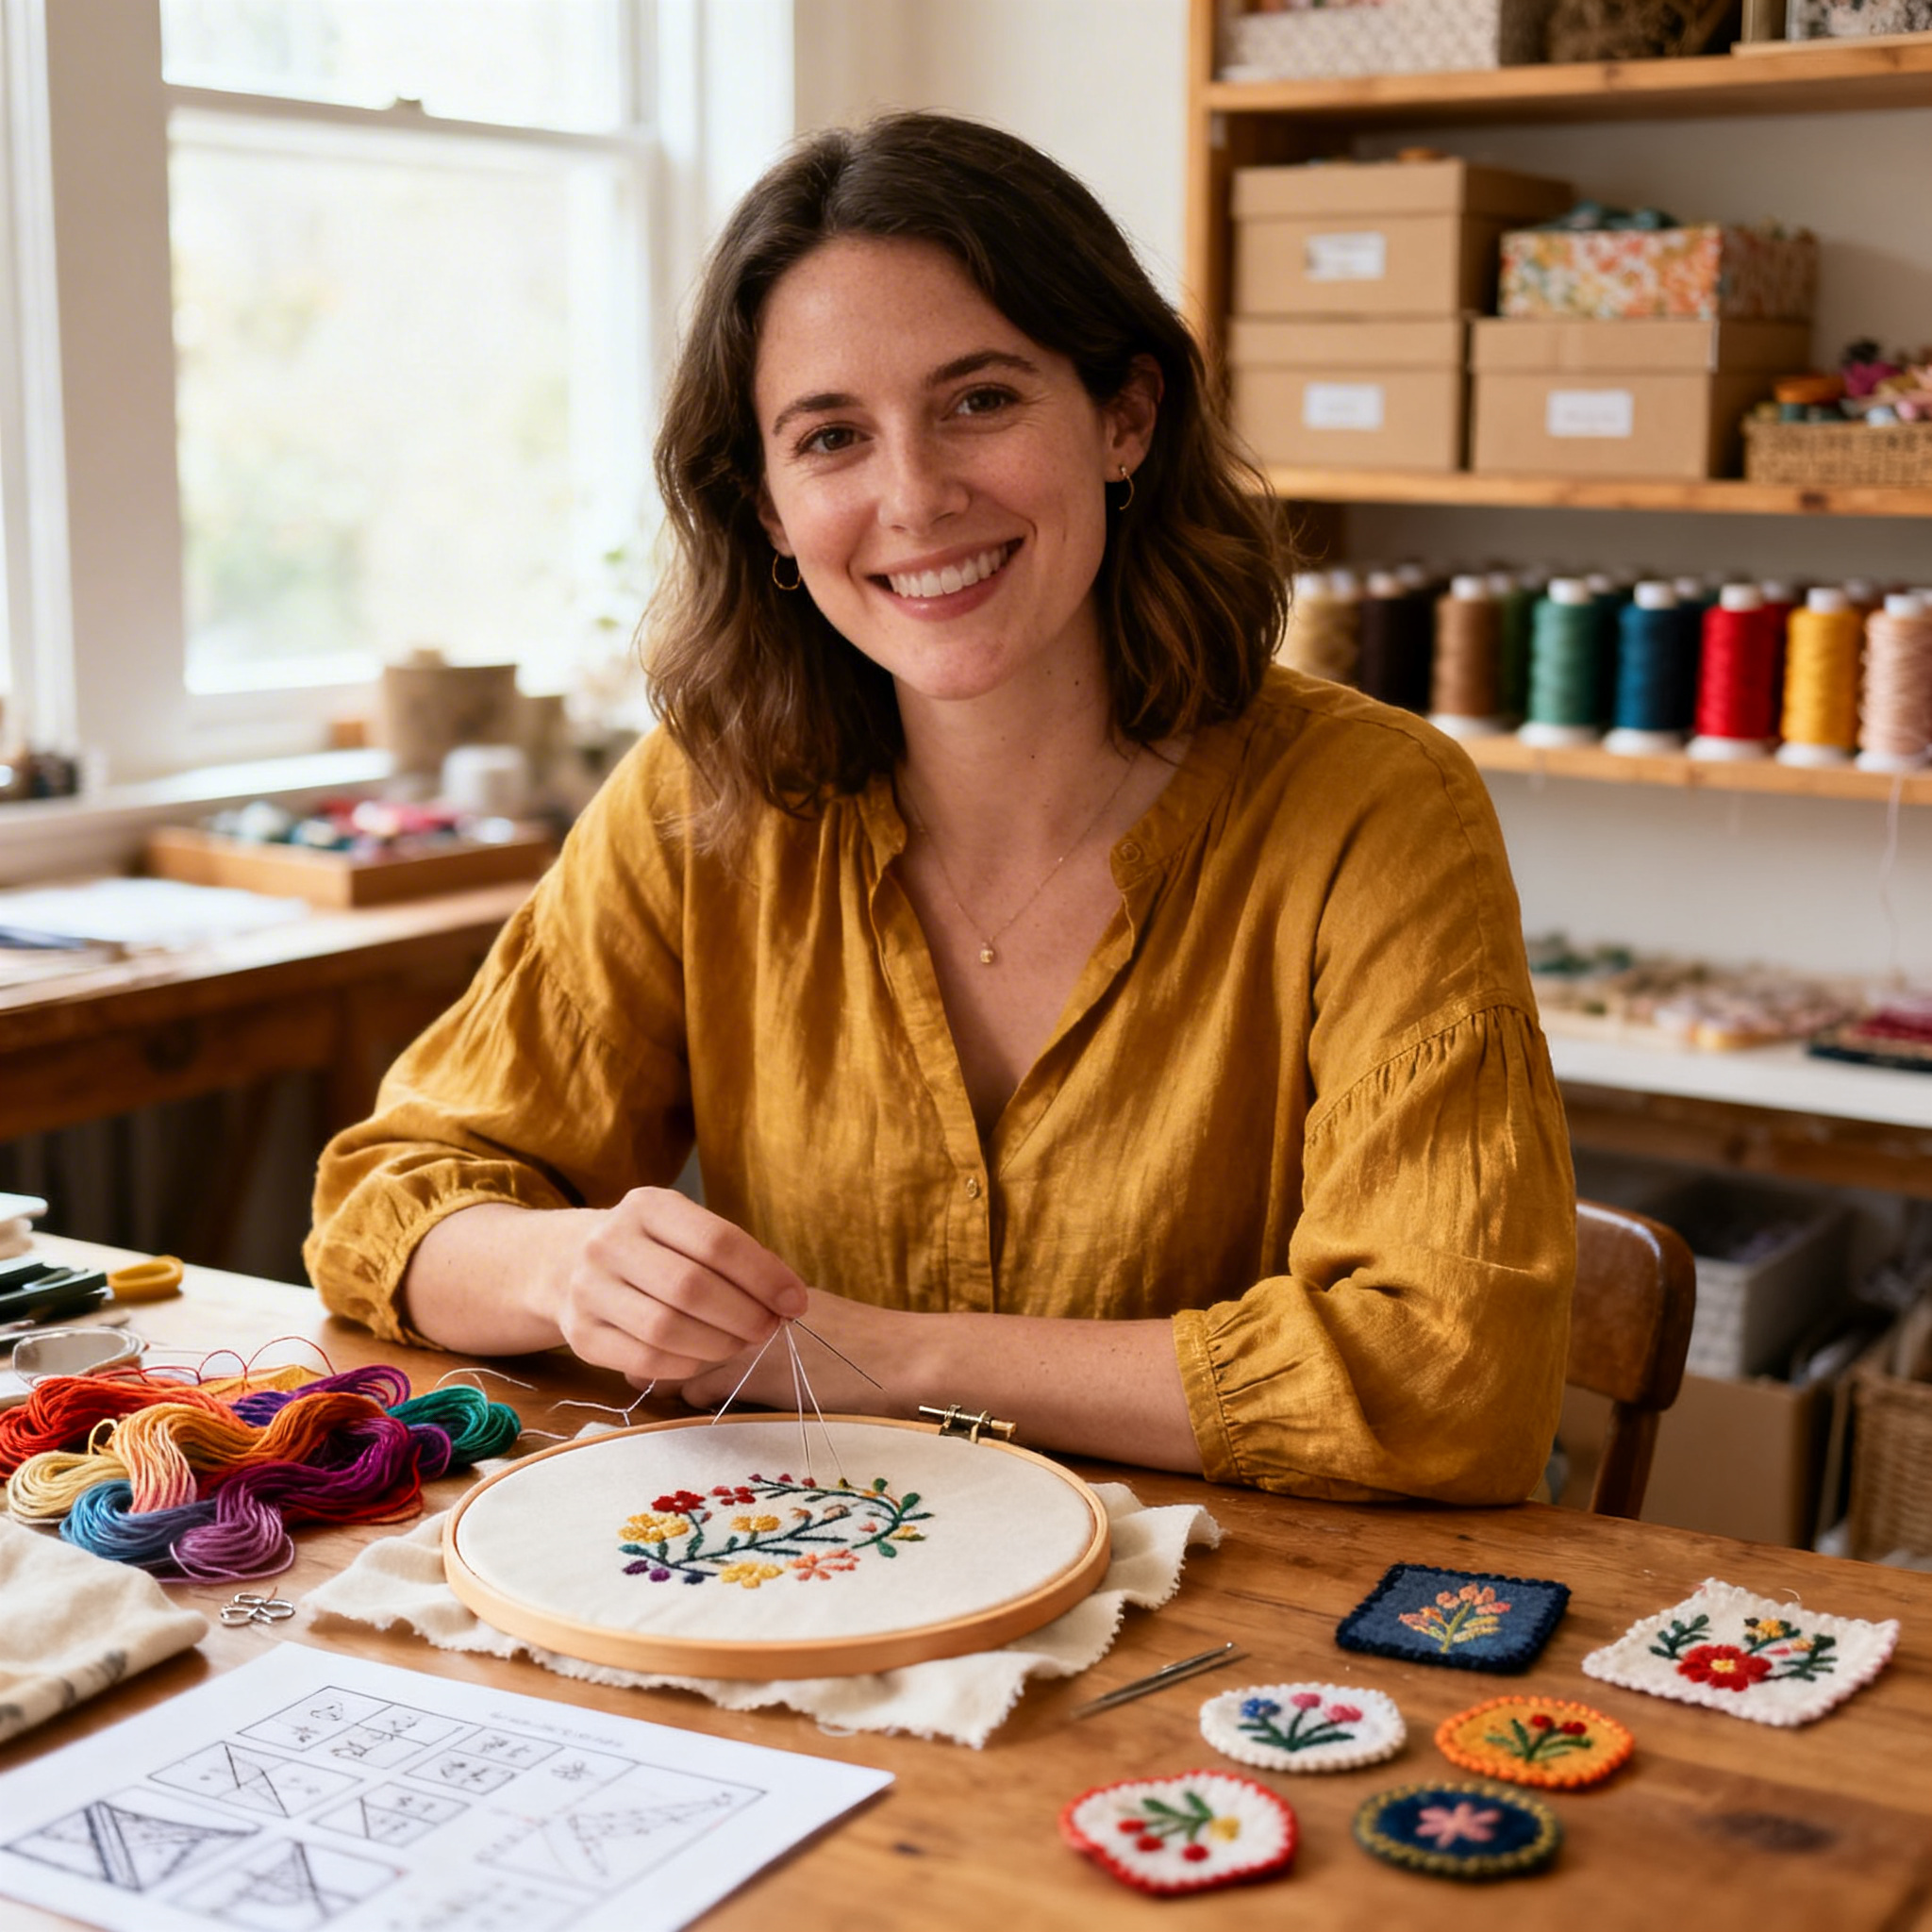
I’m Sophie Caldwell, the author behind granaboom.com, and I believe hand embroidery is one of the simplest, most relaxing ways to create something beautiful with your own hands. I started this blog to help beginners learn hand embroidery without feeling overwhelmed by complicated instructions or “perfect” results.
Here you’ll find beginner-friendly guides to decorative embroidery stitches, along with clear step-by-step practice ideas and patterns you can use to build confidence. My focus is on making the learning process easy: simple explanations, helpful stitch combinations, and small projects that look polished even when you’re just starting out.
Welcome to granaboom.com—grab your hoop, choose a few colors, and let’s stitch one line at a time.