Complete Beginner Guide to Embroidery Hoops for Bordado Enthusiasts with Simple Setup Tips and Essential Tools
Complete Beginner Guide to Embroidery Hoops
What an embroidery hoop does
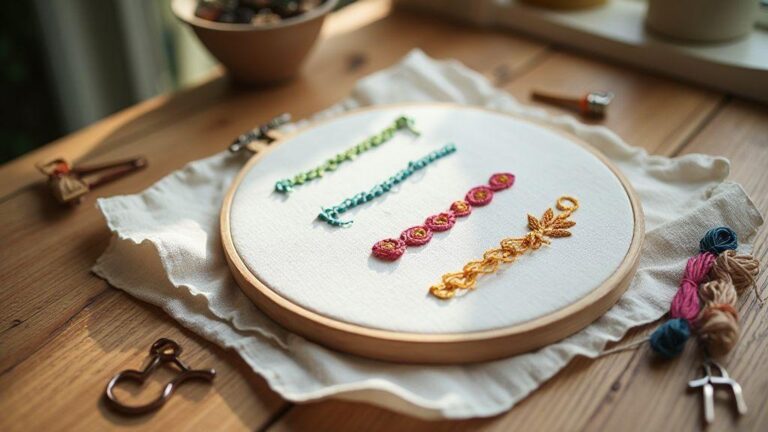
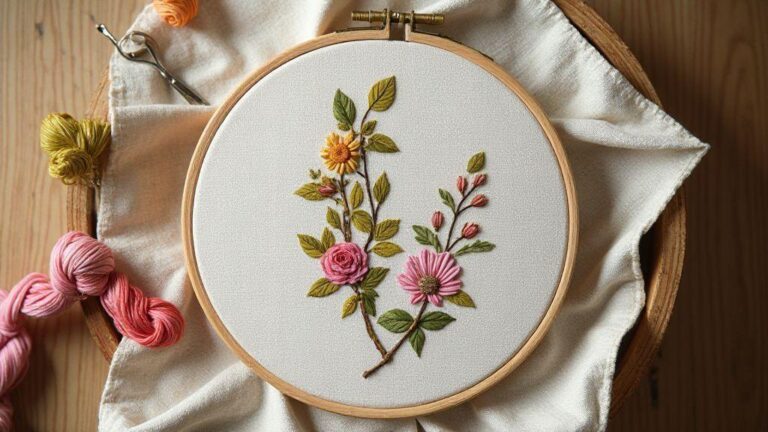
An embroidery hoop holds fabric tight so stitches stay neat and accurate. It acts like a small frame, keeping tension even and preventing threads from sinking, snagging, or twisting. By pressing the fabric between the inner and outer rings, the hoop lets the thread glide smoothly and makes learning new stitches less frustrating. With the fabric stretched, you can see your pattern clearly and line up lines and shapes precisely. You can adjust tension by tightening the screw or re-tightening the inner ring, which is essential for clean, even stitches, especially with delicate or small details. For guidance on selecting the right hoop for your project, check out how to choose the right embroidery hoop for your project.
Why I start with a hoop
I always begin with a hoop because it gives me confidence with every stitch. The fabric stays flat, so threads don’t pucker or wander. It’s a simple setup that reduces mistakes, a big win for a beginner. A hoop also helps me measure progress: straight lines and neat stitches signal that I’m on the right track. Plus, hoops are portable—great for stitching on the couch, at a desk, or on a park bench. They’re training wheels for embroidery, helping me achieve steadier hands and a calmer mind as I learn. For a structured beginner project with photos, you might explore Your First Embroidery Hoop: A Complete Beginner Project with Photos.
How to choose hoop size for embroidery
Small vs large designs
The design size should guide hoop choice. Tiny motifs benefit from a small hoop to keep detail tight and prevent puckering. Larger designs need a bigger hoop to maintain even tension across the work area. Small hoops can make threads stand out in delicate stitches, while an oversized hoop for a big pattern helps space stitches evenly and keeps colors clean. For multi-color work, a larger hoop reduces crowding and color muddiness. For beginners, a mid-size hoop offers flexibility while you learn. If you’re unsure, you can also reference guidance on selecting the right hoop for your project. See the hoop selection guide.
Hoop size for embroidery and fabric
Choose by usable design area and fabric type. A hoop that sits near an edge should flatten the fabric without pressing into stitches. Sturdier fabrics like canvas benefit from a larger hoop to spread tension; lightweight fabrics may sag with too-tight a grip. If the fabric is stiff, a bigger hoop works well; if it’s floppy, a smaller hoop can keep things taut without ripping or bunching. Test on scrap fabric first to confirm how the hoop affects your piece. Treat the hoop as a tool, not a boss of the design. For fabric background ideas and fabric suitability, see the best fabrics for hand embroidery and which ones to avoid.
A practical rule of thumb
Aim for the hoop to cover at least half the design’s width with a comfortable margin around it. If the design feels bold or bold edges threaten to press against the fabric edge, select a hoop that leaves space to work. When unsure, start with a slightly larger hoop and tighten gradually as you test. A little extra room reduces friction and makes edge work easier.
Wooden vs plastic embroidery hoops
Grip and stability
Wooden hoops tend to grip fabric firmly when tightened, helping keep stitches clean. Plastic hoops often glide more and can slip if overtightened; they’re lighter and convenient for quick practice. Wood generally provides a steadier surface for longer projects, while plastic can be handy for warm-ups or travel.
Feel and ergonomics
Wood feels sturdier and more comfortable for long sessions; it doesn’t heat up or cool down oddly, and the grip stays solid. Plastic is lighter and easier to maneuver during short sessions, but edges can chip or snag threads on rough surfaces. The best choice depends on your project duration and preference, but many stitchers favor wood for finished pieces and plastic for practice.
Cost and durability
Wood hoops cost more upfront but last longer with proper care and can be passed to beginners. Plastic hoops are cheaper and lighter but may wear where the screw threads rub or where the hoop sits against fabric. Durability also depends on care: wood benefits from occasional oiling or wiping; plastic simply needs a wipe-down and quick inspection for warping.
My material choice and setup
Preference
A smooth, light-colored hardwood with a beveled inner edge and a metal screw feels sturdy and gentle on threads. It provides a flat, durable surface for hours of stitching. For final pieces, I prefer wood; for quick tests or travel, I keep a plastic hoop handy.
Conclusion
Wooden hoops offer durability, a steady grip, and a reliable surface for finished work, while plastic hoops provide lightness and affordability for rapid starts. For a quick guide on fabrics suitable for hand embroidery, see the best fabrics for hand embroidery and which ones to avoid. For a Complete Beginner Guide to Embroidery Hoops, starting with a good wooden hoop sets you up for clean lines and fewer frustrations as you grow.
How to use an embroidery hoop and setup tips
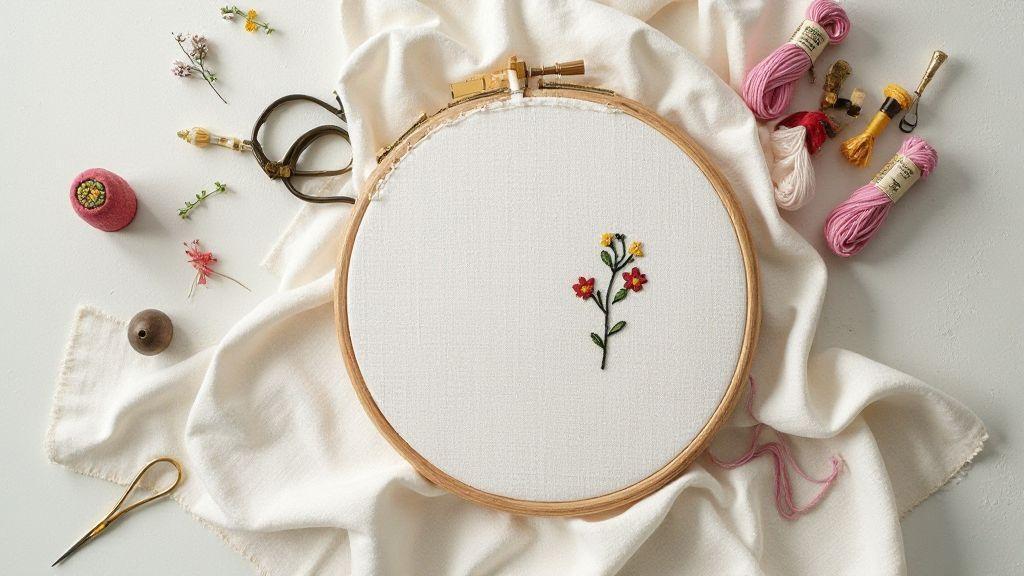
A proper setup makes stitching easier. Start by choosing a hoop that fits your project, then gather threads, a needle, and fabric. Find a flat, stable workspace with ample room. Make sure the inner ring fits snugly against the fabric. Decide whether to mount from the front or back to hide knots or keep the back clean. Keep a small tray for needles and scissors and a thread organizer to prevent tangling. A tidy workspace helps you stay focused and follow the pattern. If you’re transferring a pattern, you may find useful ideas in the 6 best methods to transfer embroidery patterns onto fabric. Explore pattern transfer methods.
Putting fabric in the hoop, step by step
1) Loosen the outer hoop’s screw to create space. 2) Place the fabric over the inner hoop, align center marks, and pull edges taut, smoothing away wrinkles. 3) Center the outer hoop over the top and press gently. 4) Tighten the screw gradually while ensuring even tautness all around. 5) Test tension by pressing near the center; adjust if too loose or too tight. 6) If you see bubbles or ripples, release tension in the affected area and recheck. 7) Check the back for large wrinkles and reposition if needed. 8) Keep the hoop on a clean surface and avoid yanking threads.
Tensioning the hoop correctly
Tension should be even all around. Tighten gradually, rotate the hoop, and test how the fabric behaves as you go. If you only tighten in one place, you risk a puckered edge. If there’s slack, loosen slightly and adjust. For tricky fabrics (slippery or delicate), recheck tension after a few stitches and consider a stabilizer.
Setup tip I follow
Keep a small mirror or phone stand to peek at the back as you work. This helps you keep knots small and tails tidy, and makes it easier to hide knots cleanly. A tidy back translates to neater front stitches and less lint or tangles. For organized storage and supplies, you might also find it helpful to see how to organize your embroidery supplies like a pro.
My essential embroidery tools for beginners
A simple, reliable setup helps you focus on stitches. Here’s what I actually use and why:
Needles, threads, scissors I use
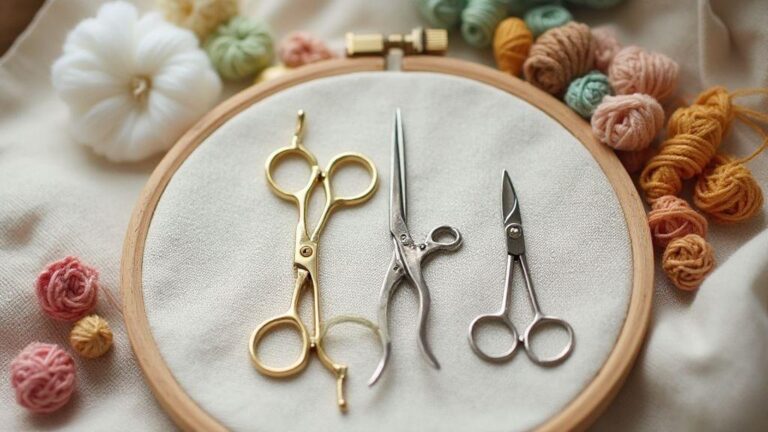
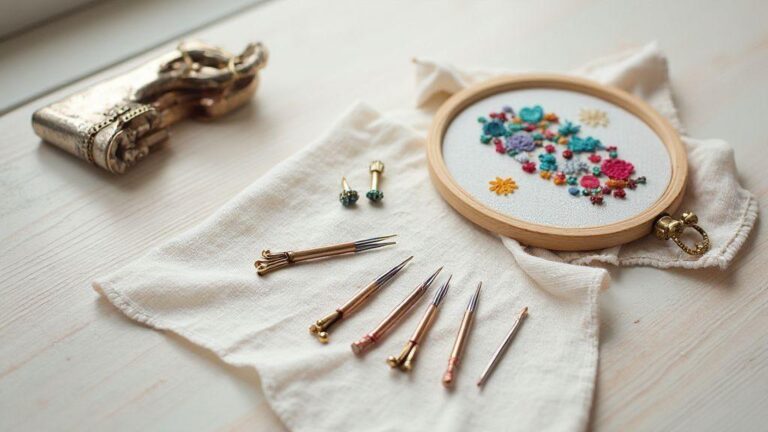
A small labeled tin holds size 7 and 9 sharps for most projects, plus a chenille needle for laid threads. I test a strand count on scrap fabric before committing, using cotton embroidery floss (6-strand skeins) and some perle cotton for a touch of shine. Scissors are small, sharp, and spring-loaded for clean cuts without losing stitch focus. I separate strands and wax fray-prone threads to keep things neat. Always snip away from your project and test tension on scrap first. If you’re building a starter toolkit, the complete beginner shopping list for hand embroidery can help you stock up efficiently. See the shopping list. For a real-world example of a beginner project, check out Your First Embroidery Hoop: A Complete Beginner Project with Photos.
Extras: hoop stand and beginner-friendly tools
An adjustable hoop stand helps stabilize the hoop on longer projects, keeping hands relaxed. A thimble protects fingers during stubborn passages. For beginners, beginner-friendly hoops yield a confident grip and consistent tension. If fabric shifts or hand fatigue appears, these extras prove their worth. For an organized approach to setting up your space, see how to organize your embroidery supplies like a pro.
Tool checklist I use
Prepare fabric and hoop, select needles and threads, test a small stitch on scrap, then start. If you switch threads, rethread to avoid tangles. Inspect fabric for pulled threads or pin marks before you begin to avoid mid-stitch surprises. If you’re just getting started, the complete beginner shopping list for hand embroidery can help you prepare the essentials: shopping list.
Embroidery hoop maintenance tips I follow
Hoops keep stitches neat, so simple care extends their life. Clean as needed, store properly, and re-tighten before long sessions. Wooden and plastic hoops require different care, so follow appropriate steps. The goal is to keep surfaces smooth and grips firm, so nothing drags on the fabric mid-stitch.
Cleaning wooden vs plastic hoops
- Wooden hoops: Wipe with a dry microfiber cloth, check for cracks, and condition the inner edge with a tiny amount of beeswax or light mineral oil. Avoid water exposure; if needed, use a slightly damp cloth and dry immediately.
- Plastic hoops: Wipe with a damp cloth, then dry. For stubborn marks, mild soap on a cloth works, then rinse and dry. Check for warping or cracks; start with a fresh section if warping occurs.
Storing and re-tightening over time
Store hoops in a dry, cool spot away from direct sunlight. Use a soft cloth between hoops to prevent scratches, and insert a fabric layer when stacking. Before stitching again, re-tighten and check for looseness, especially around the inner ring. For long breaks, keep the fabric taut and label hoops with project names or dates to stay organized. If you’re looking to optimize your setup further, the pattern transfer methods article can be a helpful companion during planning and execution. Pattern transfer methods.
Maintenance routine I use
After finishing, wipe both parts, check for cracks or warping, and ensure the screw holds firmly. Test tension by placing fabric between the hoops and giving a gentle tug. If the fabric slides easily, re-tighten. Store with a soft cloth between hoops and avoid direct sun. If a hoop loosens consistently, set it aside and use a spare to avoid delays.
For readers exploring a Complete Beginner Guide to Embroidery Hoops, these tips help you start with confidence, keep your stitches neat, and grow into more complex projects. By choosing the right hoop, setting up thoughtfully, and maintaining your tools, you’ll build a solid foundation for all your future embroidery adventures.
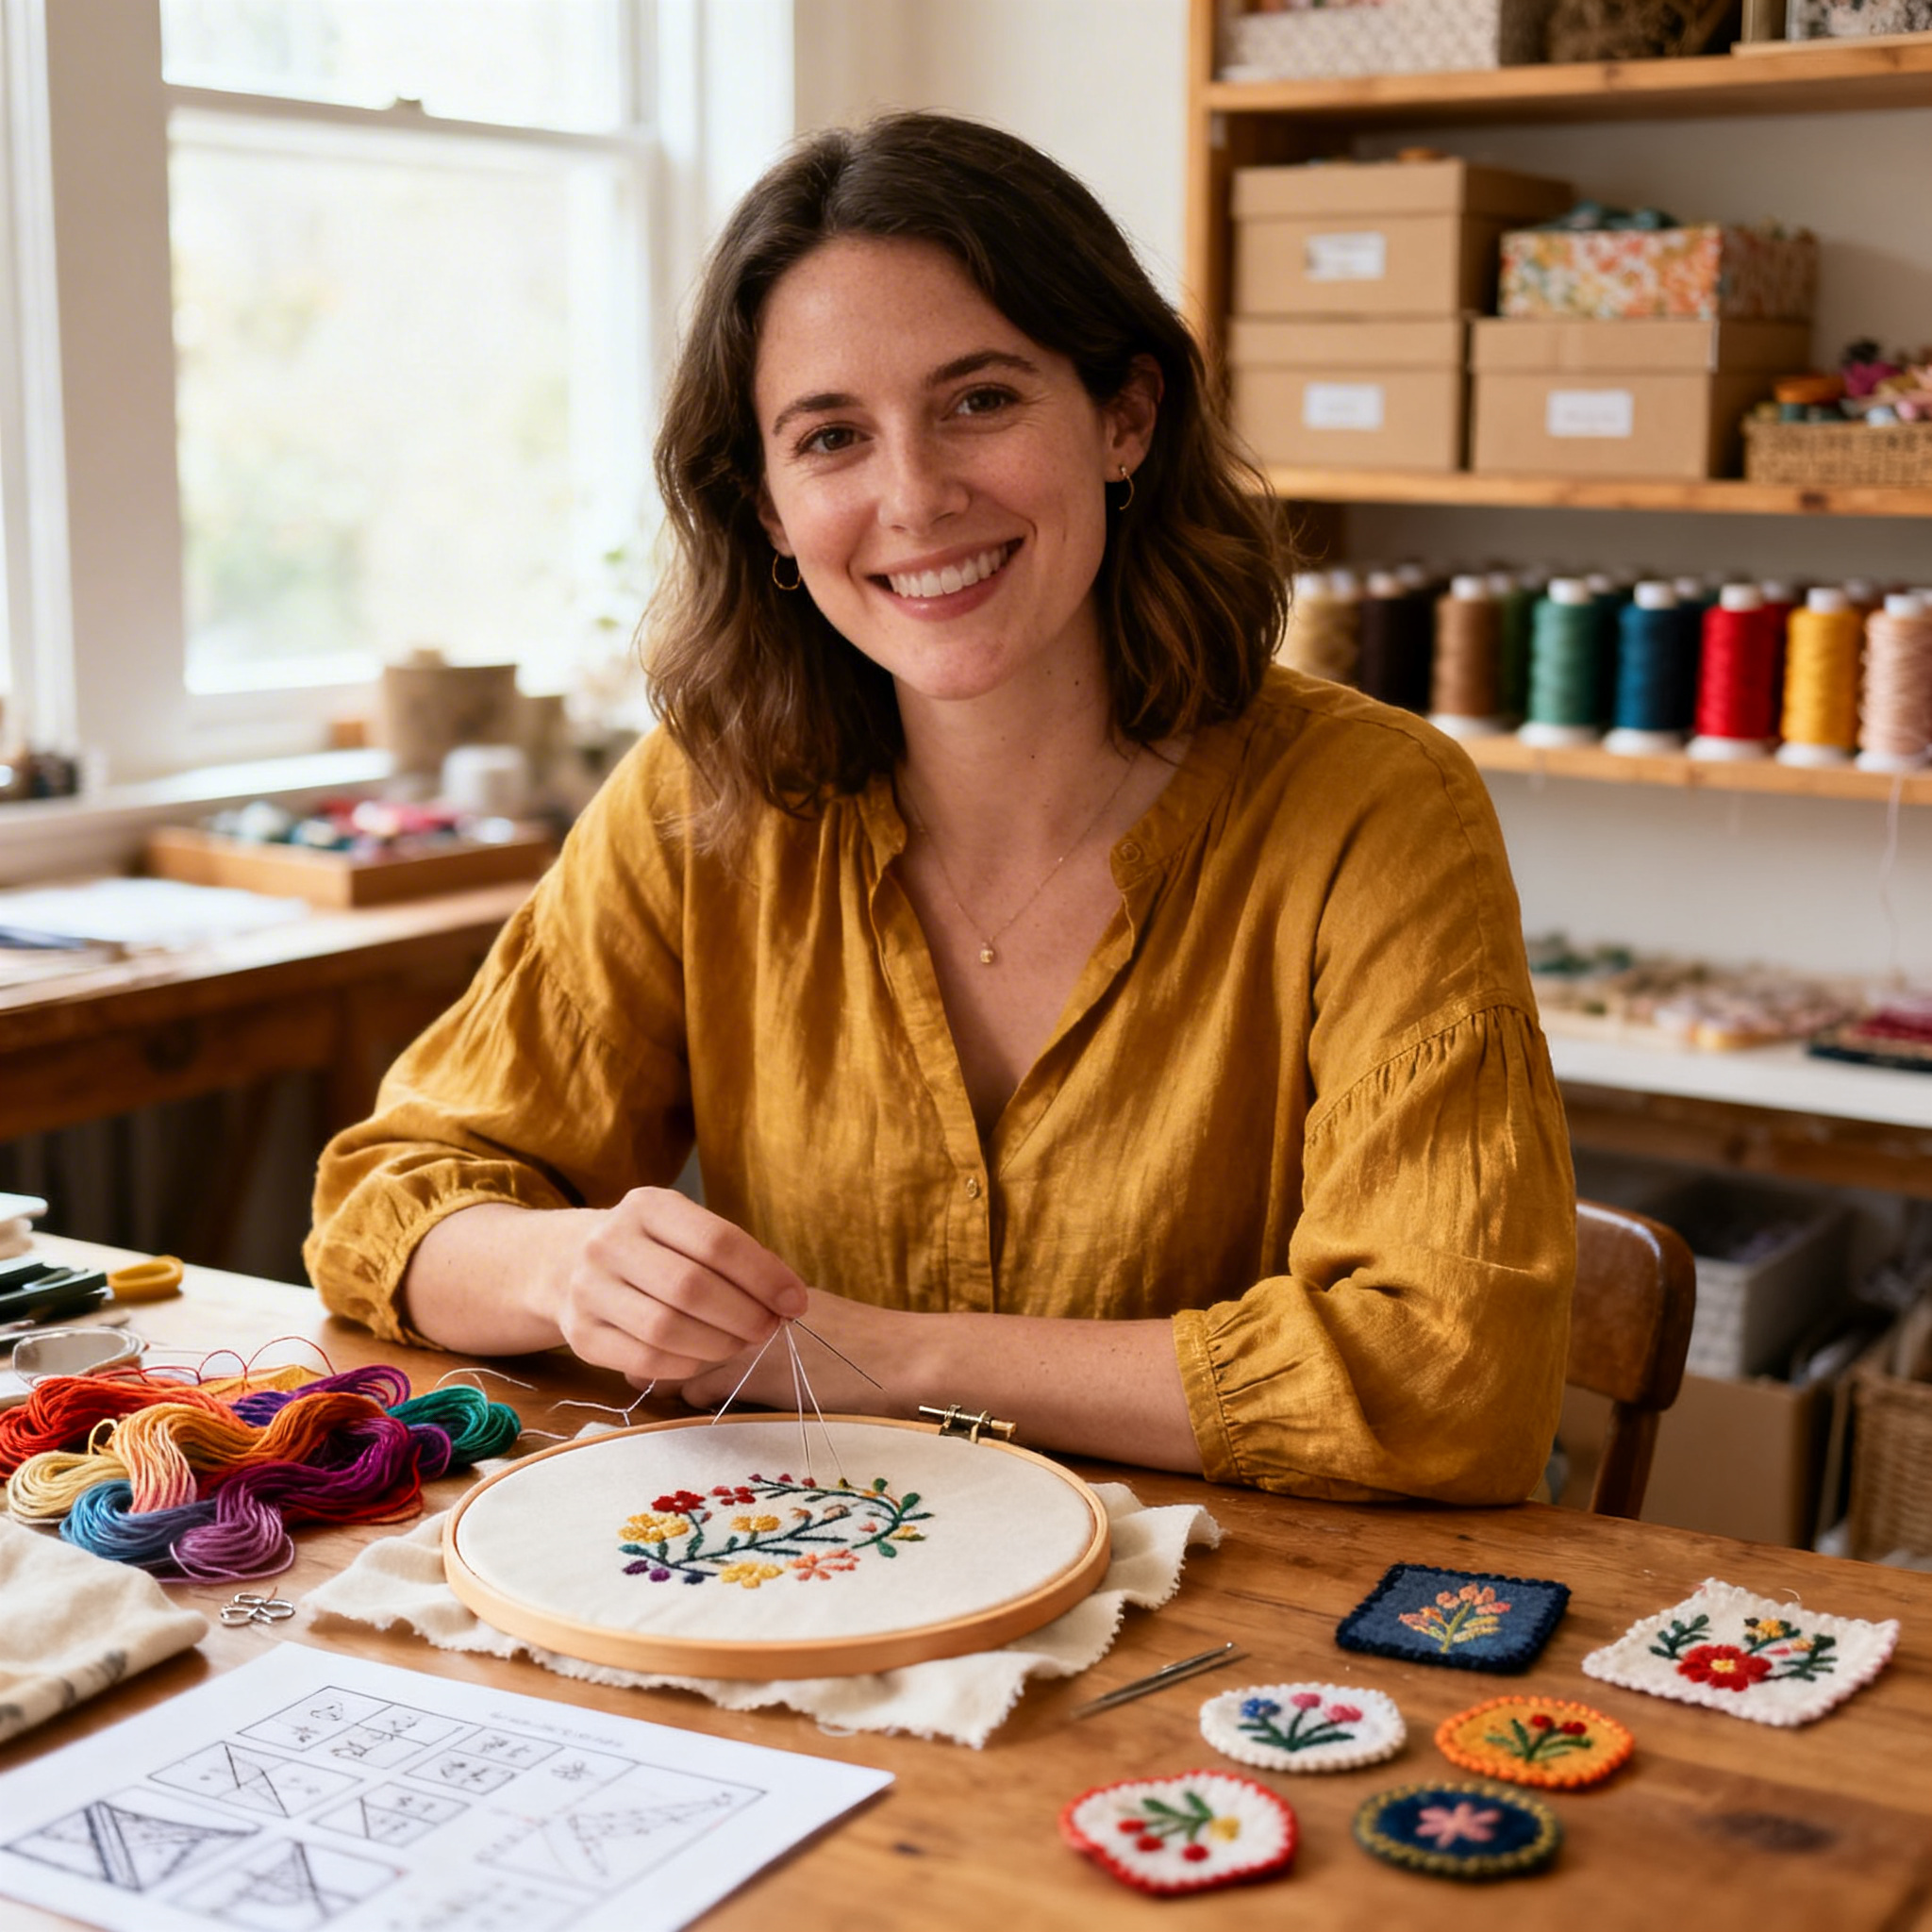
I’m Sophie Caldwell, the author behind granaboom.com, and I believe hand embroidery is one of the simplest, most relaxing ways to create something beautiful with your own hands. I started this blog to help beginners learn hand embroidery without feeling overwhelmed by complicated instructions or “perfect” results.
Here you’ll find beginner-friendly guides to decorative embroidery stitches, along with clear step-by-step practice ideas and patterns you can use to build confidence. My focus is on making the learning process easy: simple explanations, helpful stitch combinations, and small projects that look polished even when you’re just starting out.
Welcome to granaboom.com—grab your hoop, choose a few colors, and let’s stitch one line at a time.