Back Stitch vs Split Stitch — Which One Is Better? Bordado Tips to Pick the Perfect Embroidery Stitch
How I compare Back Stitch vs Split Stitch: Which One Is Better?
I’m often asked which stitch to choose for outlines and details. The short answer: it depends on the look you want and how you handle the thread. I’ve tested both stitches, and I find that Back Stitch gives crisp edges, while Split Stitch feels softer and more textured. When planning a project, I consider the fabric, thread, and how long I’ll be stitching.
I start by testing by hand on light cotton Aida or linen, using 7–9 weight embroidery floss. I don’t rush, check tension, and keep stitches even so I can compare behavior under the same conditions. I record issues like skipped threads or uneven gaps and compare that to the final line on screen or in my sample.
Then I look at longevity. Back Stitch stays neat if I don’t pull too tight; Split Stitch can loosen a bit more with wear, especially on airy fabrics. For crisp outlines in patterns needing sharp edges, Back Stitch is my go-to; for a softer, textured line—like a sketchy border—Split Stitch wins. I balance neatness with texture to match the design vibe.
Hand embroidery stitch comparison I use
When comparing stitches, grip and control matter. Back Stitch requires keeping each stitch even and parallel to the edge to stay straight; a falter can make the line waver. Split Stitch hides small flaws because the thread sits in tiny textured bits, which helps on curved edges where a perfect line would feel too harsh.
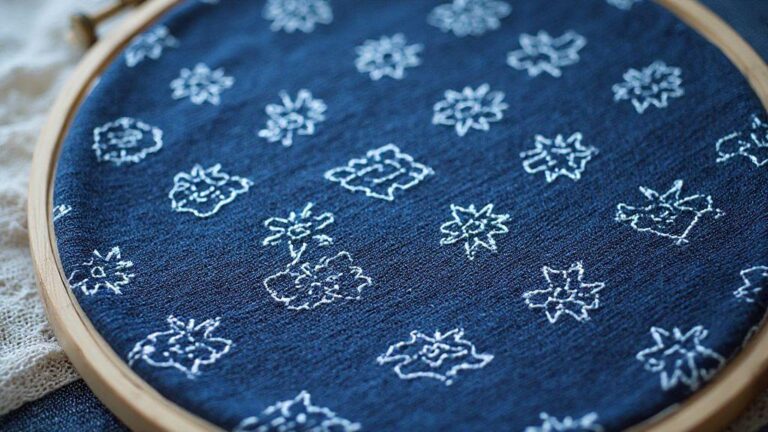
Back Stitch creates a solid, continuous line—tidy and precise. Split Stitch yields a stippled look with a bit of shadow, useful on looser weaves where texture is appreciated. In terms of speed, Split Stitch can be quicker for outlining since exact pull isn’t required every stitch; Back Stitch demands careful measurement for sharpness.
Backstitch vs split stitch for outlines I test
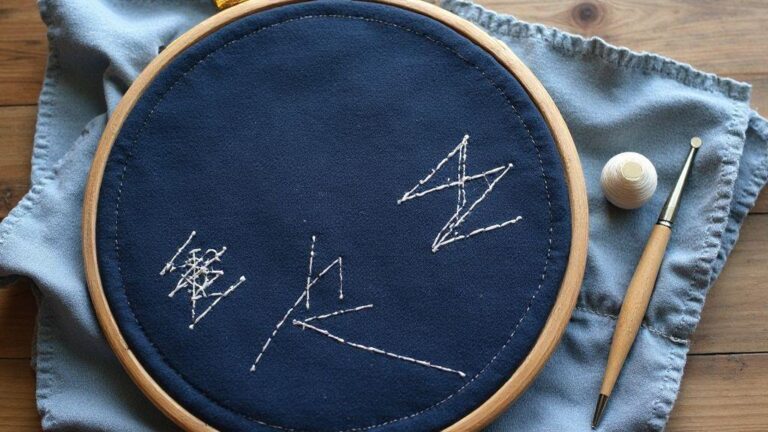
In tests, Back Stitch produced the most precise outlines, keeping the line aligned and durable through handling and washing. If you need a clean, graphic border, Back Stitch is the safer bet. Split Stitch offers a softer, hand-drawn edge, ideal for casual designs or organic borders.
Color changes also matter. Backstitch outlines are easy to restitch if you mess up; Split Stitch’s texture can hide small gaps but makes achieving a perfectly clean edge later trickier. For garments or wall hangings that might get bumped, Back Stitch tends to be more durable.
Quick compare note
Back Stitch gives a crisp, strong outline and is best for precise edges. Split Stitch adds texture and a softer vibe, great for hand-drawn looks and relaxed borders. Consider the fabric, project use, and overall style when you pick between them.
Which is better for outlines: Back Stitch or Split Stitch?
Back Stitch creates a solid line that reads clearly from a distance; Split Stitch offers a softer, textured edge that can blend into shading. For lettering or graphic shapes that must stand out, Back Stitch’s edge is reliable. For outlines needing a gentle contour or to mimic pencil lines, Split Stitch can be ideal.
When outlining, Back Stitch stays uniform and predictable on even fabric, while Split Stitch gives a softer transition that can read as shading. If you’re logo- or patch-focused, Back Stitch tends to pop; for floral motifs where the edge should breathe into shading, Split Stitch helps. The best approach is to test both on scrap fabric and compare reading up close and from afar.
Why I pick Back Stitch for crisp outlines (best stitch for embroidery outlines)
Back Stitch provides a solid, continuous edge that reads as a true outline. When outlining shapes like letters or sharp forms, I want uniform thickness and color. Back Stitch delivers that stitch after stitch, with clean corners and minimal gaps. It’s reliable across fabrics and threads.
Practical tip: outline first with a light color, then go over with the final shade. Keep stitches tight and parallel to create a continuous border between fill and fabric. For outlines that must read clearly from a distance, Back Stitch is my go-to.
When Split Stitch wins for soft edges
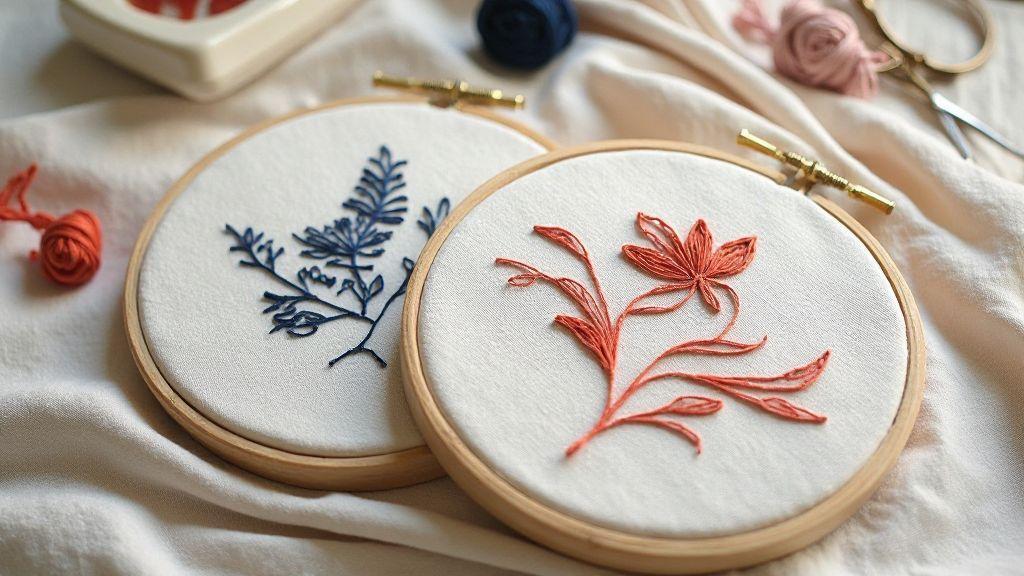
Split Stitch shines when you want a softer, more organic edge. The stitch splits the thread as it goes, producing a subtle, textured line that can blend into shading for a hand-drawn look. It’s especially nice around petal tips or delicate leaves where a hard edge would feel too stark. It’s also useful for outlines that touch shading or have a watercolor vibe, and on lighter fabrics where the thread can glow softly.
Outline choice tip
If your goal is a strong, visible boundary, go with Back Stitch. If you want a soft, blended edge, choose Split Stitch. I almost always test both on a scrap before committing to the main piece.
Split Stitch vs Back Stitch for texture and shading
Texture and shading can be approached like choosing shoes and socks: Split Stitch adds texture with broken lines for rough shading, while Back Stitch lays a smooth, continuous line for a clean edge or calm fill. Switching between them within the same project can create contrast, making shading read as tactile rather than flat.
Split Stitch creates texture by breaking the thread into short segments, giving a jagged edge that reads as texture. It’s great for gradients on leaves or fur where you want surface feel. When filling small areas, Split Stitch stitches can lay close but intentionally uneven for a tactile result.
Back Stitch keeps shading smooth and controlled. It’s ideal for edges of petals or stems, or any area needing a calm, even look. Working light to dark with Back Stitch creates gentle gradients, overlapping lines to build depth without noise. It’s forgiving for long sweeps of color, which helps outlines look precise and tidy.
Texture vs line rule: use Split Stitch for texture; Back Stitch for a clean line and smooth shading. If you want a soft surface, split; for crisp boundaries or calm gradients, Back Stitch wins.
How split stitch adds texture I use
Split Stitch shows texture by splitting the thread into short segments, creating a jagged edge that reads as texture. I like it for gradients on leaves or fur where tactile feel matters. Stitch length and density can be varied to push shading, with longer splits for deeper texture or shorter splits for a finer look.
When backstitch keeps shading smooth
Backstitch lays down a neat, straight line, like a clean pencil line. It’s ideal for shading that needs smooth transitions and even color. Working from light to dark, backstitch maintains consistent lines and can be overlapped to deepen shading without adding noise.
For long curves, Back Stitch avoids the broken impression you sometimes get with Split Stitch, making it the default for precise outlines.
Texture vs line rule
Texture from Split Stitch catches the eye up close; a Back Stitch line reads flat at first but appears solid when viewed from a distance. Use Split Stitch for texture and Back Stitch for line and smooth shading. If you aim for a soft surface, lean into Split Stitch; for crisp boundaries or calm gradients, choose Back Stitch.
Backstitch technique tips I use for neater lines
To keep lines neat, plan stitches with a light guide thread or chalk. Check fabric tension—too tight causes puckering, too loose causes sagging. Use small, regular motions and pause at natural points. Keep stitches short so thread sits neatly; adjust if a stitch is too long or short. Pull thread to the back and secure with a tiny knot or backstitch to prevent slipping. Use a fine needle and smooth passes to prevent snagging.
Finish with a light check under good light, adjusting any wonky spots before finishing. A clean workspace and trimmed thread help lines read as a single stroke.
Step-by-step backstitch technique tips I follow
Start by bringing the needle up from the back, lock with a short tail, then go down a short distance along the line and come up just next to the first stitch. Overlap slightly for a continuous line. Ensure each stitch sits flat; adjust tension as needed. Secure the end with a backstitch or tiny knot, and trim close. If correcting a mistake, lift the needle, wiggle the fabric, and reinsert carefully to avoid puckers. Check continuity and adjust for even spacing and alignment.
Common backstitch mistakes I fix
Common issues include stitches that are too long, causing a broken look, or lifting the fabric, creating a wobble. Slow down, hold the fabric steady, and re-align the needle path. Watch for loose back threads that can snag; secure with a knot or tuck under a few stitches. If the back shows knots, bury the ends under the first stitches and trim. If the line pucks, ease the fabric and adjust with a lighter hand.
Stitch length rule
Keep stitch length consistent, typically about the width of a small grain of rice. Shorten stitches on tight curves to avoid stiffness; use standard length on straight sections to maintain flow. Consistency prevents gaps and misalignment and yields a professional look.
Tools and thread I pick in bordado back stitch vs split stitch
Tools and threads greatly influence the result. For Back Stitch, choose a sharp needle and a smooth mid-weight cotton perle or embroidery floss for solid lines. For Split Stitch, pick a finer thread like cotton floss or silk and a sharp needle with a smaller eye to keep the thread in place. Balance tension and test on a scrap before committing to the main piece.
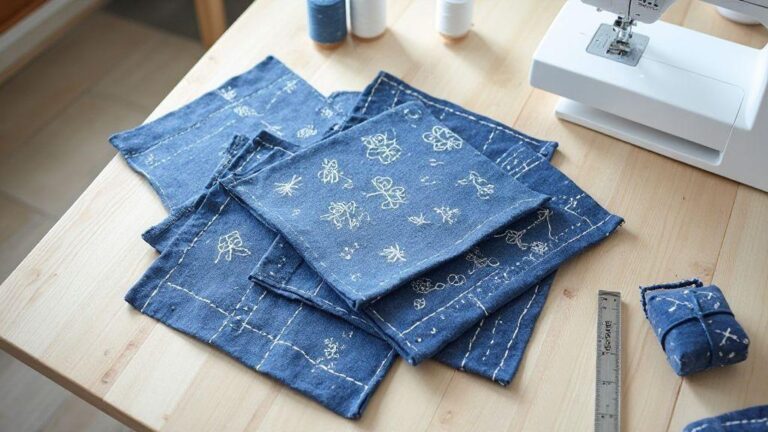
Fabric weave matters: tight weaves need finer needles and lighter threads; looser weaves can take a slightly heavier thread. Quick test samples help ensure the final embroidery stays neat, whatever stitch you choose.
For basics, learning the running stitch—the first stitch every embroiderer should master provides a solid foundation.
Best thread and needle choices I recommend
- Back Stitch: smooth cotton perle or mid-weight embroidery floss; sharp needle with a small eye to pass cleanly.
- Split Stitch: finer thread like delicate cotton floss or silk; sharp needle with a small eye to prevent fraying.
Test on scrap fabric: if fabric eats the stitch, switch to a stronger thread or a larger needle; if the line gets too shiny, switch to a matte thread. Find the sweet spot where thread, needle, and fabric behave well together.
Fabric choices that change stitch results
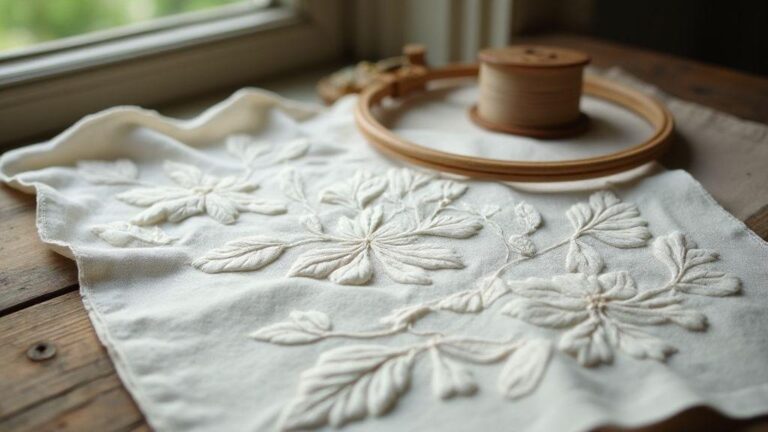
Fabric matters as much as thread and needle. Tight cotton gives Back Stitch a crisp outline; linen or even weave lets Split Stitch breathe, enhancing texture. Choose fabrics with a moderate weave for balanced results, especially for clean borders or delicate fills.
On stretchy or very fine fabric, use lighter weight threads and finer needles to avoid puckering. A stiff fabric can make Back Stitch look harsher; soften with a muted thread or looser stitch. Do a quick test on scrap fabric to see how the stitch reads.
Thread and needle guide
- Back Stitch: smooth cotton perle or mid-weight embroidery floss; sharp needle slightly smaller than the fabric hole.
- Split Stitch: finer thread like delicate cotton floss or silk; sharp needle with a smaller eye.
- Fabric tips: tighter weaves need lighter threads and finer needles; looser weaves tolerate slightly heavier threads—test first.
How to choose an embroidery stitch: my easy guide
Choosing the right stitch can make or break a project. I ask what I want the piece to feel like: clean and crisp, or soft and textured. Start simple by testing a few stitches on scrap fabric and comparing how they handle lines and fills. The goal is to match the stitch to the image in my head, not force the image to fit a favorite stitch. My method: pick a stitch, test it, adjust needle or tension if needed, and dive into the final piece.
Consider fabric and thread together. A thick thread on thin fabric looks bulky; a fine thread on heavy fabric can disappear. Start with basics: running stitch for thin lines, satin stitch for solid fills, and back stitch for clean outlines. Then branch out as you gain confidence.
How to choose an embroidery stitch for outline or texture
For outlines, choose a neat, tight stitch. Back Stitches are great for precise lines; you can add parallel stitches to thicken if needed. For texture, look for stitches that build dimensionality without taking too long. Satin stitches provide glossy edges; a short straight stitch or seed stitch adds rough texture. Test on scrap to see how texture reads from a distance. Consider thread type: cotton for classic texture; rayon or metallics for shine, which changes how texture reads.
A quick decision framework: edge sharpness, texture level, and fabric behavior. For crisp outlines on smooth fabric, use Back Stitch or tight satin; for more tactile texture on dense fabric, try Split Stitch or a textured fill. Have a main hero stitch for the outline and a texture stitch for fills, then test both to confirm your choice.
Tips to pick the perfect embroidery stitch quickly
Keep a small reference card of common stitches and their best uses. When a design appears, select a few target stitches and test them on scrap fabric, checking how they behave under bending and from different distances. Quick tests save time later.
Consider stitch length and density: outlines benefit from shorter stitches; texture from looser density. If in doubt, choose a mid-density, mid-length option and adjust after testing. Look for forgiving stitches that read well even if you’re a touch off.
For speed, designate a single hero stitch for the main outline and a texture stitch for fills. Use a simple back-and-forth for outlines and reserve satin or seed stitches for accents to keep the workflow clean and predictable.
Final choice checklist
- Determine the main effect: clean outline or textured fill.
- Assess fabric and thread compatibility.
- Test two candidate stitches on scrap: one for outline, one for texture.
- Check edge sharpness, fill density, and distance read.
- Test tension and stitch length on scrap, then adjust.
- Consider the project’s purpose and choose the final stitch accordingly.
- Confirm the design reads well and you’re happy with the look.
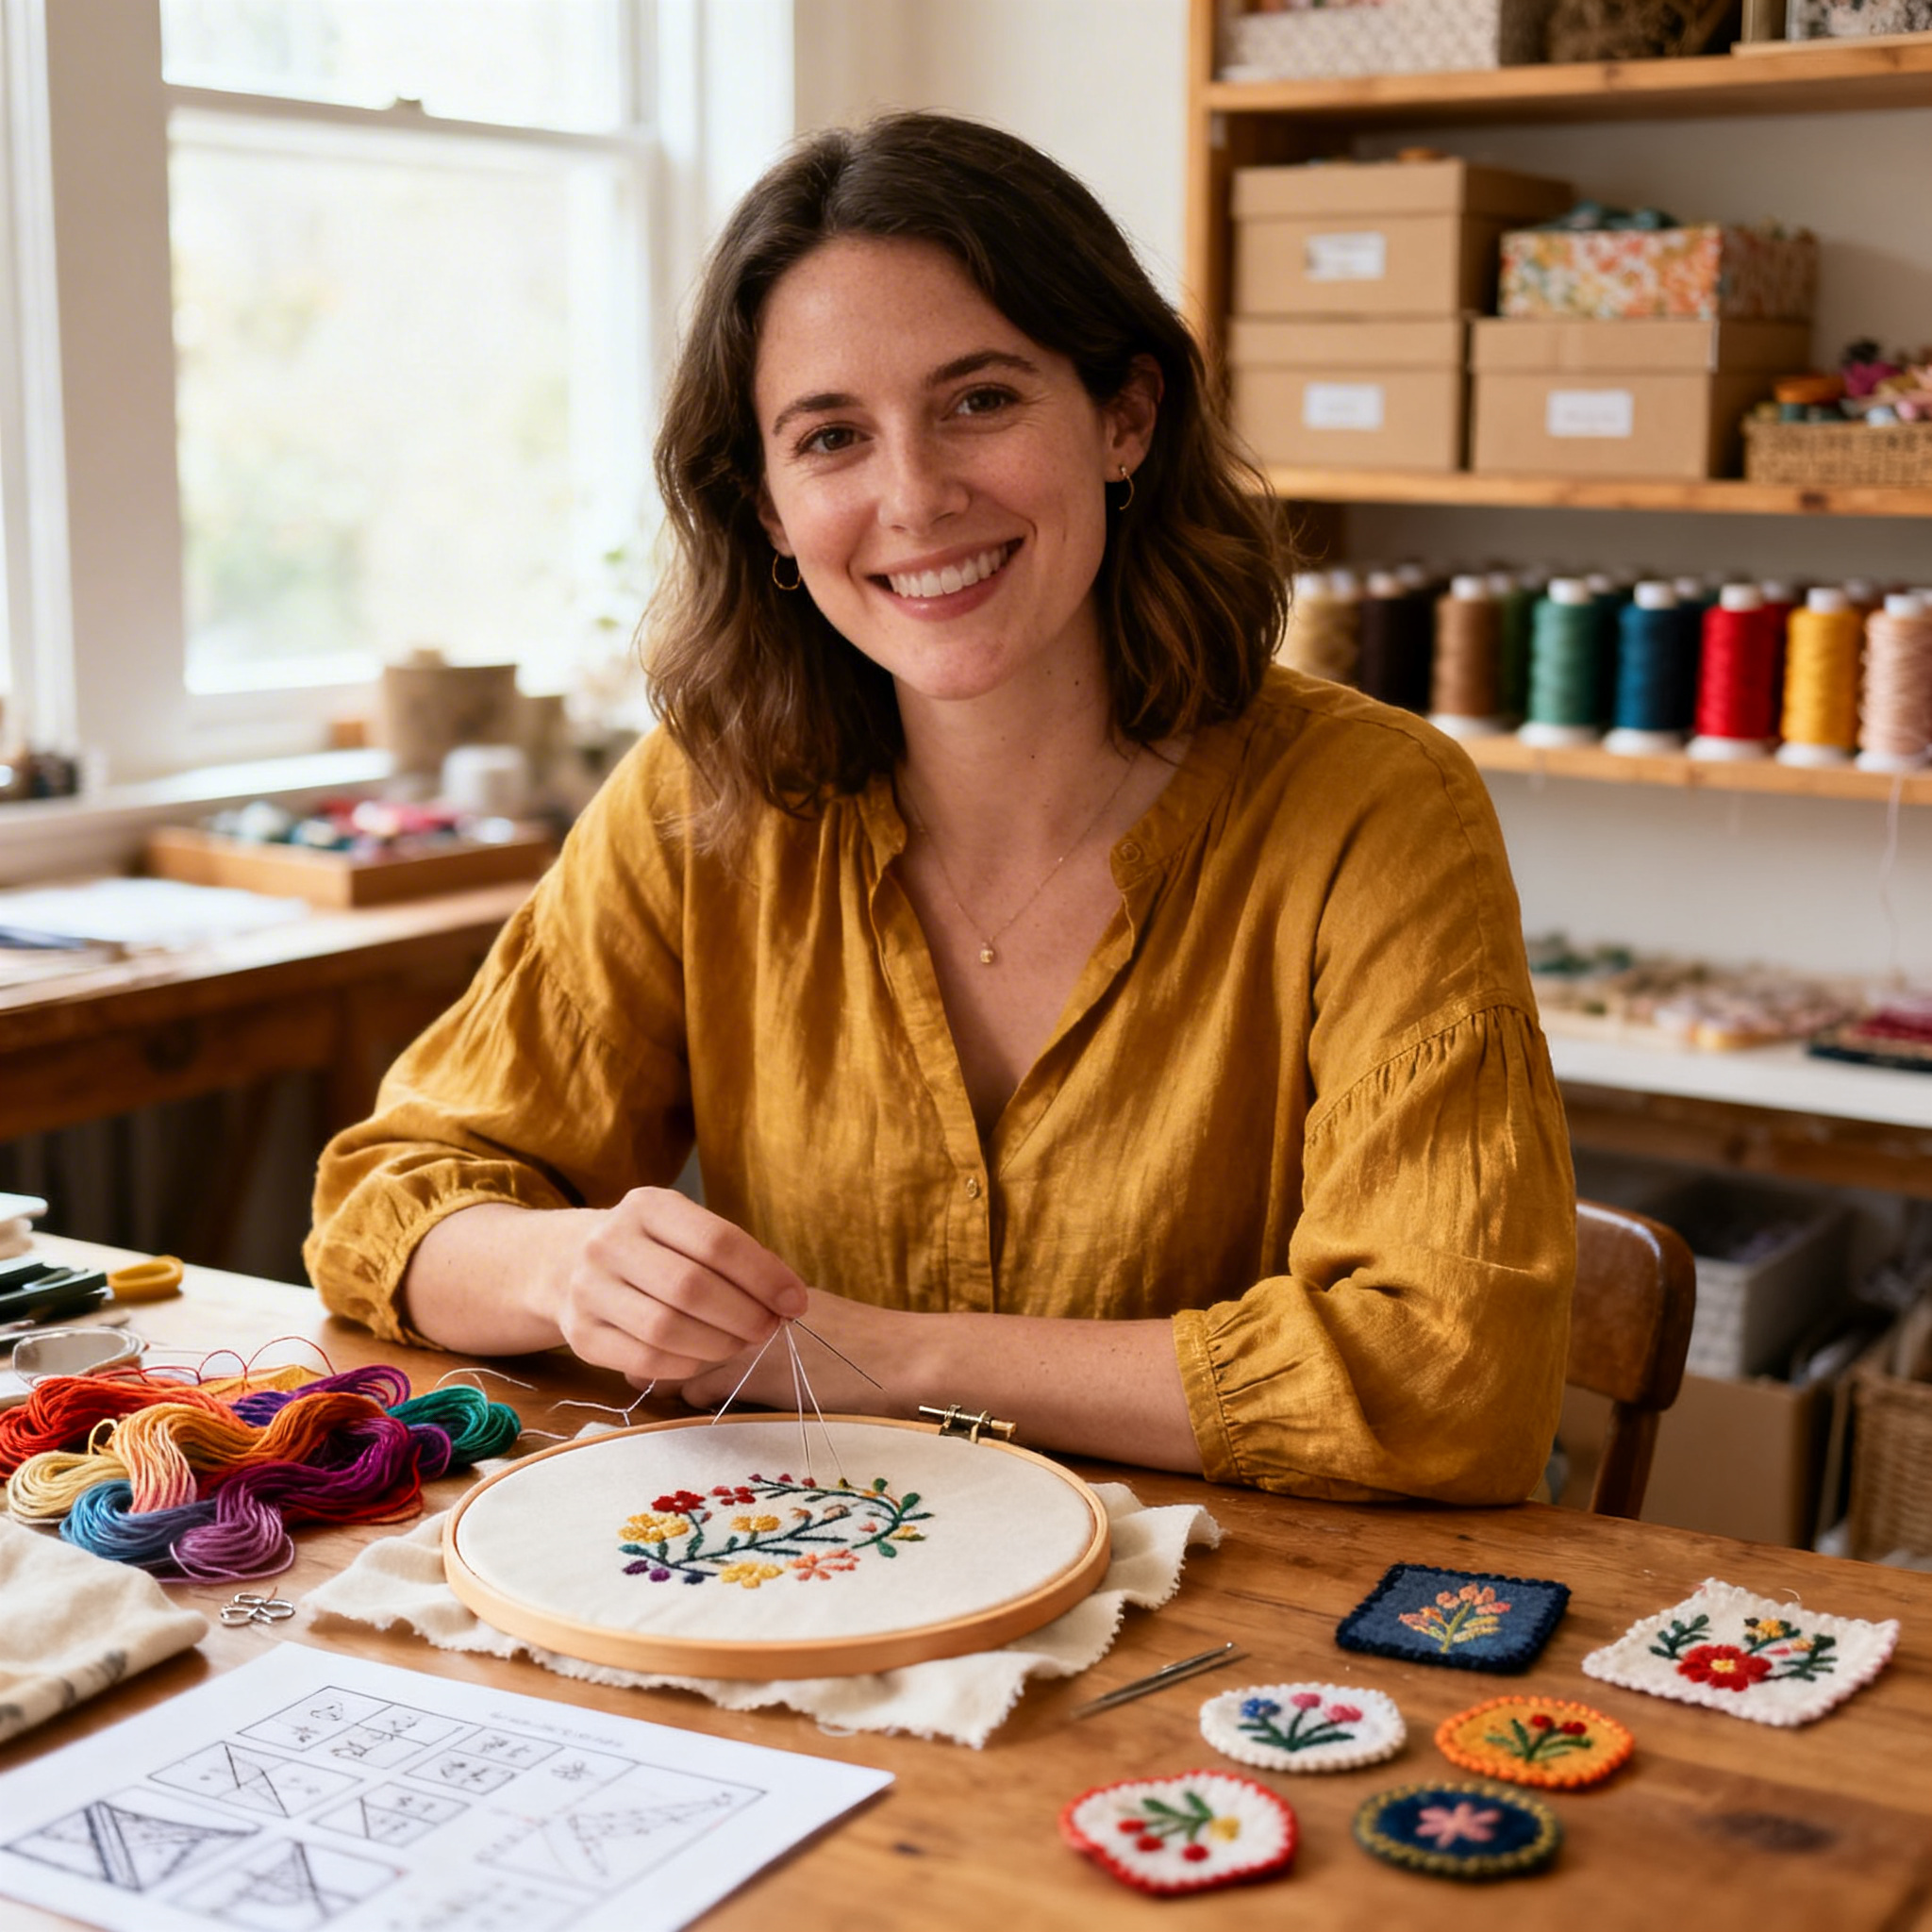
I’m Sophie Caldwell, the author behind granaboom.com, and I believe hand embroidery is one of the simplest, most relaxing ways to create something beautiful with your own hands. I started this blog to help beginners learn hand embroidery without feeling overwhelmed by complicated instructions or “perfect” results.
Here you’ll find beginner-friendly guides to decorative embroidery stitches, along with clear step-by-step practice ideas and patterns you can use to build confidence. My focus is on making the learning process easy: simple explanations, helpful stitch combinations, and small projects that look polished even when you’re just starting out.
Welcome to granaboom.com—grab your hoop, choose a few colors, and let’s stitch one line at a time.