How to Choose the Right Embroidery Needle for Flawless Bordado Results Expert Tips to Match Needle Thread and Fabric
How to Choose the Right Embroidery Needle: Why It Matters
The right embroidery needle matters because it affects stitch cleanliness, fabric integrity, and project longevity. Think of needles as tools in a toolbox—each job has its best option, and using the right one saves time and frustration. Good embroidery starts with the right needle, plain and simple. The fabric you’re sewing sets the tone for needle choice: light, smooth fabrics need delicate needles to prevent snagging, while thick or tight weaves require sturdier needles to push through without bending. The right needle prevents thread shredding and helps stitches sit neatly on the surface. For guidance on choosing compatible fabrics for hand embroidery, see The Best Fabrics for Hand Embroidery and Which Ones to Avoid.
I check fabric weight and weave
I start by sizing up the fabric: heavier fabrics like denim need tougher, sharper needles; light cottons deserve finer ones. A loose weave benefits from a sharper point to guide the thread; a tight weave benefits from a slightly larger eye to prevent friction and breakage. I test a small scrap first; if the stitch sits too high or the thread looks worn, I switch needles. Knits benefit from ballpoint needles to avoid snagging, while woven fabrics benefit from sharp points for penetration. I note fabric weight in my plan and begin with a mid-range needle, adjusting after a couple of stitches to keep tension balanced. For hoop and project setup, see how to choose the right embroidery hoop for your project.
I match needle and thread compatibility
Thread and needle must work together. Forcing a thick thread through a thin needle eye causes fraying and skipped stitches. I check eye size against thread thickness: too small an eye binds the thread; too large an eye can leave gaps. Metallic threads often need larger eyes and a rounded point to reduce snagging; cotton and rayon threads pair well with sharp needles that pierce cleanly. A quick scrap test saves ruined sections later. I keep a small reference chart of fabric type, thread, and recommended needle to cut guesswork. For a quick overview of thread types and how they interact with needles, see The Difference Between Embroidery Floss, Perle Cotton, and Wool Thread.
I keep a quick guide to needle types
- Crewel: thicker shaft with a larger eye for textured, multi-strand wool or thick cotton.
- Embroidery: all-around mid-weight choice for cotton floss or pearl cotton.
- Milliner: long, slender, sharp-pointed for delicate fabrics like silk or satin.
- Tapestry: blunt with a large eye, ideal for wool yarns and bulky fabrics.
When to pick blunt vs sharp needles:
- Use sharp for pierce-and-place textures and precise stitches.
- Use blunt for delicate fabrics, gentle stitching, or counted work to protect fibers.
Quick guide to needle types:
- Delicate fabrics: blunt
- Precise, tight stitches: sharp
- Crewel: sturdier shaft
- Embroidery: mid-range
- Milliner: glide on slick fabrics
- Tapestry: blunt, bulky for thick threads
To get a concise overview of embroidery needles, see Embroidery Needles Explained: Which Type Should You Use.
Embroidery needle sizes explained for easy picking
Needle size matters: it influences thread passage, weave damage, and stitch appearance. Start with mid-range sizes and adjust after a quick test on scraps. Reading the numbers helps you tune to fabric tightness and thread thickness. Higher numbers mean larger needles and eyes, suitable for thicker threads; lower numbers suit delicate threads and fine weaves. Compare sizes against your fabric and thread, then test on a scrap to confirm.
Common scales you’ll see:
- 7, 9, 11, 14, and so on — higher = bigger needle and eye
- Metric equivalents like 75/11 or 60/8 indicate brand-specific sizing
Eye size should fit your thread without binding; shaft length should be comfortable for control without fatigue. For tight fabrics, opt for thinner shafts and smaller eyes; for looser fabrics, a larger eye helps feed thicker threads. For a quick overview of needle types and sizes, see Embroidery Needles Explained: Which Type Should You Use.
Needle size chart for embroidery stitches I follow
- Delicate fabrics (silk, chiffon): 7–9
- Light fabrics with fine thread (fine cotton, polyester): 9–11
- Medium fabrics with embroidery floss: 11–14
- Thick thread or heavy stitches (metallics, chunky floss): 14–16
Adjust slightly for weave and thread thickness. If stitches look tight or fabric puckers, move down a size; if stitches are loose or thread won’t lie flat, try a bigger size. A simple chart keeps you consistent.
My simple size selection rule
Start in the middle: pick a mid-range needle for your fabric and thread, stitch a small sample, and evaluate. If the thread slides easily and the stitch sits neat, you’re set. If the fabric looks stretched or the thread snags, shift one size and test again. Keep a basic set nearby (9, 11, 14, plus a 7 for delicate work). A scrap test saves time and prevents big missteps. For hoop and project setup, see how to choose the right embroidery hoop for your project.
How to Choose the Right Embroidery Needle (consolidated tip)
To consolidate: read the needle numbers, consider fabric weave, and test on a scrap. Start mid-range and adjust based on thread flow and stitch appearance. This approach helps you master the art of choosing the right embroidery needle and keeps projects tidy and fun. For a quick refresher on needle types, see Embroidery Needles Explained: Which Type Should You Use.
Matching needle, thread, and fabric for embroidery made simple
Embroidery shines when needle, thread, and fabric work as a team. Match thread type to fabric weight, then pick a needle that helps the stitch sit neat and secure. Balance tension and fabric structure with a quick scrap test before diving in. For more on thread types and how they pair with fabrics and needles, see The Difference Between Embroidery Floss, Perle Cotton, and Wool Thread.
How I choose the right needle for each thread
Choose by thread thickness and fiber. For cotton or polyester threads, sizes like 80/12 or 90/14 work well; slippery threads (like rayon) benefit from a sharper point. Check eye size against thread; a too-tight eye frays thread, a too-loose eye can look sloppy. For metallic threads, pick smoother needles to reduce snagging. For thick or dense fabrics, go up a size; for lightweight fabrics, go down. If a stitch looks off, reassess needle choice or stabilizer.
To get a clearer view of thread varieties, see DMC vs Anchor vs Madeira: Which Embroidery Floss Is Best and The Difference Between Embroidery Floss, Perle Cotton, and Wool Thread.
Adjusting needle choice for fabric density
Dense fabrics benefit from a sturdier needle (e.g., 90/14 or 100/16) to cut cleanly and reduce fraying. Lighter fabrics call for finer needles (70/10 or 80/12). Test a single thread path on a scrap; if stitches skip or thread catches, revise size or point type. For knit fabrics, a ballpoint needle helps avoid snagging. If resistance is unusual, try a microtex needle for precise penetration, then return to your standard choice after a test swatch. For hoop guidance, see how to choose the right embroidery hoop for your project.
Needle selection for delicate fabrics I trust
Delicate fabrics like silk or chiffon require sharp, fine-eyed needles that minimize holes and fraying. Start with the finest needle that can handle the thread and test on scrap. A small eye reduces fraying at entry, and a sharp but not overly aggressive point protects the fabric. Keep a small kit of options and switch as needed based on how the fabric behaves.
Using small, sharp or fine-eyed needles safely
Small, sharp needles glide through delicate fabrics with less resistance. Test on scraps before starting. Maintain stabilizers to guide the needle and protect stitches. Keep needles clean and sharp; replace worn ones. Use a thimble and steady hands to avoid pokes and snags.
I always test on scraps with stabilizers
Test finishes with stabilizers before committing to the main fabric. Stabilizers provide a safe path and help judge thread tension and stitch density. Document effective combinations for future projects to minimize guesswork. For guidance on stabilizers and patterns, you can explore pattern transfer and fabric stability resources such as The 6 Best Methods to Transfer Embroidery Patterns Onto Fabric.
Best needles for bordado and thick threads
For thick threads, choose a sharp embroidery needle with a large eye, or a beading/tapestry needle for certain stitches. A long, sharp needle in sizes 90–110 is common, with a polished eye to reduce fraying. For chunky yarns or wool, use needles labeled for thick threads. A smooth shaft and bead-free eye minimize friction. For couching on sturdy fabrics, a thicker shaft helps thread sit neatly.
Needles I use for thick threads, wool, and couching
Sharp embroidery needles are ideal for thick thread or wool; use sizes 90–110 depending on fabric. For couching, a sturdy needle with a thick shaft keeps the thread from bending. For fluffy fibers like chenille, a chenille needle or a tapestry needle with a generous eye helps feed the thread without flattening it. Keep a few beading needles on hand for heavy cords and burlap or linen work. The goal is neat thread placement without fraying or snagging. For hoop setup and to ensure fabric stability, consult how to choose the right embroidery hoop for your project.
Expert tips for flawless bordado and specialty stitches
Maintain steady tension: test on scrap, then adjust slightly if needed. Pre-dress the needle to reduce snagging. For couching, place the thread and secure it with evenly spaced small stitches. If spacing looks off, adjust on scrap until it sits neatly. When eyes tire, a self-threading needle can save time. Use fabric with a stable weave and, if needed, a firmer stabilizer to keep stitches even. End with a clean tie-off and trim close to the fabric.
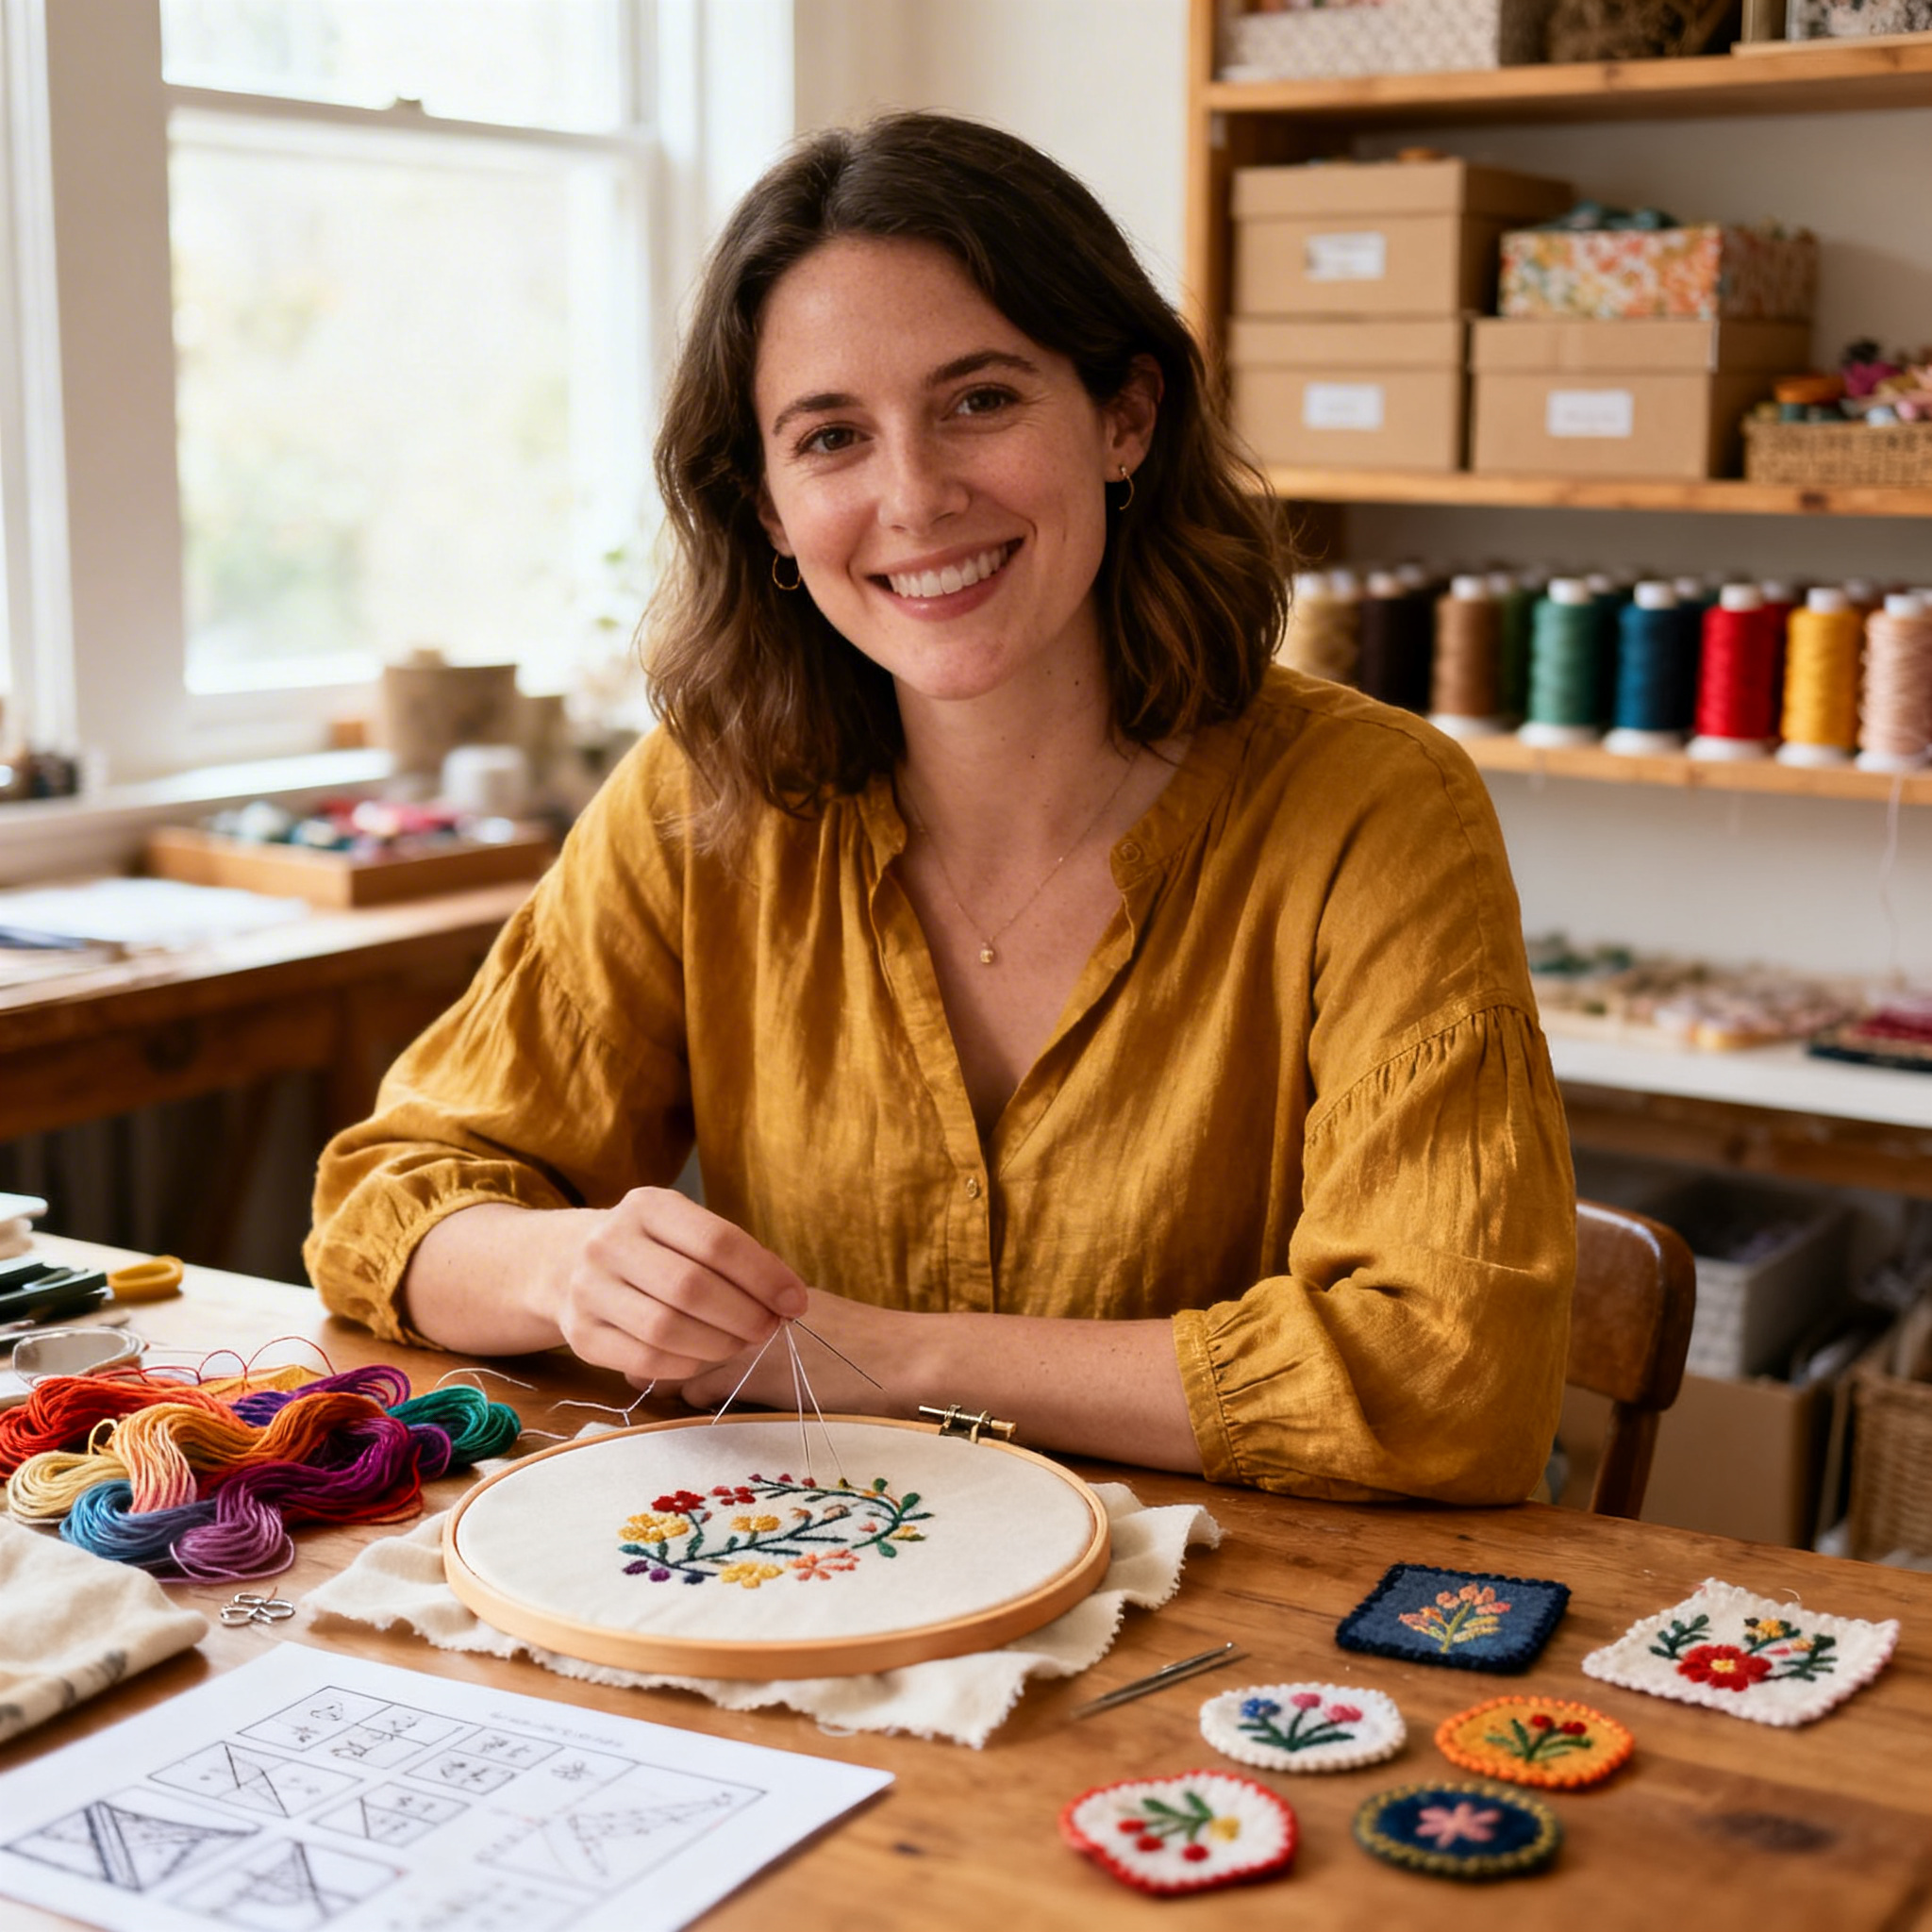
I’m Sophie Caldwell, the author behind granaboom.com, and I believe hand embroidery is one of the simplest, most relaxing ways to create something beautiful with your own hands. I started this blog to help beginners learn hand embroidery without feeling overwhelmed by complicated instructions or “perfect” results.
Here you’ll find beginner-friendly guides to decorative embroidery stitches, along with clear step-by-step practice ideas and patterns you can use to build confidence. My focus is on making the learning process easy: simple explanations, helpful stitch combinations, and small projects that look polished even when you’re just starting out.
Welcome to granaboom.com—grab your hoop, choose a few colors, and let’s stitch one line at a time.