How to Choose Sashiko Thread and Fabric for Authentic Results
How to Choose Sashiko Thread and Fabric for Authentic Results
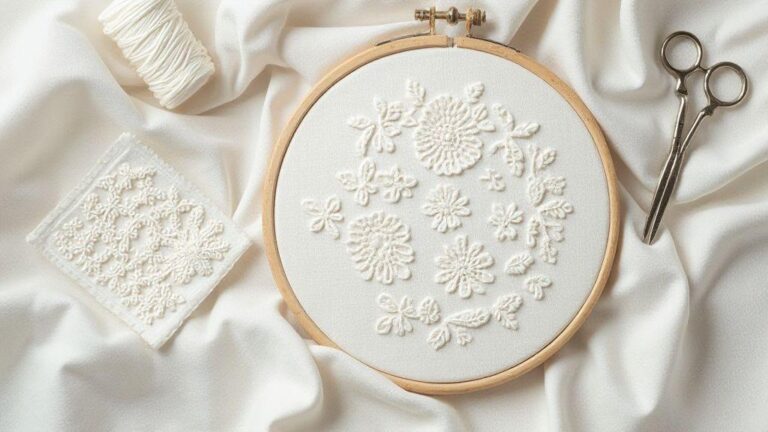
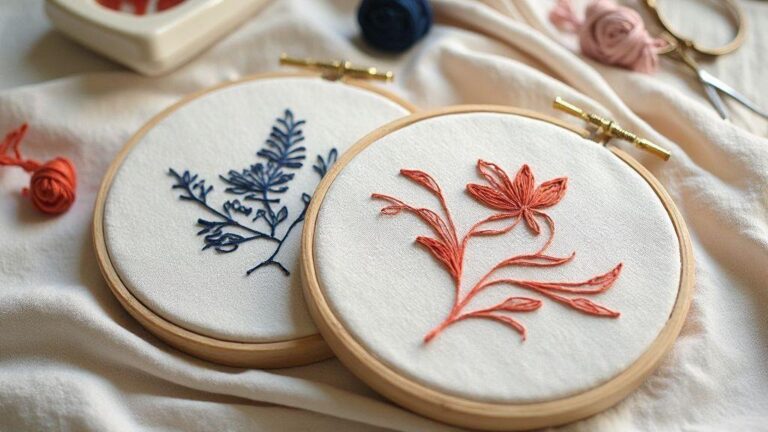
You’ll find that the texture of your thread and the weight of your fabric set the tone for sashiko. This guide helps you choose thread and fabric that deliver authentic results, with practical tips you can test on scraps before you commit to a full piece.
Sashiko thread types
You’ll love how different threads change the look of sashiko. Cotton floss gives a dusty, handmade vibe, while perle cotton adds a subtle shine and wears well. For a subtle, flat stitch, use plain cotton that stays quiet against the fabric. For a bold line, choose a thicker thread so your stitches stand out. The key is to pick a thread that works well with your needle and fabric weight so your patterns stay neat and even.
Next, consider fiber content. Mercerized cotton holds color better and resists fraying, helping your line stay crisp. For heavier fabric, a slightly thicker thread reduces bunching. For smoother, delicate fabrics, a finer thread gives a neat, tidy line. Always test a small sample on your fabric before committing to a full piece.
If you blend colors, test how the thread’s dyed tones sit on your fabric. Some threads read brighter on white, others soften on natural linen. You want contrast for your patterns but not so loud it hurts the eye. Practice on scrap fabric to see how your thread reads in real light. Your final choice should feel right for you and your project.
Best thread for sashiko by use
For light fabrics and delicate patterns, a softer cotton thread works best. It glides through easily, keeping stitches even. For dense patterns on sturdy linen, go thicker to avoid the line sinking into the weave. For bold, graphic looks, high-contrast colors make stitches pop. For mending or reinforcing fabric, choose a strong, durable thread.
If you’re aiming for a traditional look, match your thread to classic sashiko colors like white on blue or natural on natural. For modern twists, mix hues to create depth. In short, choose by fabric weight, visibility, and how much you want the thread to shadow the fabric. The best thread lets your pattern breathe and your stitches sit nicely.
For hand-stitched projects that travel well, pick a thread that doesn’t fuzz much and stays clean after washing. If your project is framed or displayed, a glossy or crisp thread can give a museum-worthy line. The goal is clarity: stitches should tell the story without getting muddy.
Compare twisted and perle-style threads
Twisted cotton threads are classic: they twist tightly for a smooth, uniform line that reads clean on light fabrics. They’re forgiving and easy to handle, great for learners. Perle-style threads are shinier and stiffer, making stitches stand out more—good for bold edges or decorative accents.
Twisted threads fluff less after washing, keeping work neat. Perle threads hold their shape, so lines stay crisp after wear. If you want a soft, traditional look, twisted threads are your friend. For a modern, high-contrast surface, perle adds punch. Try both on scraps to feel which texture you prefer.
Durability is similar for both types. Perle can be tougher to thread through dense fabric, so you might need a sharper needle. Twisted threads glide easier but can wear more on rough surfaces. Choose what fits your stitching style and the finished piece you want.
Quick rule for sashiko thread weight
Pick a thread weight that matches your fabric and stitch size. If your fabric is light, go lighter. If it’s heavy, you can go a bit thicker. Aim for a balance where the thread neither sinks into the weave nor sits so raised that it traps lint. Test on a tiny swatch the same size as your intended area to compare with your needle.
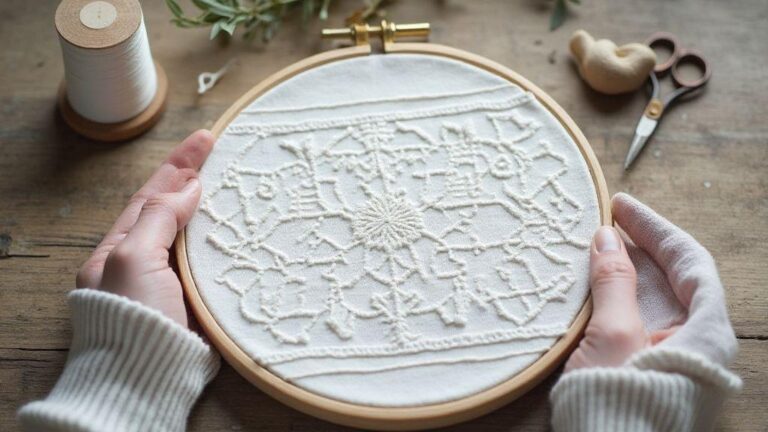
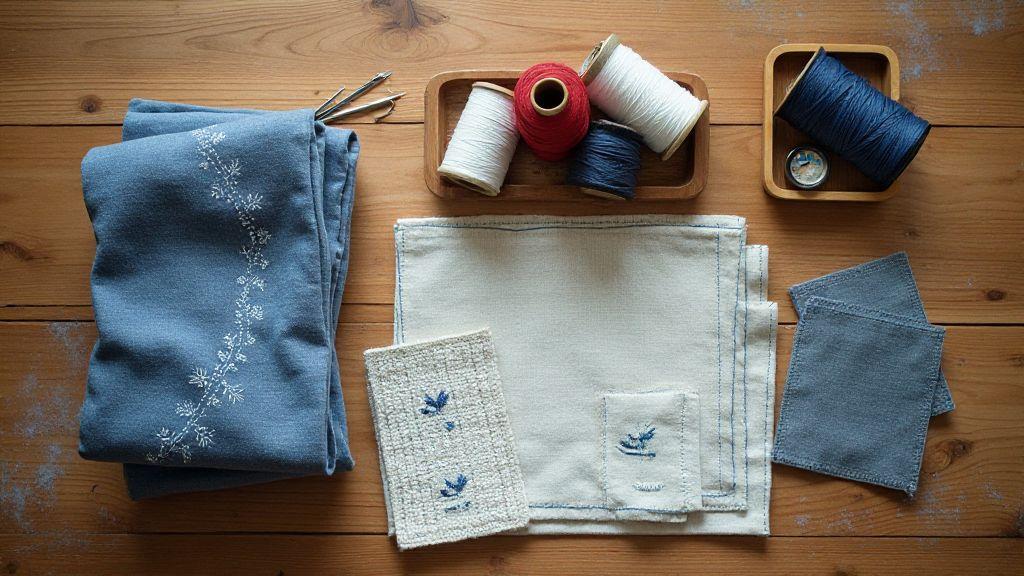
Sashiko fabric selection
Sashiko is about texture and restraint. Start with a plain, even-weave base so your pattern reads clearly. If the fabric is too loose, your stitches pucker; if it’s too stiff, you’ll fight every stitch. The goal is a steady surface that guides your needle without fighting you. Think of fabric as your canvas: the better it behaves, the sharper your design looks.
When you shop, look for fabrics labeled for sashiko or embroidery with a smooth hand and tight weave. You want a fabric that doesn’t stretch much under needle pressure. If unsure, test a tiny sample by stitching a few lines. A balanced fabric helps your thread lay evenly and your stitches stay consistent across the project. Also consider the environment—wash-and-wear fabrics may be pre-shrunk, so you don’t distort your design later.
If you have a project in mind, tailor your fabric choice to it. For samplers, plain cotton lets the math of your stitches stand out. For clothing or patch repairs, a heavier base can take a dense pattern without puckering. Your goal is a quiet stage that supports your thread, not a loud partner that competes with it.
Sashiko fabric for beginners: plain cotton
Plain cotton is a great teacher when you’re starting. It’s steady, predictable, and forgiving. The weave helps the needle follow a straight line, making your first stitches feel doable. Choose a cotton with a tight, even weave so stitches don’t skew or bunch. The more even the fabric, the easier it is to read your pattern.
As you practice, you’ll see how different cottons behave. Lighter cotton snaps back quickly for a crisp line; heavier cotton offers more drag to help control stitch length. Plain cotton remains useful for testing new patterns or stabilizing a project before moving to more complex fabrics. Keep a few swatches on hand to compare how your thread sits on different cottons.
Choosing sashiko thread and fabric for projects
Your thread choice should complement your fabric. A slightly thicker thread sits up on the weave to make your pattern pop, while a finer thread blends for a subtler look. For dense motifs, go a touch thicker to keep the stitches readable; for delicate lines, use a finer thread.
Fabric matters as well. Very textured fabrics can disguise stitches; too-smooth fabrics can let threads slide. Look for a neutral base color that makes your thread stand out, or opt for a complementary contrast if you want the design to shout. If you’re budget-conscious, start with plain mid-weight cotton and grow into specialty fabrics as your skills grow.
When you pair the right thread with the right fabric, sashiko becomes a confident pattern rather than a guess. If you struggle with tightening or spacing, try a firmer fabric or loosen your stitch slightly. Small tweaks can turn a rough line into a clean, deliberate stroke.
Cotton sashiko thread vs embroidery floss
Sashiko threads are built for sturdy, even stitches, while embroidery floss adds color and texture in lighter work. Cotton sashiko thread has a matte finish and a firm twist, helping stitches sit neatly with consistent density. Embroidery floss is smooth and glossy, lending a delicate or haloed look to sashiko-style shapes. Your choice affects not just the look but how long the piece lasts and how you care for it.
For a traditional look, cotton sashiko thread breathes with the fabric and resists fraying. If you want a modern twist, embroidery floss works for color play, but you’ll trade some crisp, dense texture for a lighter, shinier finish. Floss can be harder to thread and may split, so test color combinations on scraps first.
The right choice depends on fabric, stitch length, and whether you want a bold silhouette or a whisper-soft line. Care needs differ as well: cotton sashiko thread tends to endure washing, while embroidery floss can shift or soften with washing, especially variegated or waxed varieties.
Strength and stitch look of each
Cotton sashiko thread gives a crisp, compact stitch that reads as a solid line. It’s easier to control density and creates a uniform look. Embroidery floss yields softer, rounder stitches with a relief-like texture. If you’re emphasizing color play or a painterly effect, floss offers flexibility.
Pair sashiko thread with a kobo needle and a smooth fabric for a tidy, durable finish. Floss can split and fray, so threading and tension matter. For a bolder look, sashiko thread provides clarity that floss may not always match. If you want a soft shading effect or vintage charm, floss can work with careful adjustment of tension and stitch size.
When embroidery floss works for sashiko
Floss works for color experiments and decorative effects. If you’re combining multiple colors to create gradients or floral motifs, floss can make the design pop. It’s also suitable for small projects where delicate lines read like embroidery on top of the fabric. Use a tight hoop and careful hand to prevent snagging, and opt for smaller stitches to keep floss from shading or bunching.
Floss shines on pieces not frequently washed or displayed as art. On looser weaves like linen or cotton, floss can fill spaces with bold color blocks. For beginners, floss is forgiving for trying patterns quickly, but manage fraying and strand splitting. Test color combinations on scraps first so your final piece reads as intended.
Reserve floss for fine decorative work
Reserve embroidery floss for fine decorative work where you want bright color accents without heavy texture. For borders, highlights, or small motifs, floss adds a playful shimmer while you keep main lines crisp with sashiko thread.
Match sashiko thread weight to fabric
Sashiko shines when you pair the right thread with the fabric you’re using. Choose a thread weight that matches your fabric density so stitches sit balanced. If your fabric is light, go lighter; if it’s heavy, go bolder. Test on a scrap to see whether the thread disappears or drags.
If you’re stitching a large pattern, you might prefer a slightly heavier weight to keep lines crisp from a distance. For tiny motifs, a finer thread keeps the pattern legible. The right match makes your work look intentional and professional.
How weight changes stitch visibility
Thread weight changes how visible stitches are. A lighter thread on dense fabric can fade into the background, a medium weight on mid-weight fabric gives a clear line, and a heavier thread on a looser weave creates bold lines that stand out. Test edge clarity: if edges look jagged, try a lighter thread or tighter fabric. If the line bleeds, use a heavier thread or stiffer fabric.
Pick weight by fabric weave and density
Thicker threads pair with looser weaves, letting stitches sit into gaps without sinking. On dense weaves, lighter threads stay visible without overpowering texture. Start with a medium weight as a baseline and adjust after test stitching.
Your fabric choice sets the stage. Traditional indigo sashiko with dense weave often benefits from a medium to light thread for a crisp line. Linen or cotton blends with more openness can handle a slightly heavier thread to stay bold.
Use thicker thread for bold running stitches
For a bold look, use a thicker thread so each pass makes a strong impact. Beginners can start with thicker threads to learn control; as you gain skill, switch to thinner threads for finer details, while keeping that bold effect when needed.
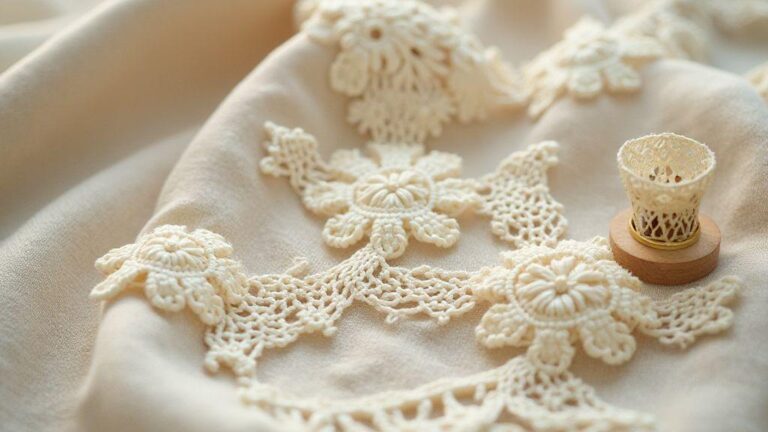
Traditional sashiko fabrics and authentic sashiko materials
Sashiko is more than a stitch; it’s a way to honor texture, color, and history. The classic look comes from sturdy, simple materials that hold a stitch well and wear nicely. Traditional sashiko fabrics often have a quiet, matte finish that takes indigo dye beautifully. The right fabric should grip the thread enough to prevent knots but not so tight that it fights your needle. Materials should feel honest—able to stand the test of time and keep showing craftsmanship for years.
Common traditional fabrics include cotton and hemp. Cotton is breathable, takes dye well, and holds an even weave. It’s forgiving for beginners. Hemp is sturdy with a natural sheen, giving a rustic, rugged charm. Hemp wears well but can be stiffer out of the box, so you may need to soften it before stitching. Your choice depends on whether you want a soft, classic surface or a tougher, long-lasting piece.
Where to source authentic sashiko materials
Look for shops specializing in traditional textiles or sashiko supplies. Seek fabrics with clear weave counts and dye markings that signal authenticity. Real sashiko fabrics have a matte surface with minimal sheen so stitches stand out. Ask about where the fabric was woven and how it was dyed to ensure authenticity.
Choose vendors that provide swatches or clear photos of texture. Test how the fabric handles a needle before buying a full bolt. Inquire about weave type, thread compatibility, and recommended needle size. If possible, visit shops with handwoven options to feel the texture and get expert tips on dye depth and aging.
Indigo dye, care and colorfastness
Indigo looks deep and rich, but it requires understanding colorfastness and care. Indigo sits on the surface and can rub off if mishandled. The goal is vibrant colors with stitches that stay crisp. A gentle routine preserves the look and feel of traditional indigo over time. Indigo can bleed when new, especially before fully cured, so initial washes matter.
Pre-wash indigo sashiko fabric to reduce bleeding. A gentle cold-water wash helps teach the fabric to shed loose dye. Air dry or lay flat to prevent stretching. If color remains on hands or water, repeat the wash or rinse with mild detergent. This upfront step saves you from surprises later and keeps your design crisp.
Washing and drying tips to keep stitches intact
Wash sashiko with indigo on a gentle cycle in cold water. Use mild detergent and avoid fabric softeners, which can dull color. Turn the piece inside out and use a mesh bag to reduce snagging. Air-dry flat away from direct sun. If you must tumble dry, use the coolest setting and a short cycle, but air-drying is safest for authentic results. Drying matters: heat can make threads brittle over time, so air-drying helps keep knots neat and stitches strong.
Test colorfastness before stitching
Test colorfastness on a small swatch before you start. Dampen the swatch and rub with a clean white cloth. If dye rubs off, soak the swatch in cold water with a pinch of mild detergent, then rinse and re-test. If there’s no transfer after washing, you’re good to go. This quick step saves you from color surprises and helps you trust your colors from needle to finished piece.
By testing first, you set a reliable baseline for your project. You’ll know how the indigo behaves with your chosen fabric and thread, guiding washes and handling with confidence. It’s a smart move that keeps stitches crisp and color true from day one.
If you’re ready to start, remember: the right combination of sashiko thread and fabric is the foundation of authentic results. How to Choose Sashiko Thread and Fabric for Authentic Results isn’t about strict rules—it’s about finding the balance that makes your work read clearly and feel right to you.

I’m Sophie Caldwell, the author behind granaboom.com, and I believe hand embroidery is one of the simplest, most relaxing ways to create something beautiful with your own hands. I started this blog to help beginners learn hand embroidery without feeling overwhelmed by complicated instructions or “perfect” results.
Here you’ll find beginner-friendly guides to decorative embroidery stitches, along with clear step-by-step practice ideas and patterns you can use to build confidence. My focus is on making the learning process easy: simple explanations, helpful stitch combinations, and small projects that look polished even when you’re just starting out.
Welcome to granaboom.com—grab your hoop, choose a few colors, and let’s stitch one line at a time.