Embroidery for Beginners Everything You Need to Start Today Bordado Ultimate Starter Guide with Tools Tips and Easy Projects
Essential embroidery supplies I buy first
I start with the basics that make embroidery feel easy, not scary. My go-to list includes a reliable hoop that fits the project size and holds fabric taut, sharp needles, and good threads. The right needle matters, too—soft fabrics need sharp needles, and tougher fabrics need sturdier ones. I keep a small assortment so I’m ready for any stitch I want to try. My favorites are a 6-inch hoop for small designs and a larger hoop for bigger patterns. When I shop, I look for smooth, snag-free surfaces and a comfortable grip. It’s the little things that keep me from fighting with fabric mid-stitch.
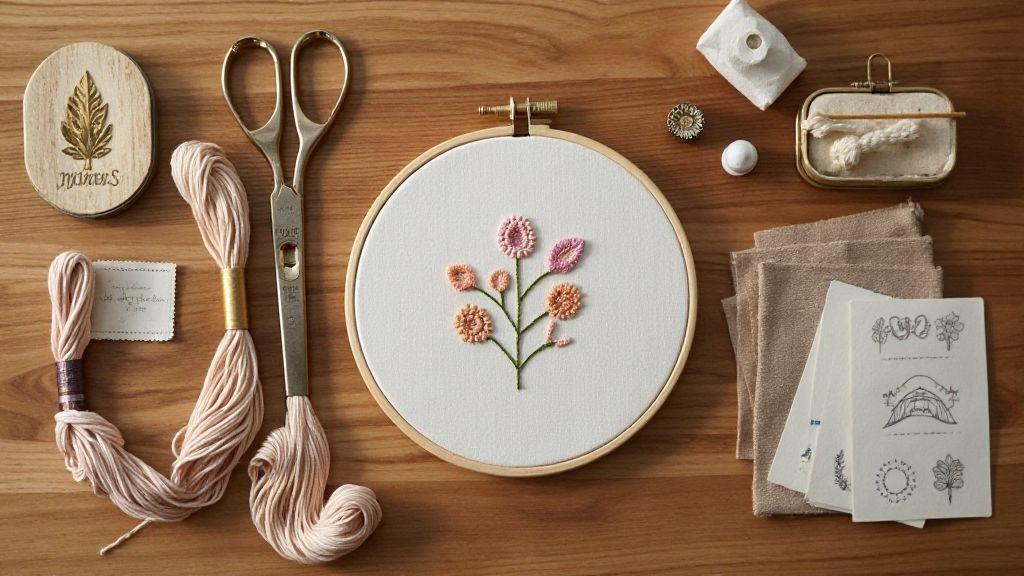
I also stock up on an assortment of embroidery floss in classic colors plus a few bright shades for accents. I like cotton floss that’s labeled for embroidery because it threads smoothly and doesn’t shed much. Having a color wheel or a simple chart helps me pick colors that pop. I always have a sturdy pair of scissors on hand for clean thread cuts and a thread snip that fits nicely in my hand. A needle threader makes threading easier, and a seam pen or fabric chalk marks gentle guides on fabric. Finally, I grab a small storage case to keep needles, threads, and pins organized so I can start quickly.
I keep a few handy extras for comfort and versatility. A thimble protects my finger on tougher fabrics, and a fabric stabilizer makes stabilizing designs easier. I keep a lighted magnifier for close work when I’m stitching tiny letters. A portable sharpener keeps my scissors and needles ready, and I never skip on a clean, flat workspace. All this stuff keeps me motivated to sit down and sew, not hunt down tools.
Embroidery supplies list I always use
I always start with a sturdy hoop and a sharp needle. The hoop holds fabric tight, which makes stitches neat and even. The needle size depends on fabric weight; I grab a few sizes so I’m ready for any project. I also keep a good thread cutter and a small pair of scissors specifically for threads. A spool of cotton embroidery floss in core colors plus a few bright accents covers most projects. I choose colors that work well together and keep a color guide nearby so I don’t guess at color mixing.
For fabrics, I stock easy-to-needle options first—cotton, linen, and a softer canvas. I like to wash and press fabrics before starting so there are no surprises later. An iron-on stabilizer or a light tear-away stabilizer helps when I’m stitching on delicate or stretchy textiles. I also keep a water-soluble marker or chalk for marking designs, plus a pencil for freehand tweaks. A small pin cushion, a magnet bar, and a pocket notebook help me organize ideas and patterns. This routine keeps my embroidery sessions smooth and enjoyable.
I don’t skip the little tools that save time. A needle threader helps when I’m in a hurry, and a blunt-tip pair of tweezers helps pull needles through tight stitches. A ruler or measuring tape comes in handy for aligning patterns, while a small carrying case keeps everything in one place for trips to a class or friend’s house. Finally, I keep a simple guide or cheat sheet of basic stitches so I can recall them without rummaging through a big book. With these supplies, embroidery is quick to begin and easy to finish.
What comes in a beginner embroidery kit
A beginner embroidery kit usually includes a ready-to-use hoop, a few threads, and simple patterns. I like when a kit offers a few friendly stitches to practice, like a satin stitch, backstitch, and some French knots. It’s great when the kit explains step-by-step tips in plain language, not just big pictures. A clear fabric piece helps me see progress as I practice. The kit’s pattern can be a small flower, initial, or simple shape that’s gentle to start with.
Most kits also provide a thread color chart, a small set of needles, and a washable marker or chalk for marking the fabric. Having a small pair of scissors and a needle threader is a big plus, especially for beginners. Some kits throw in a fabric stabilizer, which I find makes stitching on light fabrics much easier. If a kit includes a storage pouch or box, that’s a nice touch to keep all the bits organized as I learn. Overall, a beginner kit should feel encouraging, not overwhelming, and leave me confident to try more.
A good beginner kit also seeds the idea that embroidery is a hobby I can learn at my own pace. It should include simple projects that build my skills bit by bit, with clear, friendly instructions. If the kit mentions Embroidery for Beginners: Everything You Need to Start Today, I feel reassured that I’m getting a complete setup, not just random items. That phrase helps me trust the kit and dive in without hesitation.
Quick shop checklist
- Hoop that fits the project size
- A few sizes of needles
- Cotton embroidery floss in core colors a few brights
- Scissors and a thread cutter
- Marker or chalk for marks
- Fabric stabilizer (tear-away or water-soluble)
- Fabric in easy-to-stitch options (cotton/linen)
- Stitch guide or simple pattern
- Storage case or pouch for tools
Tools and hoops I recommend for beginners
Embroidery for Beginners: Everything You Need to Start Today is a great guide, and I’ll share the tools I reach for first. I started with a simple set and learned fast which items actually make stitching easier. For me, the right tools cut down frustration and help me keep my stitches neat. I’ll explain what works well for beginners, why I like certain options, and how I choose them when I’m starting a new project.
Tools act as helpers. A good pair of sharp scissors, a thread stand or a tiny clamp, and a light that won’t glare off the fabric all make a big difference. Dependable basics mean I don’t stall on a simple project because I can’t cut or thread a needle cleanly. When I organize my space with the basics in easy reach, I can focus on the stitch work and design rather than hunting for supplies.
If you’re deciding where to start, pick a few sturdy items that fit your budget and room setup. Do you work at a desk, on a kitchen table, or on a lap loom? Your space will shape what tools actually feel right in your hands. The goal is to create a comfortable, simple setup that keeps you stitching instead of grading your tools.
Embroidery tools for beginners: needles and hoops
I learned early that the needle choice matters as much as the fabric. For beginners, I stick with sharp embroidery needles in size 7 or 8 for most projects; they glide through cotton and linen without leaving big holes. If I’m working on felt or leather, I switch to needles with a beefier shaft so they don’t bend. A lightweight needle threader is a small gadget, but it saves my eyes and fingers when I’m fiddling with fine floss.
Hoops keep fabric taut and stitches neat. I started with a basic metal hoop because it’s sturdy and easy to clean. When I switch projects, I snag a slightly larger hoop to spread out the fabric and see the design clearly. For beginners, I recommend a 6- to 7-inch hoop. It’s big enough for most small designs, but not so big you lose control. A smooth inner ring helps the fabric avoid snags. If your fabric wants to slip, a bit of temporary adhesive or a light spray can help, but only use it if it won’t interfere with your fibers.
When picking needles and hoops, comfort comes first. If the hoop digs into my hand or the needle keeps bending, I’m unlikely to finish. Test a few options, hold them, and ask if stitching feels easy. The right tools feel invisible once I’m stitching—that’s how I know I’ve got the right pair.
Choosing the right embroidery hoop size
Hoop size depends on project type and fabric. For small, intricate designs, I use a 4- or 5-inch hoop to keep the design tight. For larger letters or motifs, I step up to 7- or 8-inch hoops to give my hands room and prevent crowding. I’ll swap hoops mid-project if needed.
If you’re a beginner, start with a 6-inch hoop for most projects. It’s versatile and fits on a table or lap without feeling top-heavy. Look for a hoop with a snug grip and a smooth inner edge to prevent slipping. The goal is steady tension, not over-tightening. If fabric distorts, loosen slightly and readjust. Use the smallest hoop that comfortably fits your design.
Lightweight cottons and even-weave linen respond best to smaller hoops, while thicker denims or felt can work with slightly larger hoops if tension remains even. Practice with your most-used fabric and test hoop sizes on a tiny sample.
Basic hand stitches I teach myself
I learned to sew by starting small and keeping things simple. Basic hand stitches feel like building blocks for all my embroidery projects. Each stitch teaches me control, even tension, and a little patience. Practicing on scrap fabrics helps me spot mistakes without wasting material. I notice how different threads look and feel, and I learn which stitches suit which textures.
I keep a steady approach: pick a project, gather a few stitches I can handle, and practice them one by one. This method keeps me from getting overwhelmed. Over time, my fingers remember the rhythm, and I can switch between stitches like changing gears. It’s not about speed; it’s about accuracy and confidence with the thread in my hand.
If you’re starting, remember that any progress is good progress. Celebrate small wins—a straight line, a neat backstitch, or a tidy knot. These moments build skills for larger designs. The goal is comfort enough to try more complex stitches later without fear of failing.
Hand embroidery stitches guide for beginners
I begin with the simplest stitches because they’re the safest path to confidence. The running stitch, backstitch, and satin stitch are my go-tos for basic outlines and fills. With the running stitch, I space stitches evenly and let the fabric show between them. The backstitch yields a solid line, ideal for outlining shapes or letters. The satin stitch fills areas with smooth color, but I go slowly to avoid gaps.
I learn where tension matters most. Too tight? puckers. Too loose? Stitches look loose and uneven. I test on scrap fabric first, listening for ripples or slack threads. When I find the right balance, stitches sit neatly on the surface. I tuck thread ends away to prevent poking through the front. Practice makes stitches steadier and work neater.
To stay clear, I label each stitch in a practice notebook. I note tension, length, and where I’d use it. This log helps me remember why I chose a stitch for a given area and how it affects the final look.
How to practice stitches on scrap fabric
I always start on scrap fabric—it’s forgiving. I tape the fabric to a flat surface so it doesn’t move as I stitch. I place a simple design or a few straight lines to focus on stitch control. Practicing in a small area helps me spot issues without wasting material.
I slow down and watch how the thread behaves. If stitches look uneven, I measure spacing and adjust needle grip and motion. I check for pulled fibers or distortion and fix them before moving on. When I finish a row, I compare it to the last to ensure consistency. Repetition builds muscle memory and confidence.
After I’m happy with basic stitches, I mix them. Outline a tiny shape with backstitch, fill with satin stitch, and finish with a few running stitches for texture. Practicing combinations on scrap helps me plan designs on real projects. It’s like rehearsing before a performance—I want smooth execution when the real piece starts.
Start with three simple stitches
I start with the running stitch, backstitch, and satin stitch. The running stitch warms up; it teaches even spacing and fabric behavior under the needle. The backstitch provides a clean, continuous line for borders. The satin stitch fills shapes with solid color, teaching control over length and density.
I practice in small steps: a line with running stitch, a connected line with backstitch, and a tiny shape filled with satin stitch. I focus on even thread tension and avoiding gaps. If I see puckering, I slow down and readjust grip. It’s about steady hands and patient progress.
Easy patterns and starter projects I try
Embroidery is a calm corner, and I love sharing simple, quick wins. My go-to patterns are forgiving and can be finished in one sitting—small shapes like hearts, leaves, and tiny flowers with friendly curves. I favor beginner-friendly patterns that fit in a small hoop for quick progress and motivation. Look for clean lines and generous negative space to make counting stitches approachable.
For starter projects, choose patterns that use a single stitch type with a limited color palette. It helps build confidence without juggling too many techniques. Keep the basics simple: cotton fabric, mid-tone thread, and a size 7 or 8 embroidery needle. The aim is to finish something you can wear or use—a small felt patch, a simple bookmark, or a tiny embroidered pouch.
Patterns that teach a technique in a friendly way are ideal. For example, a pirate-ship motif with straight lines or a sun with radiating rays helps you keep stitches even. If a stitch isn’t right, adjust on the next round or choose a new color to cover the misstep. The key is a steady rhythm and celebrating tiny successes along the way.
Simple designs for embroidery for beginners
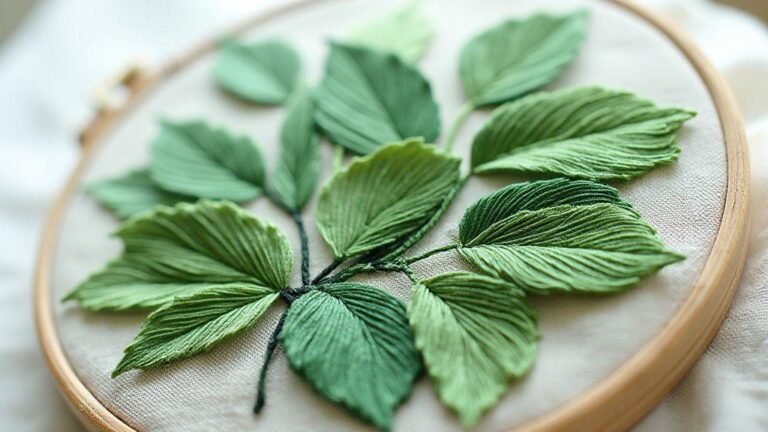
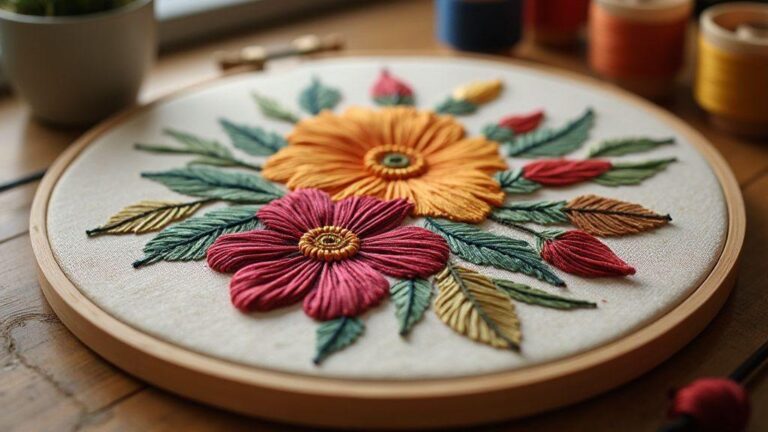
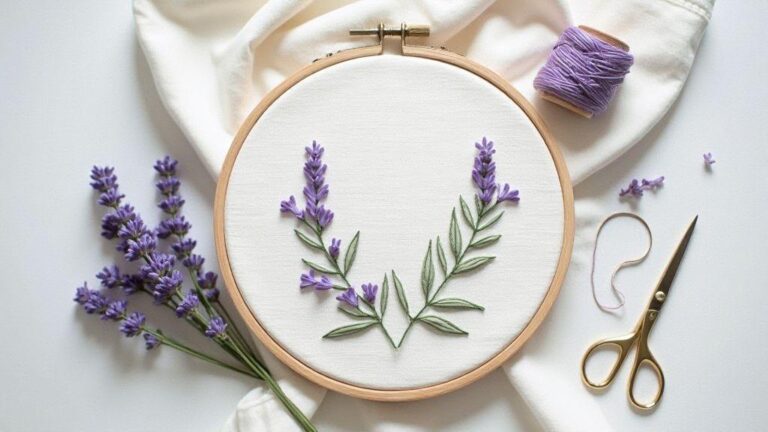
I lean toward designs with clear outlines and big shapes. A simple sunflower or a single leaf uses bold blocks of color and bigger gaps between stitches, which feels less stressful. I outline with a simple backstitch, then fill with satin stitch or a few short running stitches. The contrast between outline and fill makes the piece pop while keeping tension approachable.
Color choice matters but isn’t scary. I usually pick 2–3 non-clashing colors and add a lighter highlight. The result is friendly and readable on tote bags, napkins, or small hoops. If unsure, start with white thread on colored fabric for high contrast, which makes counting easier and stitches feel precise.
When you’re starting, print a faint pattern on fabric or trace it with a light pencil. It acts like training wheels and helps you keep the design centered. Perfection isn’t the goal—the handmade charm is. Practice will make lines flow and curves smoother.
Starter embroidery projects under an hour
I love quick wins, and these projects clock in under an hour. A small heart with a satin fill or a single flower with a few stems can be finished in one sitting. Secure the fabric in a hoop, outline the shape with backstitch, then fill with satin stitch, checking tension along the way. If needed, switch to a running stitch for faster filling.
Another favorite is a simple initial monogram on a linen square. Outline the letter with basic backstitch and fill with satin or split stitch. Keep thread colors minimal—one color for the letter, a contrasting edge to frame it. It’s a neat, compact project that teaches alignment and spacing.
If you’re working with scraps, a tiny patch with a border stitch looks polished. A tidy zigzag or blanket stitch around the edge—plus a small color dot in the center—gives a finished look and builds confidence for bigger tasks. These micro-projects are perfect for busy days or travel and still feel like real progress.
Project ideas with easy embroidery patterns
I keep a small notebook of quick ideas that fit the under an hour rule. Favorites include a happy sun, a crescent moon with stars, or a little boat on water. Each uses simple stitches and bold shapes, so I don’t get bogged down in tiny details. I note the stitches next to each pattern so I can grab supplies and go.
Other ideas focus on practical items: a tote corner with a simple leaf, a coaster with a geometric pattern, or a fabric tag with initials. These projects are useful, which keeps me motivated. Patterns that scale up or down easily let me tailor them to different projects later on. The more I stitch, the more I see how embroidery fits into everyday life, not just a craft room ritual.
Embroidery for Beginners: Everything You Need to Start Today is a topic I’m exploring with each tiny project. I’m learning which stitches pair well with certain fabrics, which colors pop in different backdrops, and how to frame a finished piece for gifting.
How I start embroidery step by step
Embroidery felt magical at first, but a simple plan makes all the difference. I start with a small, friendly project and gather the basic tools: a hoop, fabric, needles, thread, and scissors. I keep my workspace calm and organized, lay out a rough idea on paper, then transfer it to fabric with a light pencil or disappearing marker. This helps me see where I’m headed.
I set a rhythm of short, focused bursts, check tension, and switch to a shorter thread length if tangling occurs. I remind myself mistakes are part of learning. I keep projects small and approachable to build confidence with easy wins. When I finish, I press the piece gently with a warm iron through a cloth to set the stitches and savor the result.
Success means being able to repeat the steps with ease and enjoyment. If a session feels frustrating, I switch stitches or colors to refresh my mind. Save the complex ideas for later, once I’ve built a solid routine and confidence.
How to start embroidery: setup and prep
Getting ready is half the work. I choose sturdy fabric that won’t pucker, like even-weave cotton or linen, and prepare a clean, flat surface with light chalk guidelines. I clamp the fabric in a hoop, not so tight as to distort the weave. I keep a small bowl with needles, threads, scissors, and a thimble within arm’s reach. A tidy space helps me focus and spot mistakes early.
Next, I pick a simple pattern or design. I like clear shapes with some color variation, so I learn a few stitches without getting overwhelmed. I thread my needle with a single floss strand for delicate details or two strands for bolder lines, then tie a secure knot. I test a small stitch on scrap fabric to confirm tension and adjust as needed.
I set a gentle pace for myself, deciding how many stitches to do per session and where color changes will go. I keep a stash of easy-to-use threads and spare needles, so I don’t interrupt my flow. By the end of setup and prep, I’m ready to stitch with confidence, having lined up the basics for smooth sailing.
How to thread a needle and tie knots
Threading the needle can feel triumphant. I thread with a clean end of floss, twist the thread through the eye until it glides through. If the thread frays, I trim the end at a sharp angle for clean entry. A small drop of beeswax on the thread helps it glide through rougher weave.
I tie a single knot at the end to prevent slipping. A simple method: lay the thread along the fabric, make a small loop with the needle, and pull the thread through. I pull gently to avoid a bulky knot showing on the front. If using multiple strands, I separate them and knot again to secure. This keeps the thread in place so I can focus on stitches.
When stitching, I check the knot’s size and feel. A tight knot can create a bump on the back; a loose knot invites snags. I make the knot a touch smaller than my stitches so it sits neatly. If I lose the thread, I re-thread and tie a new knot at the end. Small, steady steps keep my project clean and my hands calm.
Follow a clear first project plan
I outline a simple plan for my first project, like a small leaf or a two-color shape. I map the design on scrap paper and translate it to fabric with light lines to stay on track. I master one stitch first—such as backstitch or satin stitch—and practice it on a small section before moving on. I set a realistic schedule, like 20 minutes a day, to stay motivated without burning out.
I break the plan into three stages: outlining, color filling, and finishing touches. Stage one is clean lines and steady work. Stage two adds color in deliberate sections with even tension. Stage three knots and trims threads, then frames or finishes the edge. I keep a small reference sheet handy with the stitches I’m using so I don’t forget steps. If I hit a snag, I revisit the plan, adjust the setup, and try again. A concrete plan keeps me moving and confident I’ll finish something I’m proud of.
Tips and fixes I use as a new stitcher
I started as a total beginner and learned by doing. My tips come from real mistakes and small wins, not glossy guides. I keep stitches neat by choosing simple patterns, using full threads, and watching how the fabric sits in the hoop. If a thread tangles, I stop, untangle, and rethread with a fresh needle. A light touch and even tension help me finish faster. If unsure, I redo a small section rather than pushing through a bad line.
I plan ahead. I pick a simple border or basic fill first to practice rhythm. I keep a tiny notebook with color notes and a quick sketch of the design. If I drop a stitch, I fix it promptly. A clean back is as important as a neat front, so I tidy threads under the fabric and trim close to the knot. The goal is steady progress, not perfection on the first try.
I test tension on a scrap before working on the final piece. I use a light touch with bigger needles for coarser fabrics, then switch to smaller needles for tighter fabrics. If the fabric puckers, I loosen the hoop slightly and readjust, not yank it off. I always keep a spare bobbin and a mini pair of scissors nearby. When stuck, I slow down, breathe, and break the stitch into tiny steps. A calm pace helps me spot mistakes early.
My fast troubleshooting checklist
1) Check tension: fabric sits snug in the hoop but not overly stretched. If puckering shows, loosen and re-hoop.
2) Re-thread: a skipped thread often comes from a loose needle or tangled thread. Rethread and re-test on scrap.
3) Inspect needles: a dull or bent needle causes skipped stitches. Replace with a fresh one.
4) Examine back: a messy back often means knots or too-long tails. Secure tails and trim close.
5) Test stitch on scrap: confirm color and stitch type before committing to the main piece.
6) Adjust pattern: if a section looks off, pause, compare with the design, and correct early to prevent bigger issues.
7) Clean up as you go: tidy threads under the fabric regularly to keep the surface smooth.
8) Take breaks: fresh eyes fix mistakes faster than rushed, tired hands.
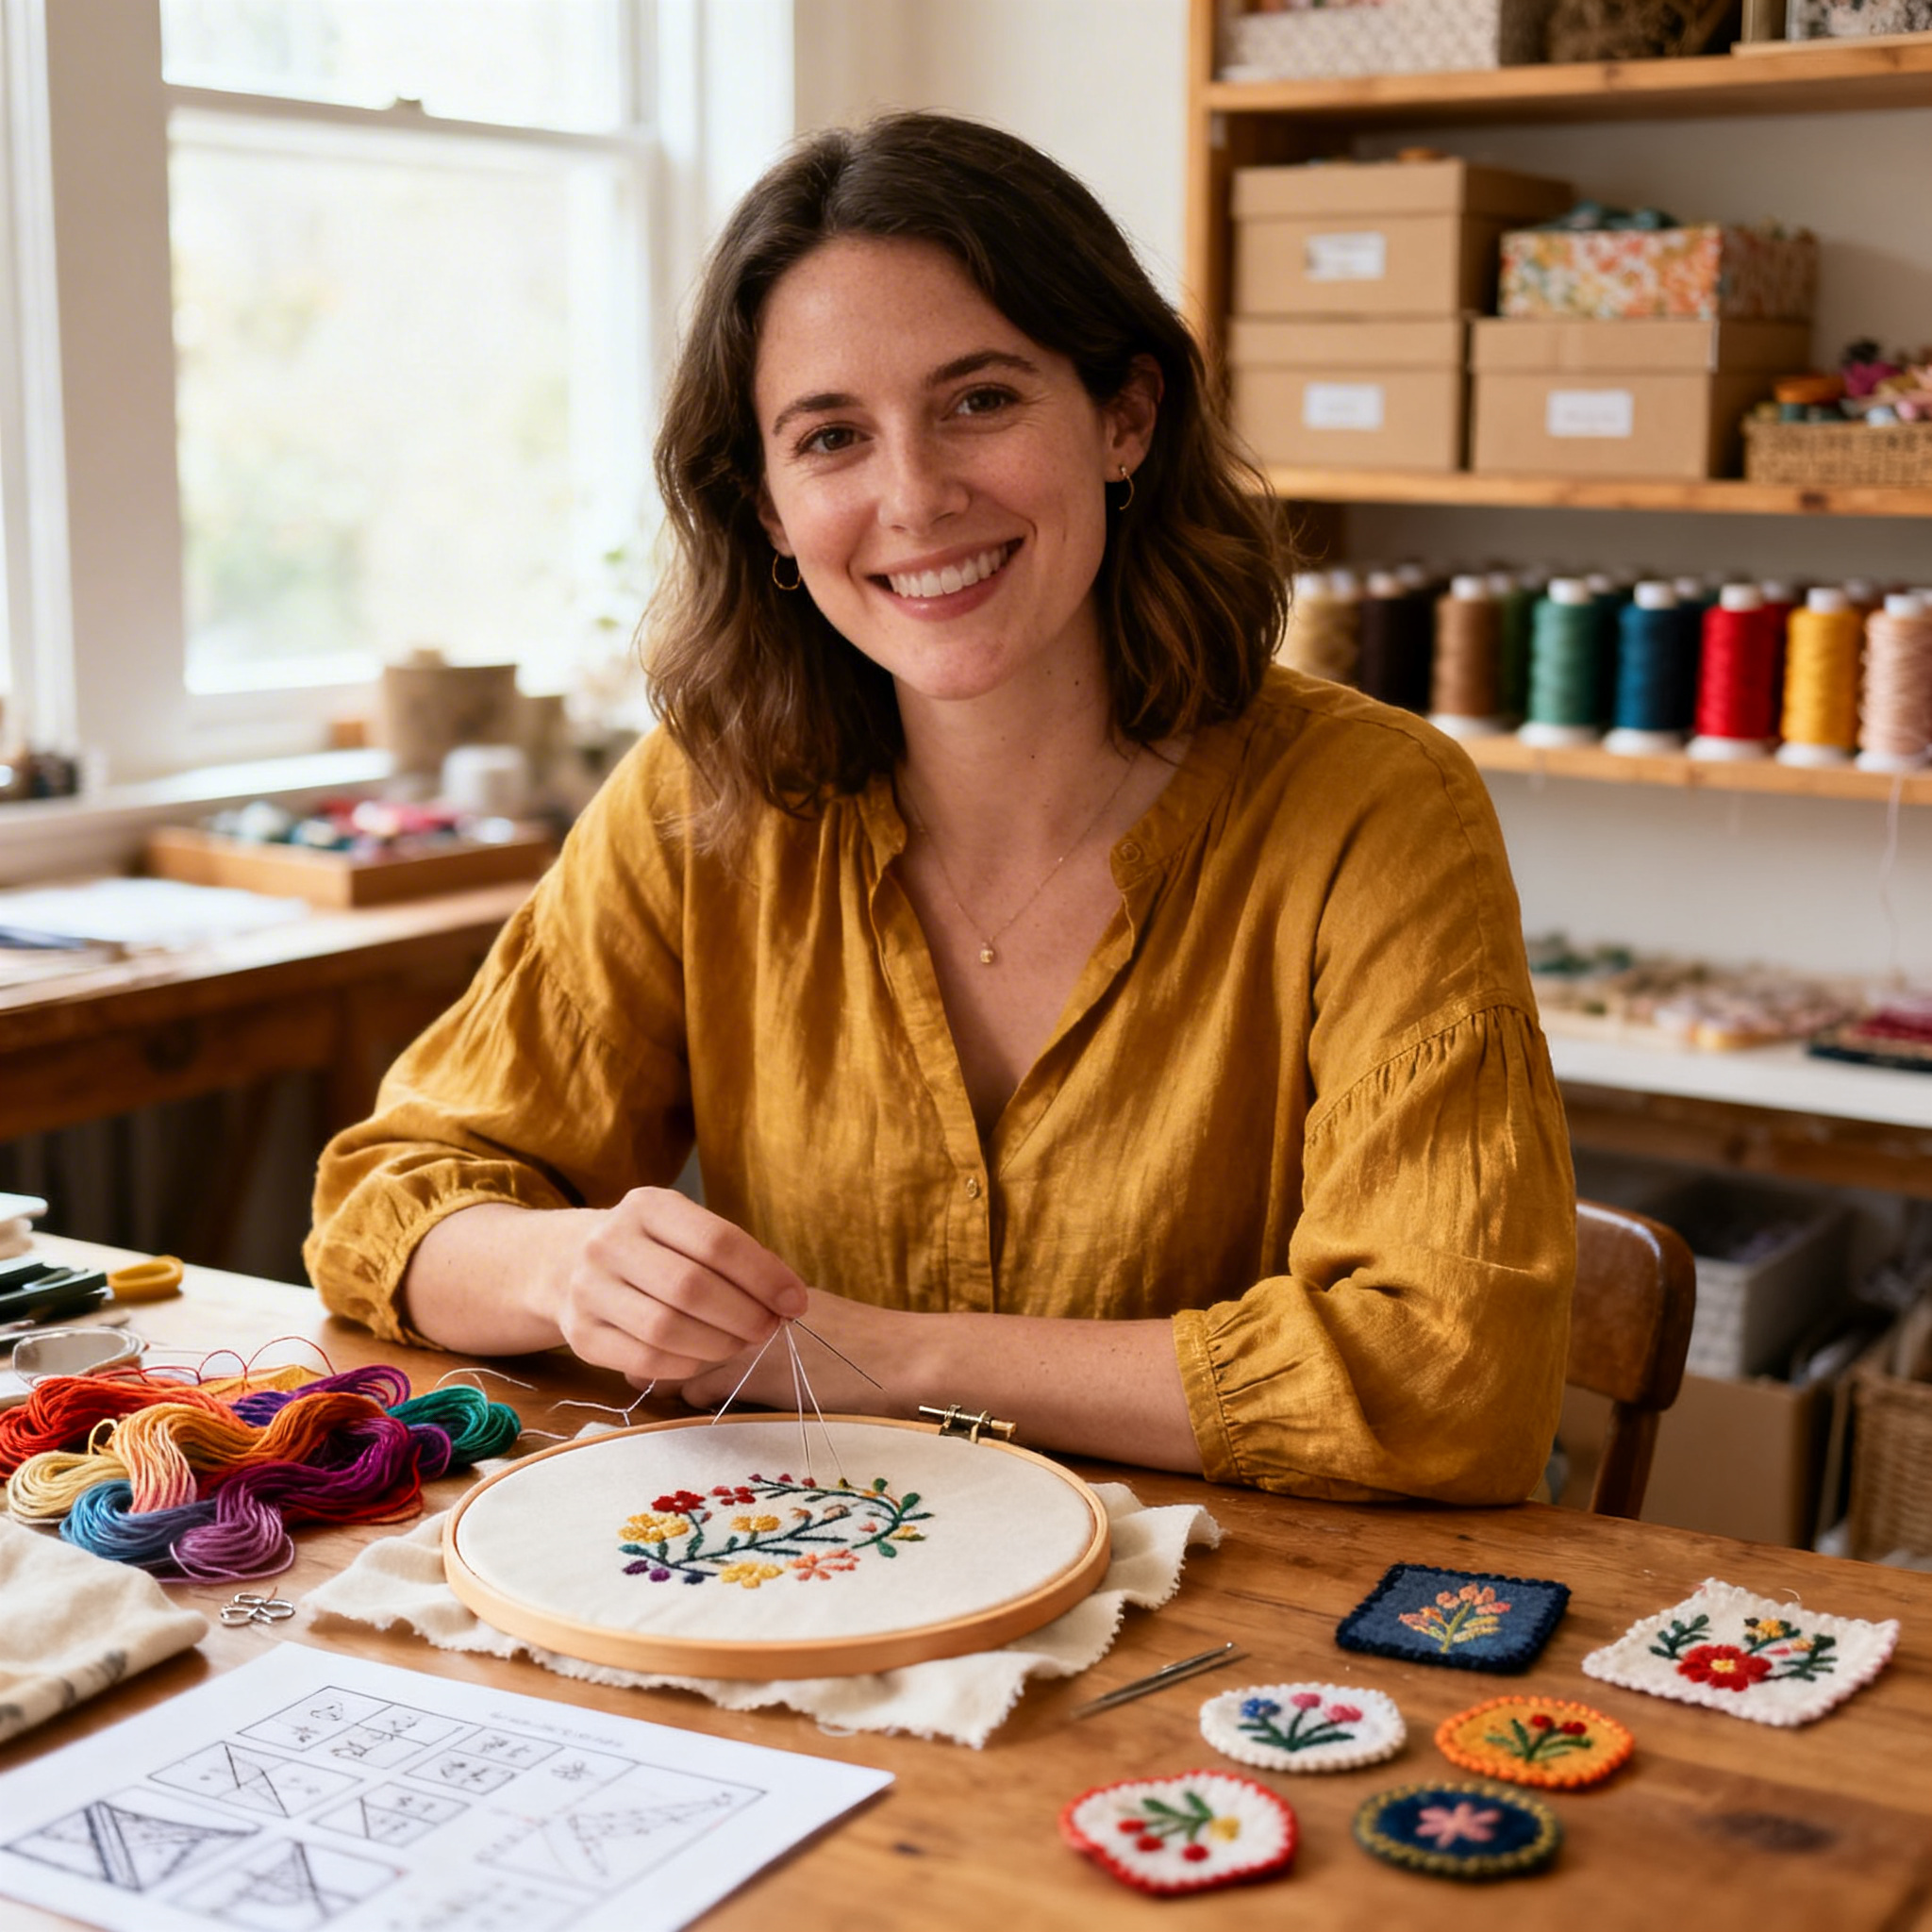
I’m Sophie Caldwell, the author behind granaboom.com, and I believe hand embroidery is one of the simplest, most relaxing ways to create something beautiful with your own hands. I started this blog to help beginners learn hand embroidery without feeling overwhelmed by complicated instructions or “perfect” results.
Here you’ll find beginner-friendly guides to decorative embroidery stitches, along with clear step-by-step practice ideas and patterns you can use to build confidence. My focus is on making the learning process easy: simple explanations, helpful stitch combinations, and small projects that look polished even when you’re just starting out.
Welcome to granaboom.com—grab your hoop, choose a few colors, and let’s stitch one line at a time.