DIY Embroidery Gift Ideas for Special Occasions Bordado Designs to Personalize Every Celebration
DIY Embroidery Gift Ideas for Special Occasions for Weddings
I love creating something unique for weddings, and DIY embroidery gifts let me add a personal touch. When choosing a project, I consider the couple’s tastes and the little moments they share. Embroidery turns a simple item into a memory—initials on a towel or a wedding-date linen bag. It doesn’t have to be fancy; thoughtful effort matters more than a store-bought present. A small, heartfelt project can shine as brightly as a larger gift.
For weddings, I favor practical items you can use every day: a pillow cover with a delicate floral design or a linen napkin set embroidered with the couple’s initials. DIY embroidery lets me tailor colors and motifs to their story. Minimalist couples get clean lines and restrained palettes; those who love cozy details get a favorite flower. It’s about beauty plus everyday function.
If time is tight, I choose quick projects with meaningful results: a hoop art with the wedding date and a simple border finished in an evening; monogrammed towels or a tote bag with initials completed in a weekend. The key is planning, gathering supplies, and keeping designs simple but thoughtful. I treat each stitch as a small message to the couple—careful, steady, and sincere.
Custom embroidered wedding gifts DIY
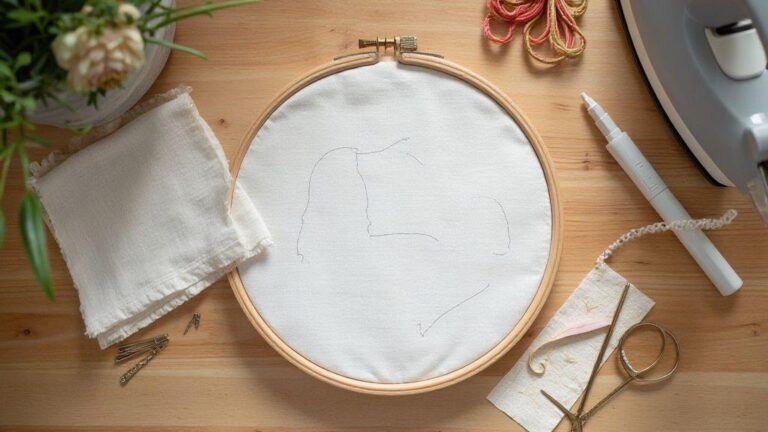
I start with a daily-use idea. A set of hand-embroidered napkins or a cushion cover with their wedding date stitched in a clean font feels intimate without being over the top. I pick fabrics easy to stitch on (cotton or linen) and keep thread colors soft and timeless. The process is calming: wash, iron, hoop, mark, stitch, finish. A tiny symbol—heart, ring, or flower—adds meaning.
For a playful route, I customize a tote bag or apron with a name and a small design. Stitches stay tight and even, giving the piece a polished look. If gifting a handkerchief, I add a delicate border and the couple’s initials in a serif font. The value lies in the effort and the story in each stitch. It’s not about perfect technique; it’s about a gift that feels made for them.
Monogram embroidery techniques for gifts
Monograms feel timeless and elegant. I start with a clean font and place initials in a balanced arrangement—triangular or vertical—depending on the item. Secure the fabric in a hoop and outline with a backstitch, then fill with satin stitch for a solid, smooth finish. For a softer look, I shade the inside with a split stitch to add depth. Monograms work on towels, napkins, pillow covers, and canvas tote bags.
Keep color simple—one or two thread colors that match the item. On a white napkin, a pale gray or espresso brown can prevent high contrast. Stitch slowly, keeping curves even and spacing consistent. If worried about fraying, finish with a rolled hem or a small patch behind the letters. Monograms refine gifts without needing extra decoration.
Finishing touches for wedding gifts
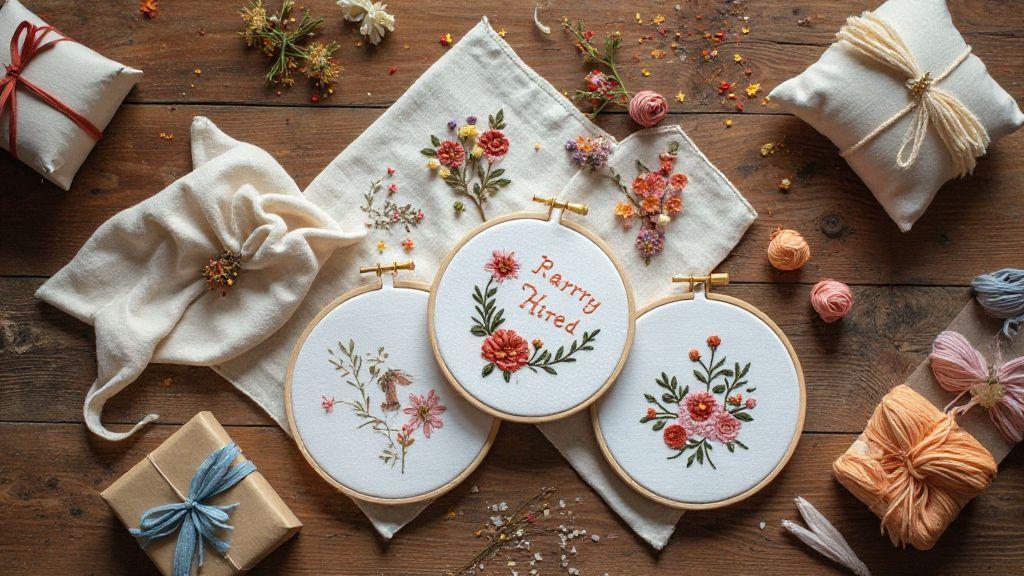
Finish with a neat, professional look: trim threads, secure knots, and iron from the back. If the item will be washed, pre-wash fabrics and use color-safe threads to prevent bleeding. Add a small label with the date and a note about the design. A simple satin bow or a custom tag completes the package without overpowering the embroidery.
Presentation matters too. A wrapped gift in soft tissue, tied with twine and a tiny stitched charm, makes unwrapping feel special. If possible, include care instructions so the couple knows how to preserve the embroidery. A thoughtful touch turns a good gift into something memorable—one of the core goals of DIY Embroidery Gift Ideas for Special Occasions.
Birthday embroidery gift ideas DIY
I love turning fabric into memories for birthdays. DIY Embroidery Gift Ideas for Special Occasions can feel personal without taking forever. Start with easy patterns I can finish in an afternoon—like a tiny heart, a name, or a cute animal. The joy comes when the recipient sees their initials stitched with care. Keep threads bright and cheerful so the finished piece feels celebratory.
When planning a birthday embroidery present, pick a theme that matches the person. For my sister, a floral motif in her favorite colors; for a friend who loves coffee, a mug with steam in pastel hues. If you’re new to embroidery, start with basic backstitch and satin stitch. The goal is a finished piece that makes the recipient smile, not a perfect gallery piece.
Also think about presentation. A small hoop with a birthday motif tucked inside a card makes the moment feel special. If gifting a pillow, choose soft fabric and a color that complements home décor. The value lies in color choices and fabric as well as the stitching.
Easy embroidery patterns for personalized presents
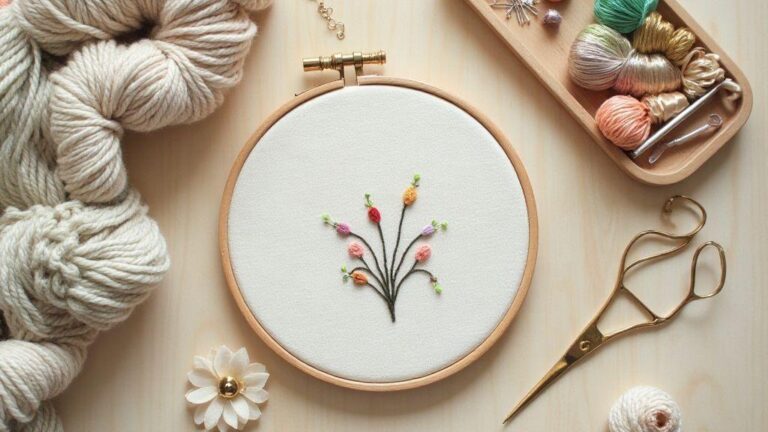
I keep a few go-to patterns that work for lots of people: a simple floral cluster, a heart with initials, or a tiny animal pattern. For beginners, use basic shapes and fill with long and short stitches for texture without overwhelm. When finished, press gently and mount to look polished rather than homemade.
If you want more personalization, add a short line of text like a name or date. A tiny For You or Happy Birthday works well on a small banner stitched at the top edge. Choose fonts that are easy to read, so the message stays clear after washing. The aim is a piece that feels thoughtful, not crowded.
For color, pick one main hue and two supporting shades. Keep the palette cohesive with the recipient’s favorites. If turquoise is loved, balance it with cream and coral. Use a light fabric to help the pattern pop.
Adding age and name details
Adding age and name gives the gift a personal touch. Stitch the name on a small banner or along the bottom edge. If the birthday is soon, add the age creatively, perhaps within a star or a heart. Clear, readable letters make a bigger impact than fancy fonts that blur over time.
When stitching a name, plan the space first. Measure how many letters fit and choose a simple, bold font. If the hoop is small, shrink the lettering to fit without crowding. For age details, keep it clean—just the number. The result is a keepsake that can be framed or worn as a decorative patch.
Durability matters. Use a stable fabric and finish the edge neatly so washing won’t distort the letters. If it’s a patch, iron on backing for longevity. The more personal the data, the more important clean technique and simple design become.
Baby shower embroidered gifts tutorial
I love making small embroidered gifts for a baby shower. Here’s a simple weekend project: choose a baby-friendly item like a small blanket, bibs, or burp cloths. Use soft colors and easy stitches such as backstitch and split stitch. Draft a tiny design—an animal or initial—and test it on scrap fabric first to keep the final piece neat and washable.
When finished, attach a simple care tag to remind new parents how to wash the item. A handmade gift is a memory in fabric. If you’re short on time, combine a small embroidery patch with store-bought items to create a thoughtful bundle. DIY Embroidery Gift Ideas for Special Occasions feel extra special when they’re personal, and that tiny personal touch matters to new parents.
Soft fabrics and safety tips
Choose soft fabrics patient with baby skin—muslin, cotton flannel, or bamboo blends. Avoid rough textures and fabrics that shed lint. Use baby-safe embroidery hoops and threads; avoid metal parts that could pose a choking risk. Use a larger backstitch on the visible side to prevent snagging. Double-knot ends and trim close. Keep the embroidery area away from edges to prevent fraying after washing.
Simple baby motifs to stitch
Tiny animals, stars, moons, hearts, and clouds read clearly on bibs and blankets. Draft a 2–3 inch motif and test outlines first. For beginners, use a simple backstitch for lines and satin stitch for filled shapes. You can combine two small motifs, like a star and a heart, for a gentle touch without crowding the fabric. Finish by tying off threads neatly on the back.
Care labels and washing tips
Attach a clear care label with simple instructions: machine wash cold, tumble dry low or line dry, avoid harsh detergents. Note that the embroidery is hand-stitched and should be handled with care. If labeling is handwritten, stitch it securely to a corner. For best results, finish with a light press on the reverse after washing so the embroidery remains crisp.
Holiday embroidered ornament ideas DIY
I love turning stitches into keepsakes for the season. I keep holiday ornaments small, bright, and personal, blending quick, cute designs with durable finishes so they last for years.
Seasonal motifs and colors
Classic motifs like reindeer, snowflakes, Christmas trees, and stars read instantly as holiday icons. Personalize with colors you love—soft red and forest green, icy blues with silver, or metallics for a contemporary sparkle. Use 2–3 colors per ornament to keep it clean and easy to finish. For a modern look, add a tiny heart or a geometric shape in metallic thread. Small, simple shapes read well on fabric and decorate without turning into a full project.
Color matters beyond the theme. Test color blocks on scrap fabric before you begin. If colors feel loud, mute them with a neutral backstitch so the main motif stands out. Repeat one contrasting color across all ornaments for a cohesive display.
When choosing threads, mix matte cotton with a touch of metallic for sparkle. Keep each ornament under about 4 inches in diameter so stitching remains crisp. If unsure about a motif, start with a simple outline and fill with short, consistent stitches. Finish by tying off threads neatly on the back and adding a small loop for a hanger.
Small stitches for ornaments
Small stitches help ornaments stay neat on a tiny surface. Use a hoop slightly larger than the fabric area to prevent puckering. Prefer backstitch for outlines, satin stitches for fills, and a single French knot for tiny dots. If pressed for time, outline shapes and fill densely with satin stitches. Add a dot of contrast color in a corner for polish. Test variegated threads on scrap fabric to see color shifts. Tie off securely and trim ends.
If you’re planning several ornaments, sketch designs to map stitches and keep negative space. Group motifs in the same color family so the set reads as a cohesive collection.
Storage to keep thread bright
Store embroidery floss in airtight containers or pill organizers, sorted by color family. A silica gel packet helps control moisture. Wind floss into neat, labeled skeins so you can grab the exact shade later. For travel, move the threads you’ll use into a small zip-top pouch. Refresh threads that dim with a bit of fabric-safe brightening product or a gentle rub. If a thread seems dull, swap it for a brighter shade. Keep the back clean and flat, tucking knots under a satin stitch to prevent poking through the front.
How I use bordado diseños para regalos personalizados
I love turning simple fabric into keepsakes. When choosing a bordado diseño for a gift, I think about the person and moment. A stitched name, a favorite pattern, or a small emblem can speak louder than a store-bought present. I keep the process practical: simple, tidy stitches and clear placement so the final piece feels personal without looking rushed. If I mess up, I rework it now, because a handmade gift should land with warmth, not worry.
I start by sketching ideas on paper, then translate them to fabric with care. The goal is thoughtful, not flashy. Designs that age well—like a favorite sweater that only gets cozier—keep their charm. Tiny details matter: neat edges, small stitches, and a subtle color choice that fits the recipient’s life.
When I finish, I double-check how the piece will be used. A decorative wall piece should be sturdy for display, while a garment needs flexibility in stitching. I value projects that become daily reminders of the giver. That practicality keeps my DIY Embroidery Gift Ideas for Special Occasions fresh in mind and in action.
Design placement and scale
I measure the fabric first and picture where the design will sit. Placement sets the mood: a centerpiece on a tote, a corner on a hat, or a small patch on a quilt square. I favor a calm ratio—one main element with a few supporting stitches. If the cloth is large, I scale up slightly but keep balance so nothing is overpowering. It’s like hanging a picture: too high or too low shifts the vibe.
Scale affects how long embroidery takes. Tiny motifs are delicate and quick; larger designs need more time and steadier hands. I pace myself, breaking large pieces into sections. I test the look by laying the fabric flat and imagining gifting it to someone I know well. The right scale makes the piece feel intentional, not crowded. I once placed a small floral on a denim pocket; it remained subtle and stylish, and the pocket still functioned smoothly.
Choosing colors that match the event
Color choice can set the entire tone. I pick colors based on the event and the recipient—soft pastels for birthdays, rich tones for anniversaries, or bright hues for cheerful celebrations. I consider how the item will be worn or used and choose threads that won’t fade after washing. A good rule: one dominant color with a few supporting shades for cohesion.
I also think about the fabric color and texture. Light backgrounds love crisp, high-contrast stitches, while dark cloth benefits from lighter threads for legibility. For wedding gifts, ivory and gold offer a timeless feel; for a kid’s item, a pop of primary colors can be playful. The goal is harmony, not chaos.
Color selection is a small lesson in empathy. If the recipient wears lots of blue, I weave in a complementary shade to help the design stand out without clashing. A well-chosen palette makes a gift feel thoughtful and tailored.
Test designs on scrap fabric
Always test designs on scrap fabric before sewing the real piece. It saves time and nerves. Tape or pin the pattern, run a few stitches, and check tension, stitch density, and how colors look together. Scrap fabric is a rehearsal ground for catching mistakes before they show on the final piece.
Notes on thread fraying, misaligned stitches, or color bleeding guide changes to the design or thread choices. Scrap testing helps decide whether to simplify the design or adjust scale. It’s a small effort that yields a clean, durable finish.
I treat scrap fabric like a rehearsal for a performance: a successful test increases confidence for the real piece. It also keeps embroidery enjoyable and low-pressure.
Materials, tools, and basic stitches I use
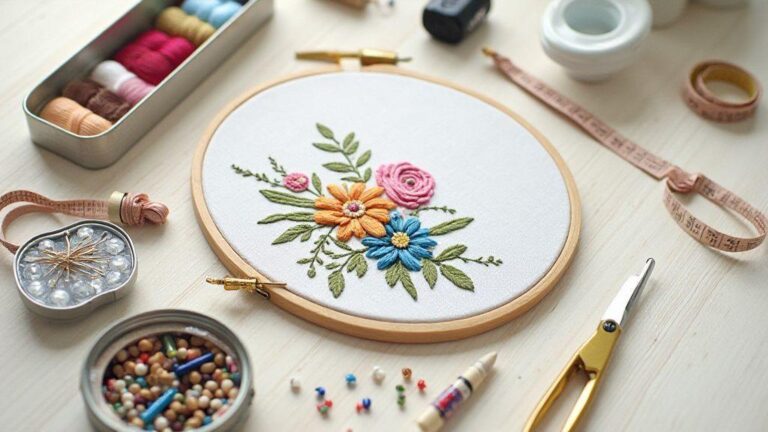
My embroidery kit fits in a small tin: scissors, a few embroidery floss skeins, a needle with a sharp eye, and a fabric hoop. I choose bright colors that pop, plus a neutral for outlines. Basics keep the process fast and stress-free.
Start with a small, easy design to test stitches on scrap fabric. Wash and iron the fabric before stitching to help the fibers lie flat. I carry a tiny bottle of thread conditioner to keep floss smooth and to prevent fraying. For storage, I keep organized color-specific bags.
A movable light helps me see tiny holes clearly. A fabric marker outlines stitches lightly (washes out later). Organization saves time and prevents tangled threads, which is the anchor of my embroidery routine.
Essential tools for DIY Embroidery Gift Ideas for Special Occasions
I start with the basics: a sturdy embroidery hoop, sharp scissors, and a needle sized for the fabric. The hoop keeps fabric taut for even stitches. A good pair of scissors trims threads cleanly, and a sharp needle with a large eye glides through fabric.
Keep a small floss range—neutrals plus a few bold colors. A water-soluble marker or chalk helps plan designs on the fabric. A needle threader is handy, especially when weaving in many ends. A compact thimble protects fingertips on tougher fabrics. Having a couple of needle sizes on hand provides flexibility for different materials. A small pincushion keeps pins handy during planning or transferring designs. All tools fit in a compact bag so you can craft anywhere and finish with a ready-to-gift piece.
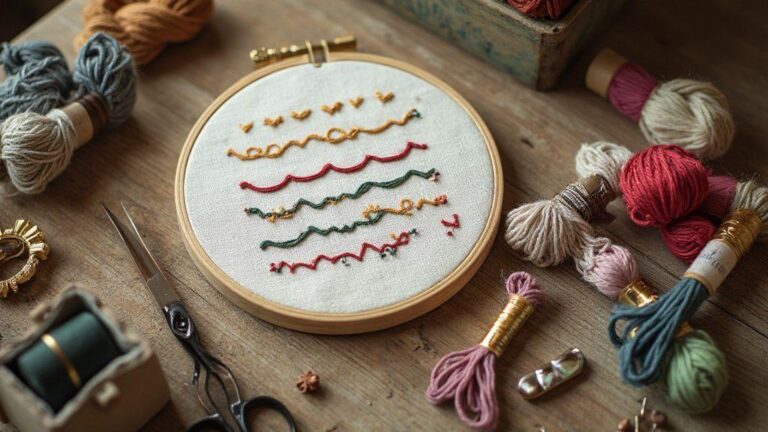
Basic stitches to learn: back, satin, French knot
- Back stitch: my go-to for clean lines. Start from the back, come up, and push the needle back past the previous stitch. Keep stitches even and close for a solid outline.
- Satin stitch (for fills and smooth surfaces). Bring the needle up, lay down tight adjacent stitches, and cover the area evenly for a glossy patch.
- French knot (dots and texture). Wrap the thread around the needle a couple of times, insert back near the start, and pull gently to make a tiny knot for dots or accents.
Keeping tools clean
Clean tools after each project. Wipe the needle to remove oils, wash hoops with warm water and mild soap, and dry thoroughly. Rinse fabric markings gently; if needed, use a dab of white vinegar to remove any leftover marks. Store ends in a spool or taped securely. Regular cleaning prevents rough edges and keeps future stitches smooth.
If you’d like to get started quickly, here’s a concise checklist you can keep handy:
DIY Embroidery Gift Ideas for Special Occasions: Quick-start Checklist
- Choose a usable item (napkins, towels, tote, or pillow).
- Pick a simple, meaningful motif and a clean font for initials or dates.
- Select 2–3 coordinating thread colors.
- Hoop the fabric, mark your design, and test on scrap fabric.
- Stitch slowly for even lines (backstitch, satin stitch, and small French knots).
- Finish with neat trimming, a light press from the back, and a care tag.
- Package with tissue, a small bow, and clear care instructions.
This approach keeps DIY Embroidery Gift Ideas for Special Occasions practical, personal, and ready to give.
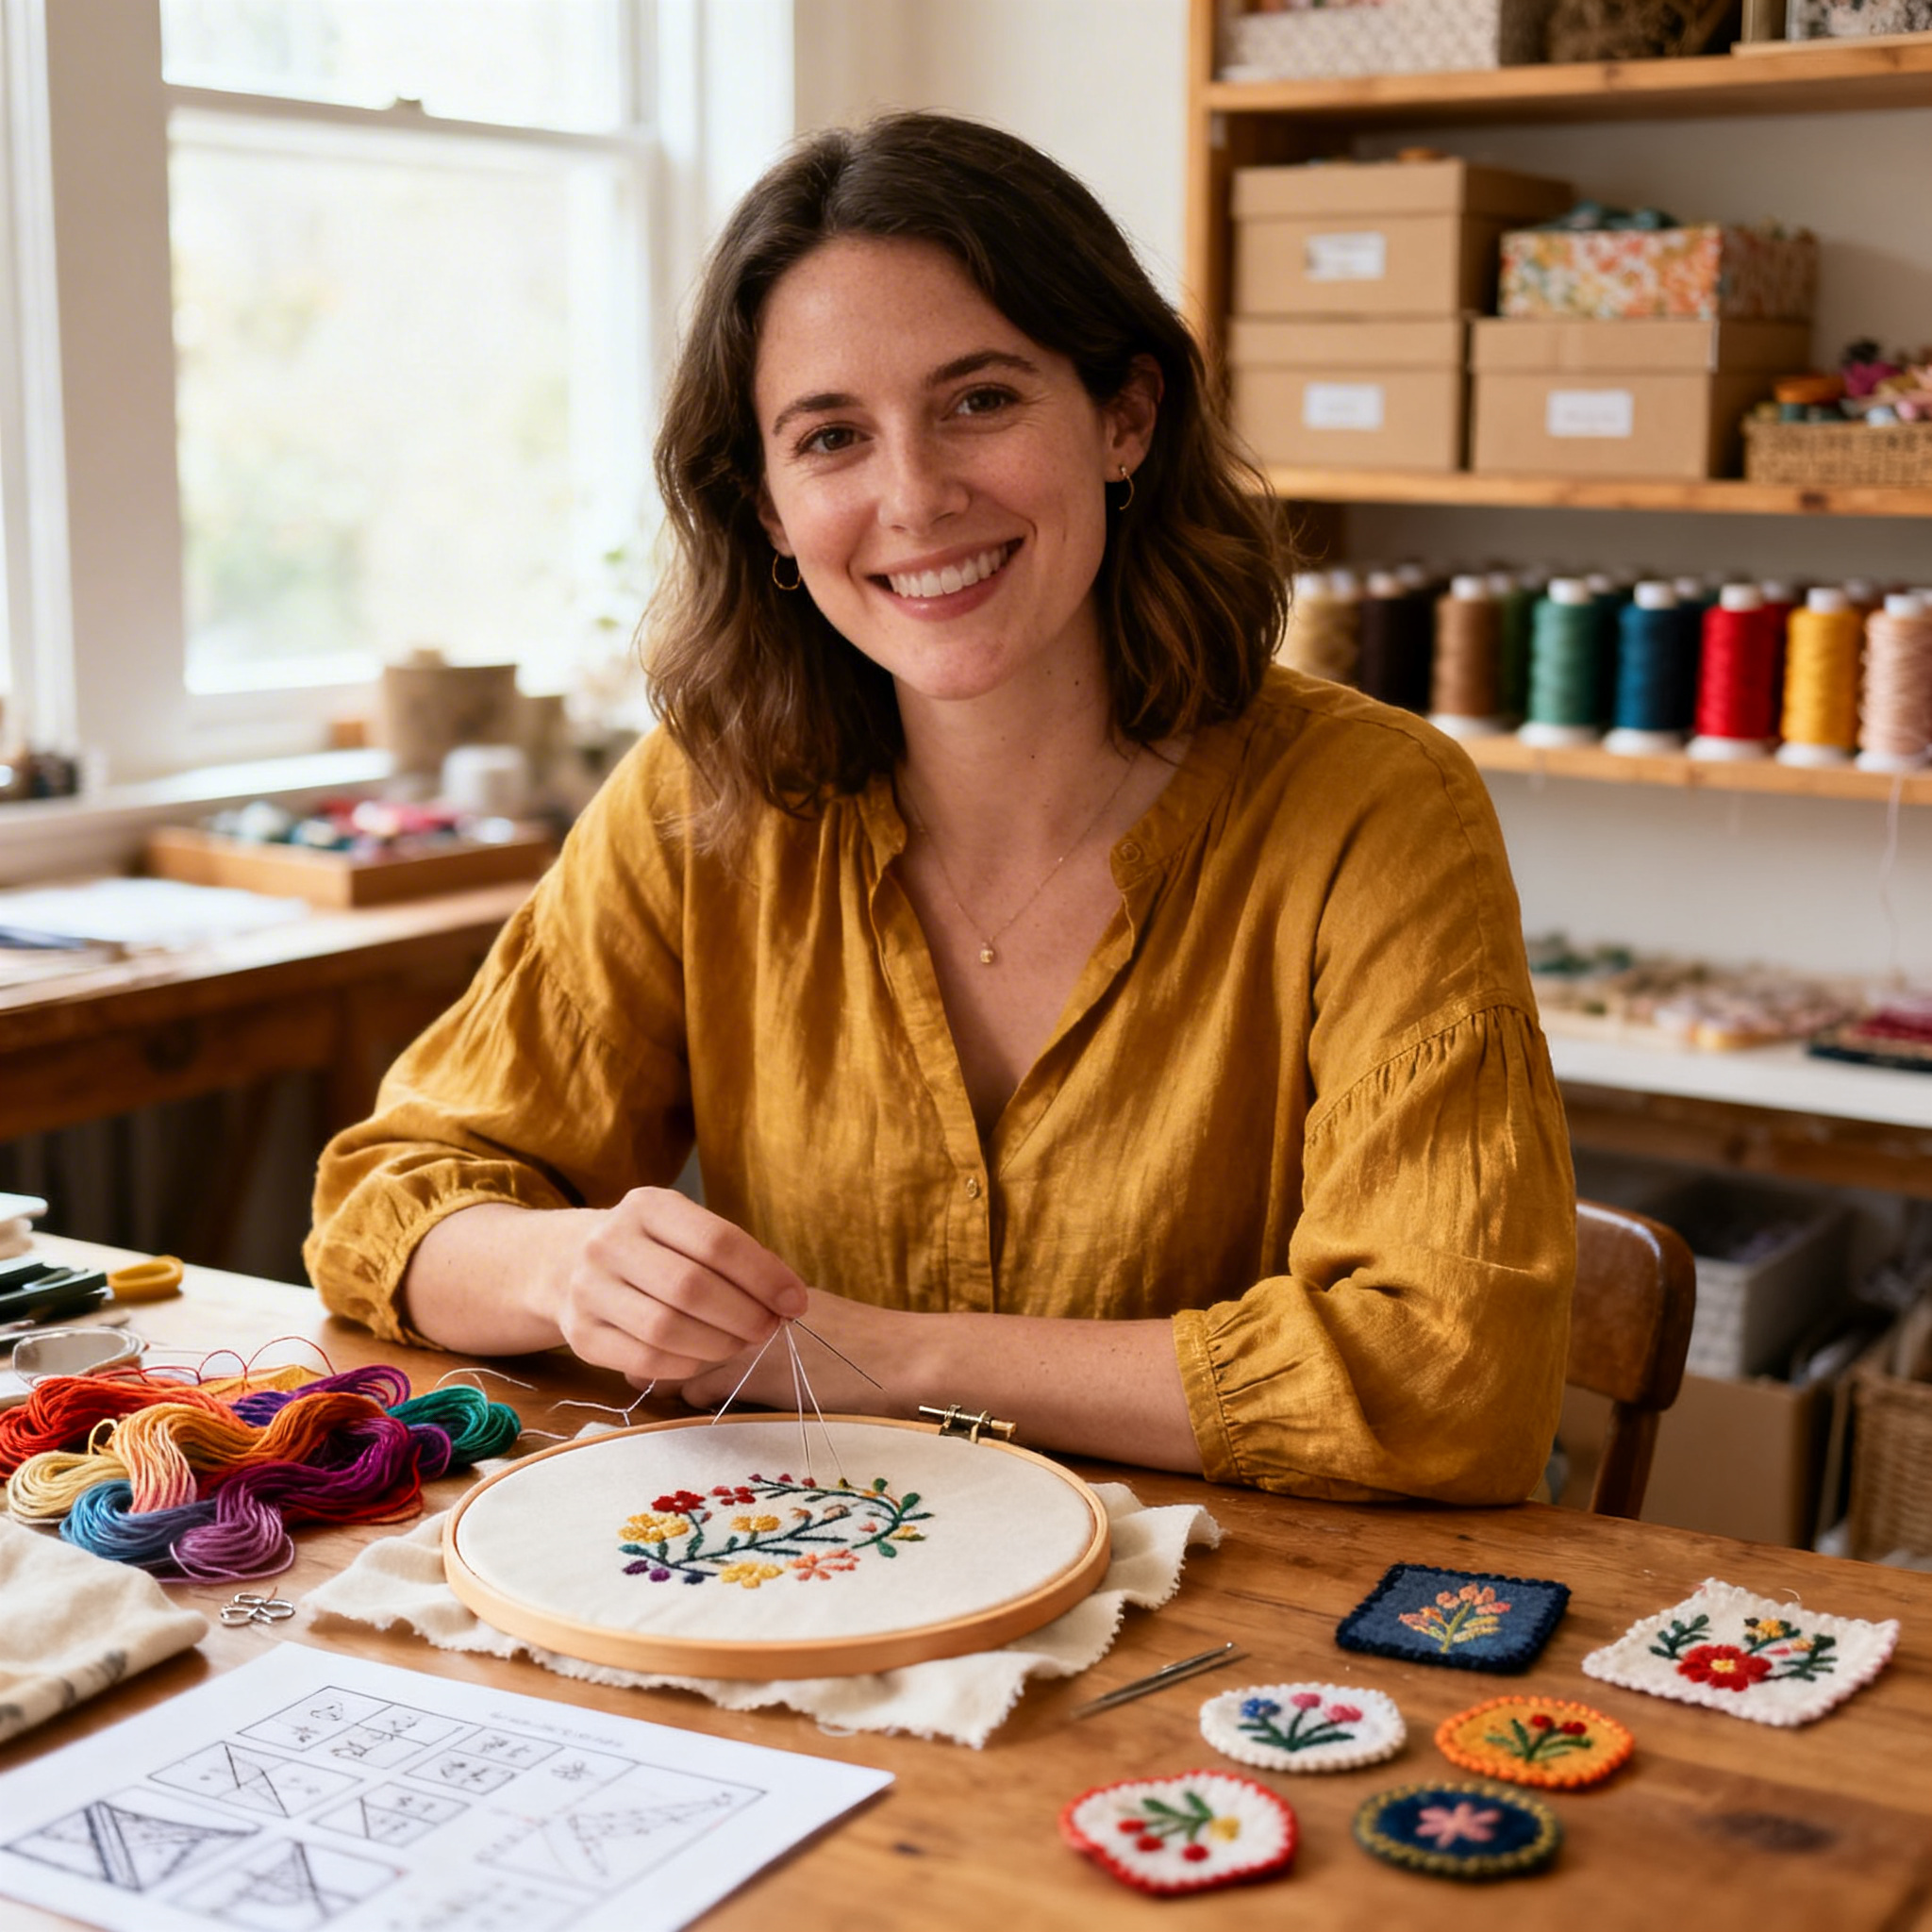
I’m Sophie Caldwell, the author behind granaboom.com, and I believe hand embroidery is one of the simplest, most relaxing ways to create something beautiful with your own hands. I started this blog to help beginners learn hand embroidery without feeling overwhelmed by complicated instructions or “perfect” results.
Here you’ll find beginner-friendly guides to decorative embroidery stitches, along with clear step-by-step practice ideas and patterns you can use to build confidence. My focus is on making the learning process easy: simple explanations, helpful stitch combinations, and small projects that look polished even when you’re just starting out.
Welcome to granaboom.com—grab your hoop, choose a few colors, and let’s stitch one line at a time.