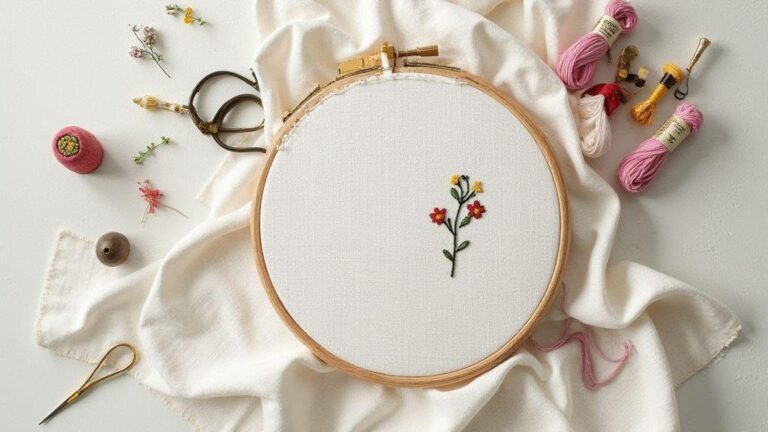
How to Turn Embroidery Into Beautiful Wall Art with Bordado Techniques for Stylish Home Decor
How I Choose Materials for Embroidery Wall Art
Threads, fabrics, and trims
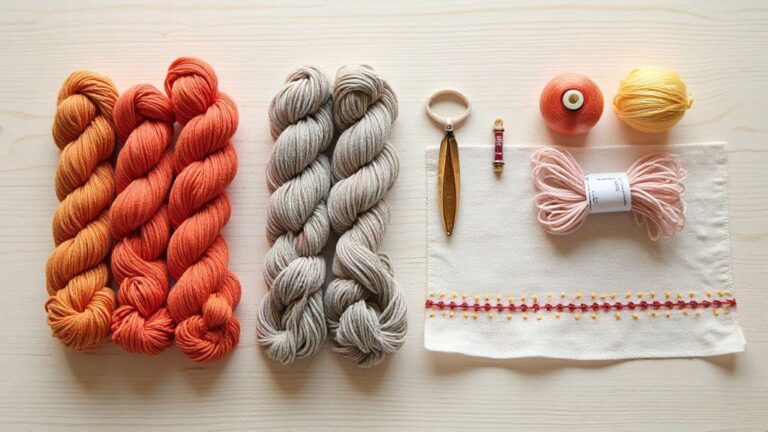
I pick threads, fabrics, and trims by how they look on the wall, not just in a drawer. I start with the color story I want: bold contrast or soft harmony. I test a few thread colors on a fabric scrap to see how they read from a distance. If a color reads harsh up close but smooth from afar, that’s depth. For fabrics, I choose a weave that suits the stitch and finish I want: a tight cotton or linen blends well with most stitches and holds shape, while a looser weave can give an airy feel. Trims—ribbons, beads, or metallics—accent the piece, not overpower it. I keep trims minimal unless the design screams for a pop.
Texture matters as much as color. I’ll pair a matte cotton with a glossy silk thread to add dimension without glare. I avoid mixing many brands unless they behave similarly; inconsistent sheen or fiber content can ruin cohesion. I consider backing and stabilization too, since a loose weave or large stitches on soft fabric can sag. If the piece looks busy from across the room, I scale it back. The goal is to guide the eye, not overwhelm with texture. Inspiration often starts with simple motifs such as botanical line-art patterns, which you can use as a starting point. botanical line-art patterns.
Hoops, frames, and stabilizers
Hoops and frames set the artwork’s final look and tension. I choose a hoop or frame that matches the piece’s size and mood. For a clean, modern look, I use a simple wooden frame with a flat edge; for a handmade vibe, a wooden hoop or fabric-wrapped frame can work beautifully. Stabilizers matter as much as thread. Dense stitches use a cut-away stabilizer behind the fabric to keep things flat; lighter embroidery can use a tear-away stabilizer. I test stitching on a sample fabric with stabilizer in place to check for warping after removing it. For practical pattern guidance, consider learning how to use transfer paper for embroidery to ensure crisp transfers. transfer paper for embroidery.
I consider mounting as well. For a floating effect, I mount the fabric on a recessed frame so stitches sit away from the glass. For a traditional look, I stretch the fabric over a frame and staple neatly at the back. The final presentation should feel deliberate, not makeshift. A well-chosen hoop or frame makes the embroidery feel intentional and ready to hang. For tracing patterns before stitching, the Lightbox method tracing patterns onto fabric like a pro can help you plan geometry with less guesswork. Lightbox tracing method.
Basic supply checklist
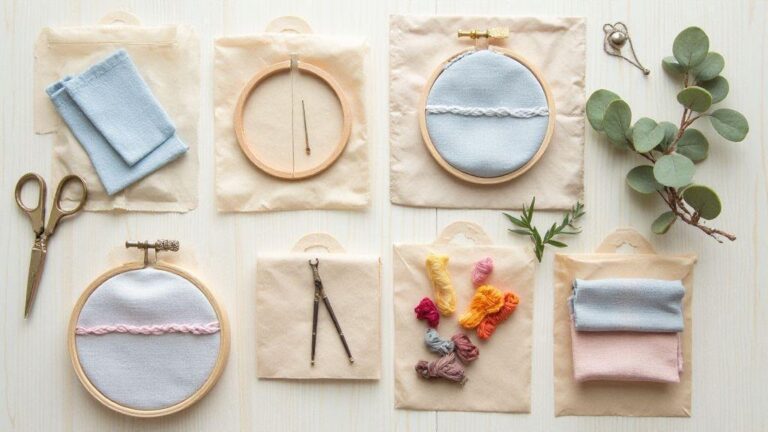
I keep a simple list of essentials I actually use: sharp scissors, needles in a few sizes, embroidery floss and/or thread, a fabric marker or chalk, cotton or linen base fabric, stabilizers (cut-away and tear-away), a hoop or frame, a ruler, and small zipper bags to organize colors. I also add a small brush to dust the finished piece and a soft cloth to wipe chalk marks. This checklist helps me stay focused and start a project without a last-minute store trip. I tweak the list as I learn what works for my style and space, staying efficient and ready to create. If you’re new to hoop art, you might start with a beginner-friendly project like your first embroidery hoop project.
How I Plan Modern Bordado Patterns for Walls
I love turning fabric into wall smiles. When planning modern bordado patterns, I start with a simple question: what feeling should the wall convey? For calm, I choose clean lines and soft shapes; for energy, I use bold contrasts and geometric forms. I keep the color palette small at first, then add a tiny accent color if needed. My method is to sketch rough shapes, then pick stitches that fit the wall texture I want—smooth satin for soft light, bold backstitch for a graphic look.
I assess the room: measure the wall, note nearby furniture, and consider lighting. Daylight changes how threads read, so I select colors that stay readable in both light and shade. Matte walls benefit from crisp lines; glossy paints can blur details, so I test a tiny sample first. The aim is to create a piece that belongs, not an afterthought.
Finally, I map out a schedule with small milestones: choose motifs, select fabric and thread, transfer the design, and stitch in focused sessions. I bookmark inspiring motifs and translate them into a clean layout. This approach keeps me focused, avoids overcomplication, and yields a piece I’m proud to hang. How to Turn Embroidery Into Beautiful Wall Art becomes a practical process, not a mystery. If you’re looking to turn photos into embroidery, you can learn how to turn any photo into an embroidery pattern. turn any photo into an embroidery pattern.
Finding simple modern motifs
I start with motifs that read clearly from a distance: circles, triangles, and lines work well on walls. Look for contemporary yet timeless ideas—abstract botanical forms or geometric grids. Test motif repeats and wall size to decide if a single bold motif anchors the design or several small ones form a rhythm. A lone leaf, a wave line, or a tiny sun can tell a story without crowding the space. I keep a notebook of such ideas, draw quick sketches, and translate them to stitches when the design feels clean and obvious. For motif ideas, I often explore free botanical line-art patterns perfect for hoop art. botanical line-art patterns or free floral embroidery patterns to spark a starting point. 10 free floral embroidery patterns.
Scaling patterns to fit your space
Scaling matters. A pattern too large can overwhelm a room; one too small can vanish. I measure the wall, determine a center or off-center arrangement, then mock up layouts on graph paper or with a quick digital sketch. I check sightlines from couch, doorway, and eye level. Once scale is set, I plan transfers (grid method or water-soluble transfers for crisp geometry; freehand for softer shapes) and adjust thread texture and density to ensure it reads well from across the room. For border and edge work, consider how to create a repeat pattern for borders and edges. how to create a repeat pattern for borders and edges.
Design planning steps
I outline a no-fluff plan: pick motifs, decide scale, choose materials, and map transfer points. I create a ceiling-to-floor grid on the fabric, mark each motif, and note stitch types. A small labeled thread kit keeps color decisions visible. If a motif isn’t working as I stitch, I tweak its size or spacing rather than undoing large sections. I finish with a practical checklist: confirm wall height, set the center, and confirm the final layout before stitching. This keeps results clean and modern. For those who want to print a pattern directly onto fabric, there are guides on how to print directly onto fabric for embroidery. print directly onto fabric for embroidery.
How I Prep Fabric for a DIY Embroidered Wall Hanging
I start with clean, flat fabric so stitches read neat and professional. I prefer natural fibers like cotton or linen because they take embroidery well and wash easily. If using bulkier or novelty fabric, I test a small section first to observe behavior when pressed and stitched.
Washing, ironing, and stabilizing
I wash the fabric to remove sizing or residues, then air-dry flat. If the fabric shrinks, I plan for that so the final hanging hangs true. After drying, I iron on a clean, low heat with a light spray of water to relax fibers. For stabilization, I choose based on the project: tear-away for soft fabrics, cut-away for extra hold with dense stitching. I apply stabilizers only where I’ll stitch to avoid stiffness in the finished piece. If you’re planning a floral collection, you might explore seasonal floral embroidery designing a year-round collection for ideas. seasonal floral embroidery.
Transferring patterns safely
To avoid creases and ghosting, I use a light graphite pencil or transfer paper and tape the pattern securely. For dark or textured fabrics, I flip the pattern and trace with a fabric pencil or water-soluble pen so lines disappear after washing. For larger designs, I grid the pattern with a light pencil guide and remove the pattern once stitching begins. If you want more detailed transfer methods, you can learn how to use transfer paper for embroidery steps. transfer paper for embroidery.
Prep checklist for clean work
Keep a chair-side checklist: wash and dry fabric, press both sides, apply stabilizer, transfer pattern, secure with pins or temporary adhesive, and set up an accessible thread palette. I test a tiny sample stitch on the edge to confirm tension and needle choice before the main stitching begins. This helps catch issues early and saves time. For beginners who want a guided start, consider a complete beginner project with photos. Your first embroidery hoop.
How I Frame and Mount Embroidery for Stylish Home Decor
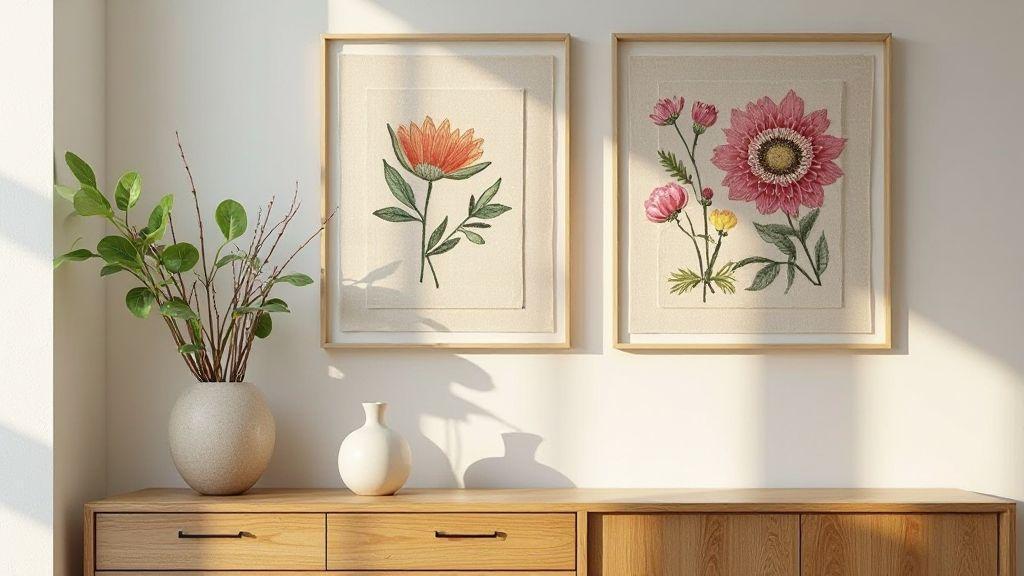
When framing embroidery, I aim for a piece that sits quietly with personality. I prefer fabrics that lay flat and avoid puckering. I press gently to reduce visible creases and choose a frame that complements the stitch work—light woods for airy designs, or black/metals for bold patterns. The goal is to let the embroidery breathe and shine, not compete with busy frames or mats.
I test mat colors before committing. A white mat makes colors pop; soft gray or cream adds warmth for vintage pieces. If the embroidery has texture, I use a simple mat with a large window to keep the focus on the stitches. I hinge the fabric to an acid-free backing so the piece remains stable. Lighting matters too: avoid direct sun and hang at eye level for easy inspection. For multiple pieces, maintain a consistent frame size and mat thickness to create a cohesive gallery feel. Framing is about balance: the frame supports the art, while the embroidery contributes warmth and charm.
Framed embroidery ideas and matting
Pair a bold piece with a neutral mat and slim black frame to let stitches pop without competing with the room. A vintage piece looks great with a softer antique white mat and a warm wood frame. A natural linen mat adds texture without stealing focus. A shallow face-mount frame can create a modern touch while preserving hand-sewn charm.
Matting can shift the mood: bright white for sharp contrast, pale gray for softness. For dense patterns, a wider mat and larger frame give the eye room to rest. I sometimes stretch small embroideries over a rigid board before matting to avoid sagging corners. The guiding rule remains: let the thread do the talking, with mats and frames acting as a respectful frame around the art.
If framing with glass, choose non-glare to minimize reflections. For larger pieces, lighter frames help avoid wall heaviness. Framed embroidery should invite closer inspection, like a handmade gift you want to study a little longer.
Embroidery hoop wall art options
Hoops offer a playful vibe. Hang hoops of different sizes in a cluster for a gallery feel or keep them uniform for a clean look. Stretch the fabric taut in the hoop for crisp stitches and let the hoop’s texture add character. If the hoop feels rustic, paint the wood to match the room palette.
If you’re not using glass, back the hoop and add a wire to hang flat against the wall. For a more finished look, use a wooden hoop and add a small label with the artwork’s name or stitch story. A larger hoop can be a statement piece with smaller hoops around it for rhythm. Group hoops at varying heights to create a dynamic display with minimal wall space. If the fabric has metallic threads, place away from direct light to reduce glare. Embroidery hoops can be casual or refined depending on finishing.
Quick framing guide
Choose a frame that matches the mood, then pick a mat color that enhances the threads without overpowering them. Press and stabilize the fabric, mount on acid-free backing, and hinge in place. Test display height and lighting, then hang with proper hardware for the wall type. If you want a fast route to turning embroidery into wall art, start with a ready-made frame and swap in your fabric. If you’re curious about hoop selection, learn how to choose the right embroidery hoop for your project. hoop selection.
How I Follow a Step-by-Step Embroidery Wall Art Tutorial
I begin with a clear plan—both in thought and on paper. A step-by-step tutorial keeps me honest and focused, breaking the project into tasks I can finish in one sitting. I prefer guides that list materials, simple stitch order, and a progress checklist. Following along feels like assembling a tiny story you can frame.
As I work, I take notes on what helped and what tripped me up. If a stitch is tricky, I mark it with a smiley or a note like practice this next. Recording tweaks helps me repeat successes and avoid past pitfalls. The stitching rhythm becomes a calm victory lap. When I step back to view the finished piece, I can see the plan paid off in texture, color, and shape.
I adapt instructions to my space. If a palette feels too bright, I swap softer tones. If the size doesn’t fit the wall, I scale the pattern. The core steps stay the same, but the details become mine. This flexibility keeps me motivated and inspired, not frustrated. The result is a piece that looks intentional and personal, not one-size-fits-all.
How to Turn Embroidery Into Beautiful Wall Art
I treat embroidery as a design medium. Start with a motif that speaks to you—flowers or geometric shapes work well. Plan how the embroidery will sit on the wall: center placement, border width, and color harmony with the room. Balance texture with negative space. Plain backgrounds let stitches pop, though a subtle fabric pattern can add depth if it stays quiet.
Finishing matters: don’t rush pressing or framing. A gentle press sets stitches without flattening them. Choose a frame that matches the mood—light wood for coziness, matte black for modernity. If you’re feeling extra, stitch a small back panel to cover loose threads and secure the piece. Hang at eye level and observe how light hits the threads, casting tiny shadows that bring the art to life.
Sometimes I combine embroidery with other wall elements for a cohesive gallery feel. The goal is calm, intentional harmony. When the wall comes together, you’ve used embroidery to tell a small story in fabric and thread. That balance is why I keep returning to this craft.
Simple stitch order for beginners
I outline a clear path: outline, fill, finish. Start with a light outline to hold shapes, then fill with simple stitches—back stitch for solid lines, satin stitch for fills, and a few French knots for texture. Learn one or two stitches at a time to build confidence. Finish by securely tying off and trimming loose threads, leaving a small tail to weave in later. If a stitch isn’t perfect, texture and warmth matter more than exact symmetry. Keep a small palette of three to five harmonious shades. A simple order helps you progress quickly and build momentum for future motifs.
How I Care for and Display Textile Embroidery Art
I treat embroidery like a small library of colors and textures that tell a story. I clean carefully, store thoughtfully, and plan where each piece shines. When hanging, I consider how light moves across the stitches and what it says about the room. The process is practical: simple steps, clear routines, and plans for seasonal changes. I’m chasing balance between the textile and the space it calls home, not perfection.
I start with a light touch. Dust with a soft brush or microfiber cloth, avoiding harsh chemicals that dull threads. If care is needed, test a small spot with a damp sponge. Textiles breathe, so handle them minimally and lay flat when possible to prevent warping. When framing, use simple mats and avoid glare-causing glass to keep embroidery the star.
I rotate displays to keep the room fresh and protect each piece from constant tension. I label works with year and materials on the back or a corner of the frame so I remember hanging dates. This practical rhythm helps me enjoy my pieces without overthinking maintenance.
Cleaning and storage tips for longevity
Dust first, then address spots with a barely damp cloth. Avoid scrubbing and solvents. For stubborn stains, consult a gentle care guide or textile conservator. If refreshing, air the piece in a shaded area to reduce odors and preserve color.
Storage is simple: roll pieces with acid-free tissue and store in breathable containers. Avoid tight folds; use loose rolls or flat storage with support behind the fabric. Keep away from direct sunlight and humidity swings; a cool, dry closet is ideal. When moving, wrap embroidery in clean cloths and label the box. With careful storage, a piece can endure beyond a single season.
When mounting, use UV-filtering glass and a backing that won’t press on stitches. If not framing, mount on acid-free board with rust-free pins. The aim is to protect color and texture, not hide the craft behind glass. These steps help embroidery stay fresh for years.
Best lighting and placement for stylish home decor embroidery ideas
Place pieces where they receive even, soft light and avoid direct sun that fades threads. A north-facing wall or a gentle spotlight works well. Warm white bulbs around 3000K–3500K render colors accurately. Avoid shifting light that alters hues over time.
Placement matters as much as stitch work. Larger pieces sit at eye level; smaller accents work on shelves or niches. A single bold embroidery anchors a seating area; a series forms a mini gallery. Consider the room’s flow—let the art breathe and blend with other textures like wood and textiles. Matting and framing should complement, not overpower, the stitches.
When choosing framing, the idea is harmony—every piece should feel at home where it sits.
Preservation tips for walls
Keep walls clean and free of oils; secure frames well to prevent wobble that could stretch fabric. Periodically check mounting to ensure the piece stays flat and doesn’t sag. A cool, dry environment helps keep embroidery stable and prevents moisture buildup behind frames. For readers who want to explore more about printing and patterning, you can also look into how to print directly onto fabric for embroidery. printing onto fabric.
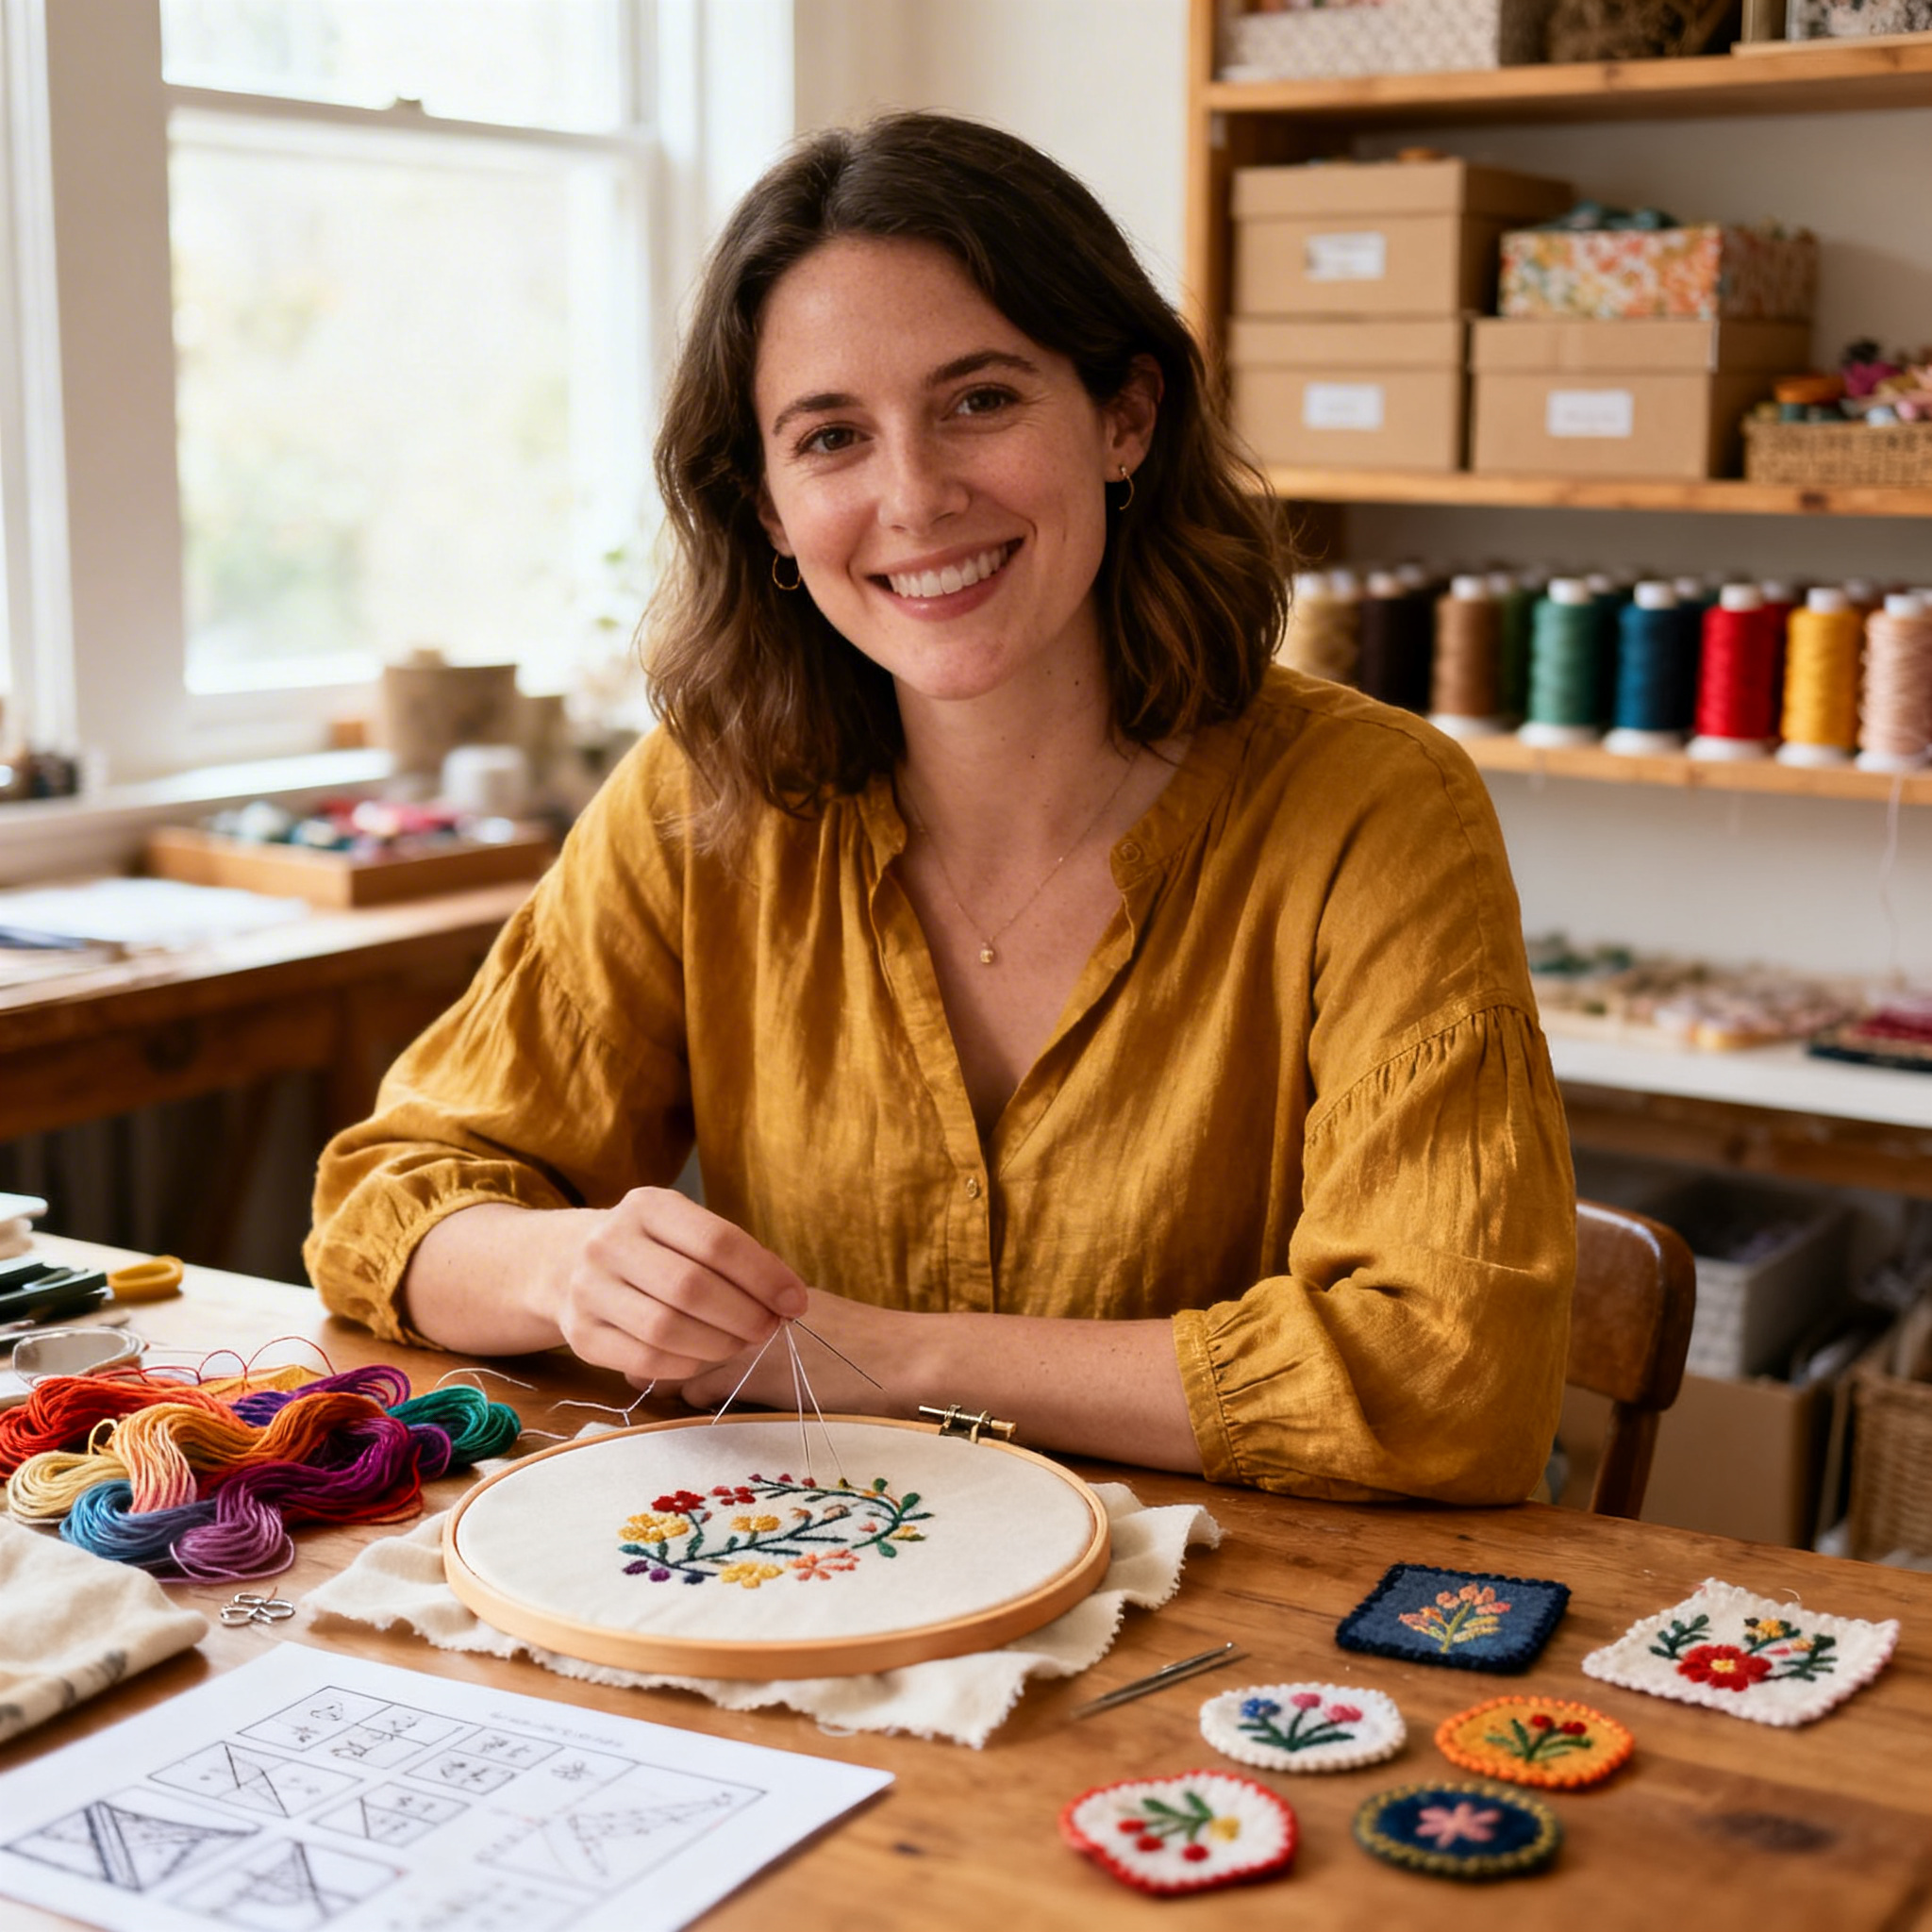
I’m Sophie Caldwell, the author behind granaboom.com, and I believe hand embroidery is one of the simplest, most relaxing ways to create something beautiful with your own hands. I started this blog to help beginners learn hand embroidery without feeling overwhelmed by complicated instructions or “perfect” results.
Here you’ll find beginner-friendly guides to decorative embroidery stitches, along with clear step-by-step practice ideas and patterns you can use to build confidence. My focus is on making the learning process easy: simple explanations, helpful stitch combinations, and small projects that look polished even when you’re just starting out.
Welcome to granaboom.com—grab your hoop, choose a few colors, and let’s stitch one line at a time.