Ten Common Embroidery Mistakes Beginners Make and How to Fix Them Fast — Essential Bordado Tips
Proper hoop use to avoid puckering
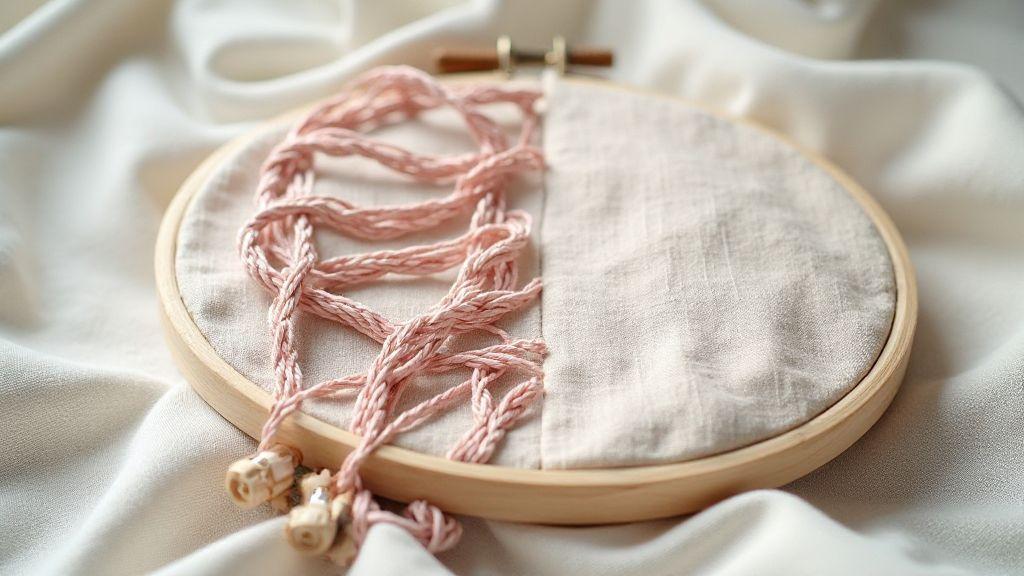
The right hoop setup makes or breaks embroidery. A tight grip without crushing the fabric is the sweet spot. To get it right, learn how to choose the right embroidery hoop for your project. Choose a hoop size that fits the design and lays flat on the fabric. If the fabric is thin, back it with stabilizer to prevent pulling and puckering. For stabilizer guidance and fabric choices, see best fabrics for hand embroidery and stabilizer guidance. Tighten the screw just enough to hold the fabric taut, then smooth the area inside the hoop to remove wrinkles before stitching. When you’re done, double-check that the fabric is flat and free of folds.
The fabric’s position in the hoop matters too. Don’t loop too far into the inner edge, as pressure can distort the material. For extra control on tricky fabrics like knit or velvet, use a light spray starch or a temporary adhesive. Delicate fabrics benefit from stabilizers that are larger than the hoop and sandwich the fabric between stabilizer layers to keep the weave even. Test a quick line on scrap to verify tension before starting the real pattern. Test a quick line on scrap using the running stitch to verify tension before starting the real pattern.
Monitor thread tension throughout the project. If you notice pull or ripple, pause, re-check the hoop, fabric, and stabilizer. Re-hoop if needed and re-anchor the fabric to prevent shifting. Stitch one or two small test lines after re-hooping to confirm even tension. Treat the hoop as a tool, not a shield, to protect the fabric and achieve cleaner results. For guidance on basic stitches and tension, you can review the running stitch—the first stitch every embroiderer should master.
Correct hoop use for beginners
When I started, I learned a bad hoop setup can ruin hours of work. I begin with a simple, medium hoop that fits the project and allows room to maneuver thread stays. Wrap the fabric around the inner edge to avoid binding, then clamp down just enough to hold it without crushing fibers. If the fabric is stretchy, place a stabilizer behind it so the embroidery won’t pull the weave. Tug gently to test; if it moves easily, tighten a touch more or add a stabilizer. For beginners, your first embroidery hoop is a great starting point.
Keep the hoop clean to prevent snagging. Wipe with a lint-free cloth and check for burrs. Avoid over-tightening, which can stretch delicate fabrics and cause puckers. If the fabric starts to pull, re-hoop with a looser grip or switch to a more forgiving stabilizer. Practice aligning the needle path with the hoop’s center by marking a reference point on the fabric, then keep the fabric taut but not stretched as you stitch, rechecking periodically to avoid shifting. For transfer and placement basics, see the six best methods to transfer embroidery patterns onto fabric.
Avoiding fabric puckering embroidery
Puckering often hides in the first stitches. Use the right stabilizer for the fabric: cutaway for woven fabrics, tear-away for light projects, and knit stabilizers as needed. Apply stabilizers to the back to limit movement and give stitches a solid base. For delicate fabrics, run a light backing and a topper to prevent stitches from sinking or creating dimples.
When hooping, ensure the stabilizer is taut and level with the fabric’s surface. If the fabric shifts, stop and re-hoop. Avoid too much pressure from the hoop, which can leave press marks or puckers later. If puckering appears, slow the machine, adjust tension, and re-test on scrap. Quick fixes like loosening the hoop or changing stabilizer can save a project. For fabric and stabilization options, see best fabrics for hand embroidery and stabilizer guidance.
Also examine the design itself. Dense fills near edges can pull fabric inward. If that happens, switch to a lighter stitch pattern or add an underlay to distribute pull more evenly. Balance thread tension across colors to minimize puckering on the surface. If a design seems too aggressive for the fabric, pause, switch to a simpler pattern, and test on scrap again. For transfer tips, refer to how to use transfer paper for embroidery step-by-step.
Quick hoop fix
If puckering shows up mid-project, stop stitching, remove the fabric, and check the stabilizer. Replace or add stabilizer, re-hoop with a looser grip if needed, and re-align the design. Test a short line on scrap to confirm tension and flatness before resuming. This quick routine saves many projects from puckering. For general transfer ideas, see transfer methods.
Fixing embroidery tension problems
Tension issues are common: too loose makes designs drift and look weak; too tight causes puckers and broken threads. I fix this by checking the machine and fabric beforehand and keeping notes on what works for each project. Start with stable fabric, the right needle and thread, and a moderate stitch length. Test on scrap to see how it behaves. For needle guidance, see Embroidery needles explained.
If loopy stitches appear on the underside, the top thread may be too tight or bobbin tension off. If the bottom pulls while the top looks neat, adjust bobbin tension or lower the top thread slightly. This rhythm—trial and adjustment—helps dial in the look for most designs. I keep a simple notebook for each project: fabric type, stabilizer, needle size, thread brand, and tension notes. Spot uneven tension early to save wasted fabric and thread. For transfer alignment and pattern placement tips, check Tracing vs Freehand: two approaches to original pattern design.
Spot uneven tension early
Watch for uneven stitches as you sew. If the right side shows gaps or the left side appears denser, slow down and test a short line to catch issues before full stitching. Check the needle first—bent or dull needles throw tension off. Replace if needed, re-thread both paths, and run another test. If problems persist, adjust top tension slightly and re-check. Also verify stabilizer is doing its job; add more stabilizer or switch to a firmer type if the fabric shifts. For knot techniques and securing stitches, explore Colonial knot vs French knot: what’s the real difference.
How to adjust tension fast
Tweak one thing at a time. Start with top thread tension, run a test line, and compare. If the bottom shows gaps, loosen the top and tighten the bobbin thread slightly, or vice versa. Check the bobbin case seating and clean/re-thread if needed. Stay calm and methodical rather than rushing through a bunch of changes.
Fast tension fix
If you need a quick balance, reset both threads to mid-range and run a short test. Re-thread carefully, oil the needle bar if applicable, and stitch a small sample. A compatible needle and thread swap can also restore balance—keep a go-to combo for quick fixes. For precision stitch guidance, see the running stitch and backstitch basics.
Secure knots and prevent tangled thread
A good knot is the backbone of embroidery. Start with a thread color that blends with the fabric, tie a small, snug knot at the starting point, and don’t pull so tight that the fabric puckers. Leave a bit of tail and finish with a second knot a short distance away for security. This double-knot method keeps things tidy and reduces snagging on other stitches. For knot techniques, see Colonial knot vs French knot.
Tips for knots: whip the thread a little after tying to lock it in. On delicate fabrics, use a finer knot so it doesn’t show. For heavier thread, shorten the tail and weave under a few stitches to hide it. When you’re done, trim tails close to the knots—but not too close to avoid loosening.
Needle threading: moisten the end of the thread slightly and trim at a slight angle for a smooth pass through fabric. Don’t overload the needle with thread; a short tail reduces knot formation. If a knot loosens, re-thread and resew from a nearby stitch to conceal the repair. For general needle guidance, see Embroidery needles explained.
Tangled thread prevention embroidery
Keep your workspace tidy and organize threads by color and length. Use even tension and let the thread glide rather than pull. When changing colors, secure the current thread under a few stitches before cutting. Separate strands when using multiple strands, and avoid twisting them together except at the end when finishing. Keep fabric taut in the hoop to minimize twists. If tangles occur, stop, untangle slowly, and re-thread. It’s often faster to redo a small section than to fight a tangled mess. For knot techniques, see Colonial knot vs French knot.
Securing knots embroidery thread tips
Use a small, tight knot at the start and end of each line; adjust the looseness for stiff vs. delicate fabrics. Press the knot flat against the fabric after tying. For variegated thread, test on a scrap first to confirm visibility. Some designs benefit from two knots for extra security. For needle threading, moisten and trim at an angle; don’t load too much thread onto the needle. If a knot loosens, re-thread and resew from nearby stitches.
Transfer and placement for neat designs
Transfer and placement are the map before stitching. Use a trusted method—water-soluble pens on woven fabrics or temporary transfer papers on cottons—and double-check alignment with grid marks or the fabric center. Test the transfer on scrap to ensure it won’t smudge. For garments, pin the fabric to a hoop or stabilize to prevent shifting. Lightly press or fuse if the transfer requires heat, then re-check edges to avoid creases when sewing. For transfer methods, see the six best methods to transfer embroidery patterns onto fabric.
Placement is like hanging a picture: measure from the garment seams, find the center, and place the design evenly. On curved surfaces, position the center at the highest point of the curve so it reads straight when worn. Keep a light guide in place during stitching and check hoop tension so transfer lines remain visible but not pressed into the fabric. If a line shifts during hooping, re-hoop and re-check. For placement practice, start with a simple centered design on a flat swatch (see Your first embroidery hoop).
Beginner embroidery tips bordado for placement
Start with a simple, centered design on a flat swatch to learn transfers without worrying about a real project. Use a ruler or grid to align centers and mark a tiny reference point. For curved areas, imagine a straight line across the garment rather than the fabric edge to spot misalignment quickly. Test a tiny sample first to confirm the transfer looks good after washing or handling. For transfer strategies, explore how to use transfer paper for embroidery step-by-step.
Common embroidery errors and solutions for transfers
The most common issue is smudged or washed-out lines. Fix by choosing a transfer method that seals with light stabilization and by letting the fabric sit flat while the transfer sets. If lines smudge before stitching, re-mark carefully with a fresh, light touch. On busy fabrics, test different transfer fluids to see which stays put without bleeding. For more transfer options, see the six best methods to transfer embroidery patterns onto fabric and how to use transfer paper for embroidery step-by-step.
Misalignment after hooping is solved by marking a tiny center X on both fabric and hoop, then aligning the transfer with those marks before tightening. If the design shifts while stitching, re-hoop and re-mark center, then stitch a few sample stitches to confirm nothing moved. For heavy fabrics, slightly loosen the hoop after the first few stitches to let the fabric settle, then tighten again.
Designs can sit crooked when worn. Watch for fabric stretch and recheck the center line. If embroidery drifts, stop, remove the hoop carefully, and reset with fresh markings. If transfer lines are fussy, clean them and re-establish guides before continuing. For repositioning after stitching, see Repositioning design fix.
Repositioning design fix
If you need to move a design after some stitches, stop, remove the hoop, lift the transfer carefully, re-mark center lines, realign the design, re-hoop with even tension, and stitch a small sample to confirm placement.
Needle choice and stitch consistency
Choosing the right needle and keeping stitches consistent are fundamentals. Focus on two goals: 1) pick a needle that matches your fabric and thread, and 2) use simple guides to keep stitches even. The result should be clean lines and a smooth finish. For deeper needle guidance, see Embroidery needles explained.
Match needle to fabric and thread
Consider fabric weight and fiber. A thin cotton needs a finer needle; denim needs a sturdier one. The same goes for thread—thicker floss needs a bigger eye. For linen, try a size 7 or 9 needle and test on scrap first. A mismatched needle can cause skipped stitches or frayed thread. If needed, swap to a better-fitting needle and re-test on a small area. For more on needle types, see Embroidery needles explained.
Keep stitches even with simple guides
Use light, visible guides to keep stitches uniform. A washable fabric marker or faint chalk helps you land stitches consistently. For satin stitches, mark evenly spaced points and sew through them. In busy patterns, consider a guide thread or tracing paper under the fabric to maintain balance without crowding the surface. For transfer guidance, see the six best methods to transfer embroidery patterns onto fabric.
Fix uneven stitches fast
If you notice uneven stitches, fix them quickly before they form knots. Reset the stitch length and re-stitch beyond the uneven spot. For small gaps, tuck the tail behind the fabric and re-thread if needed. For larger mistakes, remove stitches to a natural break, re-mark, re-thread, and restart. For a joke-free path to consistent stitches, explore backstitch basics.
Finishing, trimming, and washing care
Finishing, trimming, and washing are what keep embroidery looking neat after the thread cools. Let the stitching settle a day or two, then trim ends close to the fabric without snagging the design. Wash gently with cold water and light detergent. Test colorfastness on a small corner first. Adjust finishing based on fabric type to avoid puckering. Trim back tails carefully, inspect the back for loose threads, and redo any knots as needed. For delicate fabrics, place the piece in a mesh bag during washing and air-dry flat.
Use stabilizers during finishing to prevent distortion. Choose stabilizers that match the fabric—lighter for delicate fabrics, heavier for dense designs. Tape or hoop securely to prevent shifting, and trim stabilizers after washing if they show. For finishing tips on stitches and stability, see best fabrics for hand embroidery.
Quick fixes for embroidery mistakes when finishing
If a thread loop shows, press gently with a warm iron through a pressing cloth to flatten and trim. For loose knots, apply a dab of fabric glue at the knot base and let dry. If an edge is uneven, re-stitch a short, invisible pass to even it out. Use fray check on risky edges to prevent unraveling during washing. For stains, treat before final wash with a mild remover on a hidden area, then rinse. Be patient and careful to avoid permanent damage.
Fast finishing repair
If a stitching edge unravels, add a backstitch along the edge to lock threads, reseat the fabric in the hoop if it shifts, and re-stitch the affected area with short, even stitches. Use a fine needle for small surface snags and camouflaging stitches with a similar thread color. Finish with a light press to set the repair.
10 Common Embroidery Mistakes Beginners Make (And How to Fix Them) — Quick Recap
- Puckering from improper hooping and tension
- Uneven or loose tension across stitches
- Knot security problems and tangled threads
- Misplaced transfers and crooked designs
- Wrong needle and thread choices for the fabric
- Inconsistent stitch length and alignment
- Inadequate finishing, trimming, and washing care
- Skipping scrap tests and practice stitches
- Not re-hooping or re-marking when fabric shifts
This Quick Recap aligns with the 10 Common Embroidery Mistakes Beginners Make (And How to Fix Them), summarizing practical fixes you can apply across hooping, tension, transfers, needle choice, stitching, and finishing. If you’re looking for a concise checklist, this section complements the tips above and helps you build consistent embroidery results from the start. To explore more foundational techniques, see resources like the running stitch, the backstitch, and the satin stitch for smooth, gap-free outlines. You can also expand into more advanced shading with long- and short-stitch shading or explore raised embroidery techniques at padding techniques.

I’m Sophie Caldwell, the author behind granaboom.com, and I believe hand embroidery is one of the simplest, most relaxing ways to create something beautiful with your own hands. I started this blog to help beginners learn hand embroidery without feeling overwhelmed by complicated instructions or “perfect” results.
Here you’ll find beginner-friendly guides to decorative embroidery stitches, along with clear step-by-step practice ideas and patterns you can use to build confidence. My focus is on making the learning process easy: simple explanations, helpful stitch combinations, and small projects that look polished even when you’re just starting out.
Welcome to granaboom.com—grab your hoop, choose a few colors, and let’s stitch one line at a time.