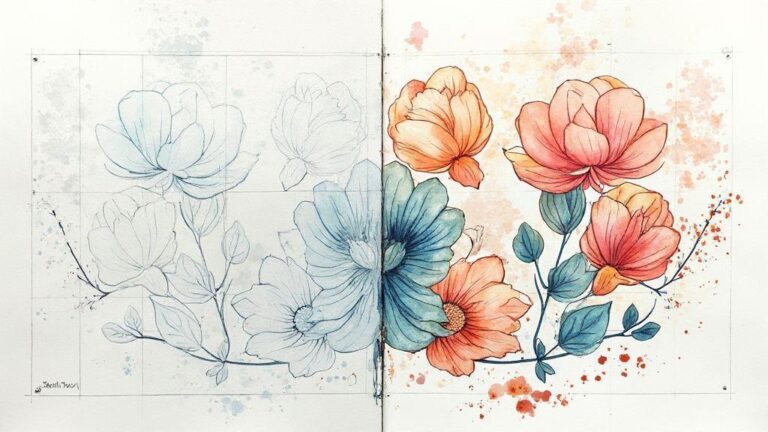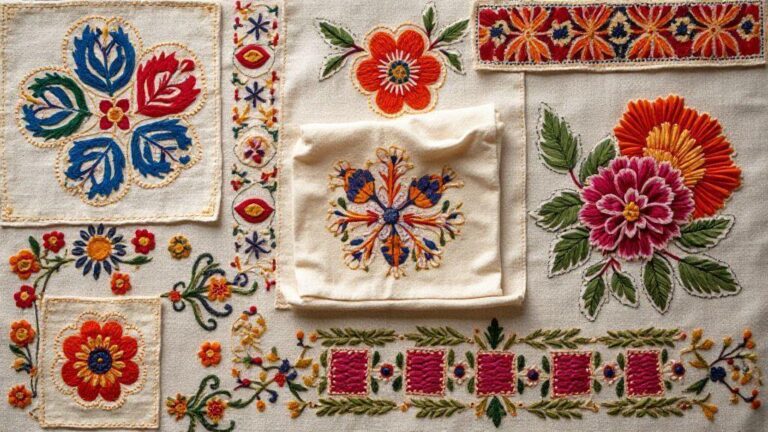
How to Turn Any Photo into an Embroidery Pattern
Choose a Photo with Clear Contrast
You’ll get faster results starting with a photo that has strong contrast: the main subject should stand out from the background. Look for dark lines against light areas, or vice versa, so the embroidery pattern has obvious boundaries. If you’re unsure, squint at the photo—the subject should remain distinguishable. Bold shapes with fewer color gradients make the next steps more predictable.
Think about how your fabric will read the design. High-contrast subjects translate into clean stitches and less confusion during digitizing. You’ll thank yourself later when tracing edges and deciding which areas are filled versus outlines. If your photo has subtle colors, you can still use it but plan on simplifying it during the conversion so the pattern remains legible on fabric.
Also consider size and subject. Portraits with sharp features or a logo-style symbol work well because their edges stay crisp. For scenic views, choose a strong center element that dominates the frame. Bold shapes beat tiny details every time when turning a photo into an embroidery pattern.
Why contrast helps when turning a photo into an embroidery pattern
Contrast creates clear boundaries for stitches, helping with satin stitches, fills, and backstitches without guesswork. Bold edges guide you through color changes and stitch lengths. High contrast also helps during color reduction, allowing you to map fewer thread colors while preserving visual impact. It’s easier to test stitch density on a swatch than commit to a large project with fuzzy borders.
Think of it like coloring with markers versus watercolor—markers give definite lines to follow. Your embroidery benefits from clear edges and clean transitions.
You need high resolution to convert a photo to an embroidery design
A high-res image keeps edges crisp during conversion. Start with at least 300 dpi; bigger is better. A sharp base helps the digitizing software detect contours reliably and reduces manual tracing. Low-resolution files can produce jagged lines on fabric.
Crop to remove distractions, and save the high-resolution image in a lossless or high-quality format to preserve detail as you convert. You want every pixel of clarity to shine later.
Check focus and edges before digitizing
Zoom in to ensure edges are sharp; soft edges can soften or blur in software. If you spot blurry areas, retake or sharpen carefully before moving on. Clear focus makes tracing easier and yields cleaner stitches.
Make sure main edges stay in place. If a line wobbles or bleeds into the background, you’ll spend time cleaning it up later. A quick test print or computer mock-up can reveal needed adjustments.
Pick the Right Software and Tools
Choose software and tools that fit how you work. Start with your goals: quick conversions, precise stitch types, or many edits before stitching. Seek intuitive programs, not just flashy features. Beginners benefit from templates and built-in hints; advanced users will appreciate control over stitch density, pull compensation, and color stops. The aim is a smooth, repeatable workflow from photo to embroidery pattern.
Check how the program handles image quality: a clear source image minimizes guesswork. For busy backgrounds or varied colors, look for smart cropping, edge detection, and posterization controls. Consider how you organize projects: batch processing, presets, and easy import of your own color palettes save time. Ensure the interface matches your working style; drag-and-drop ease often speeds things up.
Try a free trial and test a small project with a photo you know well. If you feel frustrated, the tool isn’t the right fit. You want a setup that feels like an extension of your creativity, not a puzzle you can’t solve.
Try automated photo to embroidery conversion online
Online converters are fast for quick experiments with no install. Upload a photo, set a few options, and download a basic stitch pattern. This is useful for one-off projects or a test before investing in software. Look for services that let you tweak line thickness and edge clarity so stitches read well from afar.
Keep in mind that online tools vary in quality. Some patterns require extra tweaking in desktop apps for fine color control or specialty stitches. Treat online conversion as a first pass; save fine-tuning for software on your computer for more control and fewer surprises.
Compare desktop Apps and online services for photo to stitch pattern
Desktop apps offer deeper control: adjustable stitch types, density, pull compensation, and color management. You can work offline, save full project histories, and customize exports. The trade-off is a steeper learning curve and more upfront time. For precision and repeatable results, a desktop tool often wins.
Online services provide speed and low setup friction—great for quick ideas or trying a new photo. The trade-off is less control and potential file compatibility quirks. For fast feedback, online services are a solid first step; for serious projects, pair an online test with a desktop app for final polish.
Export compatible formats for your machine
When you’re ready to stitch, export files your machine recognizes (DST, PES, EXP, BOM, etc.). Map colors to your thread palette, adjust stitch order, and preserve alignment guides. A clean export saves guesswork at the machine and reduces rework.
Test the export on a simple swatch first to confirm stitch placement. If it’s off, tweak density or pull compensation before trying again. The goal is a smooth handoff from screen to fabric.
Simplify and Prep Your Image
Getting your image ready is half the fun. Simplify to keep stitches crisp and the final piece stitchable on fabric, even in small counts. Small, busy photos often read better after simplification—bold color choices can help maintain the story of the image.
Test a mini version first to see where you need to trim. Focus on producing a pattern that’s easy to follow and enjoyable to stitch. The aim is clarity, not photo perfection.
Reduce colors for image to cross stitch pattern
Color reduction helps keep the pattern readable on fabric. Choose a target color count that matches your hoop and fabric (12–24 colors is a good baseline). Merge nearby tones where appropriate and ensure contrasting colors remain distinct. Test the reduced palette on a rough print or grid to catch problem spots early.
Crop and resize to match fabric count and hoop
Crop so the important parts stay centered and balanced. Resize so the final pattern fits your fabric and hoop with the correct aspect ratio. Smaller hoops may require width reduction; larger hoops can retain more detail. Always verify the main subject remains readable after resizing.
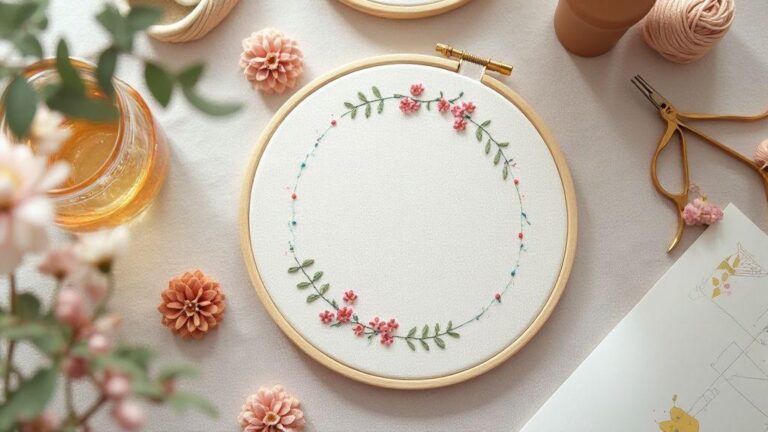
Create a color key and symbol legend
A clear color key and symbol legend makes the pattern easy to follow. Assign a distinct symbol to each thread color and keep the legend close to the pattern view. If using a digital pattern, label each color with its thread name and brand number for quick reference. A printable guide with colors and symbols saves guessing during stitching.
Digitize for Machine or Hand Stitching
You’ll learn to turn a photo into a stitch-ready guide, whether you stitch by hand or with a machine. Choose a photo with strong contrast and clean lines to simplify the digital conversion. Your focus should be on texture and shape—let the stitch guide lead, not the photo itself.
Aim for a workflow that fits your setup, whether at a desk or a hoop. Build a library of reusable patterns by keeping steps simple and repeatable. The goal is a clean, clear digitized file that’s ready for machine or hand stitching, balancing detail with stitchability.
Digitize photo for embroidery to assign stitch types
Trace key outlines and designate areas for bold stitches. Use running stitches for long curves and satin stitches for solid shapes. For texture, apply split stitches to light shading and tighter satin stitches for color blocks. Consider stitch direction to influence light and movement.
Organize layers by outlines, fills, and shading so you can toggle them as you test. When you’re happy, you’ll have a stitch map ready for sewing or machine work.
Adjust stitch density and direction for real texture
Density should vary by area: more stitches for shadows, fewer for highlights. This variation makes the embroidery tactile. Stitch direction should mimic natural light and fabric folds, with gradient areas using blended directions to avoid flat blocks. Test on scrap fabric to dial in the look you want for your surface.
Remember the fabric matters: cotton, linen, and felt behave differently, so adjust density and angles accordingly. Keep notes on what works best for your go-to fabrics.
Run a preview or simulation before stitching
A preview shows how threads align, where gaps might appear, and how stitch order changes. If something looks off, pause, adjust, and re-simulate before touching fabric. Use the preview to check scale and legibility; if lines disappear at small sizes, revise density or simplify shapes.
When the simulation looks right, you’re ready to stitch with confidence — the preview has given you a practical map for your pattern.
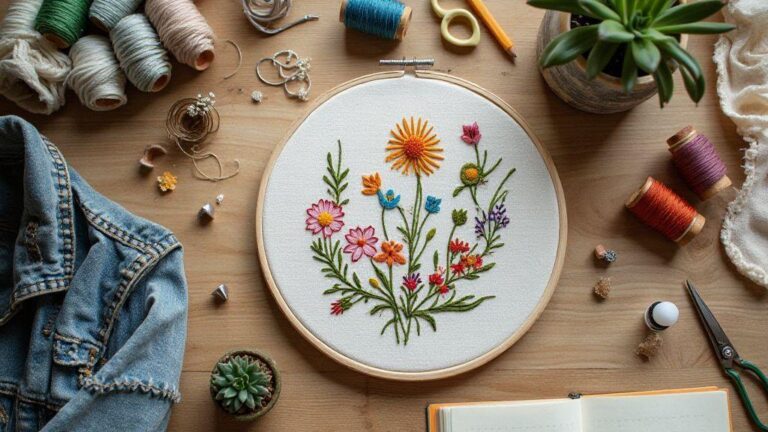
Make a Cross-Stitch or Template from a Photo
Turn a simple photo into a usable cross-stitch design. Start with a clear, high-contrast image. If the background is busy, crop to the subject and blur the rest. Save a reference copy to compare as you work. Choose a photo that sparks motivation for long evenings at the hoop.
Convert photo to embroidery design or image to cross stitch pattern
Think of the conversion as translating a picture into blocks of color. Simplify the photo by reducing colors to match your chart’s capacity, then increase contrast so main shapes pop. Large shapes become your largest stitches; small details become clusters of stitches. Save your design as a chart you can print or trace.
Test a tiny section first to verify color choices on your fabric and grid alignment. If something looks off, tweak the palette or simplify shapes further. The goal is a faithful yet stitchable version of the photo, with your eye and fabric texture shaping the final result.
Use software to convert image to embroidery file for a printable chart
Software speeds up the process and improves precision. Import your simplified image, let the program assign colors and lay out the grid, and adjust stitch counts per color. Label sections so you know where to start when stitching. Export in a compatible format and save a printable chart with clear legends and color keys.
If you hit a snag, manually tweak blocks—change a symbol, adjust a color, or boost contrast—until the chart matches your vision. Practice makes the translation faster and more reliable, producing clean, usable embroidery files you’ll reuse.
Print the grid at the correct scale for your fabric
Print the grid to match your fabric’s count (e.g., 14-count Aida or 28-count evenweave). Test print on regular paper first to check alignment, then print on sturdy paper for the final chart. Keep the printed guide handy and mark completed areas to stay organized.
Transfer, Test, and Finalize Your Pattern
Move from idea to stitch-ready pattern with practical steps that keep you in control. Choose a transfer method that fits your setup—iron-on stencils, lightbox tracing, or simple transfers work well. A tidy workspace and clear notes on color choices and size help you stay on track.
With practice, you’ll stitch more consistently, develop fewer stray threads, and build a library of reusable patterns. Repetition lets you refine your craft and maintain your unique style.
How to Turn Any Photo into an Embroidery Pattern by tracing or iron-on transfer
Tracing a photo on a lightbox gives you a crisp guide for stitching. For iron-on transfers, print a high-contrast version, place it on fabric, and press per the transfer’s instructions. Tracing is crisper for intricate designs; iron-ons are faster for simpler images. Use a light pencil sketch first to map proportions and spacing.
Consider stitches for each area: large spaces benefit from long satin stitches; thin lines shine with backstitch or split stitch. Bold outlines help the final embroidery read clearly from a distance, which is helpful for wall art or patches.
Stitch a sample to check colors after automated photo to embroidery conversion
Stitch a small sample to test color values in real life. If colors look flat, adjust to neighboring shades or tweak warmth. Compare the sample to the photo and adjust brightness or depth to match the balance. If colors seem too loud, scale them back and test again on a tiny sample.
Adjust colors, size, and save the final embroidery file
Finalize by tweaking color values and resizing the pattern to fit your fabric. If you used an auto-converted file, fine-tune colors in your embroidery software and label them clearly. Save both a production-ready file and a working copy with notes on changes. Clear naming, organized layers, and documented color palettes keep your workflow smooth for future projects.

I’m Sophie Caldwell, the author behind granaboom.com, and I believe hand embroidery is one of the simplest, most relaxing ways to create something beautiful with your own hands. I started this blog to help beginners learn hand embroidery without feeling overwhelmed by complicated instructions or “perfect” results.
Here you’ll find beginner-friendly guides to decorative embroidery stitches, along with clear step-by-step practice ideas and patterns you can use to build confidence. My focus is on making the learning process easy: simple explanations, helpful stitch combinations, and small projects that look polished even when you’re just starting out.
Welcome to granaboom.com—grab your hoop, choose a few colors, and let’s stitch one line at a time.