Your First Embroidery Hoop: A Complete Beginner Project with Photos
Pick a starter kit for Your First Embroidery Hoop: A Complete Beginner Project with Photos
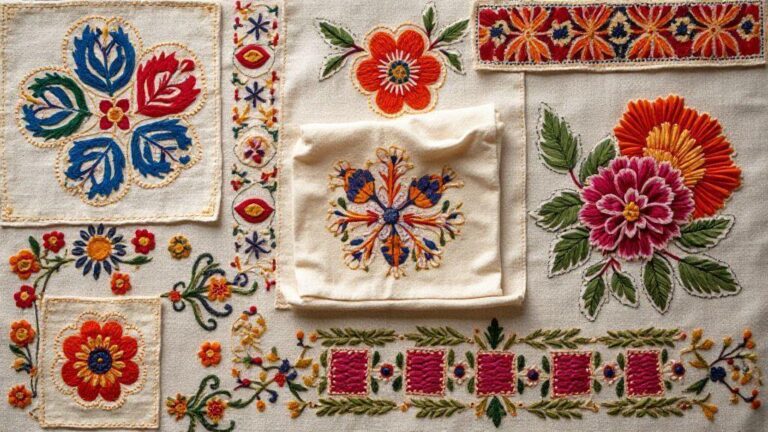
Starting your stitching journey begins with the right kit. A complete starter kit keeps everything you need—hoop, threads, needles, and patterns—in one place so you can dive in quickly. It feels like a mini toolbox for creativity, giving you a clear path from day one with simple steps and guided photos. Small, satisfying stitches build momentum and confidence.
Your first project should show progress quickly. Look for a starter kit that includes beginner-friendly patterns and enough thread to finish something visible. You’ll learn how to set up your hoop, choose the right needles, and follow the pattern with photos that illustrate each step. The photos act as a gentle teacher, helping you practice with visual cues. With the kit, you can focus on stitching, learning, and enjoying the process, which keeps you coming back for more.
Choosing a starter kit also means consistent quality. Expect grip-friendly hoops, color-coded threads, and simple guides. These details save frustration and prevent hand fatigue as you learn. The photos in the kit help you compare your work to the example, so you know you’re on track. A solid starter kit sets you up for success and makes your early embroidery journey enjoyable.
What a starter embroidery kit for beginners includes
- A small hoop to keep fabric taut
- A few colors of embroidery floss
- A beginner-friendly pattern with a photo guide
- Easy-to-handle needles (blunt or tapestry)
- A fabric marker, pins, and basic scissors
- A needle size guide
- A mini practice fabric swatch
- A small storage bag or organizer
- Clear, large photos showing each step
How to choose your hoop, needles, and thread
Start with a hoop that fits your fabric and feels comfortable. A smooth inner edge prevents snagging, and a good screw clamp or smooth-moving ring helps maintain even tension. For right-handed stitchers, the screw on the side you use most offers easier control.
Needles should match your fabric and comfort level. A blunt tapestry needle is forgiving for beginners and minimizes holes. Pick a size that prevents large holes while keeping stitches neat. For finer fabrics, a smaller needle is fine, but don’t force it. For thread, begin with two or three colors to keep things simple. Choose colors with good contrast against your fabric and prewash to avoid bleeding. Short thread lengths prevent tangling, and keep colors in labeled bobbins or kit sections.
Pairing needles and thread matters for speed and results. A larger needle makes stitching easier at first; switch to smaller needles as your stitches get finer. Practice with a single color first to master tension, then add more colors. If in doubt, follow the kit’s guidance—the photos show how the thread sits on the fabric and how full your stitches should look. The right combo keeps your hands happy and your stitches clean, helping you stay motivated for Your First Embroidery Hoop: A Complete Beginner Project with Photos.
Learn embroidery hoop basics with photos
Embroidery is a hands-on skill you can pick up quickly, and the hoop is your best friend. Clear photos show how the hoop holds fabric taut and keeps stitches neat. You’ll see how the ring and inner clamp work together, and how a simple adjustment can improve your results. The hoop is a tiny stage where your thread does the talking, turning loose threads into tidy patterns.
Photos help you spot details: how the fabric sits in the hoop, how tight it should be, and where to position your needle for clean lines. Seeing steps in pictures helps you avoid common mistakes like fabric sagging or threads catching on metal. Studying the photos builds confidence to start your project.
By the end, you’ll understand why setup matters. The photos break down steps into bite-sized actions you can repeat. A steady hand and proper tension create crisp stitches you’ll be proud to show off. Your progress will feel real, especially when you compare early photos to later ones.
How to use an embroidery hoop
Place the fabric under the hoop’s inner ring, then tighten the outer ring until the fabric sits flat. The photos show the quick magic of taut fabric without bunching. Position the fabric so the area you’ll stitch is centered and accessible, avoiding edges that slip. Keeping the fabric taut helps stitches stay even and the design reads clearly.
You’ll notice habits that help you stay steady: rotating the hoop as you sew and checking tension often. A gentle touch lets the needle glide, rather than snagging. As you match the photos to your practice, you’ll feel your control grow and your projects become more polished.
Hoop sizes and fabric types to choose
Photos illustrate how different hoops feel in your hands and how fabrics react to tension. For beginners, a medium hoop is forgiving and sturdy, making stitches easier to see. Cotton or linen fabrics that grip the hoop well are good choices. In pictures, you’ll spot fabrics that stretch or bunch to avoid for your first projects.
Thread count also matters. Softer weaves sit nicely in a hoop and help keep your design true. The photos guide you to pick a size that matches your pattern’s scale, so stitches aren’t cramped or washed out. With practice, you’ll feel confident choosing hoops and fabrics that fit your style.
Quick setup steps
Set the fabric in the hoop, tighten, test the pull, and you’re ready to stitch. A clear sequence in the photos shows how to insert the fabric, tighten just enough to hold, test tautness, and adjust as needed. A quick check before you start saves frustration later. You’ll learn to peek at edges, keep fabric flat, and relax your hand for steady stitching.
Master basic embroidery stitches for beginners
Embroidery is hands-on; you learn fastest by practicing. Start with simple stitches, keep motions steady, and your stitches will grow neater. The right thread and hoop size make it easier to sew, and a taut fabric keeps stitches even. Patience matters more than speed.
Routine helps you improve. Schedule short practice sessions, try stitches on scrap fabric, and observe what works for you—needles that glide best, tension that feels just right. There’s no rush; accuracy matters more than speed.
As you build muscle memory, your hands will move more naturally. You’ll plan stitches on scrap fabric before a project, and your work will feel more cohesive. When you’re ready, try Your First Embroidery Hoop: A Complete Beginner Project with Photos and bring your ideas to cloth.
Step-by-step embroidery hoop guide to backstitch
Place your fabric in the hoop and pull tight for even backstitches. Mark a simple line to guide your stitch, then bring the needle up at the start point and go down a short distance to form the first stitch. Avoid pulling too hard to prevent puckering.
Backstitch is small, continuous movements. After the first stitch, bring the needle up beyond the end and go back down to continue. Repeat, stitching forward and slightly backward to fill the line. If gaps appear, nudge the next stitch closer and keep the thread snug but not tight. Tie off the thread at the back when finished, or bury the end under existing stitches. With practice, you’ll backstitch confidently on patterns, letters, or outlines.
Easy satin and running stitches for you
Satin stitch creates solid color blocks; running stitch forms light, airy lines. For satin, lay stitches close together with a smooth pass and fill the area evenly. For running stitch, keep short, evenly spaced stitches in a straight line. Maintain a taut thread without stretching the fabric. You can add parallel lines for texture.
Combine satin and running stitches to add depth: use satin for bold fills, then outline with running stitches. Take breaks, rethread as needed, and celebrate small wins along the way.
Stitch practice sheet
Grab fabric and a hoop, then trace simple shapes: a straight line, a small square, and a curved arc. Practice backstitch along the line, satin fill for the square, and a gentle running stitch along the arc. Repetition builds muscle memory. Compare front and back to refine tension and grip for next time.
Try a simple hoop embroidery project for Your First Embroidery Hoop: A Complete Beginner Project with Photos
This beginner project guide helps you pick up a hoop, thread, and a simple pattern. The goal is clean lines and even stitches with a relaxed grip and a simple plan. By the end, you’ll have a small finished hoop you can hang or gift. Remember: practice, not perfection, improves your control and color choices with every stitch.
Choose an approachable first project: a medium hoop, a single color, and a simple motif such as a flower or geometric shape. Learn tension, thread anchoring, and turning corners without puckering. Finish with a sense of achievement that motivates you for cards, wall art, or gifts.
Stay organized: a few needles, a couple of floss colors, scissors, and a comfy work surface. Use a lightbox or bright window to trace a pattern onto fabric, then start with a single stitch type for outlines and fills. Your stitches will smooth out as you loosen your grip and let the thread glide. Give yourself grace—your first project is a learning stepping stone, not a test of perfection.
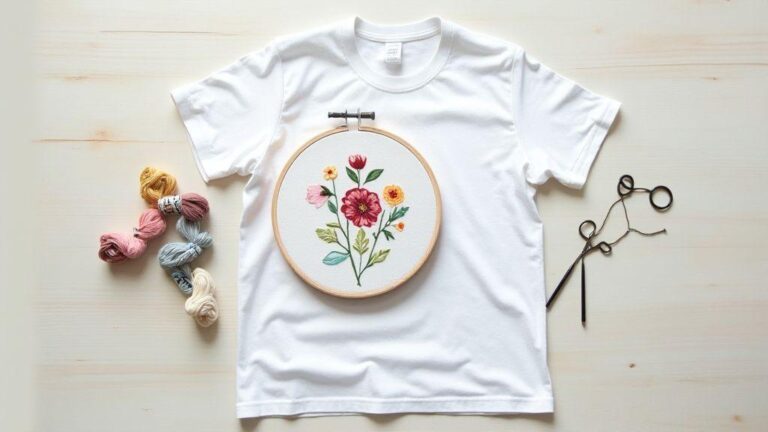
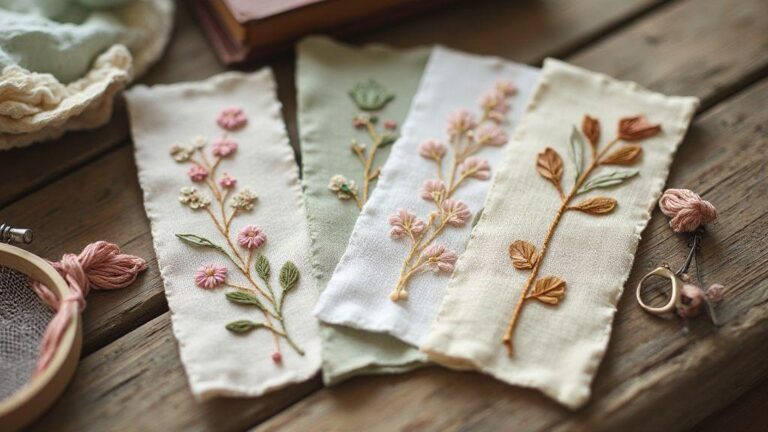
First embroidery project for beginners: flower motif
Starting with a flower motif is a friendly way to learn embroidery rhythm. Map out a simple bloom, then practice a few stitches to bring it to life. Use a soft color for petals and a darker shade for the center for clear definition. Take your time with the outline; steady stitches create crisp edges that help the flower pop. After outlining, fill with stem stitch or longer stitches to suggest leaves for balance.
Tension matters. Compare how the fabric behaves when you pull snugly versus easing slightly. If a stitch puckers, loosen and re-stitch. If you make a mistake, stitch over it or incorporate the imperfection as texture. The flower motif becomes your learning map—each stitch teaches placement, thread start and end points, and how to keep the hoop taut for clean lines.
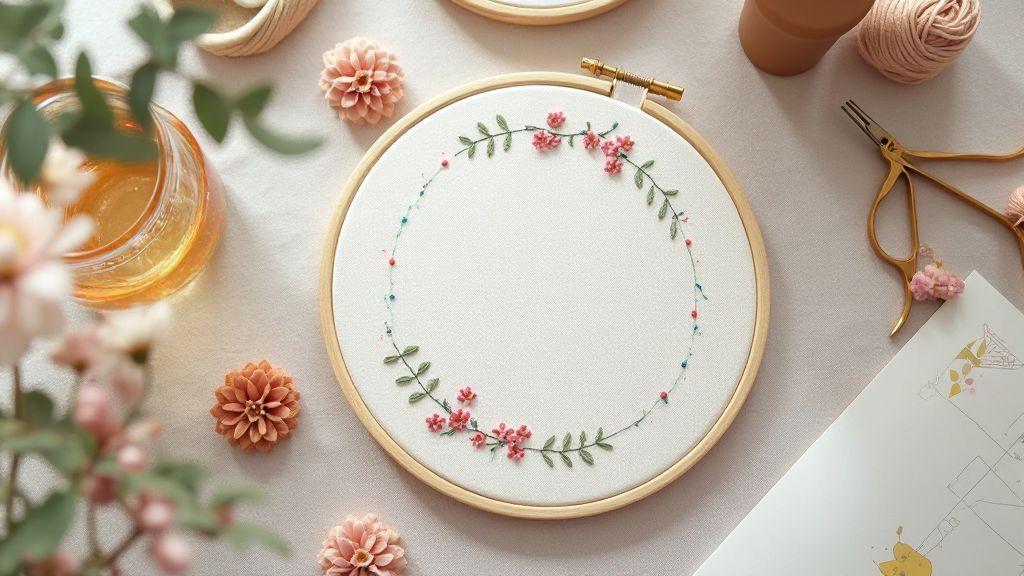
Beginner embroidery hoop tutorial with photos
This tutorial guides you through each step with simple, repeatable actions. Secure the fabric in the hoop so the surface is taut but not stressed. Use a single color for the outline (a circle works well for a first motif), moving the needle back to front with even spacing. Then switch to a filling stitch for petals. Photos show where each stitch should land, helping you compare progress and adjust as needed.
As you compare photos to your work, notice how needle angle and thread length affect the look. Use the photos as a guide to keep stitches uniform and tension balanced. Cap the thread neatly at the center and secure it under a few stitches. The final piece should look steady with a clear motif you placed yourself. The hands-on practice is where your learning clicks.
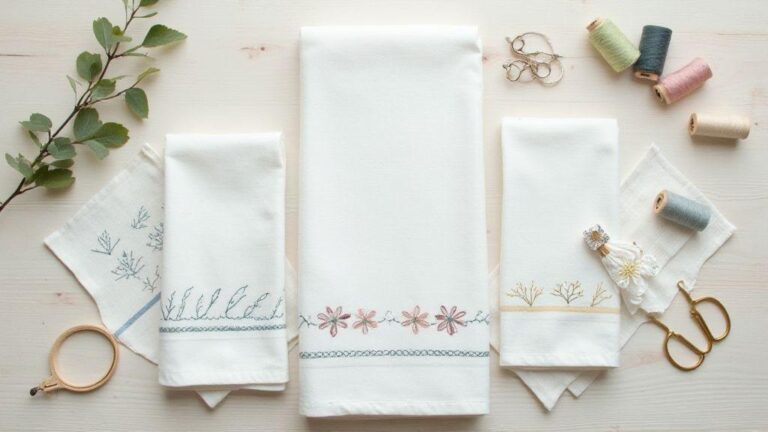
Project time and materials
Plan about 60 minutes for this beginner project, depending on your pace. You’ll need a small-to-medium embroidery hoop, a few skeins of floss in chosen colors, a plain fabric or fat quarter, a blunt-tipped needle, scissors, and a simple printed flower motif or a doodle you trace onto fabric. Have water for thread swaps and a clean cloth to wipe excess floss. Keep everything tidy to stay focused on stitches.
Use easy embroidery patterns and templates
Simple patterns help you build confidence before bigger projects. Easy templates come with clear outlines and generous margins, so you have room to breathe as you stitch. Print templates at actual size, check hoop compatibility, and keep notes on stitch types you’ll use. Reuse patterns to build consistency and progress.
Template storage matters. Keep templates organized in a binder or folder by size and project type. A quick-access sleeve for each hoop dimension saves time. If you digitize patterns, save clean digital copies with project titles and dates. A tidy collection keeps inspiration close and the workflow smooth.
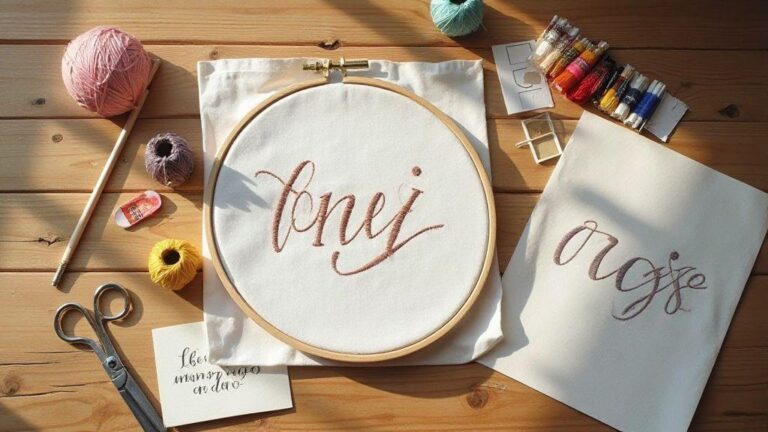
How to transfer patterns to fabric
Transferring a pattern to fabric can be easy. Use a lightbox or a bright window to trace design lines with carbon paper or a water-soluble marker. Start simple to learn how to follow paths with your needle. If your fabric has a nap, test a small area to see how markers behave after washing or pressing.
Other methods include basing or transfer tape to hold the template in place while stitching. Tape patterns lightly at corners and try a dry run by tracing with a removable pencil. Stitch along the traced lines with backstitch or running stitch to follow the guide confidently.
Scale templates to fit your hoop
Hoop size matters, so scale templates to fit. Measure your hoop’s inner diameter and adjust the pattern accordingly. If you don’t have a ruler, print at 100%, cut out the design, and compare to your hoop. Scale down or up in small increments as needed, keeping proportions intact. A well-sized template helps your design fill the fabric nicely without crowding edges. Use a grid method to redraw on fabric if needed, row by row, for faithful lines.
Template storage tips
Keep templates organized so you can reuse them. Use a labeled binder or folder, and store by size and project type. A quick-access sleeve for each hoop dimension saves minutes when starting a new project. If you digitize patterns, save clean copies named with the project title and date. A tidy collection helps you stay inspired and efficient.
Finish, frame, and care your hoop project
Finish neatly and protect your stitches. Choosing the right frame highlights your work, and proper finishing guards against wear. Frame without crowding the design, and aim for a clean, professional look you’re proud to display.
Manage fabric tension and hoop size to avoid sagging after finishing. A tight, even finish makes embroidery pop and prevents loose threads from snagging on clothing or other projects. Use simple tools and steady hands to seal the edges and mount your piece so it stays flat.
Care steps fit into a regular routine. Use quick checks after each project, and you’ll save time later. Your finished hoop can travel from table to wall or shelf without losing shape, color, or stitch integrity. Your First Embroidery Hoop: A Complete Beginner Project with Photos can serve as a reminder of how far you’ve come and how well you’ll handle the next project.
How to mount and frame finished hoops
Mount the fabric flat, centered, and taut. Align the design, then tighten the inner hoop and secure, adjusting for any wrinkles while the fabric is warm from your hands. Choose a frame that complements the colors without crowding the embroidery; use spacer strips and a neat border to hide excess thread. Label the piece with a date or note and consider hanging with a suitable hook or displaying on a stand for a clean, balanced presentation.
Washing and storing your embroidered work
Dust with a soft brush or microfiber cloth before washing. If needed, wash on a cold, delicate cycle or hand wash with mild detergent. Avoid hot water, harsh chemicals, or bleach. Lay flat on a towel to reshape as it dries. Store finished hoops in a cool, dry place away from direct sunlight to prevent color fade. Use acid-free tissue or a breathable cover to protect from dust. If you have multiple hoops, stack them with tissue between each piece to prevent rubbing.
Long term care steps
Regularly inspect the hoop for loose screws or warping and tighten as needed. Wipe frames with a soft, dry cloth to remove dust. If colors fade, store pieces in a dim, protective spot to minimize light exposure. Rotate which pieces you display to keep your collection fresh and evenly exposed.

I’m Sophie Caldwell, the author behind granaboom.com, and I believe hand embroidery is one of the simplest, most relaxing ways to create something beautiful with your own hands. I started this blog to help beginners learn hand embroidery without feeling overwhelmed by complicated instructions or “perfect” results.
Here you’ll find beginner-friendly guides to decorative embroidery stitches, along with clear step-by-step practice ideas and patterns you can use to build confidence. My focus is on making the learning process easy: simple explanations, helpful stitch combinations, and small projects that look polished even when you’re just starting out.
Welcome to granaboom.com—grab your hoop, choose a few colors, and let’s stitch one line at a time.