The Complete Beginner’s Shopping List for Hand Embroidery
Get essential embroidery tools for beginners
You’re starting a fun project, and the right tools make everything smoother. Your first goal is getting comfortable with the basics so you can focus on stitches, not fumbling for gear. Think of this as laying out a tidy workspace: a clean table, good light, and a few dependable tools you trust. A solid toolkit helps you avoid dropped needles, tangled threads, and frayed fabrics. Pick tools that fit your hand size and taste, not just what’s on the shelf. With the right setup, you’ll reach for your embroidery every day, not just when you’re in the mood.
You’ll see quick gains with good lighting and a comfortable hoop. Your eyes won’t strain, your hands won’t tire as fast, and your stitches will look cleaner. The goal is consistency over speed, starting with a stable workspace and reliable basics you can trust.
Embroidery needle types explained
A sharp needle is great for tightly woven fabrics, while a ballpoint needle slides through knit materials without snagging. For delicate fabrics, use a finer needle so stitches sit evenly and don’t leave holes. A standard embroidery needle is a good all-rounder. Eyes vary: a larger eye makes threading easier, while a slender, sharp eye gives more control on detail work. Try a few to see what feels best in your hand.
Must-have scissors, hoop, and thimble
Choose sharp, small, easy-to-control scissors. A dedicated pair for fabric keeps edges clean and prevents fraying. A compact hoop helps keep fabric taut without weighing you down. The hoop should sit snugly but not crush the fabric. A thimble protects your finger as you push the needle and helps you work longer comfortably. Scissors with a clean tip let you snip threads close to your work without snagging.
Starter kit checklist
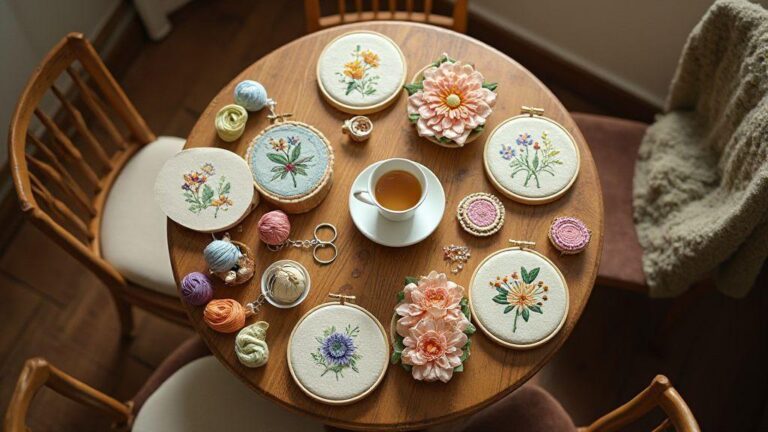
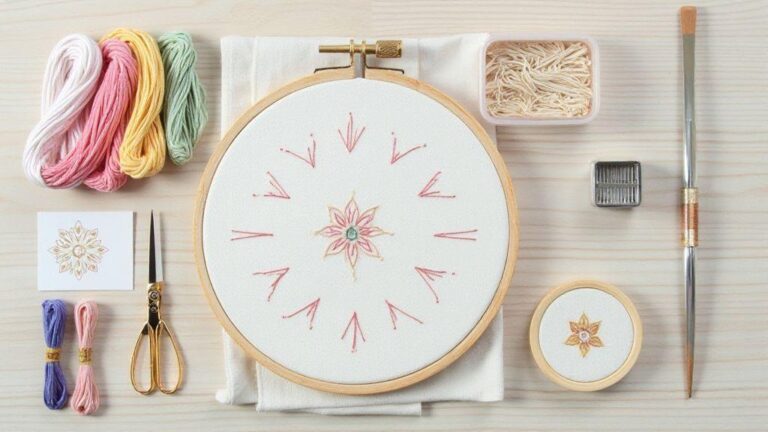
Your starter kit should include practical items you’ll use in nearly every project: a selection of embroidery floss in a few colors you love, an embroidery needle set, a small sharp pair of scissors, a stable hoop, and a protective thimble. Include a fabric scrap for practice and a water-soluble fabric marker to line up stitches. Add a simple pattern or project you’re excited about. This kit keeps you ready to stitch whenever you have a spare moment.
The Complete Beginner’s Shopping List for Hand Embroidery
If you’re building a clean, complete starter setup, this section helps you assemble the essentials efficiently. The Complete Beginner’s Shopping List for Hand Embroidery keeps you focused on reliable basics and a comfortable workflow.
- Basic embroidery floss in a handful of colors (plus neutral tones)
- A six-strand embroidery floss set (versatile for adjusting thickness)
- A small, sharp fabric scissors
- A stable embroidery hoop (wood or plastic)
- A thimble that fits well
- A set of embroidery needles (sharp and/or ballpoint as needed)
- A water-soluble fabric marker or erasable pencil
- A fabric scrap for practice
- A simple pattern or project to start with
- A beginner-friendly floss organizer or small tray
- A starter stabilizer (tear-away or cut-away) for your chosen fabric
This The Complete Beginner’s Shopping List for Hand Embroidery aligns with beginner needs: easy-to-use tools, clear guidance, and room to grow as you gain confidence. Look for beginner bundles that clearly state item names, sizes, and fabric compatibility, and favor shops that offer straightforward color naming and close-up photos.
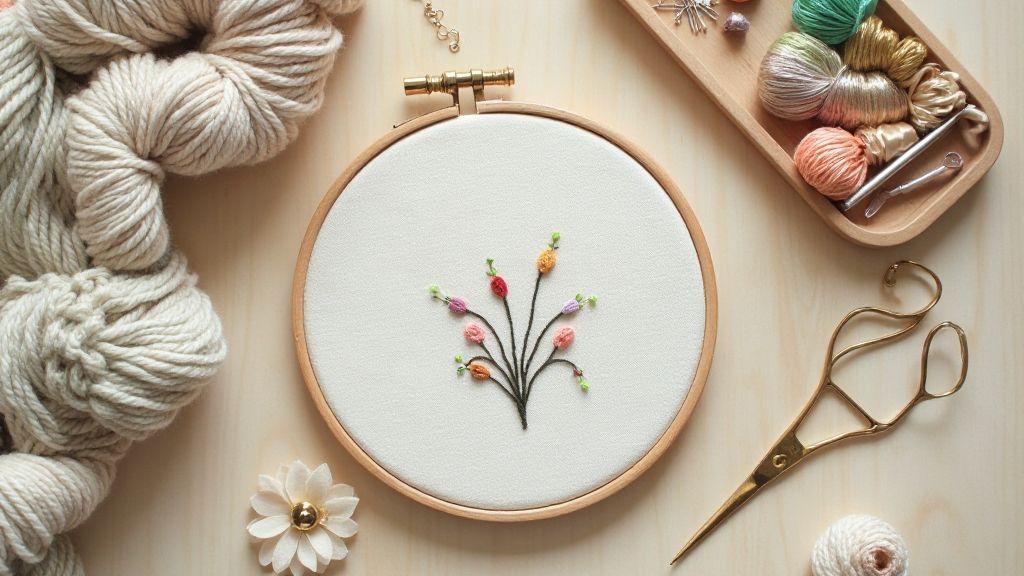
Pick the right embroidery floss and thread
Choosing floss and thread sets the tone for your project. Start with colors you love and look for threads labeled for hand embroidery. Keep a few neutrals (white, cream, black) for outlines and shading. For beginners, a mid-range thread that’s not too shiny or matte is a sweet spot. Six-strand floss is versatile: pull apart strands to adjust thickness for different stitches. Have a color wheel or swatch cards to compare shades in natural light. You can always add colors later.
Fabric matters too. A smooth, tightly woven fabric makes floss behave well, while rough or stretchy fabrics can be tricky. Match fabric weight to floss thickness: six-strand floss works well on Aida or evenweave when you don’t separate strands. For a subtler look, split the floss into fewer strands. With time, your stitches will lay neatly and colors stay vibrant.
Embroidery floss guide for beginners
A simple guide helps you stay organized: learn to tell floss apart, wrap it without tangling, and choose the right strand count for each stitch. Begin with color matching—warm and cool tones to mix and shade. Keep a small board or tray for floss to prevent it from rolling away. For strands, most patterns use 2 strands for a clean line; you can go up to 3 or 4 for bolder coverage. Lay floss on your finger and gently pull apart the needed strands. If floss splits, rethread and straighten fibers to avoid knots and uneven stitches. Anchor with a small tail and secure ends under a few stitches.
Floss care tips
Store floss in a dry, cool place away from direct sunlight. Keep skeins neat, avoid twisting, and trim any knots instead of pulling through fabric. Wash fabrics gently to prevent color bleeding; lay flat to dry. Clean threads stitch up cleaner lines and smoother shading.
Choose fabric and stabilizers that work best
Selecting the right fabric and stabilizers sets up your first projects for success. You want a fabric that grabs stitches without pulling and a stabilizer that supports stitches without making the fabric stiff. Start simple: a forgiving fabric with light stabilizer. Dense designs need more support; lighter designs can get by with less. The goal is smooth, predictable results from the start.
If your fabric shifts while you stitch, your design will look uneven. If stabilizers are too stiff, your stitches can appear stiff too. With the right mix, you’ll enjoy smoother lines and better results.
Choosing fabric for hand embroidery: cotton vs linen
- Cotton is beginner-friendly: soft, forgiving, and easy to work with. It shows thread color clearly and comes in various weights, making it great for learning.
- Linen is more advanced: it has a natural tooth that holds stitches well and gives crisp results. It encourages careful tension and placement, but it can be pricier and slightly trickier to thread. Start with cotton, then try linen as you build confidence.
When to use tear-away or cut-away stabilizers
Tear-away stabilizers are ideal for fabrics that don’t fray much and simple designs. They’re easiest to remove after stitching, leaving a soft edge. Cut-away stabilizers stay under the embroidery for durable support, useful for dense designs or heavy fabrics. A good approach is to start with tear-away for practice and switch to cut-away as your projects become more ambitious.
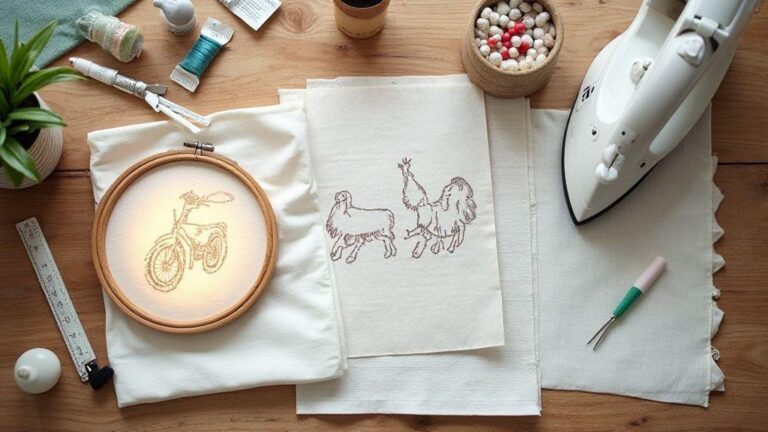
Fabric prep steps
Wash and press fabric to lie flat. Iron linen or fabrics with a nap in the direction that avoids distortion. Lightly mark your design with a water-soluble pen. Baste stabilizers if possible, then hoop with moderate tension. Remove markings after finishing and wash or press again to set the finish. Proper prep smooths the path from first stitch to final piece.
Find the best embroidery hoop for beginners
A hoop that’s easy to grip, flat on the table, and not prone to slipping makes stitching enjoyable. The hoop influences tension and thread movement, so choose one that feels like an ally, not a hurdle. Test a few in-store or borrow from a friend to find the right fit for your fabric and stitches. The right hoop boosts confidence and keeps you excited to stitch again.
Best embroidery hoop for beginners: wood or plastic
- Wood: sturdy grip, traditional feel, durable with thicker fabrics. Great if you like a classic tool.
- Plastic: lighter, affordable, smooth screw and easy to maneuver over fabric. Gentler on delicate fabrics.
Choose a hoop that sits flat on your work surface and won’t twist as you stitch. Your goal is steady tension with minimal effort.
How to pick the right hoop size for your project
Size matters for visibility and comfort. A 4–6 inch hoop is a common starter size, offering space to stitch without forcing you into awkward positions. For simple motifs, a smaller hoop helps you focus on neat stitches. For larger patterns, a bigger hoop provides room to maneuver. The aim is to keep fabric taut without pulling on stitches.
Hoop maintenance
Keep your hoop clean and dry after use. Wipe away oils from your hands to prevent slipping. Wooden hoops may benefit from occasional light sanding and minimal mineral oil; avoid overdoing it. Check plastic hoops for cracks and replace if worn. Tighten the screw after finishing to preserve tension.
Build a basic stitches practice kit
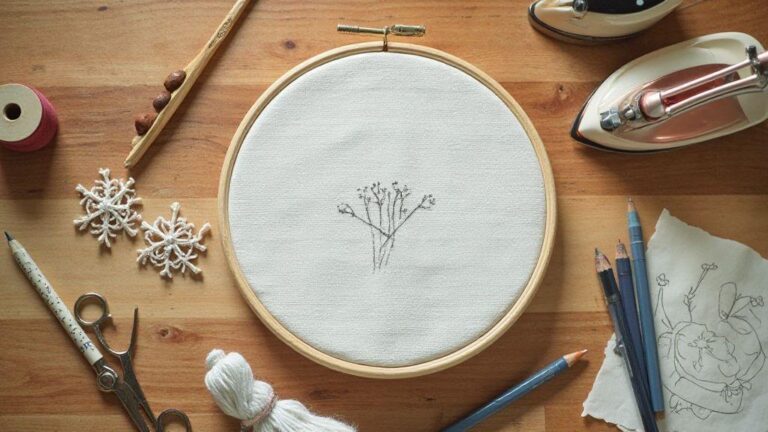
A simple kit helps you practice consistently. Start with a small hoop, a few sharp needles, and basic threads. A dedicated space keeps you practicing rather than hunting for supplies. Use a fabric scrap to practice stitches, a hoop to keep fabric taut, and a needle threader if needed. Choose comfortable scissors and a pencil or fabric marker for light pattern sketches. Keep the kit uncluttered to master a few stitches before expanding colors.
Basic embroidery stitches practice kit: backstitch, satin, knot
Begin with three core stitches on smooth, medium-weight fabric. Use a slightly larger needle to ease threading. For backstitch, keep stitches straight and evenly spaced along a continuous line. Satin stitch fills areas smoothly in neat, non-overlapping rows. A simple knot anchors threads securely; practice leaving a tiny tail and pulling snugly. Start with one or two colors, then add a third for contrast. Track what feels easy and what’s clumsy in a small notes collection. With practice, these stitches connect more naturally and your projects look polished.
Transfer methods and simple practice patterns
Use reliable, simple transfer methods: chalk or erasable fabric markers to plot shapes. Mirror patterns to trace if needed. Keep patterns small at first—flowers or simple geometric shapes—to finish comfortably. Practice outlining and filling to learn stitch behavior and tension control. Once comfortable, transfer slightly more complex patterns. Label practice pieces with transfer method and stitches used to track what works best.
Where to buy beginner hand embroidery supplies
You’re starting a new craft, and the right stores matter. Look for shops that clearly show thread brands, needle sizes, and fabric descriptions. A good store offers beginner kits and honest guidance without overselling. Favor places with generous return policies and clear photos of items. You want reliable service to support your learning curve.
When browsing, imagine a friendly craft shop with a knowledgeable assistant. Check listings for brand, material, and size. Seek beginner-friendly options like simple cotton floss, low-twist needles, and a small hoop. Avoid sites that leave you guessing. A well-organized shop saves time and helps you build a sensible starter stash.
Read customer notes on returns and shipping times. Look for sites that label color names, describe fabric weight, and provide close-up product photos. A site that explains tool choices for beginners and offers a short floss guide is especially helpful. Bookmark several trusted sources to compare prices and avoid guesswork.
Shopping list for hand embroidery beginners: stores and sites
Maintain a short, dependable list of places where basics are clearly described. Start with a well-known craft chain offering beginner sets, then add a dedicated embroidery shop that loves showing small details. Include an online marketplace that features customer photos and honest reviews. A balanced mix helps you compare prices, view color variations, and catch deals. Avoid shops that hide specs or ship slowly. Clear information and timely delivery let you start stitching sooner.
Prioritize shops with a simple beginner category or bundle, including a small hoop, beginner floss, a couple of needles, and starter scissors. If a site offers free tutorials or a beginner guide, that’s a strong sign they want you to succeed. Look for printable care instructions and easy-to-verify photos.
Hand embroidery starter kit essentials to compare
A starter kit should invite your first project with clear instructions and reliable basics. Compare kits that include a hoop, a few floss colors, a few needles, and simple instructions. Some kits add a practice fabric swatch and a basic pattern, which can be perfect for a first project. Avoid kits packed with too many extras; focus on items you’ll use.
Check hoop quality, a small range of floss colors that you can wrap around your finger, appropriate needles, and comfortable, rounded scissors. Compare kits by included items, instruction quality, and overall value. A Kit should motivate you to finish a small project, not overwhelm you with tools you won’t use.
Budget buying tips
If you’re watching costs, start with a modest starter kit and add only what you’ll actually use. Look for exact item names and sizes to simplify replacements later. Compare individual item prices to kit pricing for true value. Don’t pay extra for brand-name packaging. Choose a basic hoop that matches your fabric, a simple color set for a few projects, and a reliable pair of scissors. The goal is quality and ease of use within a sensible budget, keeping you practicing and progressing.

I’m Sophie Caldwell, the author behind granaboom.com, and I believe hand embroidery is one of the simplest, most relaxing ways to create something beautiful with your own hands. I started this blog to help beginners learn hand embroidery without feeling overwhelmed by complicated instructions or “perfect” results.
Here you’ll find beginner-friendly guides to decorative embroidery stitches, along with clear step-by-step practice ideas and patterns you can use to build confidence. My focus is on making the learning process easy: simple explanations, helpful stitch combinations, and small projects that look polished even when you’re just starting out.
Welcome to granaboom.com—grab your hoop, choose a few colors, and let’s stitch one line at a time.