Embroidery Communities and Why People Love This Hobby Join Bordado Circles for Creativity Friendship and Easy Starter Tips
How I Found Embroidery Communities
I started seeking embroidery communities because I realized I wasn’t alone in loving thread and tiny stitches. I asked friends who stitch which groups they liked and joined a local makerspace chat to see who stitched in person. Online spaces felt welcoming, with tips shared, patterns swapped, and cheers for progress. For beginners, the complete beginner guide to embroidery hoops offers simple setup tips and essential tools, while the embroidery-for-beginners ultimate starter guide covers tools and easy projects. Embroidery isn’t just a hobby; it’s a way to connect with others who get the pull of a new stitch or a tricky satin line. I kept notes on what felt inviting: clear rules, patient mentors, and plenty of show-and-tell.
I also watched how beginners are welcomed. I looked for groups offering beginner-friendly lessons, gentle critiques, and a pace that isn’t overwhelming. I started small—lunch-hour stitch meetups with a friend, then a weekend workshop. The spaces that allowed questions, mistakes, and laughter drew me in. The more I explored, the clearer it became: embroidery communities thrive when new members are welcomed and every stitch has a story. I referenced practical tips like how to choose the right embroidery hoop for your project to make sure my setup would support steady progress.
Finding these spaces wasn’t just about places to sew; it was about people who celebrate small wins. I mapped where I felt welcomed, which gatherings fit my schedule, and which venues balanced quiet focus with friendly chatter. Soon I knew which groups would help me grow, and I planned my month around a few key events. That sense of belonging keeps me returning to the needle, thread, and people who share the same joy. When I’m choosing fabrics, I also consider beginner-friendly options like Aida and other forgiving textiles; learning about what is Aida cloth and when should you use it helps me decide what to start with.
Why bordado circles Meet and How I Join
Bordado circles aren’t formal clubs; they’re warm gatherings where threads become a common language. They meet in quiet studios, parks with shaded benches, and cozy cafes after work. The vibe matters: a simple welcome, a quick pattern, and room for everyone to share a tip or stumble. People bring their hoop, a tiny project, and perhaps cookies—small rituals that make the group feel like home. The shared goal is steady learning, not perfect results, which makes it easier to dive in.
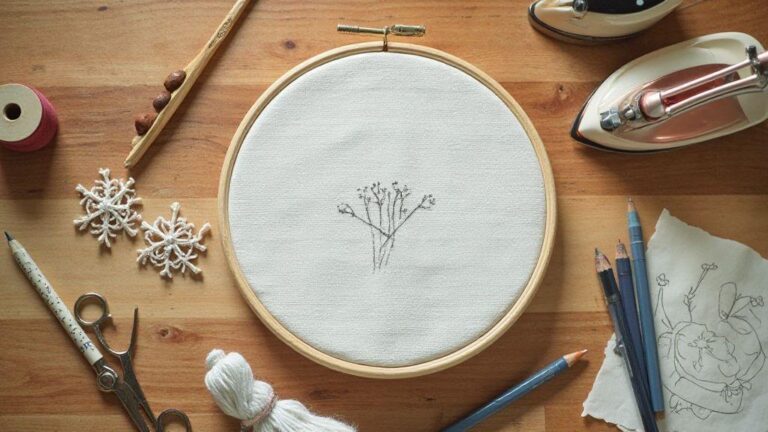
Joining usually starts with a posted schedule or sign-up sheet. Some groups are open drop-ins; others require monthly reservations. Bring your current project, a spare needle, and a friendly attitude. If you’re new, introduce yourself and mention what you’re working on. Ask a quick question early—what fabric is best for a beginner or which stitch a member loves most. Warm welcomes often lead to second sessions or mini‑demos. For pattern transfer, I sometimes rely on guides that explain transfer methods, which can be handy when you’re just getting started.
Staying engaged means showing up consistently. When the circle sees you return, you’ll be asked for opinions on fabric choices or color threads, which helps you feel useful. If you miss a week, a quick text to the organizer usually gets you the next meet-up details. Continuity makes it easier to fit bordado into a busy week. Before long, you’re not just attending; you’re contributing, swapping tips, and helping someone new pick a stitch. If you’re curious about pattern inspiration, turning photos into embroidery patterns can be a fun way to start; there are resources that walk you through that process.
How Friendship Grows When I Stitch With Others
Stitching with others turns quiet hours into shared moments. Conversations weave through family heirlooms, trips that inspired patterns, or a knotting mishap that becomes a running joke. Sitting side by side lowers walls, and focusing on the needle helps me open up. Finishing a tiny motif or fixing a messy back becomes a shared win that bonds people quickly.
Watching others work a difficult stitch helps me learn—different needle angles, tension tips, and neat thread snips. We trade patterns, swap fabric scraps, and cheer when a color choice finally clicks. These moments of collaboration turn casual hours into lasting friendships. When I’m stressed, I know I’ll find calm here because the people and the process slow time just enough to breathe.
As friendships grow, I learn about reliability and support. We celebrate milestones—finished projects, new skills, or personal wins—through photos and notes. We commiserate on stubborn stitches or fusible bonding, and someone always has a new tip. The encouragement helps me take bigger stitches and try techniques I’d shy away from alone. The more I stitch with others, the more I realize friendship is a steady, stitched line that grows with each session.
Why community stitching meetups help me relax
When I join a community stitching meetup, a weight lifts as soon as I sit with my hoop. The room hums with soft chatter, tea cups, and the laughter that follows a wonky knot joke. It’s a predictable, safe space to practice: experiment with a new stitch without fear, ask for help without self-consciousness, and receive practical guidance on tension, needle size, and fabric type. In short, community stitching meetups feel like therapy—quiet, constructive, and full of friendly faces.
My Easy Starter Embroidery Tips
I’m starting from scratch, so I break things into tiny, doable steps. Clear goals, a comfy setup, and patience help me keep momentum. Steady hands beat fast hands, and small projects allow quick wins to stay motivated. I remind myself that mistakes are part of learning, not proof of failure.
Create a clean workspace with good lighting, a sharp needle, and colors you love. Choose forgiving fabrics like cotton or linen to keep stitches neat. Keep threads tangle-free by winding onto bobbins and threading slowly. My mantra: slow and steady wins the embroidery race, especially for beginners. If you’re unsure about your hoop choice, consult how to choose the right embroidery hoop for your project.
Keep a tiny notebook for quick notes—stitches tried, what worked, what didn’t. I set small projects to finish and build confidence. The momentum from completing a small piece makes me want to pick up the needle again tomorrow.
The Simple Tools I Use as an Embroidery Beginner
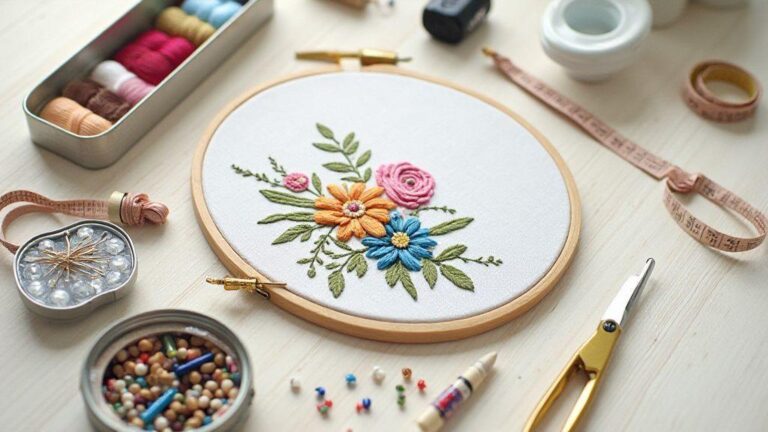
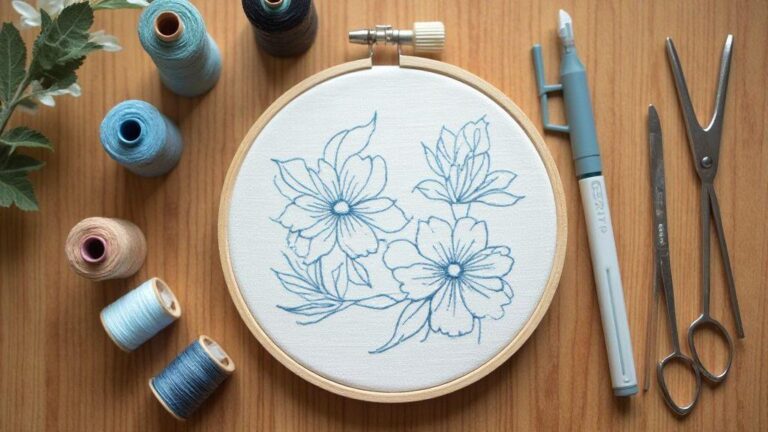
A basic hoop with a comfortable grip, a lightweight sharp needle, a handful of floss colors, clean scissors, a needle threader, a thimble, and a pin cushion for stray threads. I organize thread with a simple floss organizer and cut threads short to avoid tangling. I prefer cotton floss for neat stitches. Even-weave fabrics are forgiving for beginners. A light fabric marker helps outline simple shapes and washes away later. A comfy chair and a quiet corner help me stay focused. When tired, I switch to a simpler stitch to avoid mistakes. If I can’t find something right away, I pause and return with fresh eyes. Organized tools reduce stress and keep the mood playful. For a complete shopping checklist, see the complete beginner’s shopping list for hand embroidery.
The First Stitches I Learned from Beginner Tutorials
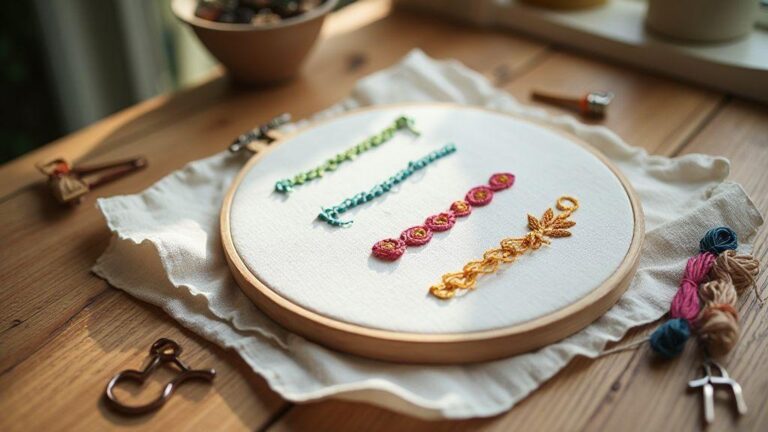
I start with the running stitch to learn fabric control, then the backstitch for clean outlines, and the satin stitch for smooth filled shapes. A simple leaf or heart helps me see how the thread lays on the fabric. I add a French knot for tiny dots and practice neat knots behind the work. I repeat these on small swatches before tackling a real project, building a toolbox of tiny habits for bigger pieces.
I also learn to measure spacing by counting threads, which helps keep lines straight. Beginner tutorials show common mistakes so I can adjust quickly. I’m building a foundation that I can expand with confidence.
Quick Project Ideas for Embroidery for Beginners
- A coaster with a simple stitched edge and a small motif in the center for an immediate win.
- Felt appliqué with a stitched outline to practice neat finishing and color pairing.
- A small hoop art with a fruit or flower to learn color planning.
- A tiny four-or-five-shape sampler to compare stitches side by side.
- A bookmark with a border and a small pattern along the edge to practice tension in a long, narrow shape. For fresh inspiration, you can explore free botanical line art patterns perfect for hoop art as you plan your first designs. Free botanical line art patterns perfect for hoop art.
How I Build Skills in Creative Needlework Groups
I join local stitch circles and online forums because learning around fellow thread lovers accelerates growth. Observing how others handle mistakes, asking questions, and trying new ideas without fear builds a mental map of steps to copy. Sharing progress also yields tips I wouldn’t notice alone, such as better thread anchoring or fabrics that behave well with different stitches.
Being part of a creative needlework group keeps practice consistent. I set a regular day to attend and work beside friends who cheer when I try something new. When I’m stuck, the group asks helpful questions—What kind of fabric is this? Which needle did you choose? This quick feedback speeds learning and prevents repetitive stalls. I also explore patterns I wouldn’t pick alone, broadening my design and color palette. If a group shares patterns that originate from turning photos into embroidery patterns, that can open up exciting new directions. See how to turn any photo into an embroidery pattern for inspiration.
I keep notes from each session: the stitch practiced, what went well, and what tripped me up. Reviewing these notes shows progress over time. Small wins—like finishing a row without pulling or choosing a color palette that reads well—feel rewarding and keep me motivated to continue.
The Common Stitches I Practice to Improve
Satin stitch, backstitch, and running stitch are the essentials. I study how others control their thread and imitate their steady pace until I find my rhythm. I compare how stitches look on linen versus cotton or even fabric like Aida. I also explore textures with French knots and lazy daisies. Clean thread tails and tidy backsides save time later. Group feedback on tension and thread length helps turn rough attempts into smooth execution. I practice stitching in small swatches to learn flow and planning, adjusting tension when fabric puckers. If you’re curious about classic techniques, there are guides on how to do a perfect backstitch every single time and more.
How Sharing Patterns Helped Me Learn Faster
Sharing patterns cuts guesswork and opens up multiple viewpoints on interpretation—where to start, which threads suit the colorway, and how to begin the seam line. Seeing different approaches broadens my toolbox and helps me pick methods that fit me. It also highlights common mistakes to avoid.
People in the group suggest fabric choices that make stitches pop or fade less, which is huge for a clean finish. I learn hoop placement, thread length, and storage tricks to prevent tangling. Sharing patterns creates a problem-solving community that speeds up improvement, not a lone journey.
When I share a pattern, I receive constructive, specific feedback—like adjusting a starting knot or using a smaller needle for denser fabric. It feels helpful, not critical, and it makes me braver about trying changes I’d once fear. If you’re interested in pattern inspiration, you can explore how to turn any photo into an embroidery pattern.
Setting Small Goals to Improve My Embroidery
I set tiny, trackable weekly goals, like finishing the first two rows of stem stitch without a snag. The focus on consistency over perfection keeps momentum. I test one new trick on scrap fabric—new thread color or a knotless finish—so I’m always learning.
These micro-goals fit busy days. Even 15 minutes can tighten stitches or secure a corner. Small steps compound over time, and completing a project reveals which goals delivered progress. For borders and edges, you can explore how to create a repeat pattern for borders and edges.
Why I Use Therapeutic Embroidery Hobby for Stress Relief
Embroidery serves as a steady anchor when stress spikes. The thread and fabric feel familiar, offering a reliable action my brain can latch onto. I treat embroidery as a ritual that signals my nervous system to slow down, breathe, and reset. In a loud world, a needle and thread provide a calm path I can follow.
The routine isn’t about perfect stitching or grand projects; it’s about showing up and letting one stitch lead to another. My shoulders drop, my jaw relaxes, and a soft rhythm settles in. Color choices become a mood map for the moment, helping me feel more like myself again. It’s a steady practice, not magic, that shifts me from worry to presence stitch by stitch.
Over time, embroidery has become a shield against overwhelm. When panic rises, I reach for thread, and the act of stitching creates a safe detour from spiraling thoughts. It’s a portable toolkit that reminds me I can control something tangible, providing priceless agency.
How Repetitive Stitching Calms Me
Repeating stitches taps into a simple, reliable pattern my brain recognizes. The cadence of backstitch, running stitch, or satin stitch gives me a single, easy target. I focus on one micro-task at a time, which quiets racing thoughts and slows breathing.
The repetition also distracts me from stressors. Watching thread go in and out becomes a focused, calming activity. It’s not about perfection; it’s about presence and progress, even if progress is small. With practice, the mind stays present and the body relaxes, bringing a steady calm into the rest of my day.
How Bordado Circles Support My Mental Health
Bordado circles offer community without needing perfect sewing skills. Surrounded by stitchers who share tips and encouragement, I feel supported and less alone in my struggles. Stories from fellow stitchers provide connection and momentum, lifting me during tough times. The shared space also creates gentle accountability, motivating me to carve out focused stitching time and lowering stress after each session. Belonging and being seen in a supportive circle are key benefits of this hobby. For regional variety, I’ve learned through regional circles that color and technique vary; some areas favor backstitch, others satin stitches, and a bit of sashiko adds texture. Free folk-art embroidery patterns inspired by world traditions can provide helpful direction when exploring regional styles.
Where I Join Community Stitching Meetups
Growth comes from being around others who love stitching. Community meetups offer questions, tips, and demonstrations that reveal different techniques in action. Beginner circles and advanced groups alike push me to try new stitches, color choices, and project ideas. The energy of stitching with others is hard to beat.
Finding meetups started with online searches, but word of mouth keeps me going. I’ve met hosts of monthly stitch-ins, pop-up trading days, and themed nights like stitch in blues or counted cross stitch weekend. The sense of belonging after a session is the best part: I’m not just sewing; I’m part of a small, supportive circle where attempts are welcomed, not judged.
If a week is busy, I still try to attend because momentum matters. I’ll bring a simple project and a question about tension or fabric. Even when I’m quiet, watching others work sparks ideas for my own piece. I leave with a technique to practice, a plan for my next project, and fabric scraps to trade. The energy of stitching with others is energizing and keeps me engaged with the craft. For broader techniques, consider resources on how to print directly onto fabric for embroidery or how to use transfer paper for embroidery step-by-step.
How I Choose Between Online and Local Communities
Local groups provide real-time feedback and hands-on demos. If I mess up a satin stitch, a nearby stitcher can point out tension issues and show a quick fix. Online communities offer broader perspectives—posting a question, receiving multiple replies, and choosing the best advice to try next. The balance keeps my skills growing: quick help when I need it and deeper guidance when I want to explore.
Schedule and vibe also matter. Local circles work well with a regular weekly routine and familiar faces. Online groups are great for travel, quick critiques during a lunch break, or online workshops that fit a pace I can pause and replay.
Safety and comfort matter too. Local meetups require a quick check-in about what I’ll bring and behavior in the space. Online spaces benefit from clear rules and respectful conversation. I choose places where I feel safe asking questions or sharing rough work-in-progress. If you want to capture patterns for sharing later, you can explore how to create a repeat pattern for borders and edges.
How I Find Local Bordado Circles Near Me
I search for bordado circle near me and add terms like stitch, embroidery group, or hand embroidery meetup. If results are sparse, I check libraries, community centers, and craft stores, which often host monthly gatherings or point me to the right contact. Community boards at yarn shops can also reveal stitch nights or swap meets. I message hosts with a brief intro and what I like to stitch.
Word of mouth grows the list, too. I ask crafters at markets or classes for recommendations. I subscribe to local craft newsletters or social pages to catch new meetups. I usually attend as a guest first to feel the vibe before joining fully.
I keep a running list of groups I want to try. If one has a long wait for new members, I join related online groups to stay connected and learn the in-person scene. Consistency helps me fit a regular night into my week and build belonging faster.
Tips for Joining a New Stitching Group Safely
- Introduce yourself briefly, share what you’re working on, and ask a simple question to break the ice.
- Bring a small, manageable project in a quiet bag so you don’t feel overwhelmed.
- Learn the basic group rules, like how to handle shared tools and how to store projects.
- If a group feels off, trust your instincts and try another one.
- Tell someone if you need help or safety support, especially if you’re new to a space.
How I Share Tradition in Embroidery Friendship Groups
I love passing stories and stitches in embroidery circles. I bring patterns with family memories, share tips, swap threads, and often finish a small piece that carries our voices. Consistent attendance builds trust, which makes learning easier. I teach simple motifs first, start with basic stitches and a short history of the pattern, then invite everyone to add their own touch. Some friends bring inherited fabrics or hoops, and we swap stories about their origins. Listening is as important as stitching; feeling heard invites others to try new stitches or adapt patterns.
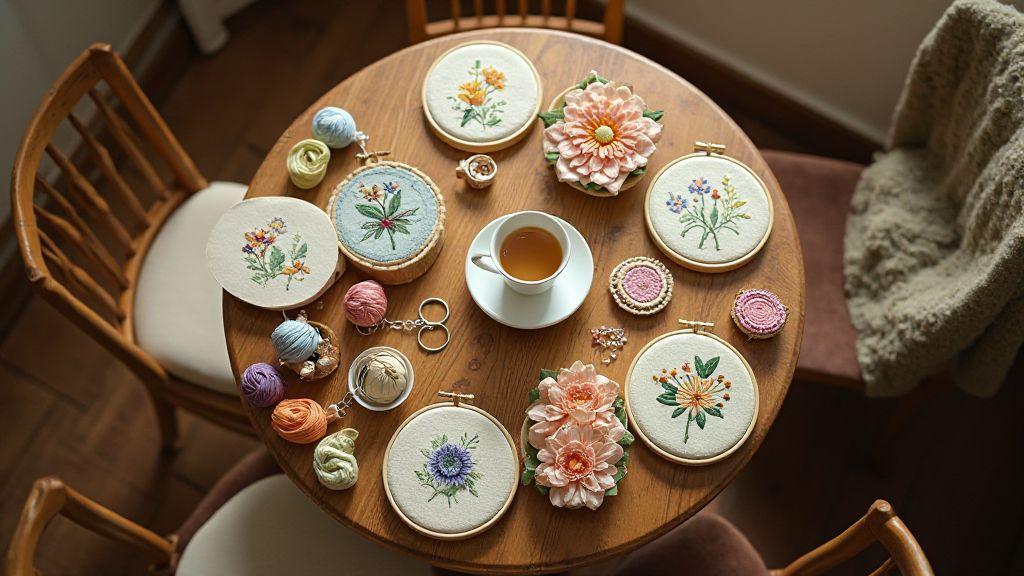
We celebrate progress with small in-space exhibitions. I frame pieces, credit makers, and explain the story behind each design. Seeing others’ work sparks ideas for mine and teaches patience—our work isn’t rushed. The laughter and sense of belonging are what make Embroidery Communities and Why People Love This Hobby resonate every time we meet.
Regional Bordado Styles I’ve Learned About
I’ve learned through regional circles that color and technique vary. One circle favors bold colors and geometric shapes that tell stories of harvest and celebration, while another leans toward delicate florals and soft shading. Each style has its own voice, best understood by watching how fabric, thread, and hands move together. Noting regional differences enriches my approach to color and thread choices, and I sometimes draw inspiration from free folk-art embroidery patterns inspired by world traditions.
I’ve picked up practical tips, like layering colors for depth without stiffening the fabric. Some regions favor backstitch for clean lines; others rely on satin stitches for a smooth surface. Practicing a bit of each technique helps me adapt designs at home or in a workshop. For beginners, it can be helpful to explore classic beginners patterns as you learn. Noting regional differences enriches my approach to color and thread choices. You can also explore how to turn any photo into an embroidery pattern for starting points.
I keep a small notebook of regional tricks: which stitch works best on a given fabric, which thread sheen suits a design, and how to place motifs for balance. Sharing these notes with friends makes our conversations richer and creates a living tapestry of knowledge across traditions. For easy, beginner-friendly motifs, you can reference free botanical line art patterns perfect for hoop art.
How I Use Community Projects to Keep Skills Alive
I organize group projects with clear deadlines and room for creativity. We pick a theme, set a timeline, and work together in person or online to finish pieces. Structure keeps me focused, while freedom lets everyone add their own flavor. When we finish, we gift or donate the work, giving a sense of purpose beyond making something pretty.
Projects introduce new skills in a low-pressure way. I schedule technique weeks to try a stitch we’re not confident with, then share results. We celebrate wins and treat mistakes as learning moments. Working on something bigger than a single piece shows how techniques travel within the community. When planning projects, I consider how to incorporate repeat patterns for borders and edges, which helps create cohesive group works.
I use these projects to build a living archive: we photograph each piece, note the maker’s story, and maintain a simple catalog. This helps new members learn quickly and makes it easy to share our journey online, inviting others to join or start their own local projects. Our work stays relevant because it’s part of an ongoing conversation, not a one-off hobby. If you’re curious about transferring patterns to fabric for group projects, you can explore how to use transfer paper for embroidery step-by-step or try the lightbox method for tracing patterns onto fabric like a pro.
Ways to Document and Share My Embroidery Stories
I document embroidery with practical steps: close-up photos to show texture and wider shots to capture the whole design. I add a short note about what the piece means to me, the stitch used, and any challenges faced. These notes are honest and easy for others to try.
I share progress updates, invite feedback on color choices, and encourage friends to add their memories tied to similar patterns. The conversations these posts spark keep the craft alive and inspire new ideas. I credit contributors to keep memories attached to the right people.
A small, organized journal helps me stay on track. I record dates, stitches used, and what I’d do differently next time. It’s a simple habit that pays off when revisiting a piece or teaching someone else. Sharing these details makes the craft approachable and helps others see how their stories fit into our embroidery tapestry. If you’re compiling a collection of ideas, you might find it helpful to print patterns directly onto fabric for embroidery and document your process in your journal.
Embroidery Communities and Why People Love This Hobby is the thread that ties all these experiences together. The connections, learning, stress relief, and shared stories keep pulling me back to the needle, stitch by stitch. Whether online or in local circles, these communities provide belonging, growth, and a living culture I’m proud to be part of. If you’re looking for more beginner-friendly routes, check out the comprehensive beginner resources on hoops, tools, and starter projects.
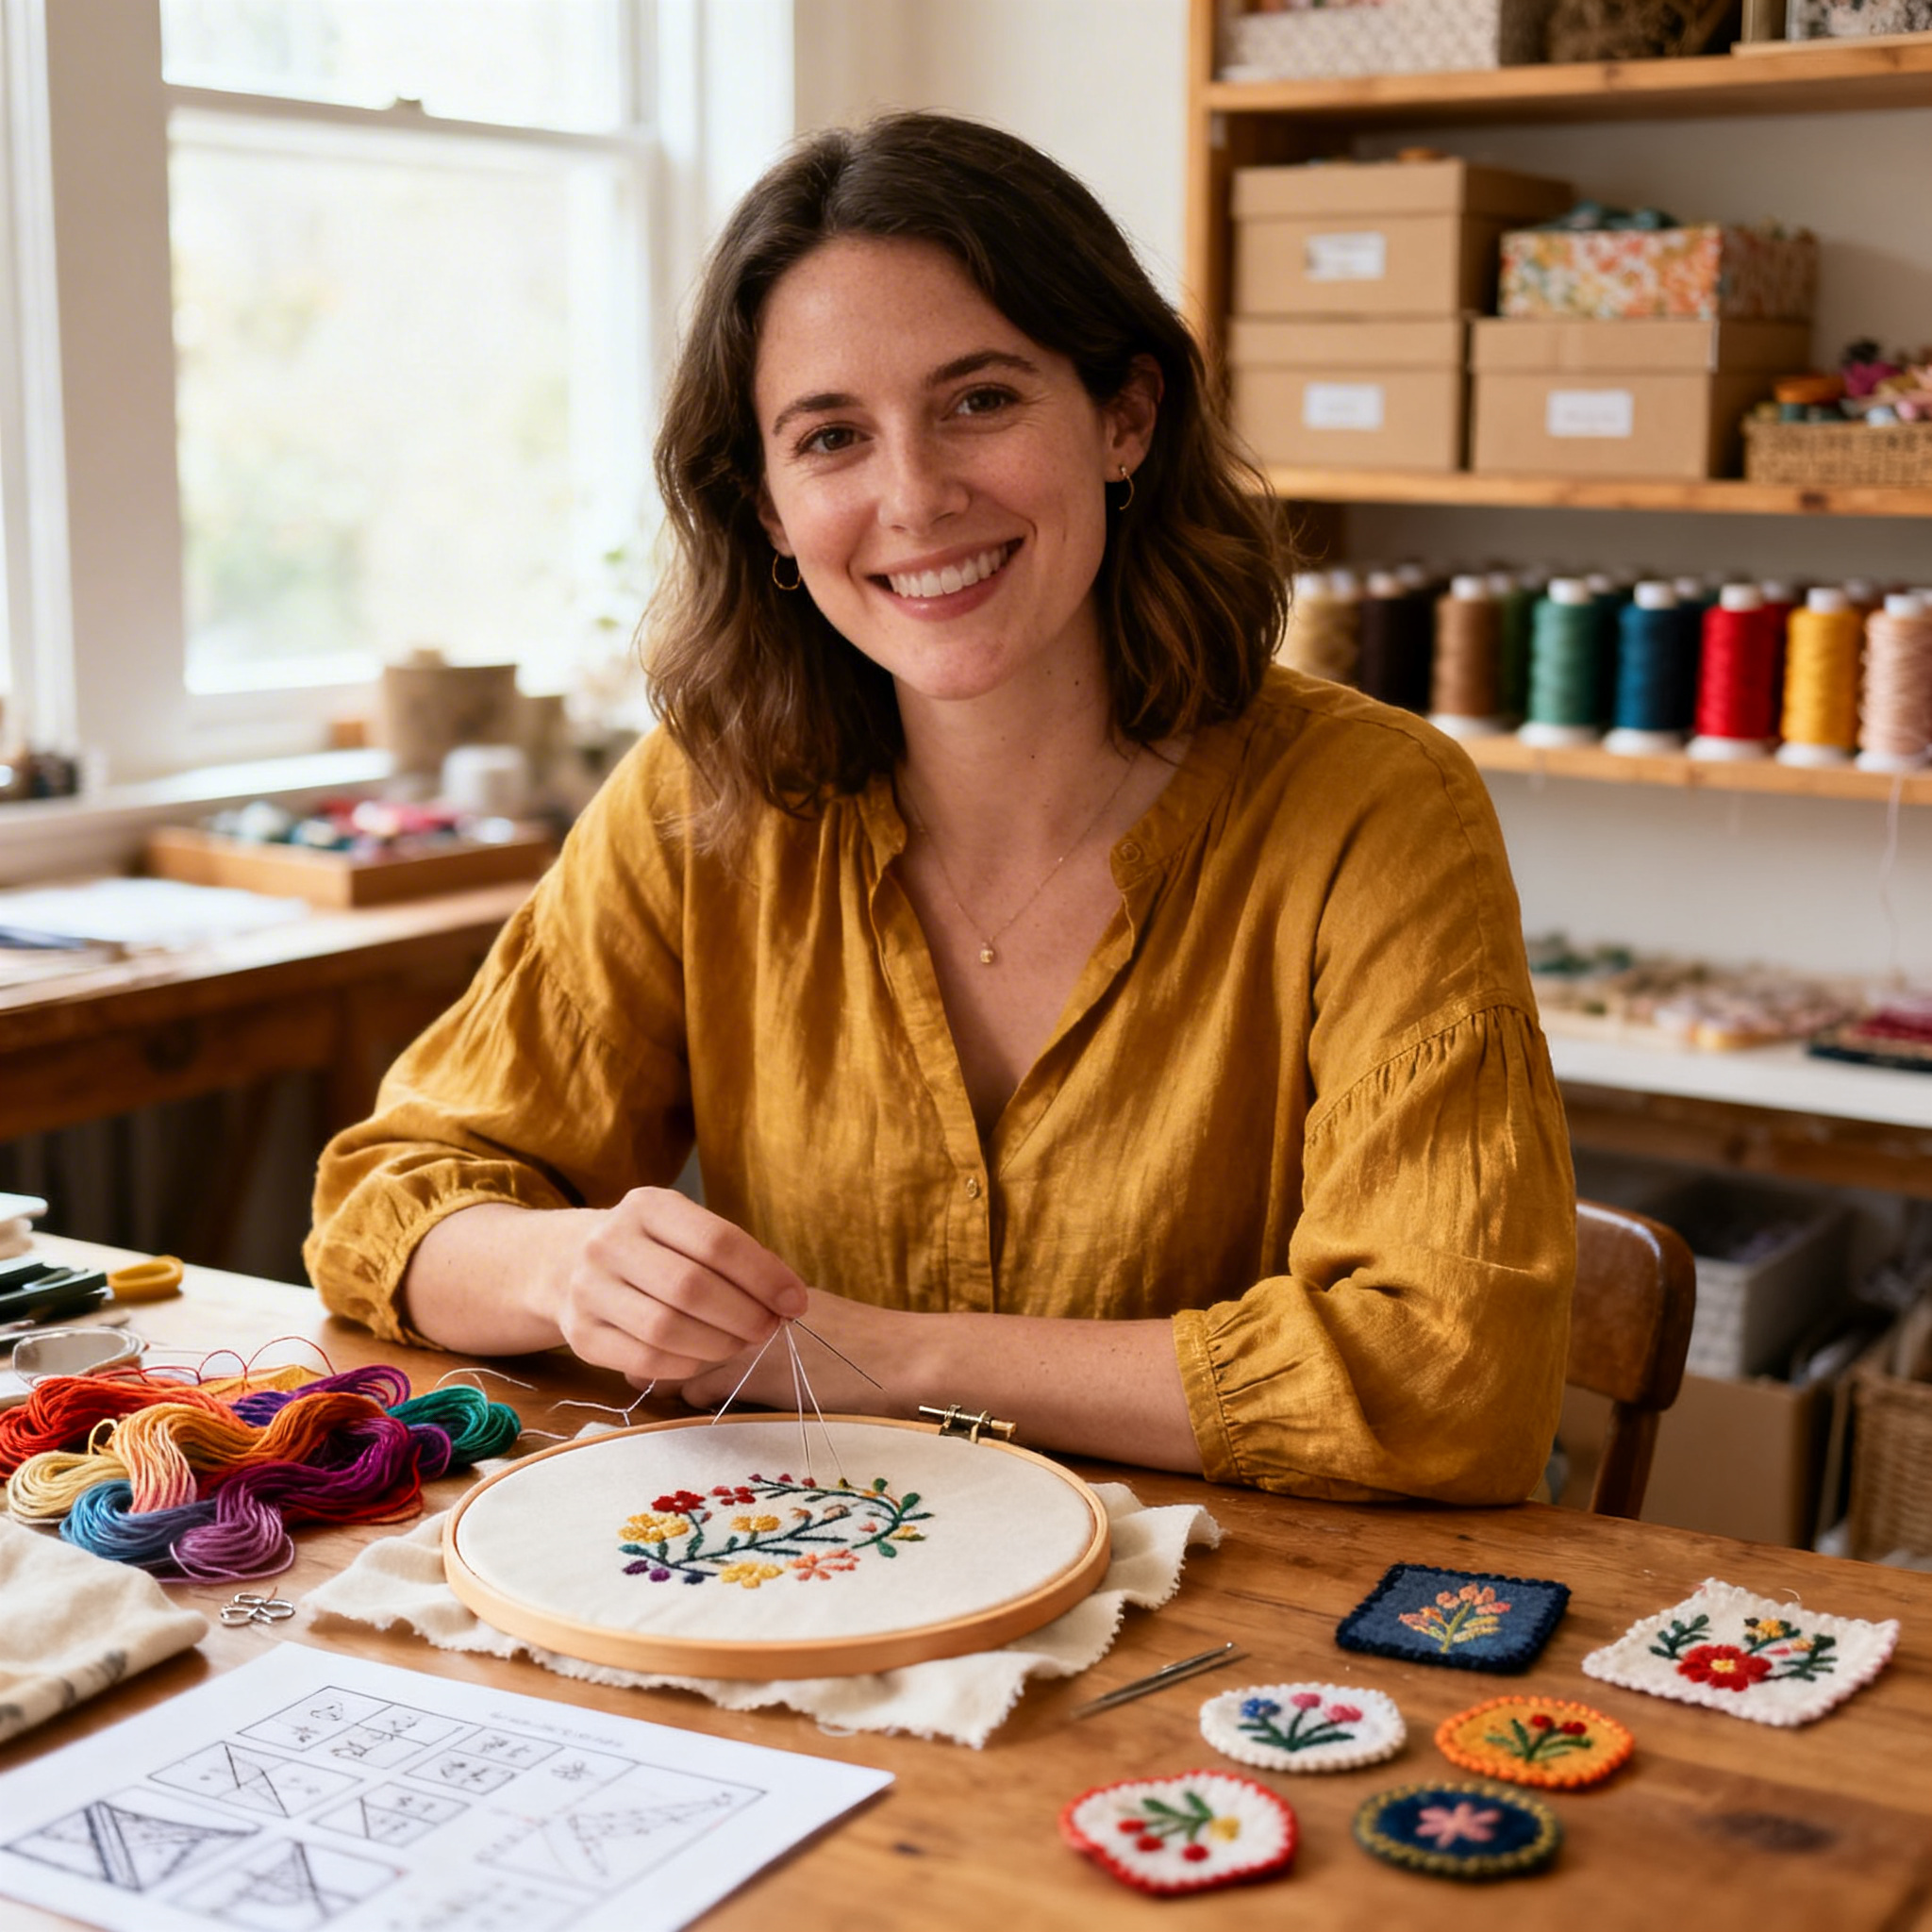
I’m Sophie Caldwell, the author behind granaboom.com, and I believe hand embroidery is one of the simplest, most relaxing ways to create something beautiful with your own hands. I started this blog to help beginners learn hand embroidery without feeling overwhelmed by complicated instructions or “perfect” results.
Here you’ll find beginner-friendly guides to decorative embroidery stitches, along with clear step-by-step practice ideas and patterns you can use to build confidence. My focus is on making the learning process easy: simple explanations, helpful stitch combinations, and small projects that look polished even when you’re just starting out.
Welcome to granaboom.com—grab your hoop, choose a few colors, and let’s stitch one line at a time.