How to Convert a Coloring Page into an Embroidery Template
Introduction
How to Convert a Coloring Page into an Embroidery Template: turning simple line art into stitch-ready designs. This guide walks you through selecting the right page, creating a template, scanning, vectorizing, and digitizing for machine embroidery.
Choose a coloring page you can use
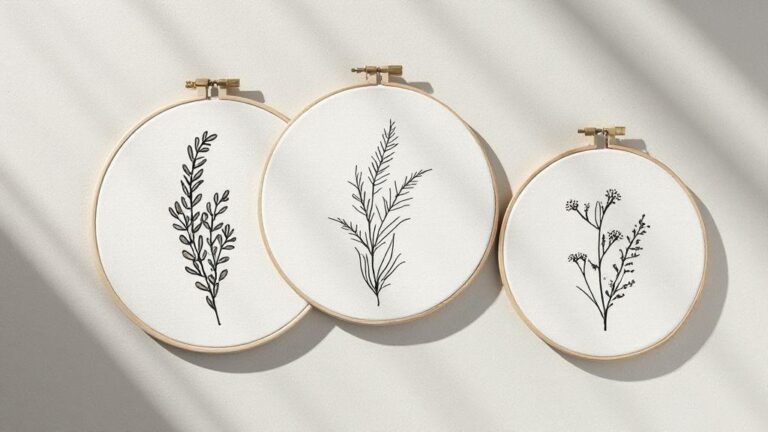
You want a coloring page that translates well to embroidery, so start with simple, bold lines and open spaces. Look for images with clear silhouettes and minimal shading, as those are easiest to trace and stitch. Choose pages with large blocks of color and straightforward shapes—flowers, animals, or objects with distinct outlines. The goal is a design your needle can see through, not one packed with tiny details. Consider how your fabric will take color and how the design will look at the final size.
As you evaluate pages, imagine how each line will translate into stitches. Bold lines become satin or backstitch outlines, open spaces invite satin fills or simple running stitches. If a design has intricate textures, simplify them before you begin. Decide if you’ll use a single color or a multicolor look, since that affects tracing and stitching later. Aim for clean edges and a layout that won’t loosen in the hoop.
Choose a page you actually enjoy looking at. Your project will take time, and motivation matters. If a page feels nostalgic or joyful, you’ll stay committed through mistakes. You can test digitally by printing in grayscale to judge line density before committing to fabric.
How to Convert a Coloring Page into an Embroidery Template: Copyright and Use
Before you print or transfer anything, ensure you have permission to use the page. Look for licensing details like free for personal use, Creative Commons, or a licensing statement. If in doubt, contact the creator or publisher. If you plan to sell the finished embroidery, obtain explicit commercial rights.
If a page is personal-use only, you can practice but shouldn’t sell or publish the embroidery that shows the original design. Consider adapting the page or creating your own sketch inspired by it. Look for pages labeled for crafts or released under permissive licenses, or create your own simple design.
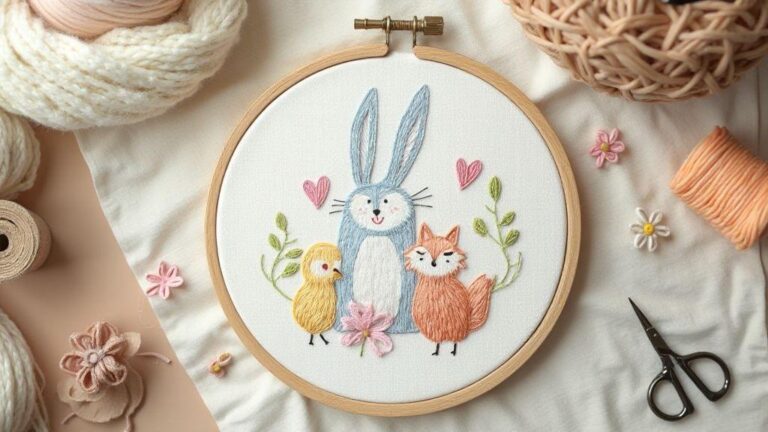
Pick bold lines and simple shapes for stitching
Bold lines translate into clean embroidery. Choose pages with thick outlines that won’t blur on fabric. Simple shapes—circles, squares, petals, and leaves with clear boundaries—are ideal for practicing basic stitches and building confidence. Avoid shading or textures that require tiny stitches. Mark up the page to test how it reads as stitches; if a line becomes too thin after scaling, pick a different page or simplify.
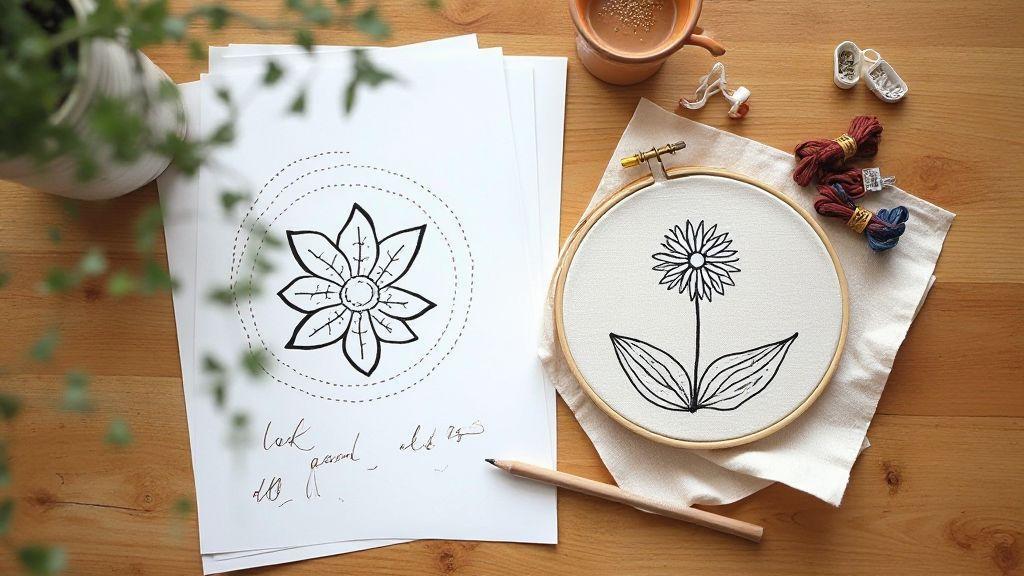
Create embroidery template from coloring page
Print the page large enough for your fabric and hoop. Trace the main outlines onto tracing or transfer paper, keeping outer edges, major internal lines, and large shapes clear. Your template guides placement, stitching order, and color choices. If needed, mirror the design and number sections to know which area to stitch first. This organization helps you move smoothly from outline to fill.
Place the template on fabric using your transfer method. Transfer only essential lines to avoid heavy marks. Secure the fabric in your hoop, then practice a few stitches on a scrap corner to confirm tension and stitch length. Your embroidery template should read cleanly on fabric with minimal effort.
Scan or photograph your page correctly
Your scan or photo sets the stage for a perfect transfer. Keep pages flat, edges uncluttered, and lighting consistent so lines stay sharp. The better your original image, the easier tracing or digitizing will be. Test a small section first to check for glare, shadows, or blur.
Use 300–600 DPI and grayscale for your scan
Choose crisp lines with minimal noise. 300–600 DPI gives clean, scalable lines; grayscale preserves shading nuance without color data. For bold outlines, 300 DPI often works; for delicate details or small text, use 600 DPI.
Photo tips: even light, flat page, steady camera
Use even lighting to avoid shadows. Natural daylight near a window is good; avoid direct sun that creates glare. Diffused light or a softbox works well indoors. Keep the page flat and use a border or ruler to prevent curling. Keep your camera parallel to the page; a tripod helps. If shooting handheld, take multiple shots and pick the clearest.
Scan coloring page for embroidery transfer
Treat the coloring page like a blueprint: turn color-filled art into clean lines. Start with a high-contrast image so software can separate lines from white space. If possible, print a black-and-white version to preview line translation. Bold outlines should remain prominent during digitizing.
Save a master copy in a lossless format and back it up. Export a version with solid lines for tracing. Organize layers or filenames clearly. Remove stray specks now to avoid chasing them later.
Clean and simplify your image for tracing
Begin with a strong, high-contrast image. Crop distractions and test a quick trace on paper to see line placement. Simplify by focusing on bold shapes and removing unnecessary fine details. Aim for a clean silhouette your embroidery needle can follow.
Set up a bright light or lightbox and a contrasting background to reveal edges clearly. If the image feels crowded, reduce inner details. A simpler outline now saves time and reduces mistakes during stitching.
Remove smudges, boost contrast, and close gaps
Touch up the image to remove smudges. Wipe stray marks with a light eraser or digital tool. Boost contrast by darkening the lines and lightening the background. Close small gaps in the lines to keep paths continuous and reduce tracing errors.
Convert colors to crisp black-and-white lines
Convert color areas to bold black lines, simplifying color blocks where possible. Test the outline by tracing on paper or a digital layer; redraw any line that fades or becomes jagged. A confident line is essential for smooth stitching.
How to convert coloring page to embroidery pattern
Outline the main shapes while preserving the page’s essence. Assign stitch-friendly paths: backstitches for outlines, satin stitches for fills. If a design feels busy, simplify until you have a clear, stitchable guide. Print or transfer the pattern onto fabric with a light touch to avoid distortion. When tracing, aim for a transfer that matches the traced design for easy stitching.
Vectorize your outlines for crisp stitch paths
Vectorize outlines to create scalable, crisp stitch paths. Trace outer edges to create clean paths you can resize without quality loss. Break complex curves into straight segments for predictable stitching. Start with rough sketches and refine in a vector program. Export in a compatible format for your embroidery machine.
Auto-trace vs manual tracing: pros and cons
Auto-trace saves time on rough passes but can yield excess nodes and jagged edges. Manual tracing offers cleaner vectors, fewer stitches, and a nicer fabric result, at the expense of time. A practical approach is auto-trace for a base, then manual cleanup on critical areas.
Simplify nodes and smooth curves for clean vectors
Reduce unnecessary nodes and smooth curves. Use handles to create gentle bends. Test by tracing a quick stitch path; adjust control points until movement is balanced. If a shape loses personality with too few points, add a couple of anchors to preserve the look.
Vectorize coloring page for embroidery
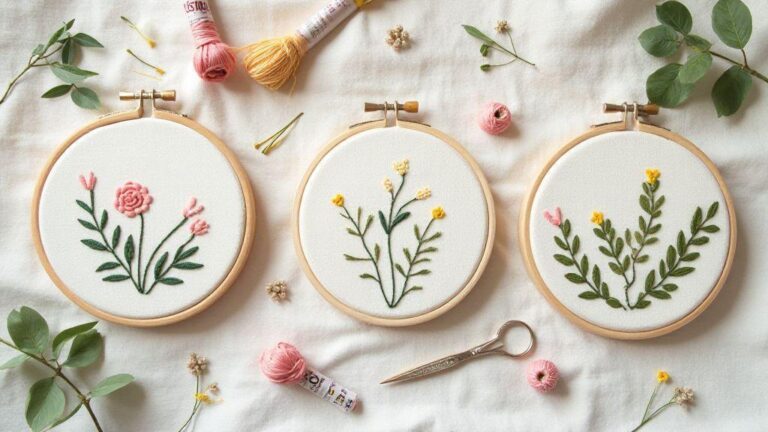
Convert bold color blocks into filled shapes and outline visible edges. Keep fill directions consistent for neat stitching. Assign satin stitches for borders and long fills for large areas. Use short zigzag or backstitch for delicate details. Test on a scrap swatch to ensure fills and outlines work together without gaps.
Digitize and export your design to embroidery files
Import your art into embroidery software and clean stray lines. Ensure clean edges, solid shapes, and consistent line weights. Plan how each element translates into stitches, then save a vector or high-contrast version as a backup. Set hoop size and fabric type, add baselines and a simple outliner to separate the design from the background. Preview stitch paths to avoid overlaps; run a test stitch on scrap fabric to catch issues early. Organize layers and color palette clearly, then export in a machine-ready format (e.g., PES or DST). Include notes about fabric type and needle recommendations when sharing.
Map lines to stitch types, density, and direction
Assign stitch types first: thin outlines with running stitches, bold edges with satin stitches, and large filled areas with fills. Balance density to match fabric and needle size to avoid puckering. Set stitch direction to follow the design’s natural grain for better drape and shine. Include underlay stitches for a solid foundation. Preview the stitch path and adjust as needed to prevent gaps or overlaps.
Export to PES DST SVG or use conversion tools
Export in formats your machine recognizes (PES, DST). Save multiple colorway variants to compare on fabric. If your software supports SVG, export to preserve vector data for future edits. When using conversion tools, run a quick test on scrap fabric to catch issues before full production. Keep notes on density and color mapping for consistency across versions. Organize exported files in a clear folder structure: originals, tested variants, final versions.
Convert coloring book page to PES DST SVG
Trace the main outlines and key shapes into a clean vector, map shapes to appropriate stitch types, and plan color changes to reflect the original mood. Export to SVG for editability, then save as PES or DST for stitching. A test on fabric will reveal density or edge refinements needed. Apply color plans sparingly: bold blocks translate well to large fills with satin or tatami stitches. Save minimalist and full-color variants to fit different fabrics and hoop sizes.
Prepare and test stitch-outs on your machine
Gather your hoop, stabilizer, and color threads; load the exact stitch file you’ll test. Ensure the fabric lies flat to prevent puckering. Run a compact test to verify density and alignment, then a full test to gauge coverage. Document adjustments for future projects. Inspect stitch quality closely: look for skipped stitches, pull lines, or thread breaks. If needed, loosen top tension or switch stabilizers. Keep a record of changes to reproduce results. In a well-prepared environment—lubricated machine, fresh needles, proper stabilizer—you’ll get steady, predictable stitches.
Prepare coloring page for embroidery machine and hooping
Trace bold, simple shapes for embroidery, then scan or photograph and import into your software. Use a high-contrast image and simplify complex areas so the machine reproduces clean lines. Convert to a stitch file with clear outlines and appropriate fills. Choose a hoop size that matches your fabric area and place stabilizer underneath. For small details, use finer satin stitches or split fills to avoid crowding. Save a test version to revisit density or path direction after your first run.
Do a test stitch, check density, and refine settings
Start with a compact test to verify density and alignment, then run a fuller test. Increase stitch count or density where needed, or back off if the fabric puckers or stitches feel stiff. Document every tweak to reproduce results. Inspect under bright light and from different angles, ensuring even coverage, smooth edges, and consistent stitch length. If curves aren’t smooth, adjust path order or underlay stitches. The goal is bold, clean embroidery that remains true to the original coloring page.
This streamlined approach helps you turn a coloring page into a professional embroidery template you can trust—delivering crisp lines, balanced fills, and a faithful translation of the original page into stitchable art.

I’m Sophie Caldwell, the author behind granaboom.com, and I believe hand embroidery is one of the simplest, most relaxing ways to create something beautiful with your own hands. I started this blog to help beginners learn hand embroidery without feeling overwhelmed by complicated instructions or “perfect” results.
Here you’ll find beginner-friendly guides to decorative embroidery stitches, along with clear step-by-step practice ideas and patterns you can use to build confidence. My focus is on making the learning process easy: simple explanations, helpful stitch combinations, and small projects that look polished even when you’re just starting out.
Welcome to granaboom.com—grab your hoop, choose a few colors, and let’s stitch one line at a time.