The Running Stitch: The First Stitch Every Embroiderer Should Master
Why running stitch matters for you
The running stitch is the heart of beginner embroidery. It’s fast, simple, and builds your confidence as you see progress on fabric. You’ll use it for outlines, seams, and quick tacks, so learning it gives you a solid foundation for future projects. Think of it as the doorway to all your stitching—easy access, low risk, big payoff. For a gentle, beginner-friendly start, consult a beginner embroidery hello-world guide.
With practice, your stitches become steadier and your control improves. A steady rhythm helps you relax your hands and enjoy the process, not just the result. As you gain comfort, your fabric lies flatter, lines stay straighter, and your needle moves with less effort. It’s a small skill that compounds into faster, smoother embroidery sessions. If you’re new, a beginner embroidery guide can help you get started.
Embracing the running stitch saves you from frustration. If you ever need to fix a seam or add a quick outline, this stitch is your first tool. Master it, and many common embroidery tasks become smoother and more forgiving, making projects feel doable and keeping your creativity flowing.
What the running stitch is
The running stitch is a simple, straight stitch that weaves in and out of the fabric. You make a series of small, evenly spaced stitches that don’t cross over each other—like a tiny ladder along your line. This clean, minimalist look is why beginners reach for it first. You don’t need fancy threads or special fabrics—just a needle, thread, and a calm hand.
Its ease of learning makes it beginner-friendly. Start with even spacing, uniform length, and keep stitches visible on only one side of the fabric. This transparency helps you spot mistakes quickly and adjust on the fly. For a quick orientation, consider a beginner embroidery guide.
As you gain comfort, you’ll notice how the stitch behaves with different fabrics and threads. On tightly woven cloth, it sits neatly; on looser weave, you might see a little give, so you learn to control your pull. Its forgiving nature keeps you moving forward.
Running stitch embroidery basics and uses
You use the running stitch to outline shapes, create simple borders, or tack fabric pieces together. It’s your go-to for quick, clean lines that don’t overpower the design. When you’re first practicing, keep your stitches short and steady—small steps along a path help accuracy and keep the line neat.
For outlines, you follow a set line slowly, with even spacing along the same path. For seams and basting, you run stitches across two fabric edges to hold pieces in place temporarily—like pinning with thread, but more portable and readable.
The running stitch is versatile: you can use it for decorative outlines that look airy or for functional work that needs to be temporary but reliable. For structured practice, see a beginner embroidery guide.
Common use: seams, outlines, and basting
In seams, the running stitch keeps fabrics aligned and is quick for light fabrics. For outlines, you trace patterns to define shapes before filling them in with other stitches. For basting, you lay long, loose stitches to hold fabric in place during fitting or arrangement.
Your practice with these uses teaches you control and timing. You’ll learn where to place stitches so they’re visible enough to guide you but not so dense they show through. The more you stitch, the more you’ll recognize what needs adjusting—tension, spacing, and stitch length become second nature.
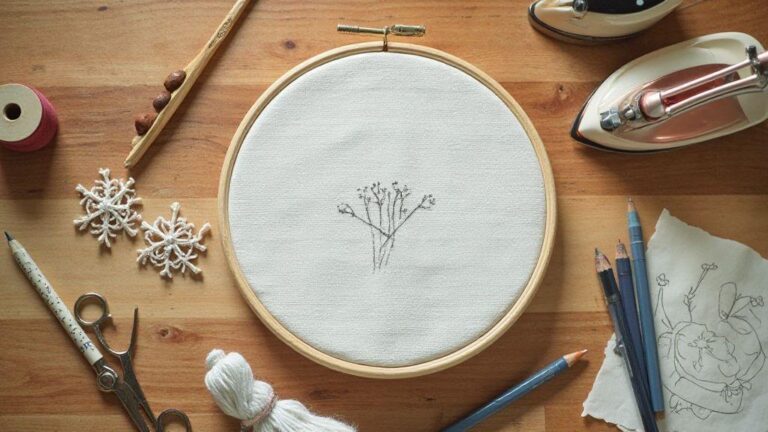
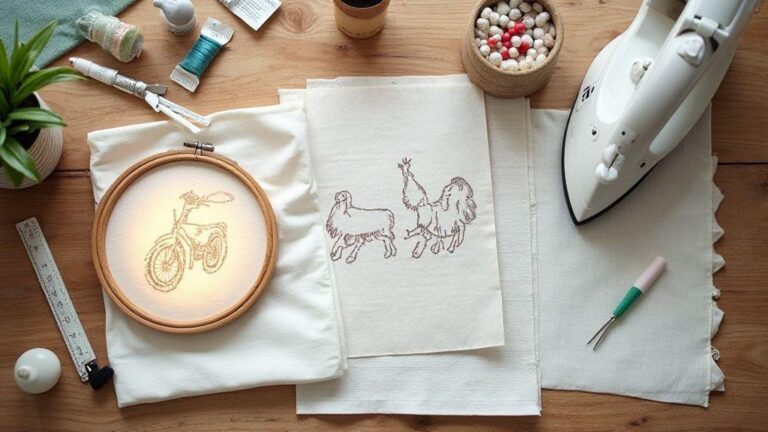
Choose the right tools for running stitch
Cleaner results come from tools that fit your hand and your stitch pace. Start with a lightweight hoop, a sharp needle, and a thread that doesn’t fray easily. If your fabric wobbles, you’ll fight every stitch; a steady hoop provides a calm base for your running stitch. Keep everything within reach so you don’t disrupt your rhythm.
Your toolkit should feel comfortable in your hand. A small hoop is easier to control than a large one, and a smooth surface helps your fabric glide. If your thread tangles, check that your needle eye is just large enough for your thread—not so big that stitches slacken. You want stitches to sit evenly, not pull tight or floaty.
Think of your space as your stitching studio. Good lighting prevents wobbly lines. A pin cushion and small scissors are invaluable for a smooth workflow. With the right tools, your running stitch will steady, and your confidence will grow with every pass.
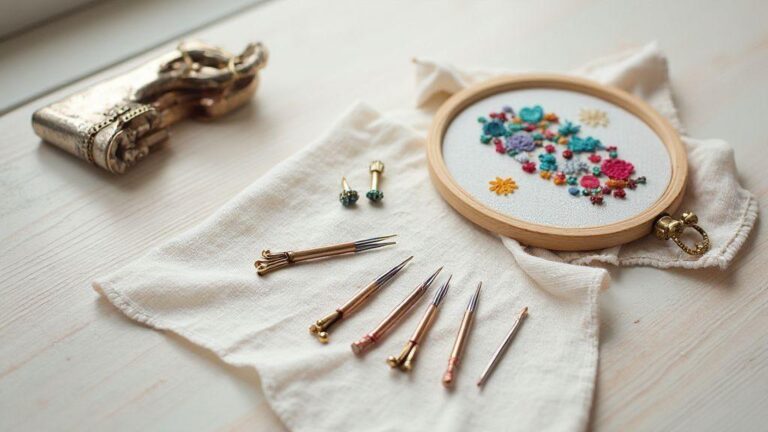
Best needles and thread for a simple hand embroidery stitch
Choose a sharp needle with a medium-sized eye for a balance between control and ease. A size 7 to 9 embroidery needle suits many fabrics. For light cotton, a finer needle keeps stitches neat; for linen or denim, a sturdier needle helps you push through. The aim is less resistance and a cleaner line.
Thread choice sets the tone. Start with a smooth, medium-weight embroidery thread that provides color depth without bulk. If your thread splits, rethread with a fresh strand. Pull to a comfortable tension—not so tight that fabric puckers, not so loose that stitches sag.
When choosing strands, consider fabric density. For dense fabrics, a single strand may suffice; for lighter fabrics, two strands can give the right visibility. Always test on scrap fabric first to find the best combo for crisp, even stitches.
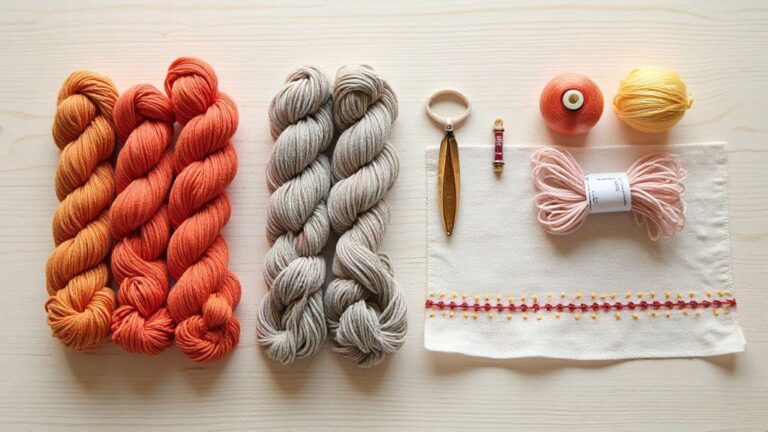
Fabric and hoop choices for smooth stitches
Fabric matters as much as thread. A smooth weave helps your running stitch glide; a rough weave can snag. Start with light to medium weight cotton or linen. These fabrics hold stitches well without warping. If unsure, practice on a scrap to see how the fabric responds.
Hoops keep your work flat and easy to control. Choose a hoop that fits your project without being too large to manage. Tighten the frame enough to hold fabric taut but not so tight it tears. A taut surface prevents grainy or uneven lines, letting your running stitch sit neat and even. You should be able to lift the fabric slightly and see a gentle tension, not slackness.
Your fabric choice should align with your project goal. For neat outlines, a smooth weave helps with tracing and stitching cleanly. For a textured look, you might try a looser weave, noting how stitches change with the fabric’s bite. If you’re just starting, a beginner guide can help you select beginner-friendly fabrics.
Use medium-weight thread and a sharp needle
Choose a medium-weight thread and a sharp needle for balance between control and ease. This pairing minimizes fraying and helps your lines stay consistent. If you notice skipped stitches, check if your needle tip is dull or bent—it can drag threads and create gaps. A fresh, sharp needle glides through fabric and helps keep the running stitch even and smooth.
Threading matters too. Thread long enough to work comfortably but short enough to prevent tangling. Start with a small knot to anchor your first stitch. With the right tools, your hand becomes steadier and your stitches look more deliberate.
Step-by-step how to do running stitch
You’re starting a new skill, so keep it simple. The running stitch is the backbone of embroidery, used repeatedly. Learn to form even stitches, keep your thread tight but not cramped, and finish cleanly. Picture your needle as a tiny painter’s brush and your fabric as a blank canvas for neat, steady lines.
- Thread your needle and tie a small knot at the end. Bring the needle up from the back, go down a short distance away, then bring it up at the next point and continue in a straight line. Aim for consistent stitch length and even spacing.
- If stitches wobble, slow down and measure gaps with your eye. When you reach the end, finish with a small knot on the back and trim close.
- Keep fabric flat and relaxed while you stitch. If puckering occurs, adjust your grip and loosen the fabric slightly. Practice on scrap first, then move to your project.
How to do running stitch: easy steps
- Start with a clean thread and comfortable needle. Insert from back to front, leaving a short tail.
- Make your first stitch by going down along the line, then bring the needle up at the next point. Keep stitch length around 3–4 millimeters to start.
- Continue in a straight line with parallel, evenly spaced stitches. Shorten for a thinner line, lengthen for a bolder line. Don’t rush—steady hands win.
- Finish neatly with a couple tiny backstitches or a knot. Check the back for tidiness.
- Practice tips: use a contrasting thread on scrap fabric to see your placement, then switch to your final color. Focus on the line, not your hands.
The Running Stitch: The First Stitch Every Embroiderer Should Master learn step by step
- Keep even spacing and steady tension. Consistency is key—imagine a stitching clock where the line stays straight as the hours pass. If stitches become uneven, reset your grip. Let breath guide your pace.
- Build muscle memory with short practice runs. Draw a line and run a dozen stitches, aiming for identical gaps and uniform depth. When the line feels good, your hands will follow with confidence.
- Transition to real projects with confidence. Start small—like a border on a towel or a simple motif. The running stitch provides a crisp outline you can build on with other stitches later. Remember, this first stitch is the door to your embroidery journey. For a concise beginner walkthrough, see the beginner embroidery guide.
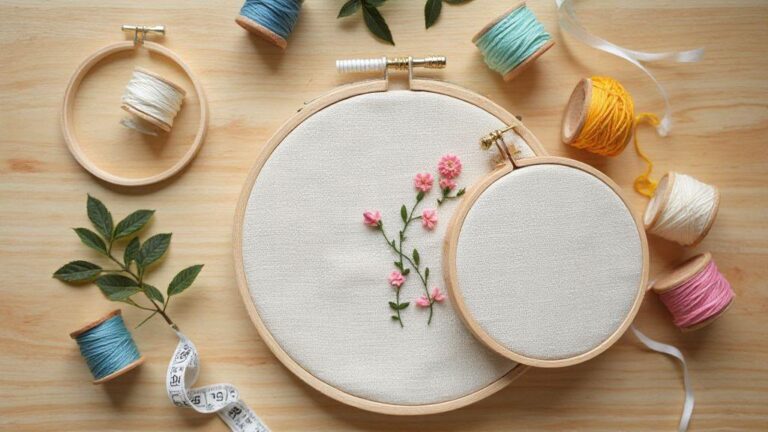
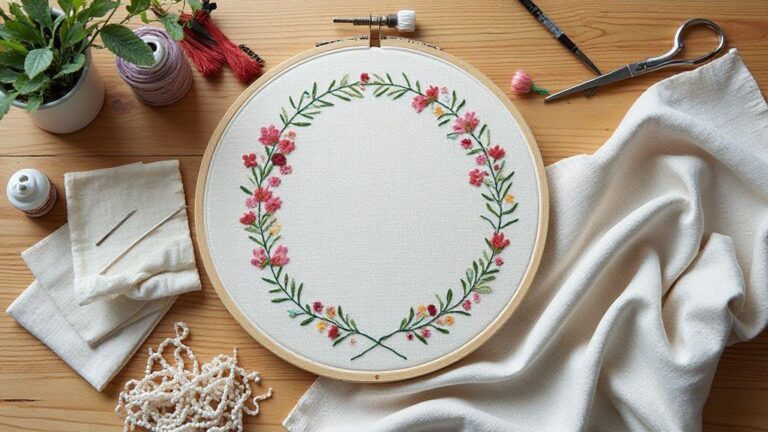
Patterns and designs you can stitch with ease
Many beginner-friendly patterns are simple shapes you recognize. Start with basic borders, simple leaves, and tiny flowers. These patterns teach your hands to move smoothly, increasing confidence and speed over time. Choose designs that feel doable and repeatable to build muscle memory.
Patterns often come in sets you can mix and match. Stitch a simple border on a napkin, then add a small motif in a corner to gain a sense of accomplishment without tackling a large piece. Sketch your pattern on fabric first to see spacing, scale, and how stitches will lay. Start small—neat lines beat rushed, messy designs.
Try patterns that repeat. Repetition builds muscle memory and helps you maintain even spacing. You can loop a tiny chain along an edge or place small leaves at regular intervals. Repetition also makes it easier to adjust tension. If a stitch looks uneven, keep going and fix it later when removing transfer marks. The goal is steady practice that builds rhythm and balance.
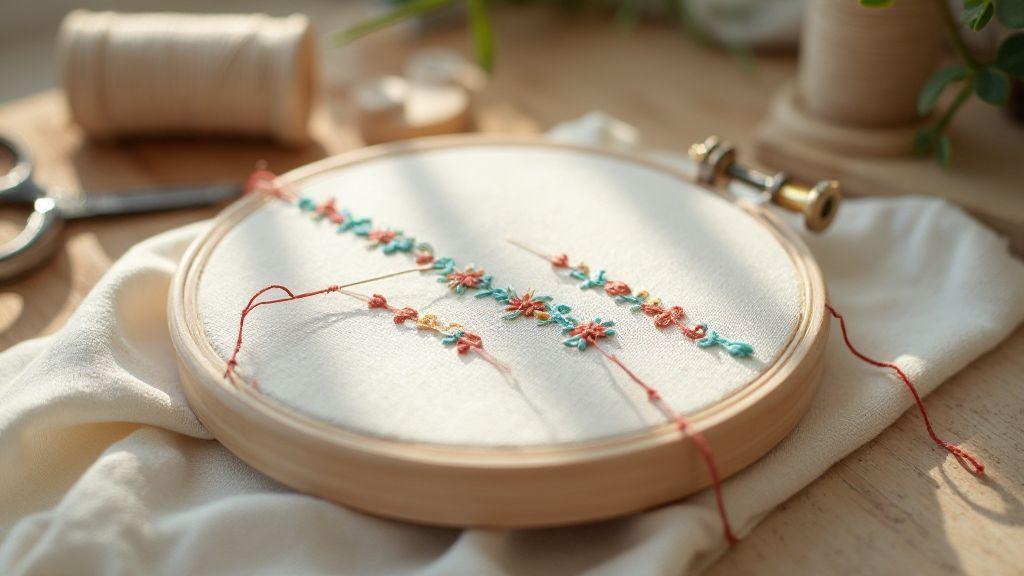
Running stitch patterns for borders and shapes
The Running Stitch: The First Stitch Every Embroiderer Should Master is your doorway to patterns. For borders, run a straight line in one direction, then add a second line beside it for a neat hem-like effect. Vary lengths along the border to create a subtle edge. For shapes, outline simple forms like triangles or rectangles with short, even stitches. Consistency is your best friend—even spacing makes your work deliberate and clean.
As you gain comfort, vary the distance between stitches to suggest texture. Wider gaps create a lighter feel, closer stitches a solid edge. Practice along curved edges to see how the line bends with fabric. If tension feels off, slow down and count your stitches. Your border should look even, not rushed, and you’ll grow more confident with each pass.
Don’t worry about filling large areas yet. Outline first, then fill later with other stitches or simple fills. Your goal is control and evenness, not complexity. Your hands will remember the motion, and that memory will speed future projects.
Use the stitch to add texture and simple fills
Texture comes from placement, not just stitch type. For a simple fill, use short, evenly spaced running stitches inside an outlined shape. Keep stitches parallel and the same length for a tidy fill. If you want more texture, vary stitch depth slightly. Mixing longer and shorter stitches yields a tactile surface without pulling you off track.
Use contrast: bold stitches where you want the eye to land, lighter stitches elsewhere. For example, outline a leaf with a tight line of running stitches, then fill the interior with shorter, looser stitches for a dimensional yet lightweight look. If fabric shifts, anchor the border first and work inward to keep fills from looking wonky.
When ready, combine running stitches with other stitches for more interest. A few tucked or spaced stitches can create a faux-embroidery look quickly. The key is to master your base technique first, then layer.
Start with straight lines then try curves
Begin with straight lines to build confidence. Draw a line along a border and stitch evenly, watching tension. Straight lines are forgiving and help you understand how your fabric responds to your needle. Once comfortable, introduce curves. Move slowly, follow your drawn line, and keep stitches small and even as you bend.
Practice pairing straight lines with gentle arcs to mimic common shapes like half-moons, leaves, or petal outlines. If a curve pulls the fabric, pause, adjust your grip, and re-center. Curves feel different, but with practice, your borders and shapes stay aligned and your confidence grows.
Avoid mistakes with running stitch tips
Keep a gentle hand and steady rhythm to reduce snags and uneven lines. Use small, even stitches and practice on scrap fabric before your project. If your thread twists, pause, rethread, and rethread from the spool to keep tension calm. Your goal is neat rows that lie flat, not tight knots that pull fabric.
Keep fabric taut but not stretched. If you pull too hard, your line puckers and the fabric warps. Use a light touch and let the thread glide. Check your stitches in a mirror or by turning the fabric; fix issues early. When you finish a pass, secure with a tiny backstitch to keep the line neat and the fabric smooth.
Practice makes perfect, and your hands will learn quickly. Stay focused on the line rather than the tail, and if a loose loop appears, slow down and reposition the needle. With time, your running stitch becomes automatic—steady, even, and second nature.
How to fix uneven stitches and gaps
If you spot gaps, pause and reinsert the needle a stitch or two earlier to close them. Uneven stitches often come from changing length mid-stitch; aim for consistency by counting stitches or using a ruler as a guide. If you notice a run of stitches getting longer, stop, pull gently, re-measure, and continue. Your fabric will thank you for the attention.
To fix a kinked thread, lift the needle and guide the thread back along the line—don’t yank. For visible gaps, sew over the area again with slightly shorter stitches and overlap the ends. If you’re on delicate fabric, switch to a slimmer needle and lighter touch to avoid holes or puckers. When gaps appear near edges, finish with a tiny backstitch at the edge to anchor the line.
Hand sewing running stitch technique to prevent knots
Thread your needle and leave a short tail on the wrong side. Push through to the right side and pull until the thread sits snug. Maintain uniform stitch length and avoid pulling tight at the entry. Tuck the thread beneath the fabric when you pause to keep the surface tidy. If a knot forms, pull the thread through a few stitches and trim. A clean stitch line comes from a calm hand and steady motions.
As you practice, the running stitch becomes nearly automatic. You’ll know the feel of even tension and your stitches will lay flat with a smooth seam.
Pull thread gently to avoid puckering
Puckering happens when you pull too hard. Keep tension light and even to maintain a flat surface. If edge tension appears, ease off briefly and adjust your grip. Finish with a gentle knot or small backstitch, then trim close. Calm hands and modest pressure keep stitches clean.
Practice projects to build your skill fast
Choose projects that mix simple stitches with small, satisfying results. Start with one-sitting tasks to maintain momentum and confidence. Use bold lines to mark goals and celebrate every finishing detail, whether it’s a neat edge or a tidy knot. The aim is steady practice, not perfection on day one. If you’re looking for a guided path, a beginner embroidery guide can help you plan your first sampler.
Choose projects that test fabric choice and thread tension. A plain cotton handkerchief or a small scrap piece can be your test bed. When you see stitches lay flat and even, you’ll feel progress. If a stitch drifts, you’ll quickly learn how to adjust your grip and pull. Your hands will learn the rhythm, and your eyes will spot wobble early.
Keep your workspace organized: lay out a bright mat, keep bold thread colors handy, and have small scissors within reach. After finishing a project, note what worked and what didn’t to refine future choices. Practice is about consistency as much as speed—your future self will thank you for the steady habits you start today.
Beginner embroidery stitch projects and samplers
Starting with beginner projects builds a solid foundation. A beginner embroidery guide can help you plan your first sampler. Create short, simple pieces that showcase one stitch at a time. A sampler is your map: break it into sections for running, backstitch, and satin stitch. Keep the sampler small enough to finish in a few sessions but varied enough to cover the basics. This builds muscle memory for tackling more complex designs later.
When choosing threads, pick colors you love. A bright red, calming teal, or sunny yellow makes practice joyful and translates into cleaner stitches and better fabric feel. Your hands will move with more confidence, and that confidence compounds with every finished line.
Follow a running stitch tutorial for quick wins
The Running Stitch: The First Stitch Every Embroiderer Should Master is the backbone of many patterns. For beginners, a concise primer in a beginner embroidery guide can reinforce the basics. Following a clear tutorial helps lock in a uniform rhythm and even spacing. Practice with scrap cloth first, then apply what you learn to your project. Revisit the tutorial after finishing a project to reinforce the technique.
Practice daily with a small sampler square
Each day, dedicate a few minutes to a tiny sampler square. Use one stitch per square and aim for a neat back side as clean as the front. Keep thread length consistent, tension even, and the edge tidy. By the end of the week, you’ll have a small collection showing clear progress and quick wins to boost motivation. If you’re just starting, a guided plan like a beginner embroidery guide can help you stay on track.

I’m Sophie Caldwell, the author behind granaboom.com, and I believe hand embroidery is one of the simplest, most relaxing ways to create something beautiful with your own hands. I started this blog to help beginners learn hand embroidery without feeling overwhelmed by complicated instructions or “perfect” results.
Here you’ll find beginner-friendly guides to decorative embroidery stitches, along with clear step-by-step practice ideas and patterns you can use to build confidence. My focus is on making the learning process easy: simple explanations, helpful stitch combinations, and small projects that look polished even when you’re just starting out.
Welcome to granaboom.com—grab your hoop, choose a few colors, and let’s stitch one line at a time.