The Chain Stitch: How to Create Beautiful Lines and Outlines
Why you’ll choose chain stitch for beginners
Chain stitch is a friendly starter stitch— forgiving and easy to control for beginners learning hand embroidery. If you’re new to embroidery, the Hello World approach offers a gentle starting point. It yields a clear, continuous line ideal for outlining shapes and creating borders. With practice, stitches become smooth and even, boosting your confidence. The Chain Stitch: How to Create Beautiful Lines and Outlines is a trusted guide to how this stitch grows with you. It works well on fabrics from soft cotton to linen and doesn’t require fancy tools or rare threads, so you can start right away. As you practice, your muscle memory develops and your movements become instinctive, turning curiosity into steady progress. For clean lines and bold outlines, this stitch is your best friend, easy to fix when tension or spacing slips, and it helps you build a reliable toolkit as your confidence grows.
Top uses: chain stitch outline and lines
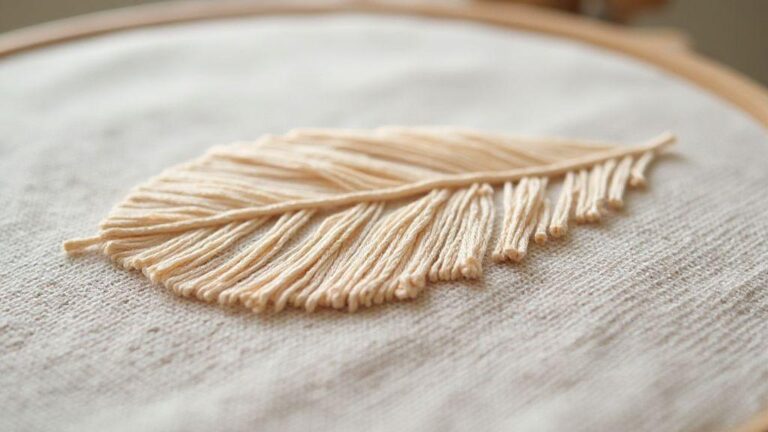
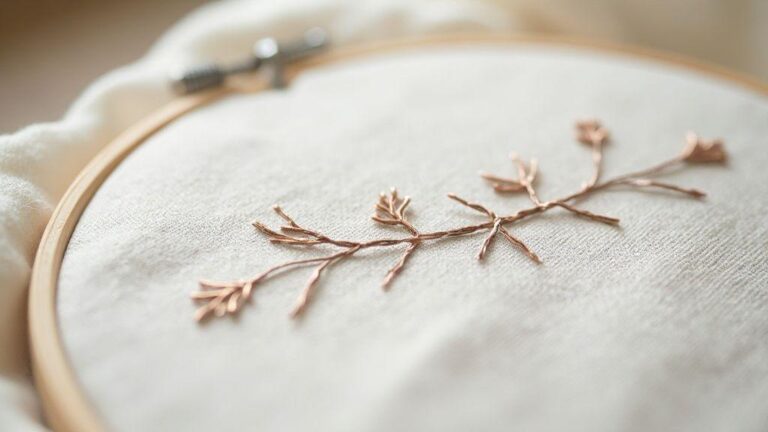
Use chain stitch to draw precise outlines around shapes, like leaves, petals, or the edge of a heart. The continuous loop provides a steady line you can color inside later or leave as a decorative edge. For lines, chain stitch stays steady for long paths or gentle curves. You can control thickness by adjusting stitch length and the space between loops, making your lines look intentional and polished. The concept behind this stitch echoes the simple, welcoming ethos of the Hello World post for beginners.
Benefits for your hand embroidery projects
The big benefit is forgiveness—if a stitch isn’t perfect, you can lift and reposition without wrecking the fabric. This saves time and nerves for beginners while building consistency that looks professional. It also offers speed: once you get the motion, you can work neater and faster, great for long borders or larger pieces. Chain stitch layers well with other stitches, expanding your skills without frustration.
How chain loops form linked stitches
Each chain loop tucks into the next, forming a continuous line. Start with a small anchor knot, then pull through to form the first loop. Each new loop catches the previous one, so your line grows like a tiny chain along your design. The size of the loops affects the look: too tight feels stiff; too loose can wander. Practice to find a steady tension that keeps chains even and unbunched.
Tools and thread you need
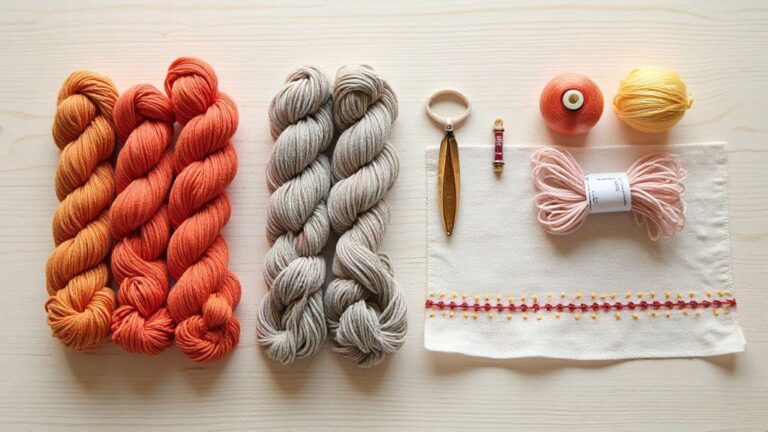
Begin with a simple, reliable kit. Choose tools that feel like an extension of your hand: a compact selection of thread colors, a few neutrals, a sturdy needle, and a light, sharp pair of scissors. A clean workspace and good lighting help you maintain steady stitches. For thread, you’ll balance boldness and finish: floss gives bright, defined lines; pearl cotton gives a smooth, even sheen. Keep wound skeins ready to avoid hunting ends, and trim frayed ends to maintain tension. With these basics, you’re ready to learn the Chain Stitch and craft neat lines that feel confident and planned.
Choose floss or pearl cotton for neat chain stitch lines
Floss yields bold edges that read clearly on busy fabrics; pearl cotton lays down a smoother, flatter line. Beginners often find pearl cotton easier to start with, then switch to floss for a stronger look. Test both on scrap fabric to feel how tension and texture change the line. Keep thread taut, but not tight, to prevent puckering or gaps. On lighter fabrics, floss may stand out more; pearl cotton can be a subtler option. Your finished lines should be neat, continuous, and consistent.
Pick the right needle and hoop for steady tension
The right needle and hoop are the backbone of steady tension. A needle that fits your thread—neither too big nor too small—helps fabric glide smoothly. A sharp needle with a medium eye balances control and ease of threading. A snug hoop keeps fabric flat, preventing gaps. Start with a smaller hoop for close work, then move to a larger hoop for big projects. Tighten evenly and test by tugging gently to ensure the fabric won’t shift.
Best fabrics that hold chain stitches well
Choose fabrics with a balanced weave—linen holds chain stitches well, and tight cotton blends are reliable too. Avoid fabrics that fray easily or stretch too much. For beginners, a medium-weight fabric with a smooth surface gives forgiving, predictable results. Linen or sturdy cotton is ideal for practicing, then you can explore other textures as you improve.
Basic chain stitch tutorial
You’re about to master a stitch that helps you create clean lines fast. Start with a snug knot at the back of your fabric, then anchor with a small base stitch. The chain forms curved loops that resemble a row of linked paper clips. The Chain Stitch: How to Create Beautiful Lines and Outlines is a helpful reminder of the goal: draw with thread, not pencil.
Start and anchor your first chain stitch loop
Place a small anchor stitch at the starting point. Use a tiny backward stitch that sits flat, then bring your needle up in front to set the stage for the first chain loop. The anchor should be visible but neat, not bulky.
Keep even loop size and spacing for clean lines
The secret to a crisp chain line is uniform loops. Before each loop, measure a consistent length with your fingers. On curves, bend gradually with the shape. Each loop should sit directly next to the previous one; if a gap forms, adjust slightly. Practice on scrap fabric to build muscle memory.
Simple anchor: small backstitch to begin
A short backstitch at the start keeps the chain secure if the thread is tugged. After the anchor, begin your first loop beside it and maintain a neat, small loop size.
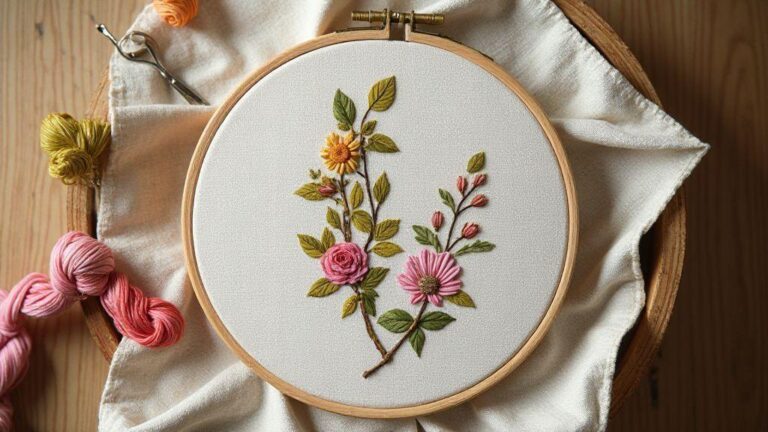
Create smooth outlines with chain stitch
This stitch helps you draw clean, confident lines. Choose a thread that contrasts with your fabric for visibility. Keep the needle at a comfortable angle and avoid pulling too tight to keep a smooth, flat line. Practice on scraps before applying to your project, then proceed segment by segment for even outlines. The Chain Stitch: How to Create Beautiful Lines and Outlines serves as a handy starter reference reminding you to draw with thread, not pencil. A light roll of the fabric between your fingers can guide the chain without bending it. Secure the end with a tiny knot to prevent waverings during handling.
Use tension and spacing tips for neat chain stitch lines
Maintain steady tension: too tight puckers, too loose gaps. Test on scrap to dial in the right feel, aiming for consistent stitch length and pull. For curved outlines, slow down and adjust your angle to keep even spacing along the curve. Periodically check from a distance to ensure the outline reads evenly and remains cohesive.
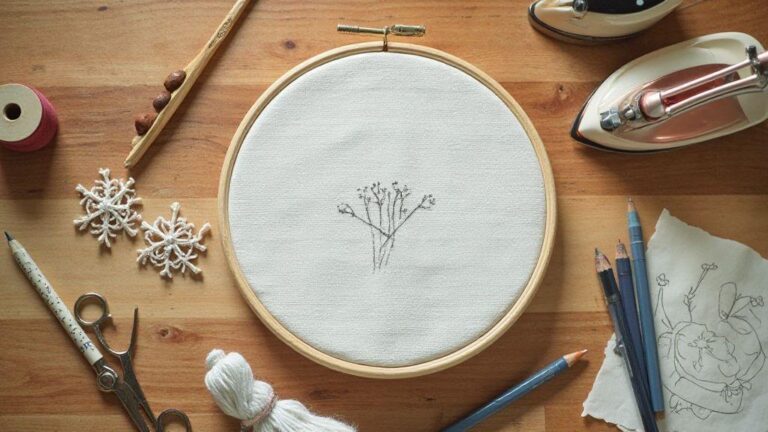
Trace guides to make a precise chain stitch embroidery outline
Transfer your design with a light pencil or washable marker. Use a stabilizer if your fabric puckers, then baste to prevent shifting. Align your needle to the guide, letting the chain anchor follow the path. If you drift, pause, reposition, and continue from the last correct point. Remove guide marks carefully after stitching.
Try chain stitch variations and techniques
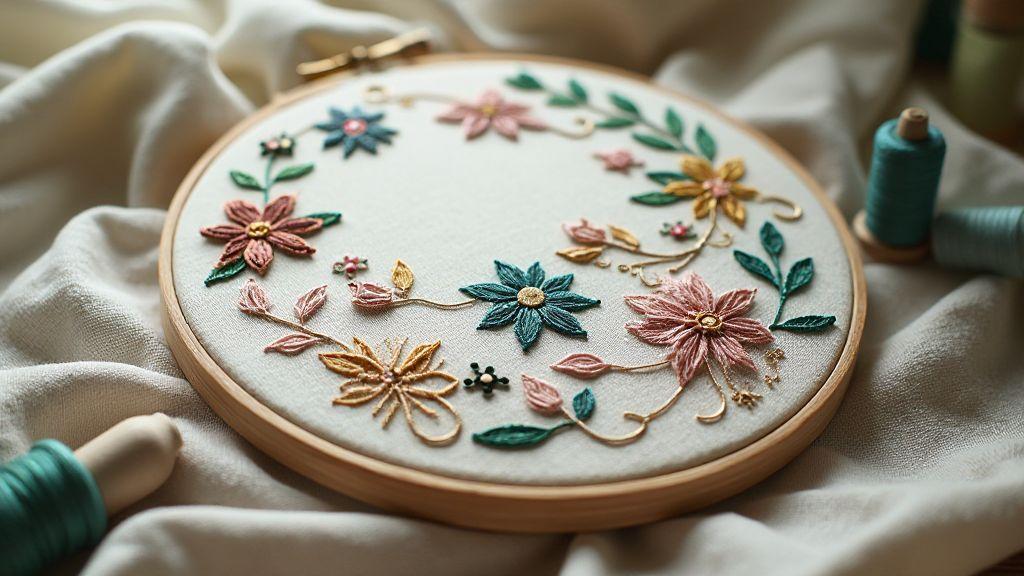
Exploring variations adds texture and life. Start with simple stitches on scrap to see how tension changes the line. Split chain creates a lighter texture, while twisted chain gives a denser look. See how light plays on each variation and how spacing and stitch length shift the mood. Combine variations in small sections to emphasize features like leaf edges or petal contours. The Chain Stitch: How to Create Beautiful Lines and Outlines can guide your choice, helping lines stay clear and purposeful.
Split chain and twisted chain for different textures
Split chain leaves a lighter center; twisted chain yields a denser line. Practice both on sample shapes—circle, leaf, and short wave—to compare texture and mood. Use split chain for delicate edges and twisted chain for bold outlines that hold their shape.
Heavy chain and couching to make bold chain stitch lines
Heavy chain provides bold outlines; couching secures a thick base with smaller stitches for a dramatic effect. Use contrasting threads for couching and avoid overdoing the number of securing stitches. If the fabric puckers, loosen tension slightly. This combination yields durable, bold lines with a handmade feel.
Pick the right variation for your design
Choosing variations depends on your design’s voice. Use split chain for light, delicate lines, twisted or heavy chain for stronger edges. Test options on scrap fabric to see what best supports your idea. The Chain Stitch: How to Create Beautiful Lines and Outlines serves as a useful reminder to maintain lines that feel intentional and alive.
Fix problems and finish like a pro
When you’re done, aim for neat, sturdy work. Check fabric, threads, and stitches to prevent small flaws from becoming big problems. Keep a small kit handy with a needle threader, scissors, and spare threads in the same color family. Learn to fix skipped stitches or loose loops quickly without undoing large sections. Short, deliberate movements beat rushing and mistakes. Your finished piece should read as a cohesive artwork.
How to repair loose or skipped chains quickly
If a stitch loosens or a chain skips, gently lift the fabric to locate the issue. Reinsert the needle at the base of the loose loop and re-stitch beside the neighbor to rejoin the line. Secure the repaired area with a small pinning stitch to prevent shifting, and weave the end to anchor it. For longer chains with multiple loose spots, ease the thread back into place and re-stitch, matching the length of surrounding stitches.
Hide starts and ends and secure your outline neatly
Weave the tails under several stitches to hide starts and ends, then trim close. Use the same color thread for starts and ends on bold outlines, and add a few tiny back stitches at the finish to prevent threads from loosening. Keep a consistent tail length for a deliberate, professional look, ensuring your outline reads as one continuous line.
The Chain Stitch: How to Create Beautiful Lines and Outlines is your ongoing companion as you grow—from basic outlines to bold, textured lines—and every stitch you practice brings your embroidery closer to a polished, confident finish. For a quick Hello World refresher, the Hello World post can be a handy starting point.

I’m Sophie Caldwell, the author behind granaboom.com, and I believe hand embroidery is one of the simplest, most relaxing ways to create something beautiful with your own hands. I started this blog to help beginners learn hand embroidery without feeling overwhelmed by complicated instructions or “perfect” results.
Here you’ll find beginner-friendly guides to decorative embroidery stitches, along with clear step-by-step practice ideas and patterns you can use to build confidence. My focus is on making the learning process easy: simple explanations, helpful stitch combinations, and small projects that look polished even when you’re just starting out.
Welcome to granaboom.com—grab your hoop, choose a few colors, and let’s stitch one line at a time.