The Best Fabrics for Hand Embroidery (And Which Ones to Avoid)
Best fabrics for hand embroidery
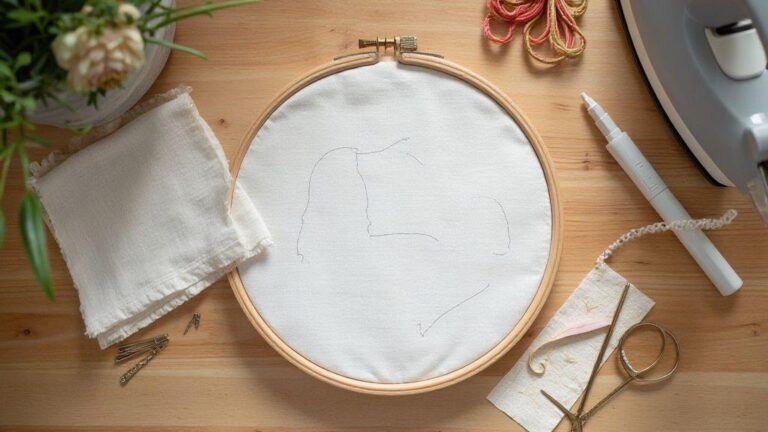
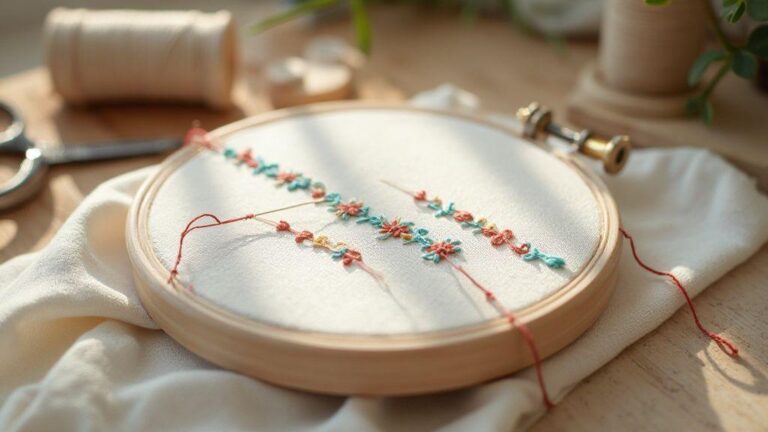
Embroidery shines when the fabric holds stitches without puckering or sliding. Cotton and linen are sturdy starting points: stable, easy to hoop, and they take stitches evenly. You’ll notice less thread fraying and a cleaner look with these fibers. For beginners, start with plain-woven fabrics like cotton batiste or cotton muslin, then move to linen blends as you gain control. If your project is a wall hanging or label, choose fabrics with a bit of stiffness to prevent distortion while you stitch. Remember: a smoother base yields crisper stitches.
When choosing, consider thread count. A lower count (more space between threads) is beginner-friendly because it’s easier to place stitches. For finer detail, opt for a fabric with a tighter weave—but not so tight that needles bend or fabric strains. Linen has natural tooth that helps Aida cloth grip stitches, while cotton provides a softer, forgiving surface. The best fabrics for hand embroidery strike a balance: stable, visible, and comfortable to work on.
For more resilience, blends like cotton–linen or polyester–cotton can reduce puckering and are affordable for practice. But monitor how the fabric behaves under tension; you want a surface that doesn’t stretch too much when you hoop tight. If fabric warps, switch to a firmer weave for cleaner lines.
How to choose embroidery fabric for your project
Choosing fabric begins with your design. For simple patterns, a plain weave like cotton muslin or linen damask makes stitches pop and holds up in a hoop. If your design uses satin stitches or long fills, you’ll want a fabric with some body so stitches don’t sink or pull. Test tension on a small sample before committing to the whole piece. Aim for a fabric that lies flat and lets your thread shine.
Finish matters too. For a soft look, pick a light-hand fabric like voile or cotton lawn. For bold, textured pieces, linen or linen–cotton blends provide control and durability. Beginners should avoid fabrics with loose or slubby textures that make placement hard to judge. Clear visibility and even tension are your friends.
Check the fabric’s size and weave. A consistent weave helps you count threads and place stitches evenly. If unsure, buy a small swatch or cut a tiny square to test with your floss. Your tests should show how the fabric behaves when you pull threads through and how it handles wash-ready threads without snagging.
Best fabric types for embroidery beginners
Plain weave fabrics are your best friend for starting out. Cotton muslin, cotton twill, and even cheap cotton sheeting are forgiving and easy to stitch on. They don’t snag easily, and stitches read clearly. Linen is also great for beginners due to its stability and natural grip. If you’re practicing long stitches or large fills, linen offers consistency with a touch of texture to guide you.
For quick projects, cotton quilting fabric or linen blends are solid choices. The weave is steady, but the surface isn’t so stiff that stitching becomes a battle. Aida cloth is acceptable for beginners too—it has a clearly visible grid that makes counting easy, though it can feel a bit stiff and bulky for delicate stitches.
Keep a small fabric sample box for tests
Maintain a small box of fabric swatches to compare how stitches behave on different backgrounds. When planning a new project, test the same stitch on several fabrics. Your notes guide your choice and save time later. A sample box also helps you stock favorites without losing track of what works best for various projects.
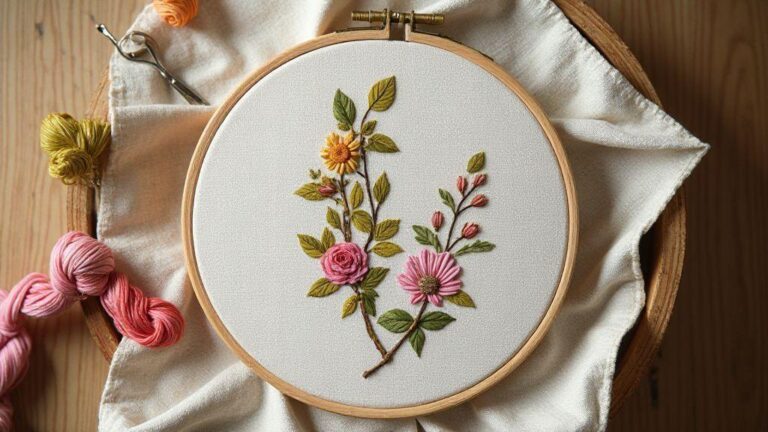
Linen vs cotton for embroidery
Choosing the right fabric makes a visible difference. Linen offers a crisp surface that helps guide your needle and hold fine detail, producing clean lines. It’s strong, stabilizes your work, and keeps stitches neat, but it can feel stiff initially and may require a firmer hoop and patience as you learn to keep the fabric flat.
Cotton is easier to handle, softer, and more forgiving. It moves with the needle, resulting in fewer skipped stitches and less frustration while you learn rhythm. The softer surface can make stitches look looser at first, which is normal when building confidence; you’ll tighten up with practice.
Evenweave vs Aida for hand embroidery
Two popular fabrics are evenweave and Aida. Evenweave has threads that run evenly in both directions, giving neat, balanced stitches. Aida features a visible grid that helps with counting, making it beginner-friendly for counted work. Your choice depends on project needs: evenweave for precision and subtlety, Aida for quick start and clear stitch visibility.
If you want quiet, precise stitching, evenweave is your friend. It reduces distortion because the threads aren’t as bumpy as Aida’s holes. For a newbie-friendly start, Aida provides a built-in guide to help you keep stitches even. Practice both to feel the texture and control differences; many stitchers keep a favorite in their kit for specific projects.
When to use evenweave for counted work
For counted work, evenweave yields the cleanest lines. Balanced threads help stitches stay where you intend, especially for small, precise patterns. Count by the thread, not by spaces, to reduce errors. Evenweave supports steady tension and minimizes skewing, making it a solid choice as you improve.
How Aida helps you keep even stitches
Aida acts like training wheels for beginners. The grid makes stitch locations obvious and counting almost automatic. It’s easier to learn where to land your needle and how many threads to skip, helping stitches sit evenly. As confidence grows, you can pick smaller counts for finer results or larger counts for bigger designs. Maintain steady tension and avoid pulling too tight—the grid is a helpful reminder.
Count fabric threads before you start
Before stitching, count fabric threads to map your design. With evenweave, count warp and weft to locate your starting point. With Aida, count across squares to place your first stitch correctly. Early counting saves ripped-out rows and rework.
The Best Fabrics for Hand Embroidery (And Which Ones to Avoid)
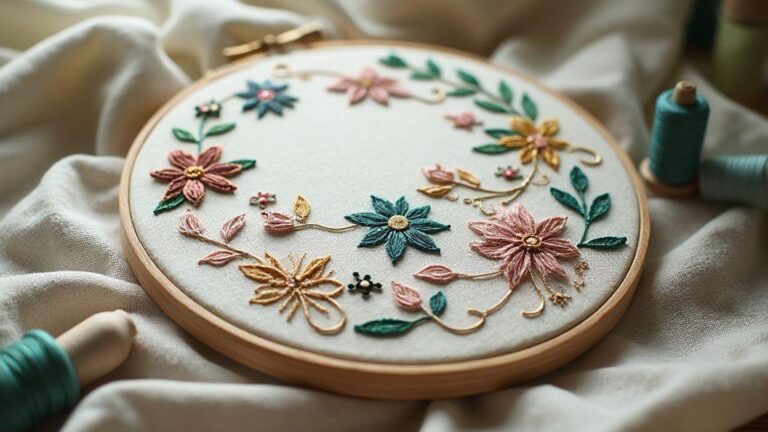
The best fabrics make your stitches shine. Evenweave and Aida are top choices, with linen and cotton blends as strong alternates. Look for fabrics that feel steady, don’t fray easily, and bite well for the needle. Avoid fabrics with loose threads or uneven textures that obscure stitches or complicate counting. Test a small patch first to see how your floss glides and how your stitches sit. Your project deserves a fabric that helps you enjoy every stitch.
Fabric weight and embroidery thread compatibility
Fabric weight matters for embroidery thread. Lighter fabrics like muslin or batiste drink up thread more readily, while heavier fabrics like denim or canvas handle thicker threads but need careful tension. Balance fabric weight with thread thickness to prevent puckering and drag. Start with mid-weight floss or a single strand of stranded cotton and adjust after testing.
How weight affects hooping and tension
Hooping a light fabric requires a gentler touch to avoid puckering; too-tight tension on sheer fabrics can distort, while too-loose tension causes sagging stitches. For heavier fabrics, you’ll need a stiffer hoop or deeper clamps to keep the surface flat. If you see wrinkles mid-stitch or the fabric grabs, ease the tension slightly.
Match thread thickness to fabric weight
For light fabrics, use finer threads or a single strand to keep stitches neat. Heavier fabrics tolerate thicker threads or multiple strands, but avoid bulk that makes stitches stiff. On medium-weight fabrics, you can use standard stranded cotton or medium-weight floss; test and adjust as needed to maintain harmony.
Test stitch on scraps to check compatibility
Before finishing, test on a fabric scrap. Check stitch placement, thread sit, and fabric behavior. If you see knots, puckering, or fabric show-through, adjust thread weight or tension. Verify hoop tightness and needle size as well. If the test looks good, proceed; if not, tweak one variable at a time.
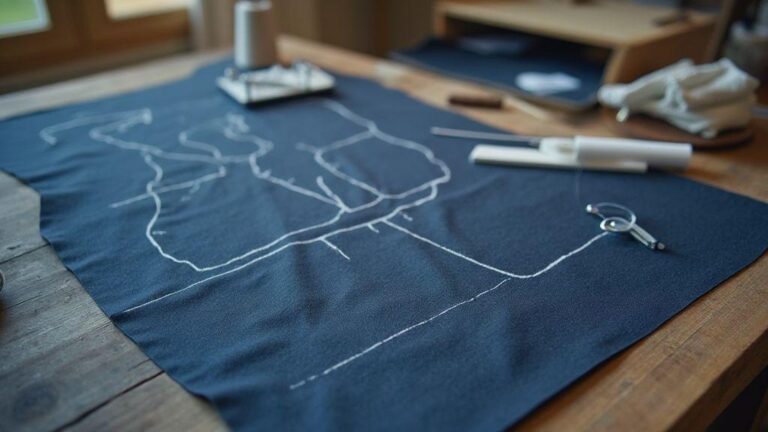
Fabrics to avoid for embroidery
Avoid fabrics that warp, fray, or shimmer under tension. Synthetic fabrics can be slippery and stretch, causing uneven stitches and distorted designs. They may also react badly to heat or washing, altering size and shape. Fraying synthetics can shed fibers, making stitching rough. For clean, crisp embroidery, choose stable, natural weaves that stay flat and predictable.
Pitfalls of synthetic fabrics for embroidery
Synthetics often feel smooth but are prone to slip, stretch, and warping. They can alter tension as you pull the needle, and heat or water can cause puckering or fading. Fraying and shedding fibers create rough experiences for your needle. A calm base is essential for consistent, satisfying stitching.
Why stretchy or loosely woven cloth fails
Stretchy fabrics move under your needle, shifting spacing and alignment. Loosely woven cloth offers weak bite and can snag or show back-stitching unevenly. Seek fabrics that stay flat, don’t curl at edges, and hold threads securely for better technique.
Look for natural, stable weaves for best results
Natural fabrics with tight, even weaves are ideal. Cotton is steady, affordable, and easy to work with; linen adds tooth and texture but is a bit trickier for beginners. Wool blends are possible but behave differently and may require different stabilizers. Test a small square with a few stitches to gauge suitability.
Stabilizers and hooping for different fabrics
Stabilizers and hooping are your embroidery frame of reference. A stabilizer helps stitches sit flat and reduces puckering across fabrics. Thin or fragile fabrics benefit from light stabilizers; heavier fabrics may need sturdier options to prevent thread sinking and keep lines crisp. Hoop tension matters too: too tight can distort; too loose invites wobble. For beginners, a taut but gentle hoop holds fabric evenly. Position the fabric well in the hoop and secure with a light press. With practice, you’ll know what taut feels like for each fabric.
Stabilizers vary: cutaway for dense work, tear-away for looser fabrics, and water-soluble behind delicate stitches for easy removal. Behind sheer fabrics, stabilizers prevent show-through while preserving drape. The right balance keeps your embroidery neat from edge to edge.
Choosing stabilizers for thin or stretchy materials
Thin or stretchy fabrics may disappear behind a stabilizer or use a nearly invisible fusible. Tear-away stabilizers are useful when you want a clean back later. A stabilizer with a bit of stretch can help the fabric move with your stitches. Hoop with a smaller, taut frame and consider a soft stabilizer behind the fabric. For long, delicate stitches, a water-soluble stabilizer can be rinsed away after completion for a clean back.
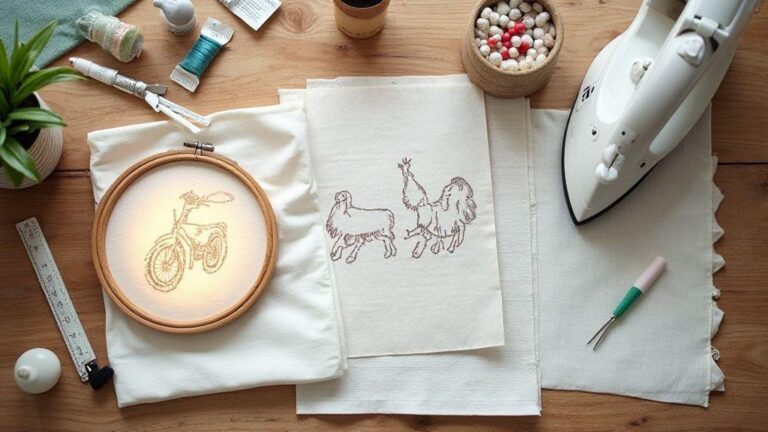
Choosing practice muslin for embroidery
Practice muslin mirrors many fabrics you’ll sew later and offers a safe learning ground. It’s plain, even-weave, and forgiving, ideal for trying different stitches without risking a real project. Muslin benefits from light stabilizers to visualize stitch placement.
Use practice muslin to build your skills
Focus practice on core stitches: backstitch, running stitch, satin stitch, and stem stitch. Start small, then grow designs. Keep a notebook of tension, hoop size, and stabilizer choices to repeat successes. Test color choices and thread brands since different threads behave differently. With time, muscle memory will improve on any fabric you choose next.

I’m Sophie Caldwell, the author behind granaboom.com, and I believe hand embroidery is one of the simplest, most relaxing ways to create something beautiful with your own hands. I started this blog to help beginners learn hand embroidery without feeling overwhelmed by complicated instructions or “perfect” results.
Here you’ll find beginner-friendly guides to decorative embroidery stitches, along with clear step-by-step practice ideas and patterns you can use to build confidence. My focus is on making the learning process easy: simple explanations, helpful stitch combinations, and small projects that look polished even when you’re just starting out.
Welcome to granaboom.com—grab your hoop, choose a few colors, and let’s stitch one line at a time.