The 6 Best Methods to Transfer Embroidery Patterns onto Fabric
The 6 Best Methods to Transfer Embroidery Patterns onto Fabric
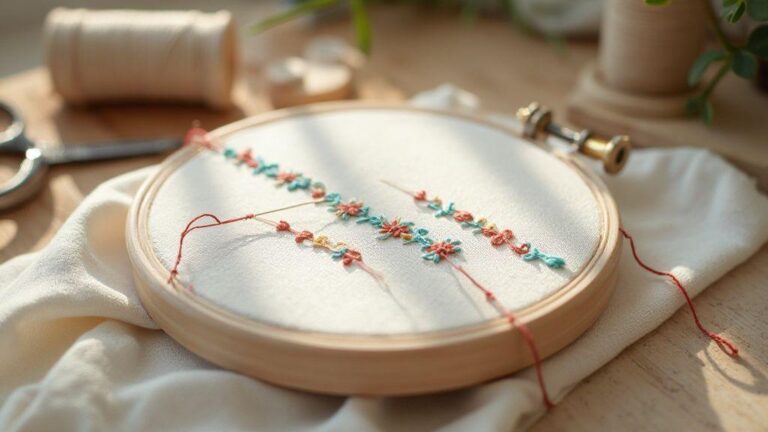
A practical guide to moving embroidery designs onto fabric with clean lines and confidence. The six methods below cover iron-on transfer paper, water-soluble stabilizer, lightbox tracing, tracing wheel and carbon paper, printable tissue paper transfer with chalk markers, and transfer pencils and pens.
In The 6 Best Methods to Transfer Embroidery Patterns onto Fabric, these options give you reliable ways to place a pattern before you stitch—helping you avoid guessing and wobbling on the needle. If you’re just starting, a beginner-friendly overview of getting started with embroidery can help set you up for success.
Iron-on transfer paper for embroidery
Iron-on transfer paper makes it easy to move your pattern onto fabric without tracing or freehand guesses. It’s especially handy for beginners who want clean lines that stay put as they stitch. When choosing transfer paper, look for options designed for fabric weights similar to your project and clear instructions. The aim is a crisp image on your fabric for confident stitching.
Using iron-on transfer paper can feel like a helpful shortcut: you press a design onto your fabric and the ink transfers, leaving a faint guide you can pin or hinge to as you stitch. It saves time on drawing and helps your stitches follow the lines more accurately. Keep your fabric clean and smooth before applying the paper, and test on a small corner for delicate fabrics to avoid scorching or ghosting.
If you need a portable, low-muss solution for workshops or sewing nights, iron-on transfer paper is a solid choice. It works well for simple shapes and bold lines, and you can pair it with other methods later as you gain confidence. Follow the paper’s directions closely and use the right heat setting for your fabric. With practice, you’ll see your patterns glow onto cloth and embroidery progress speed up.
Quick iron steps for fabric and design
- Prepare the fabric: wash and press to remove sizing and wrinkles.
- Place the fabric on the ironing board; align your pattern with light pins or parchment to hold it.
- Place the transfer paper on top of the fabric (design side toward the fabric unless instructed otherwise).
- Set the iron to the recommended heat and press firmly and evenly for the time specified; avoid sliding.
- Peel away the paper slowly to reveal the transferred design; let it cool before stitching.
- If needed, reheat and reposition per instructions. Once happy with the transfer, stitch along the lines.
Water-soluble stabilizer embroidery transfer
Water-soluble stabilizer gives you a clean, quick guide without leaving marks. The stabilized fabric stays flat as you stitch, and the dissolving layer disappears later, keeping your stitches the star of the show. This method is beginner-friendly because you can position, reposition, and erase missteps before committing to the final stitch.
Tips:
- Choose a stabilizer that dissolves in water; keep fabric taut; use a light marking method on the stabilizer.
- It works with most fabrics and is gentle on delicate textiles to avoid puckering.
- It provides a tidy, border-free guide, so you can follow a precise path stitch by stitch.
When to choose water-soluble stabilizer
- You want a clean, temporary guide that vanishes after washing.
- Your fabric is light or see-through, to avoid shadow lines.
- You’re transferring large motifs that could slip or shift; it holds everything in place without adding bulk.
How to make printable water-soluble stabilizer transfers
- Print or trace your pattern onto the stabilizer with light-weight lines.
- Position and secure the stabilizer on the fabric with light pins or a fabric-friendly spray.
- Stitch along the lines; the guide will wash away later.
Soak gently to remove stabilizer
- Soak in cool to lukewarm water with gentle agitation.
- Rinse and lay flat to air dry or press with a low-heat iron through a pressing cloth.
- If any residue remains, rinse again or brush lightly after drying.
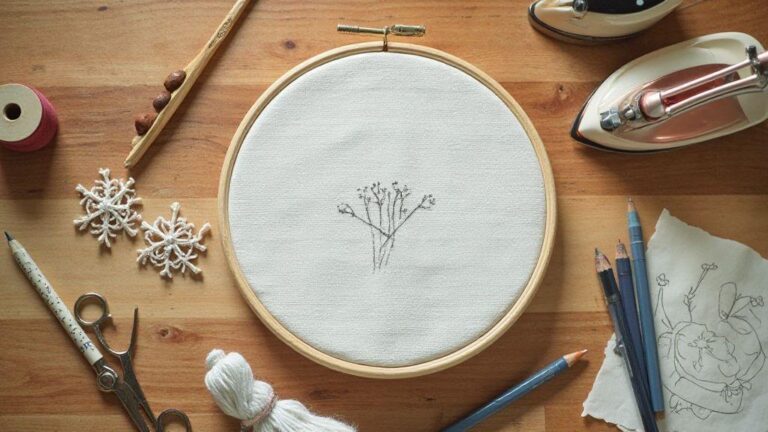
Lightbox tracing for embroidery patterns
Lightbox tracing helps you place your pattern exactly where you want it by letting you see the design through the fabric. It’s especially good for beginners because it removes guesswork and keeps lines clean.
Tips:
- Set up on a clean surface; keep fabric flat and taut.
- Use a non-slip mat and even, steady lighting to avoid eye fatigue.
- Start with simple patterns and move to more complex designs as you gain skill.
Simple lightbox setup and tips
- Use a low-contrast pattern to start; if lines are too dark, place white behind it to soften edges.
- Practice steady tracing with a calm breath; keep workspace uncluttered.
How to transfer embroidery patterns to fabric by tracing
- Place fabric over the pattern on the lightbox; trace outlines with a soft pencil or air-erasable pen.
- For larger designs, trace in sections to keep lines manageable.
- If you’re unsure about a line, trace it lightly multiple times to build confidence.
Use a simple, protective layering when tracing
- Place parchment or tracing paper between pattern and fabric on delicate textiles to protect fibers.
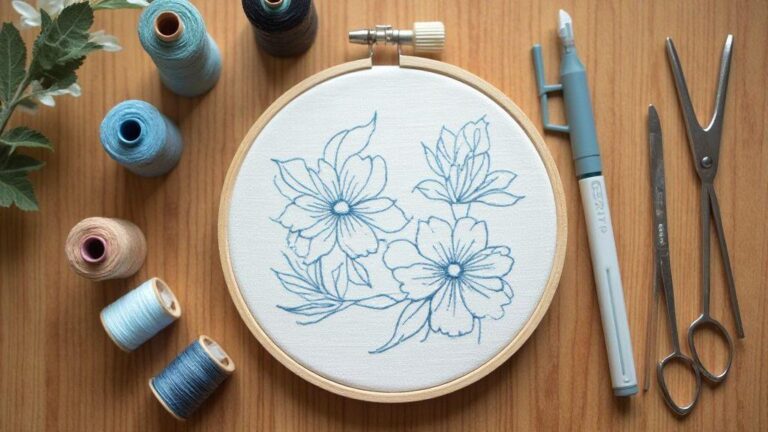
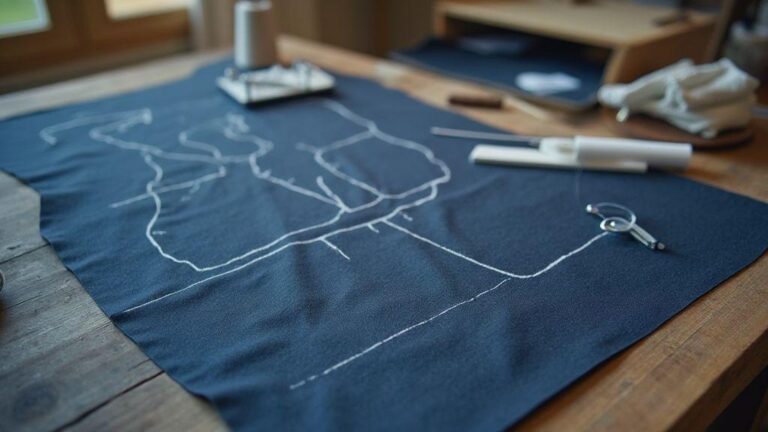
Tracing wheel and carbon paper for embroidery
A tracing wheel and carbon paper create clean, precise outlines quickly and affordably. This traditional combo is reliable and easy to learn, letting you focus on stitches rather than placement.
Tips:
- Choose a light wheel for delicate fabrics and a wheel with more teeth for heavier fabrics.
- Match carbon paper to fabric color: light lines on dark fabrics need lighter carbon; dark lines on light fabrics need stronger carbon.
Pick the right tracing wheel and carbon paper
- Look for a comfortable grip and smooth-spinning wheel.
- Consider standard carbon sheets or tracing paper with a transfer medium; the latter can be reusable and less messy.
Step-by-step tracing wheel and carbon paper technique
- Secure your design on fabric with pins.
- Place carbon between design and fabric with carbon-side touching the fabric.
- Roll the tracing wheel along the lines with light, steady pressure.
- Lift and re-check; if lines are faint, go over again with the same gentle pressure.
Press evenly to avoid gaps in lines
- Maintain a consistent, moderate touch; roll from start to finish.
- If gaps appear, retrace with the same gentle pressure to fill them.
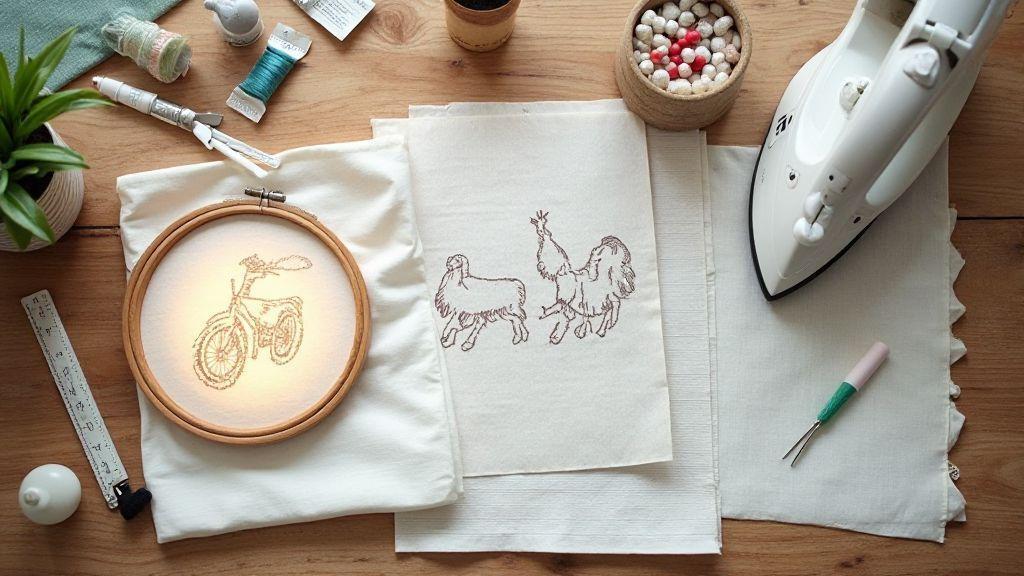
Printable tissue paper transfer and chalk markers
Printable tissue paper transfer offers a crisp, low-mess transfer for embroidery details, especially useful for small lines and fine motifs. Chalk markers provide a flexible, erasable guide on fabric, letting you adjust before you stitch.
Use printable tissue paper transfer for embroidery details
- Print or print-and-press pattern on tissue; lay the tissue on the fabric and lift away to leave a light guide.
- Choose tissue weight carefully; test a corner to ensure clean release.
Chalk and fabric marker pattern transfer tips
- Trace printed lines with a chalk marker to transfer directly onto fabric.
- Test on a scrap first; use damp cloth to erase as needed.
- Using different colors helps plan color order and stitch directions.
Stitch through tissue then tear away
- Place tissue on fabric; stitch along printed lines.
- Tear away the tissue carefully after finishing; avoid pulling stitches.
Transfer pencils and pens for fabric
Transfer pencils and pens offer a simple way to move a design onto fabric with removable marks. Pencils provide soft, precise lines; heat-erase pens vanish with heat; washable pens wash out with water.
Types: transfer pencils, heat-erase and washable pens
- Pencils: soft, precise lines that erase later.
- Heat-erase pens: marks disappear when you heat-set.
- Washable pens: marks wash out after completion.
How to transfer with pencils and pens safely
- Lay fabric flat; lightly trace with pencils or draw with smooth strokes.
- For pens, avoid pressing too hard to prevent heavy marks.
- Check visibility and adjust as needed; test removability on a scrap.
Remove marks after stitching or heat
- Pencils: erase with a fabric-safe eraser.
- Heat-erase pens: reactivate with a warm iron, then lift away with a cloth.
- Washable pens: launder per instructions; re-check for any remaining marks.
Printable tissue paper transfer and chalk markers (recap)
Printable tissue paper transfer and chalk markers offer clean, adjustable options for transferring details, with minimal mess and easy correction before stitching.
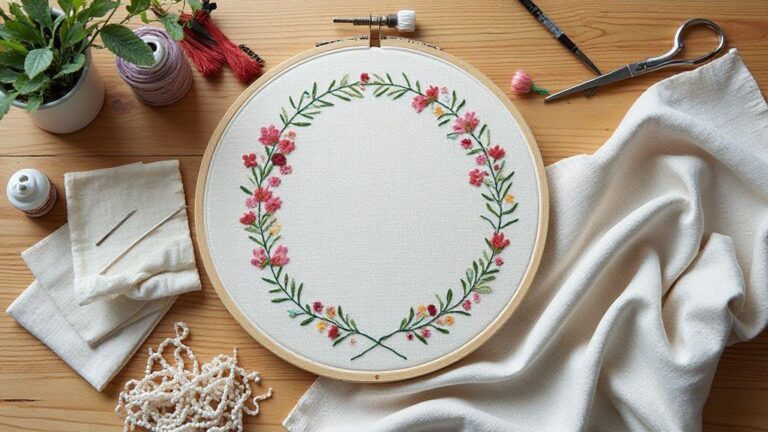
Conclusion
The 6 Best Methods to Transfer Embroidery Patterns onto Fabric give you a toolkit of reliable options—from iron-on transfers to traditional tracing and modern dissolvable systems. Practice each method on scrap fabric to learn how your chosen approach behaves with your materials, then pick the best fit for your project. Your embroidery will look neater, and your confidence will grow as you master these transferring techniques. For a quick primer on embroidery basics, see the beginner-friendly embroidery overview.

I’m Sophie Caldwell, the author behind granaboom.com, and I believe hand embroidery is one of the simplest, most relaxing ways to create something beautiful with your own hands. I started this blog to help beginners learn hand embroidery without feeling overwhelmed by complicated instructions or “perfect” results.
Here you’ll find beginner-friendly guides to decorative embroidery stitches, along with clear step-by-step practice ideas and patterns you can use to build confidence. My focus is on making the learning process easy: simple explanations, helpful stitch combinations, and small projects that look polished even when you’re just starting out.
Welcome to granaboom.com—grab your hoop, choose a few colors, and let’s stitch one line at a time.