How to Print Directly onto Fabric for Embroidery
How to Print Directly onto Fabric for Embroidery: Methods
Embarking on embroidery with direct fabric printing changes how your stitches sit and pop. Choosing the right path—inkjet, sublimation, heat transfer, or DTF—can make your project easier and the finish more durable. Each method has quirks, so you’ll want to understand your fabric’s needs and how bold you want your design to look. Here’s a clear guide to the main routes and what they demand from you. For a comprehensive overview of fabric printing methods and how to get started, see our guide.
When you choose a method, you’re deciding how your design will appear under the needle and after washing. You’ll consider color vibrancy, fabric type, and the time you’re willing to spend on preparation. The goal is to keep the print crisp and your embroidery stitches secure so your work lasts. Let’s break down the options so you can pick confidently.
If you’re new to this, start with a simple test swatch on your fabric. Compare how each method holds up after a wash and how the threads lay on top of the print. A small sample will save you from bigger headaches later and help you feel more in control of your final piece.
Which method fits your project
There’s no one-size-fits-all here. Your choice depends on print detail, fabric mix, and how much time you want to invest. For a bold, photographic image, you might prefer a method that delivers fine color gradations. If you’re stitching on a soft cotton tote, durability and hand feel take precedence. Consider how you’ll use the item—will it be washed often, or is it a decorative piece? Your answer guides you to the best fit.
Think about maintenance too. Some methods resist fading better than others, while some require heat-setting steps that could alter fabric texture. You’ll often balance vibrancy against tactile quality. Start by listing three needs for your project—durability, color depth, and fabric compatibility—and compare how each method meets them.
Inkjet, sublimation, heat transfer, DTF
Inkjet printing onto fabric lets you reproduce detailed designs at a low cost, but you’ll need a fabric-friendly ink and a fixative to keep colors from bleeding. It works best on light-colored, smooth fabrics. You’ll notice crisper lines on cotton blends, but darker fabrics can be tricky without white ink or a special pre-treatment.
Sublimation shines with bright, durable colors on polyester and poly-blend fabrics. If your project uses natural fibers, this method won’t bind as well unless you’re using a polyester-coated base. With sublimation, heat and pressure do most of the work, so your embroidery threads sit nicely on top, and the print stays put after washing.
Heat transfer is a flexible option that can suit a range of fabrics. It’s quick and inexpensive for small runs. You’ll apply a transfer sheet with heat, peel away the backing, and stitch over the design. The key is to choose a transfer with a soft hand feel so your embroidery doesn’t feel stiff or bulky.
DTF, or direct-to-film, bundles some of the best of both worlds. You get vibrant color with good wash durability, and you can print on many fabrics, including cotton and blends. The film is transferred to fabric with heat, creating a smooth surface that’s friendly to embroidery stitches. You’ll like the clean edges and how the film plays with your threadwork. For a concise overview of fabric printing options, see our beginner’s guide.
Choose the best printers for fabric printing for embroidery
When you’re starting with embroidery, you want a printer that fits your projects and your budget. There are many options, but the right choice boils down to how you plan to use the printer. If you mainly print small designs onto fabric for patches or tops, you’ll want something reliable, easy to use, and affordable. Think about how often you’ll print and what kinds of fabrics you’ll test. Look for features like color accuracy, simple maintenance, and good support so you don’t waste time tinkering. Your goal is steady results, not a showroom of gadgets.
For embroidery, the vibe you want is consistency. A printer that preserves color and resists bleeds will save you from reprints. You’ll also want a system that works with your embroidery files, so your designs line up perfectly on the fabric. Check for clear ink layers and drying times that fit your sewing workflow. If you’re just learning, pick a printer with friendly setup guides and customer help. A little upfront learning pays off in fewer headaches later on. Your pocketbook matters too, so compare upfront costs and ongoing ink or material costs to avoid sticker shock.
Finally, think about future projects. If you plan to branch into more complex embroidery or larger designs, you’ll need a printer that grows with you. Budget for compatible inks, extra nozzles, or software updates. A printer with scalable options can save you from buying a new machine later. You want confidence that your investment will handle more ambitious embroidery tasks as you improve.
Pick the right inkjet for you
Your inkjet choice should align with your fabric types and how you print. If you’re just starting, a basic dye-based inkjet can be forgiving on natural fabrics and cotton blends. It’s a good way to learn how colors interact with fabric without spending a ton. You’ll want inks that are vibrant but also breathable so your embroidery threads don’t get overwhelmed. Look for wide color ranges and easy-to-find replacement cartridges so you don’t stall your projects waiting for supplies.
If you’re aiming for durable, water-resistant results, consider pigment inks. These inks stay sharp after washing, which helps when your embroidery is meant to endure regular wear. The trade-off can be pricier inks and slower drying times, so plan your workflow around that. Also check if the printer supports ICC profiles for fabrics you own; accurate profiles save you from fighting colors later. You’ll thank yourself when your reds stay red and your blues don’t turn purple after wash.
For beginners, choose a model with clear driver software and a straightforward color management process. You want predictable results, not a Picasso of mismatched tones. A printer with good customer support and online tutorials can be a lifesaver when you’re learning How to Print Directly onto Fabric for Embroidery. Make sure you can find replacement parts easily, and that the cost of inks won’t shadow your profits if you’re selling pieces. For a comprehensive overview of fabric printing methods and how to get started, see our guide.
DTF and specialty printer options
Direct-to-Fabric (DTF) and specialty printers are powerful for embroidery prep, but they come with a learning curve. If you’re exploring bold, dense designs, a DTF setup can give you solid color coverage on many fabrics. Test on the exact cloth you’ll use for your embroidery to see how well the print blends or contrasts with thread colors. DTF lets you place detailed imagery with fewer color splits, which can speed up your design-to-fabric workflow.
Specialty printers—like those built to handle textured fabrics or stiff materials—can help you push your embroidery into more boutique looks. These printers often include features like stiffening agents or unique transfer films that keep embroidery pieces crisp. The catch is cost and maintenance. You’ll need to keep up with specialized consumables and cleanings, which adds to your monthly budget. If you’re serious about embroidery as a business, a well-chosen specialty option can pay off after you master the basics. To compare different fabric printing workflows, check our starter guide.
Compare budget and pro printers
Budget printers are friendly to your wallet but may cut corners on speed, color accuracy, or durability. They’re great for practice, small batches, and learning the rope. Expect simpler maintenance and maybe fewer warranty perks. If you’re committed to growing, set aside a plan to upgrade as your skills improve. You’ll want to keep this option in mind as you print and sew.
Pro printers offer robust inks, faster print speeds, and better color management. They’re designed for regular use and larger runs. The upfront cost is higher, but you’ll save time and keep consistent results across many pieces. If your goal is selling or taking on bigger projects, a pro model can become your main tool. Balance how much you print now with how much you expect to print in six to twelve months. The right investment keeps you creating, not chasing replacements. For a concise overview of fabric printing options, see our beginner’s guide.
Fabric stabilizers for printing and embroidery
Stabilizers are your best friend when you want clean lines and steady stitches. You’ll feel the difference as soon as you hoop or lay down your first stitch with a proper stabilizer. For beginners, think of stabilizers as a safety net that keeps fabric from puckering and threads from pulling. You want the right balance of stiffness and flexibility, so your design stays sharp without making your project stiff. When you print designs or use ink on fabric, a stable base helps the ink stay where you place it and keeps embroidery stitches secure. Choosing the right stabilizer is a quick win for better results and less frustration. For more on stabilizers and fabric prep, see our guide.
There are two big families: tear-away and cut-away. Tear-away is easiest for woven fabrics and projects where you don’t need extra backing after stitching. Cut-away stays in the fabric, giving long-term stability, especially on knit fabrics. There are also wash-away stabilizers, which vanish in water after you’re done, leaving no residue. For ink and embroidery, you might combine a cut-away backing with a light tear-away on top so you can print and stitch cleanly without stiffness weighing you down. Your goal is to prevent fabric distortion and keep your print crisp. For a concise overview of fabric stabilization, see our guide.
If you’re unsure what to pick, test a small swatch first. Lay down your design, sew a few stitches, and wash off any temporary stabilizer if needed. Take note of how the ink behaves—does it bleed or stay bold? If the fabric stretches too much during stitching, you’ll want a firmer stabilizer. If the fabric is delicate, choose something light and breathable to avoid tearing. With a little practice, you’ll know which stabilizer makes your embroidery look as good as your printed design. For quick tips on stabilizers by fabric type, see our overview.
Stabilizer tips for ink and stitch stability
Your ink and stitch work together best when you keep the surface flat. Use a stabilizer that lies smoothly under the printing area, and avoid wrinkled backing. If you notice bleeding or fuzzy edges, switch to a firmer stabilizer or reduce stitch density. You’ll save time and avoid rework.
Always consider the layer order. Put the stabilizer closest to the fabric if you’re using a top stabilizer for printing. If you’re stitching through multiple layers, start with a sturdy backing and add lighter stabilizers as needed. This keeps the weight balanced and the print crisp. Remember to test on a scrap first; it’s faster and cheaper than fixing a full project. For more detail on stabilizer usage, see our guide.
If you print directly onto fabric for embroidery, use a stabilizer that won’t melt or smear with your inks. Some stabilizers react to certain inks, so check compatibility. After you wash and finish, verify that the print stays intact and the stitches don’t ripple. A quick test run saves you a lot of headaches later. For deeper guidance on matching stabilizers to ink types, see our overview.
Match stabilizer type to fabric
Pair lightweight stabilizers with light fabrics for a clean look. This keeps your print and stitches neat without adding bulk. Use a slightly firmer stabilizer on medium-weight fabrics to prevent stretching while you sew. For heavy fabrics, go with a sturdy cut-away or a combination that gives you enough body to hold the design. Matching stabilizer to fabric is one of the simplest wins you can implement today. For a practical guide on stabilizer selection, see our overview.
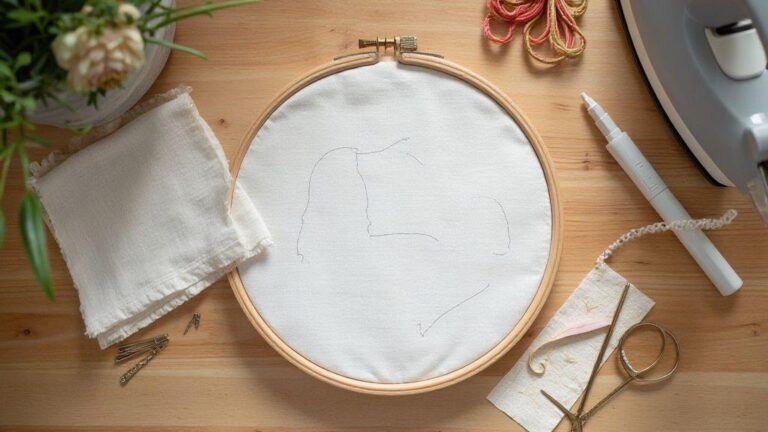
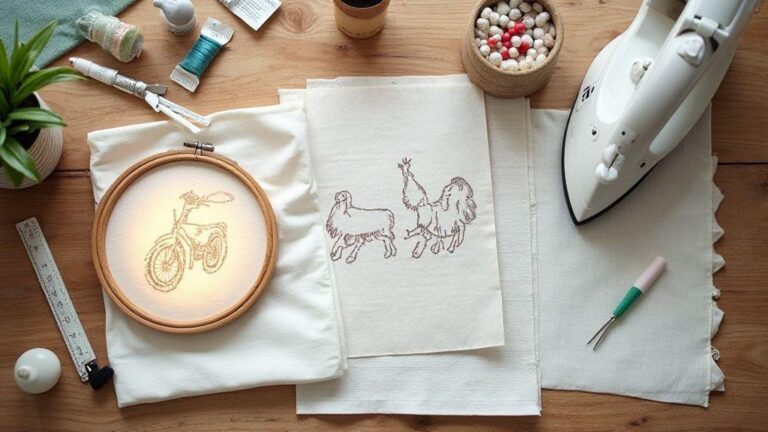
Prepare designs to print directly on fabric for embroidery
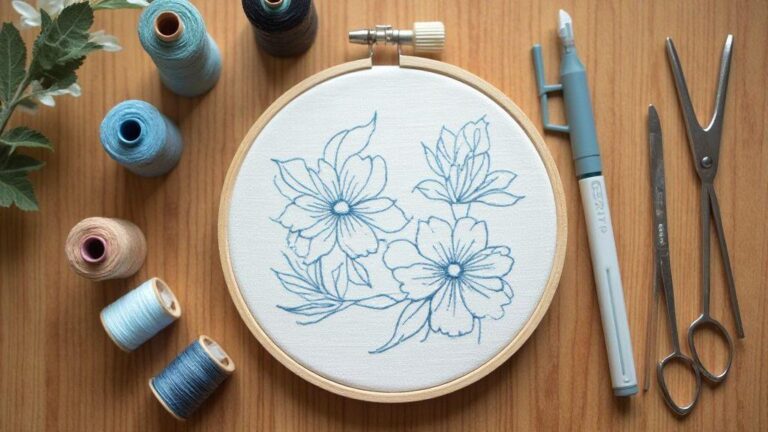
You want your embroidery to look sharp, right from the first stitch. Start by choosing a simple, high-contrast design that reads well when reduced to fabric size. Bold outlines and solid fills translate best to thread, so you’ll avoid fine gradients that fade after stitching. If your design has text, pick a clear sans-serif font and size it so the letters stay legible once you print and stitch. Keep the lines clean and avoid overly intricate details that won’t translate to thread easily. When you save your design, create a separate copy sized for your fabric dimensions. This way you don’t risk scaling errors that blur details or distort colors. Remember, your goal is a faithful transfer that makes your embroidery pop, not a fuzzy image you have to fight to see on fabric. For tips on preparing designs for fabric printing, see our design workflow guide.
Next, prepare your file as a print-ready template. Use a single, flat layer with the embroidery line art on top and a light background you can easily remove later if needed. Lock the layers you don’t plan to edit so you don’t accidentally move a stitch or outline. Check that the color contrast is high enough—your printer won’t show pale shades well on light fabric. Finally, add a light, optional grid or registration marks that line up with your fabric’s weave; these marks help you position the design exactly where you want it on the material. For tips on saving and organizing files for print, see our design workflow guide.
As you finalize, keep your workflow simple. Save in a common format your printer understands, like PNG or PDF, and keep a copy of the design with a transparent background so you can test on different fabrics. If you’re unsure about size, print a small test swatch on cheap fabric to verify scale before committing to the real piece. A little planning now saves you from redoing stitches later and keeps your first projects looking clean and professional. For more on color management and file formats, see our guide.
Save files and colors for your printer
When you save your designs, name them clearly and keep a master version safe. You’ll thank yourself later if you need to revisit a project or adjust colors. Use consistent color labels so you don’t confuse thread colors with printer inks. If your design has specific color areas, note the intended thread colors next to the filename. This keeps your embroidery palette aligned with the print—no guesswork in the middle of a project.
Color management matters. Create a simple color map that links your digital colors to the exact thread you’ll use. If your printer has color profiles, apply the closest profile to avoid harsh shifts between on-screen hues and what prints. Save a copy with embedded color profiles if your software supports it; this helps future projects stay true to your vision. Finally, keep a separate print-setup file that holds your printer settings, paper type, and print order from lightest to darkest. You’ll save time and avoid muddy prints on busy designs. For a practical overview of color workflows, see our guide.
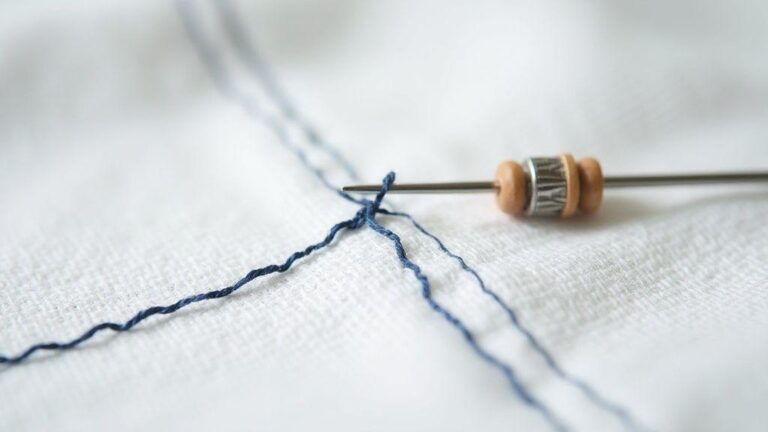
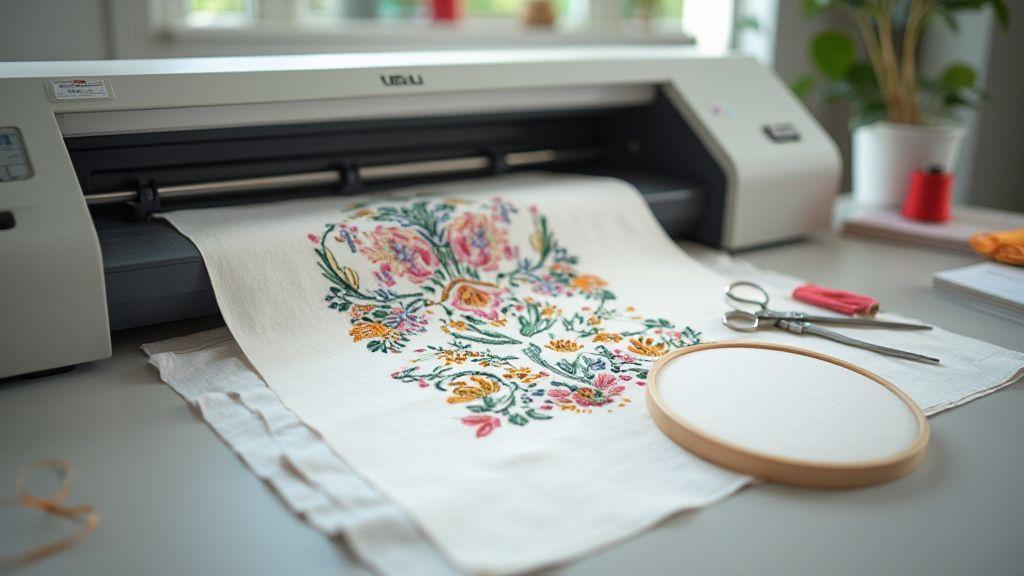
Printing on fabric without bleeding for embroidery
Bleeding is the enemy of crisp embroidery. Use a fabric-friendly printer setting and a light hand when loading fabric so you don’t stretch or warp the fibers. Choose dye or pigment inks that stay put on textiles, and avoid water-based inks unless your fabric is prepared for them. For best results, print a test swatch on a fabric similar to your final piece to confirm the colors sit where you expect them. If you see bleeding, tweak the print density or switch to a lower ink flow. You want a clean, sharp edge so your stitches don’t blur the design. For more on preventing bleed and achieving colorfast prints, see our overview guide.
Next, prepare the fabric surface. Use a clean, flat backing or stabilizer to prevent the fabric from shifting during embroidery. Allow the printed ink to dry fully before you hoop the fabric. A quick touch test can tell you if the color has settled or if it’s still smudging. If you notice any bleeding, give the print more drying time or switch to a more fabric-friendly ink set. With patience, you’ll get a precise guide under your stitches, not a smeared mess. For more on timing and drying, see our printing guide.
Align prints and embroider on pre-printed fabric for embroidery designs
You’ll learn how to line up your design so your embroidery looks crisp from the first stitch. Start by choosing a fabric with a clear print or transfer, and check that the print sits flat and not puckered. If the fabric has texture, press it gently with a low heat setting to avoid shifting your pattern. When you align, your goal is to have the center of your design perfectly midway across the fabric so the final piece feels balanced. Keep your workspace clean and flat, and place a ruler or grid line under the fabric to help you see the exact position. This step matters because misalignment can throw off the whole look, even if your stitches are perfect. For more on alignment techniques, see our alignment guide.
Next, consider how your printed guide will stay in place as you stitch. Use a light grip on the fabric and don’t pull too tight in the hoop, so the print doesn’t distort. A spray bottle with water can lightly dampen fabric to help reduce shift during stitching, but test first on scrap to avoid bleeding ink. If your design uses multiple colors, plan the order so colors don’t overlap awkwardly and your edges stay neat. Your goal here is predictable placement so your final embroidery reads clearly and professionally. For tips on registration and placement, see our guide.
Finally, confirm that your chosen thread color works well with the background print. If the print is bold, pick a thread that stands out without clashing; if it’s subtle, a matching thread keeps the design cohesive. Do a tiny test stitch on a corner or scrap piece to preview how the print and stitches look together. This practice saves you from rediscovering a misaligned design after hours of work. Your finished piece should feel intentional, not accidental. For further guidance on color matching and placement, see our overview.
Mark and hoop your printed design
Marking the print helps you lock in the exact position for stitching. Use a washable fabric pen or a light chalk to place tiny reference points around the print’s edges. These marks guide your needle path and help you maintain straight lines. When you hoop, choose a frame that holds the fabric taut but not stretched. Too tight a hoop can warp the print, while too loose a hoop invites shifting. Your aim is steady tension that keeps the printed guide visible but not buried under the fabric.
After you’ve hooped, double-check the alignment by gently lifting the fabric at the corners. If the print moves even slightly, readjust before you start stitching. Clear visibility matters, so keep the print in view as you work. If you’re using a magnet hoop, confirm the magnets grip firmly and don’t pull the print away from the hoop as you stitch. Your careful hooping sets a strong foundation for precise stitches and a clean final design. For more on hooping and marks, see our alignment guide.
Use registration for exact stitch placement
Registration marks are tiny guides that tell you where each color and stitch should land. Place these marks at key corners or along the edges of your printed design. When you begin stitching, follow the marks step by step to keep every color aligned. This method is especially helpful for complex patterns or multi-color work. You’ll save time fixing misaligned areas later, and your design will stay true to the printed guide. If your fabric shifts during stitching, pause and realign using the registration marks. Don’t skip this—even a small drift will show up as a blurry edge or mismatched color blocks. Keep your hands steady, and stitch slowly at first to lock in the correct placement. Your final piece will look crisp and professional when you treat these marks as your stitching roadmap. For more on registration techniques, see our alignment guide.
Test placement before full stitching
Before you dive into the whole pattern, test how the design sits on the fabric. Do a quick sample on scrap or an inconspicuous area to see if the alignment and colors read correctly. Check the prints against your chosen thread colors in proper light. If anything looks off, adjust the position or color choice before you commit to the full run. This step saves time and materials and helps you avoid a disappointing finish.
During the test, note any tension or fabric puckering. If needed, tweak the hoop height or stabilization to keep the print crisp. Your test run is like a dress rehearsal—it shows you what needs to be fixed so the real stitching goes smoothly. When you’re satisfied, transfer those learnings to your full stitching session and go in with renewed confidence. For more on testing and adjustments, see our guide.
Finish, fix, and care after direct fabric printing for embroidery
Direct fabric printing for embroidery feels like magic, but the real win comes after you print. Let the print dry completely before you stitch. If you skip this, the ink can smear and pull when you tighten stitches. Work in a well-lit space, and give your fabric a full 24 hours if you can. This gives the ink a chance to cure and set so your embroidery has a solid base to bite into. When you’re ready to sew, place a protective layer over the print so you don’t press it with your needle or hoop. A light hand can smooth the surface, but avoid pressing hard on the ink. Your goal is a calm, flat surface that lets your stitches sit cleanly on top. If your fabric feels stiff, you can iron on a low heat setting with a pressing cloth between the iron and the print. This helps set the top layer without risking gloss or color shift. For tips on finishing and care, see our fabric care guide.
Heat set and protect your print
Heat setting is your first defense against fading. Use a heat press or an iron on a low to medium setting, with a clean cotton cloth between the heat source and your print. Apply gentle, even pressure for 10 to 20 seconds in small sections, not sliding the iron around. This locks the color in and prevents edges from lifting when you pull stitches later. If your fabric has stretch, keep the iron movement brief to avoid warping. After you finish heat setting, let the fabric cool completely before you begin stitching again. This cooling step helps the print settle and reduces the chance of ink transferring to your thread. If you’re worried about shiny spots, test on a scrap first. A dull, matte finish is easier to work with for tight embroidery. For a quick reference on heat-setting considerations, see our guide.
Wash and care tips to keep colors
When you first wash, use cold water and a gentle cycle. Hot water can cause colors to bleed or fade. Turn the fabric inside out to protect the print from the washing machine’s agitation. Use a mild detergent without bleach or harsh additives. Skip fabric softeners; they can leave a coating that dulls the print and pull on stitches. After washing, air dry flat or hang dry away from direct sunlight, which can fade colors over time. If you need to iron again, use a clean pressing cloth and a low heat setting. Remember, every wash is a small test of endurance for your print. With proper care, your colors stay bright and your embroidery remains crisp for many projects to come. For best results, wash separately the first few times to avoid any transfer, just in case. For tips on colorfast care, see our care guide.
Care steps to keep print and stitches strong
Always check your fabric before you stitch: ensure the print is fully set and colorfast. When you iron, avoid direct contact with the ink; use a pressing cloth. Store finished pieces flat or rolled, not folded, to prevent creases that can crack ink and threads. If you notice loose threads, re-knit them gently with your needle rather than pulling. A light touch goes a long way to keep stitches strong and the print intact. If you must press a seam, press away from the printed area to protect the design. Finally, handle your fabric with clean hands—oil from fingers can affect both print and stitch. For guidance on long-term care and maintenance, see our fabric care guide.

I’m Sophie Caldwell, the author behind granaboom.com, and I believe hand embroidery is one of the simplest, most relaxing ways to create something beautiful with your own hands. I started this blog to help beginners learn hand embroidery without feeling overwhelmed by complicated instructions or “perfect” results.
Here you’ll find beginner-friendly guides to decorative embroidery stitches, along with clear step-by-step practice ideas and patterns you can use to build confidence. My focus is on making the learning process easy: simple explanations, helpful stitch combinations, and small projects that look polished even when you’re just starting out.
Welcome to granaboom.com—grab your hoop, choose a few colors, and let’s stitch one line at a time.