How to Embroider a Sunflower Step by Step
Choose Your Tools for Step by Step Sunflower Embroidery
Diving into decorative stitches starts with the right tools. The fabric should glide under the needle, and threads should stay calm in your grip. Think of your toolkit as an embroidery partnership: you bring the idea, and your tools bring ease. With the right setup, your sunflower embroidery comes together faster and cleaner, from stem to petal.
Choose tools that fit your pace and project. For a neat, bold look, sturdy scissors and sharp needles save you from extra pulls and frays. For softer textures, a comfortable needle grip and high-quality thread behave like a paintbrush. The goal is steady control, not wrestling with your work.
Good tools reduce frustration and boost confidence. Your sunflower will be more consistent when stitches flow smoothly. Practice with the same set, and you’ll quickly learn what each tool does best and how to tweak as you grow.
How to Embroider a Sunflower Step by Step: Quick Start
How to Embroider a Sunflower Step by Step begins with the right approach. Here’s a concise guide to get you started:
- Gather a clean hoop, breathable cotton or linen, and a small palette of warm thread colors.
- Hoop the fabric and sketch a light transfer of the sunflower design.
- Start with the center, then fill petals using satin or straight stitches.
- Keep stitches even and the fabric taut; adjust tension as you go.
- Finish with a secure knot and a light wash to set the colors.
This quick outline helps you begin How to Embroider a Sunflower Step by Step with confidence. You can return to each section for detailed techniques as you practice.
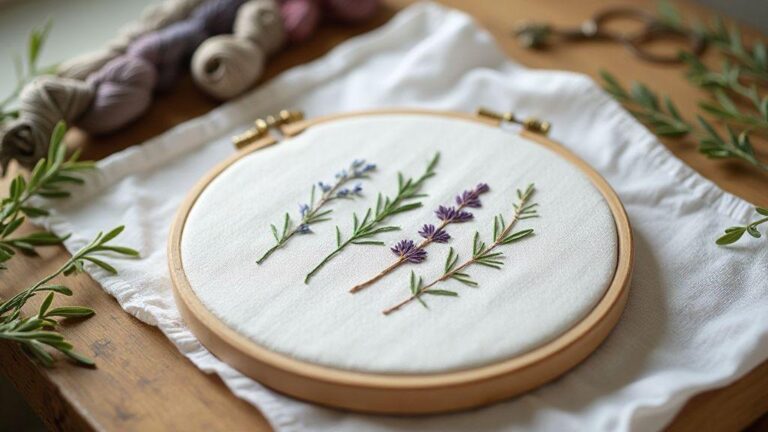
Best Supplies for Beginner Sunflower Embroidery
Starting small with essentials makes learning approachable. Use a clean hoop to keep fabric taut, breathable cotton or linen for a natural bite, and a simple kit of warm thread colors. With steady hands and a calm workspace, you’ll finish a bright sunflower with balanced petals and a bold center.
Your color plan matters as much as your stitches. Choose a few colors that blend well within a warm palette. A medium-weight thread works best for beginners: it doesn’t tangle easily and shows your shapes clearly. Don’t overcomplicate the starter kit; a focused set keeps practice from feeling overwhelming.
Select Needles, Threads, and Scissors
Choosing the right needle size makes a difference. A sharp, medium-length needle with a fine eye glides through fabric without snagging threads or leaving holes. For sunflowers, needles that handle satin and backstitch smoothly keep petals clean and centers tight. Match thread weight to needle size for neat stitches and happy fabric.
Threads should be smooth and color-stable. Pick floss or embroidery thread that lays flat and doesn’t split easily. Keep a small color chart handy to avoid mixing yellows and golds. Scissors matter too: a sharp pair that fits your grip makes trimming quick and painless.
Organize Supplies for Easy Work
Set up a simple station with a dedicated home for each item. A small box or tray with compartments for needles, threads, scissors, and a thread conditioner keeps you moving without hunting. Labeling colors helps you switch shades smoothly. A quick reference sheet on how to embroider a sunflower step by step keeps you focused when your pace picks up. Clear organization lets you relax and follow your plan.
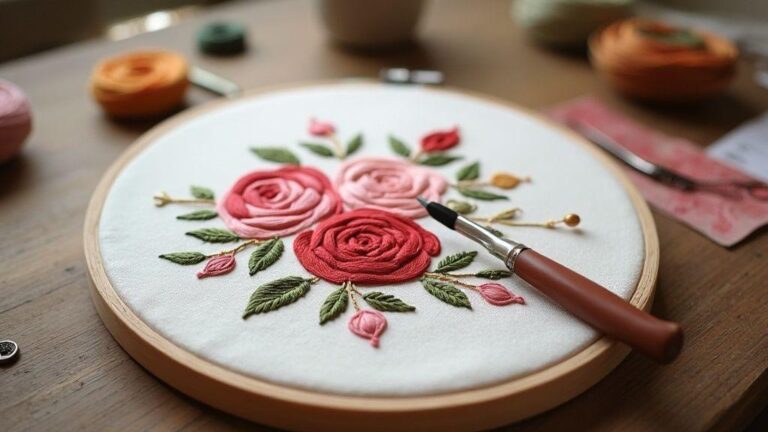
Master Basic Sunflower Embroidery Stitches
You’re about to unlock a sunny set of stitches that bring sunflowers to life. Start by choosing the right threads and hoops, then learn how each stitch behaves on fabric. The goal is a cheerful sunflower on cushions, totes, or wall art. As you practice, you’ll notice certain stitches give petals a soft edge and a bold center, and you’ll begin combining them for depth. This foundation is confidence you can carry into larger projects.
Sunflower embroidery loves bright, steady tension. If your thread is too loose, petals flap; if too tight, fabric puckers. Keep stitches even, fabric taut in the hoop, and needles moving with steady pressure. Avoid over-stitching; pace yourself, lift your needle often, and check in natural light. You’ll see crisper petals with a little focus.
Color choices matter. Sunny yellows for petals with warm centers read cheerful; deeper yellows offer a modern look. Consider where the item will live and choose shades that match. The right palette makes stitches glow from across the room.
Use a Sunflower Embroidery Tutorial to Learn
Begin with a simple line drawing to guide stitches. Start light so your design stays clean, then follow through with a basic outline for petals and a circular center. Learn how to place the center first to anchor petals, keeping everything balanced. Adjust as you go to fit your fabric and hoop.
Switch between stitches—French knots for seeds, straight or satin for petals, a touch of backstitch for outlines. Pause to re-check placement if petals lean. Keep stitches even in length and density so the sunflower sits flat on the fabric.
Practice Sunflower Embroidery Stitches
Build muscle memory by weaving a few petals with each stitch type. Start with simple shapes, then rotate around the center for a natural arrangement. If a petal arches too much, ease tension and re-stitch. Satin stitches give solid color; running stitches add soft texture along petal edges. Don’t rush the center; a tidy circle of French knots or seed stitches anchors the piece.
Load a fresh thread when colors shift, and anchor ends securely. A small scrap fabric is handy for quick practice swatches between sections to keep the main piece clean.
Make a Simple Stitch Practice Sheet
Pin a tiny fabric swatch in your hoop and map a few staple stitches: straight, satin, backstitch, French knot, and seed stitch. Use bold colors to clearly see each stitch path. Fill a section with even stitches, then switch stitches to compare texture and coverage. This helps you tune tension and color placement.
As you work, you’ll discover which stitches you prefer for petals or center details. Keeping a practice sheet handy lets you test new shades or stitch combos on a small surface before adding them to your main sunflower. It’s about consistency and reducing fear of mistakes.
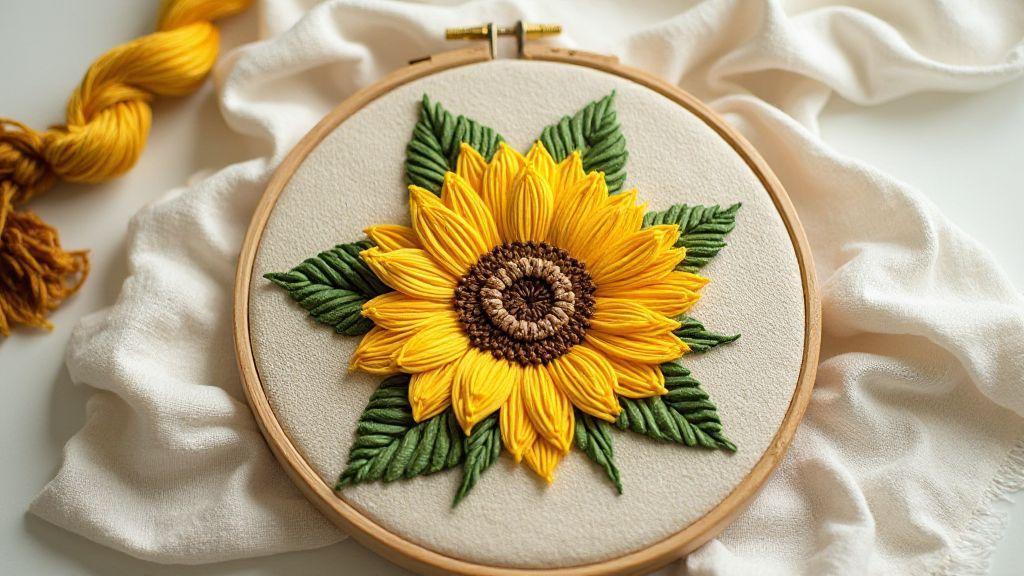
Create Satin Stitch Sunflower Petals
Press satin stitch petals into place for a bright, glossy look. Start with a bright yellow thread and keep stitches close and even. Pause to adjust tension for a smooth, gleaming surface. When testing on scrap fabric, you’ll see satin stitches lay flat and catch the light like real petals.
Direction matters. Lay stitches in consistent curves, letting the thread glide over a base. If gaps appear, add a short pass to even the surface. Keep a relaxed hand; tension that’s too tight makes stitches look stiff. Finish with balanced petals and a sunlit glow.
When you finish, step back to assess balance. Add a touch more satin to any lighter petals to achieve harmony across the flower.
Trace Petal Shapes from Your Sunflower Pattern
Trace exact petal shapes from your pattern onto fabric with a fine chalk pencil, marking gently to guide satin stitches without crowding edges. If lines are bold, soften them before stitching. The goal is a clean map you trust.
Consider spacing between petals for light to pass through, creating depth without breaking the silhouette. If a petal appears too wide, adjust your outline before sewing. This tracing ensures satin petals sit evenly around the center.
Build Satin Stitch Layers for Full Petals
Create fullness by layering satin stitches in multiple passes. Start with a light base, then add a slightly darker shade for depth, keeping edges crisp. Parallel, even stitches prevent ridges. Layering provides a natural curve and a realistic light effect across each petal.
If you see puckering, ease the fabric and continue with even passes. Layering gives thickness without sacrificing the satin finish. You’ll end with dimensional petals that glow.
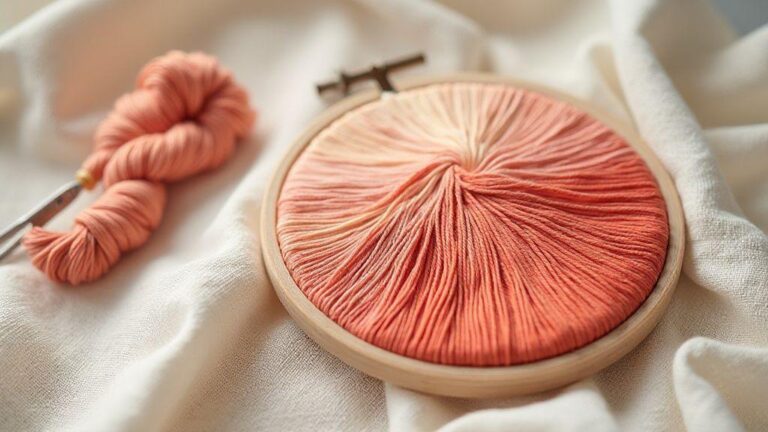
Blend Thread Shades for Realistic Petals
Blend colors for a sunlit look. Begin with a base, then add a warmer tone toward petal tips to simulate light. Use short, side-to-side passes near the tips for highlights while keeping the midsection smooth. Gradual transitions create a natural, vibrant sunflower. Practice on scrap swatches before stitching on the pattern; your petals will glow with depth.
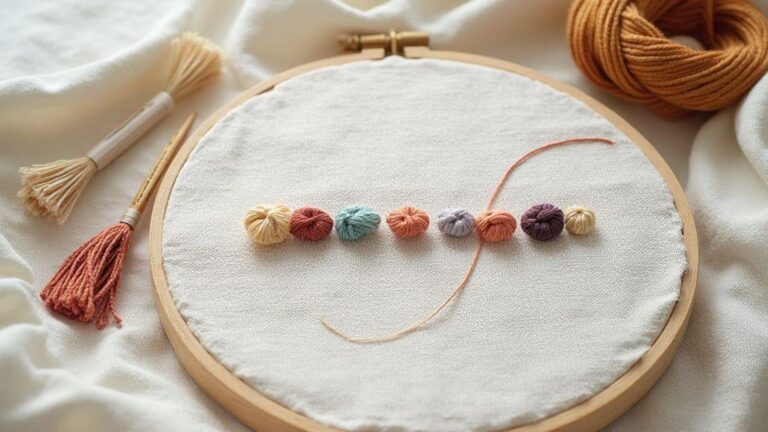
Build a Rich French Knot Sunflower Center
Create a sunny center with a golden floss that blends with petals. Use an even, tight knotting rhythm to form a dense, domed circle. Layer stitches in a subtle spiral to add dimension and light-catching variation. If thread splits, switch to a fresh strand for a smooth surface. Keep seeds tight and evenly spaced for a cohesive center.
Secure the back with snug, small knots. For extra durability, add tiny micro-satellites around the edge to lock tension. Your center should stay tight and crisp from any angle.
French Knot Sunflower Center Techniques
Lock thread control before knotting. Bring the needle up at the edge, wrap the thread around the needle three to five times, and form short, deliberate knots close to the fabric. If a knot loosens, rethread and redo quickly. Alternate wrap direction slightly to avoid a stiff look. If gaps appear between knots, add more knots nearby. Finish by flattening raised knots with a finger.
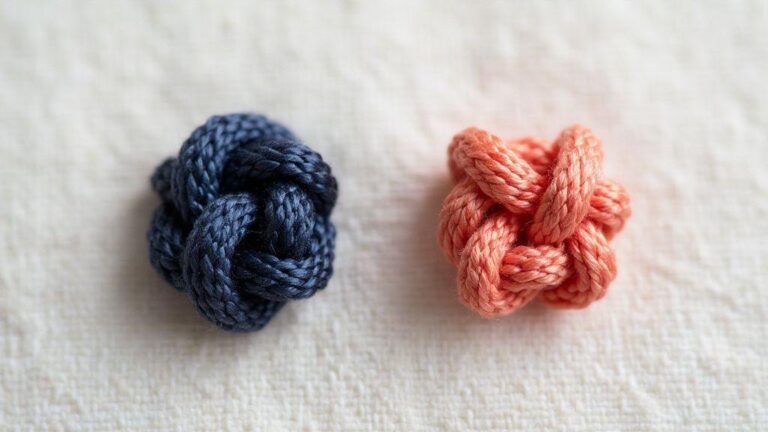
Add Seed Stitch and Bullion Knots for Texture
Seed stitch adds a grainy texture that suggests seeds. Use irregular in-and-out placements for tiny specks, balanced with French knots for contrast. Bullion knots provide a silky highlight; wrap the thread around the needle, then pull through with even tension. Space bullion knots sparingly to avoid overpowering the center.
Secure Knots to Keep the Center Tight
When finished, bury ends on the back and trim close. If durability is a concern, stitch a few micro-satellites around the edge to lock tension. This keeps the center tight and crisp so the sunflower stays polished from every angle.
Transfer Your Hand Embroidery Sunflower Pattern
Transferring your sunflower design cleanly sets the stage for perfect stitches. A crisp transfer helps you stay focused on the stitching, with bold petals and a defined center. Test methods on scrap fabric first to ensure no bleeding or smearing.
Keep in mind fabric texture and needle reach. A clear transfer prevents wasteful misalignment. Choose a method that works for you, and label lines to avoid confusion between petals, center, and leaves.
Trace Petals and Center with Templates
- Lay your template over fabric and tape it in place. Carefully trace petals first, then the center with a light hand to keep marks faint.
- If you’re on dark fabric, switch to a light pencil or tailor’s chalk for visibility without smudging.
- Place the pattern close to the fabric edge to avoid corner issues as you stitch.
Position Sunflower and Leaves for Balance
- After tracing, check overall balance. Align the bloom across the fabric to leave space for leaves.
- Adjust the template if the head is heavy on one side. Align leaves to frame the flower with a natural curve.
Choose a Transfer Method That Fits Your Fabric
- For smooth cottons or quilting fabrics, graphite pencil or light tracing paper works well and washes away easily.
- For linen or rough weaves, use a water-soluble pen that washes out cleanly.
- Dark fabrics benefit from a light box to see lines without heavy pressure. Delicate fabrics like silk may require removable heat or low-tack stabilizers.
Remember to label lines or keep the pattern nearby to avoid confusing outlines. A clear map helps keep your sunflower true to life.
Add Decorative Stitches and Advanced Techniques
You’ll elevate projects with decorative stitches and advanced techniques. Test a small sample first to see how each stitch handles thread weight and fabric weave, then select favorites to repeat across larger pieces. Think of these stitches as tiny brushstrokes that bring your design to life.
Blend different threads and needle sizes to create subtle variegation. Experiment with colors that pop against your base or go tonal for cohesion. Decorative stitching should tell your story through texture and line, not just add complexity.
Plan where to place each decorative stitch for maximum effect. Use a light guide to map paths before stitching. Control tension and stitch length so the design sits nicely on the surface without puckering. With practice, your projects will look intentional and polished.
Try Bullion, Fly, and Chain for Detail
- Bullion stitch adds rope-like lines that catch light and add refinement. Wrap the thread around the needle and move along the fabric with slight tension.
- Fly stitch creates delicate, leaf-like veins quickly; pair with fine thread or metallic to mimic dew on a leaf.
- Chain stitch offers bold, continuous lines that feel handwritten on fabric. Vary chain length and needle angle to keep it lively.
Use Shading, Layering, and Stitch Direction
- Shading adds depth by layering lighter and darker threads to suggest curvature.
- Layering builds texture with several passes in offset positions, like painting with thread.
- Adjust stitch direction to emphasize shape, using concentric or curved lines for rounded forms. Directing stitches thoughtfully makes the piece feel intentional.
Finish, Wash, and Frame Your Work Carefully
Finish with secure ends buried on the back and trimmed close. Wash gently with a mild detergent in cool water, then lay flat to dry to prevent distortion. Frame or mount your work with a supportive frame and bright mat to protect and showcase the stitches. Your piece will look complete and professional when well cared for.

I’m Sophie Caldwell, the author behind granaboom.com, and I believe hand embroidery is one of the simplest, most relaxing ways to create something beautiful with your own hands. I started this blog to help beginners learn hand embroidery without feeling overwhelmed by complicated instructions or “perfect” results.
Here you’ll find beginner-friendly guides to decorative embroidery stitches, along with clear step-by-step practice ideas and patterns you can use to build confidence. My focus is on making the learning process easy: simple explanations, helpful stitch combinations, and small projects that look polished even when you’re just starting out.
Welcome to granaboom.com—grab your hoop, choose a few colors, and let’s stitch one line at a time.