How to Do the Split Stitch for Ultra-Smooth Outlines
Split stitch tutorial step by step for beginners
You’ll discover a simple path to clean, crisp lines with the Split Stitch. This beginner-friendly method creates polished outlines on any project. Break the process into small, focused steps so you can see progress fast and stay motivated. With practice, your stitches will become steadier and your outlines smoother, giving your piece a professional feel. For absolute beginners, the Hello World beginner guide can help you start with confidence.
Think of your outline as a map you’re stitching. Each stitch builds on the last; don’t rush ahead. The Split Stitch is forgiving—you can fix a wobble by reworking the next few stitches. With consistency and steady hands, you’ll guide your needle along the path you drew.
Small changes matter. A tiny adjustment in tension, a slightly longer or shorter stitch, or a new needle angle can make a big difference in smoothness. Keep projects realistic and fun, and you’ll build muscle memory to smooth rough edges quickly.
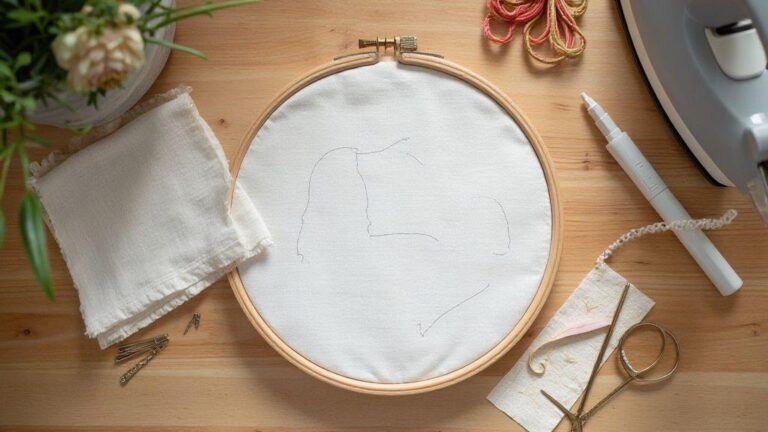
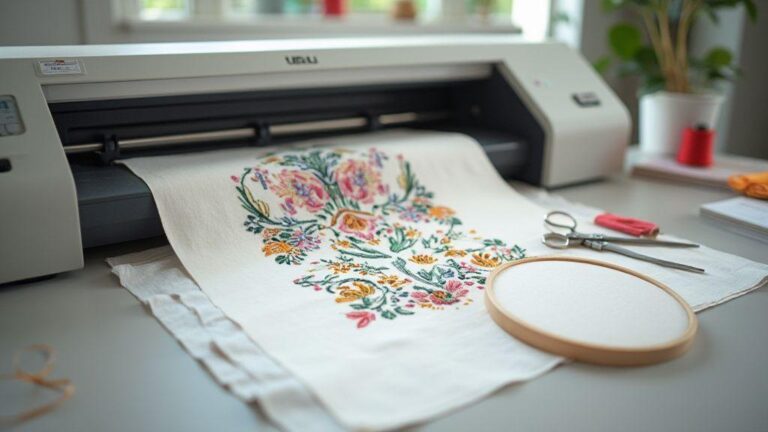
Prepare your fabric and hoop
If you’re new to embroidery, the Hello World beginner guide offers gentle steps to begin.
- Set up a clean, stable workspace with a smooth, non-stretch fabric to keep stitches even.
- Thread your needle with a manageable length and separate strands to get the right Split Stitch thickness.
- Place the fabric in a hoop and keep it taut, not warped.
- Test a quick line on scrap fabric to feel the needle bite and thread glide. If puckering occurs, loosen the hoop; if thread frays, trim and re-thread.
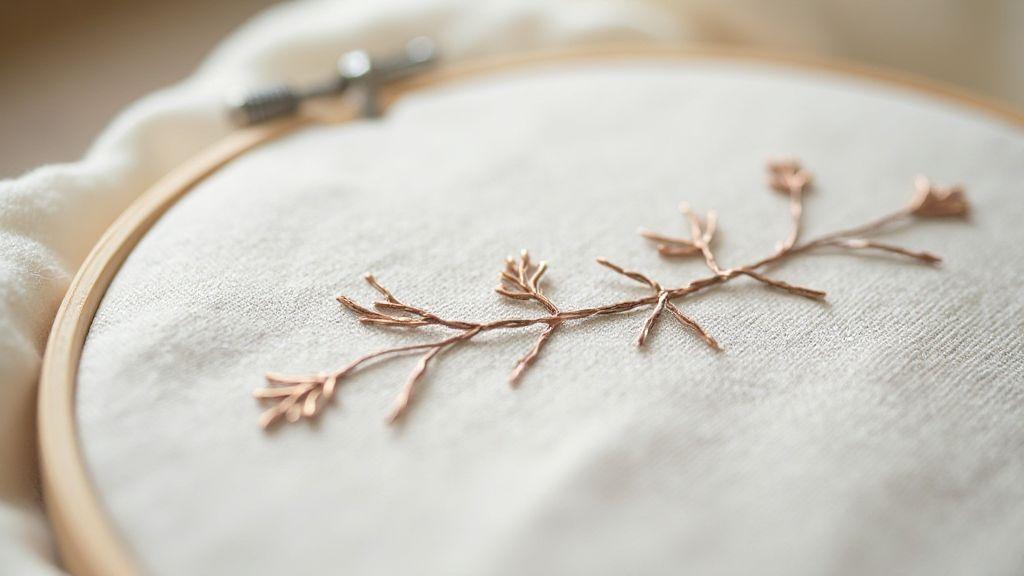
How to do split stitch for smooth outlines
- Start with a small knot at the back, bring the needle up at the start of the line, take a short forward stitch, then bring the needle up a bit ahead to catch the previous stitch.
- The aim is to split the previous thread with your new stitch, creating two small tails on the surface that sit side by side.
- Maintain even tension and join each new stitch to the last without pulling tight.
- Keep stitches consistent in length and angle. For bends, pivot gently with the wrist to keep the thread flat.
- If you see gaps, fill them by careful backtracking or adding micro-stitches to seal the line.
- With practice, outlines look clean and continuous, like they were drawn with a fine marker.
Quick practice drill for smooth lines
- Create a small practice sheet with straight and curved lines.
- Keep stitches short and consistent; adjust needle angle if you notice pops or gaps.
- Slow down to maintain a steady rhythm and reduce wobble. Rotate the fabric to build even tension.
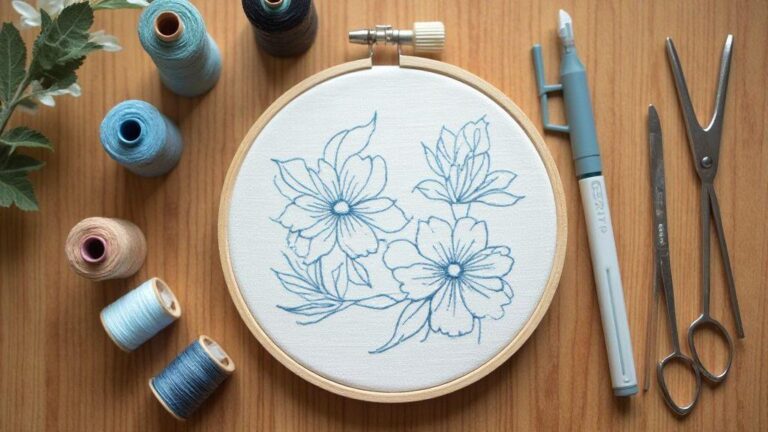
Best needles and thread for split stitch
Choose your needle size for clean lines
- For lightweight fabrics, use a small sharp needle (size 7–8).
- For medium fabrics, try size 8–9.
- For heavy fabrics, size 9–10 may be needed; test first.
- Sharp needles pierce cleanly; ballpoints are gentler on blends. Avoid oversized holes.
Pick thread weight and fiber for smooth outlines
- Start with a smooth, evenly spun floss or perle cotton. For light fabrics, use a single strand; for bolder lines, use a few strands as appropriate.
- Test on scrap to check how the thread sits. If it looks bulky, switch to a finer thread or needle. If too loose, tighten tension slightly.
Match needle to thread and fabric
- Light fabrics: small sharp needle with fine thread.
- Medium fabrics: mid-size needle with mid-weight thread.
- Heavy fabrics: larger needle with sturdier thread. Always test on the fabric.
Practical starter recommendations
- Common beginner combo: size 7 or 8 needle with one strand of six-strand embroidery floss or 3-ply perle cotton.
- As you gain confidence, experiment with weights to suit different fabrics and effects.
Controlling tension in split stitch embroidery
- Tension determines how clean the line looks. Too tight causes puckering; too loose creates wobble.
- Start with a comfortable baseline tension, then adjust as you go.
- Keep the thread flat where it crosses the fabric; avoid twisting or bunching.
- Use your non-dominant hand to guide the fabric gently; a tense grip translates to uneven stitches.
- If you notice gaps, ease up slightly; if the line looks flat and pressed, ease up a touch or re-seat the stitches.
Use these split stitch tips for ultra smooth outlines
- Start with a small anchor stitch and keep the needle angled to lay the thread flat.
- Take even, equal-length stitches for a uniform line.
- Pause to adjust the thread on the back; a neat back makes the front crisper.
- Practice on scrap fabric to build muscle memory for consistent tension.
- Slow down at bends to keep the edge smooth.
Prevent puckering and uneven stitches
- Use a hoop that sits flat against the fabric; avoid slack edges.
- Align the fabric grain with the hoop to prevent weave distortion.
- Maintain consistent tension across the line; adjust as the fabric relaxes or tightens.
- Split stitches should touch but not crowd; avoid stacking stitches on the same spot.
- Work in short segments and compare regularly to your guide line.
Adjust your hoop and hand tension
- Loosen the hoop a notch if fabric swallows stitches.
- Let your non-dominant hand guide the fabric with gentle pressure.
- Re-tighten or re-align the hoop between sections to keep a flat working surface.
- Keep wrists relaxed to prevent stiff stitches.
Practicing split stitch for consistent stitches
You’ll notice a difference as the split stitch becomes steadier. Start with a simple loop and small, even motions. The thread should lie flat, not bunched. If stitches look uneven, pause to adjust your grip. Practice daily in short sessions to build rhythm.
Drills to build steady, even stitches
- Straight line: aim for equal spaces between stitches; use a ruler to guide, then test without it.
- Zigzag along a line: learn to keep length consistent when changing direction.
- Tiny patch grid: practice even, short stitches, calibrate tension, and glide from square to square.
Track stitch length and spacing
- Lightly mark the starting point and count stitches to maintain spacing.
- After practice, note stitch length and spacing to fine-tune needle angle and grip.
- Test progress with a straight line against a ruler; use any drift as a focus point for next session.
Practice small shapes and letters daily
- Choose a simple form (circle or small letter) and stitch for five minutes daily.
- The goal is even curves and balanced angles; consistency translates to borders and lettering.
Fixing common split stitch mistakes
Your split stitch should be tidy, consistent, and smooth. If you see gaps, uneven lines, or bulky spots, check thread tension and fabric grip. Start with small stitches to feel how the thread sits. If stitches drift, re-align the fabric under the needle.
Undo or re-stitch as needed with care to avoid damage. Use light anchor stitches to re-center and re-align marks. If the fabric looks stretched after undoing, dampen and relax, then resume. When needed, stitch in the opposite direction to reset tension and press lightly from the back.
Undo and re-stitch without damaging fabric
- To undo, slide the needle out and pull thread back through gently.
- Re-center the needle on the original path and use lighter hands to avoid new marks.
- If fabric strains, mist lightly with water and let it relax before continuing.
Fix split stitch errors for clean lines
- If a stitch sits off-line, slide it back toward the mark before locking it in with small, precise stitches.
- When you see a bump, tighten from the side that needs it; lift and reseat as needed.
- After finishing a segment, inspect for gaps and bridge with small stitches rather than long ones.
Simple fixes for broken or twisted threads
- If a thread breaks, cut and tie on a fresh tail a few stitches back; weave the join into existing stitches.
- If twists occur, re-thread and maintain the same tension. Use shorter thread lengths to reduce twisting.
Split stitch variations and finishing techniques
Split stitch provides clean outlines and smooth lettering with a crisp edge. Start with short, even bites and steady tension. Practice on scrap to lock in rhythm. Variations include longer splits for large shapes and angled splits to smooth curves. Shorten stitches in tight spaces to keep lines readable at small sizes.
Finishing technique matters as much as stitch choice. When finishing, secure the thread with a hidden backstitch or a small knot under the edge. Clip close to the fabric and gently tug to settle the final stitches. If stitching multiple outlines, maintain a uniform finish across edges for a cohesive look.
Use split stitch for lettering and outlines
- For lettering, keep the split side outward to form a clean edge; ensure consistent stitch length to maintain readability.
- For outlines, adjust stitch length to fit curves; re-tack if the fabric shifts to keep lines aligned.
Combine split stitch with satin and backstitch
- Outline in split stitch, fill with satin stitch close to the edge, and reinforce with a tight backstitch along the boundary for a secure finish.
- This combo adds depth while staying durable through wear and washing.
Secure and finish your outlines cleanly
- Anchor with a small knot under the last stitch or weave the tail into the back with micro-stitches.
- Trim close to the fabric and check lines from multiple angles. Tighten or reseal any loose areas for a sharp, professional edge.
How to Do the Split Stitch for Ultra-Smooth Outlines
In this section, you’ll master ultra-smooth outlines using split stitch. Start with a clean needle and a manageable thread length. Bring the needle up at the starting point, pull through to form the first half-stroke, then insert just past the center and pull back to create the split. Aim for a continuous, even line with uniform stitch length and spacing. If a stitch looks off, adjust tension and re-seat for the next bite.
Curve handling comes next. For gentle curves, let the split bite lie along the contour with slightly longer stitches. For sharp corners, rotate the fabric and stitch in crisp, tight segments. Speed matters less than control. Slow, steady passes yield the most polished results, and your outlines will become smoother with each project.
Finish with secure endings to prevent fraying. Tie off at the back, weave the tail in, and trim close. Inspect the outline from a distance; if you find any jagged areas, re-stitch the affected segment with even splits. Mastering How to Do the Split Stitch for Ultra-Smooth Outlines will give you a clean, professional look you can rely on for every project.

I’m Sophie Caldwell, the author behind granaboom.com, and I believe hand embroidery is one of the simplest, most relaxing ways to create something beautiful with your own hands. I started this blog to help beginners learn hand embroidery without feeling overwhelmed by complicated instructions or “perfect” results.
Here you’ll find beginner-friendly guides to decorative embroidery stitches, along with clear step-by-step practice ideas and patterns you can use to build confidence. My focus is on making the learning process easy: simple explanations, helpful stitch combinations, and small projects that look polished even when you’re just starting out.
Welcome to granaboom.com—grab your hoop, choose a few colors, and let’s stitch one line at a time.