How to Do Sashiko Embroidery: Tools, Thread, and First Steps
How to Do Sashiko Embroidery: Tools, Thread, and First Steps
This guide covers how to do sashiko embroidery, from gathering the right tools to taking your first stitches. Start with a simple, reliable setup so your hands know the rhythm and your design stays the star.
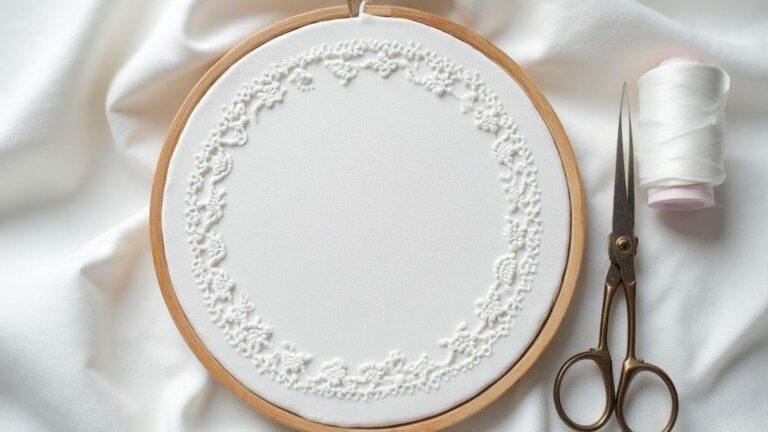
Gather supplies for how to do sashiko embroidery
Embarking on sashiko embroidery starts with choosing the right materials so you don’t stall mid-stitch. Choose fabrics that hold a neat crease and thread that sits smoothly in the needle. Think of it as setting up a smooth ride before you take the road. The basics will help you learn the stitches more easily because your hands know what to expect. Prioritize comfort, durability, and a calm workflow so you can enjoy the process rather than fight with it.
The goal is a simple kit you can return to anytime. A clean workspace, clear patterns, and steady supplies keep you focused on the design rather than the tools. The right mix of fabric, thread, and needle turns a hesitant first attempt into a confident line of stitches. Your choices affect needle glide, stitch evenness, and how long your project stays enjoyable.
If you ever feel stuck, remember the best starter setup is compact and versatile. You don’t need every gadget in a shop to begin. Start with a few dependable basics, and you’ll be ready to practice, adjust, and grow your sashiko skills without slowing down.
Sashiko supplies list for your starter kit
You’ll want a simple, dependable set to begin. Start with smooth fabric such as sturdy cotton or linen that can take a needle without fraying. Pick a high-contrast thread so your stitches pop against the cloth. Use a couple of sashiko-sized needles that glide through fabric without tugging. A ruler or template helps you keep even stitches, and a light tracing pen or chalk makes patterns easy to follow. Keep a small scissors handy for quick snips, and a thimble or finger guard to protect your skin.
Extras that aren’t strictly necessary but make life easier: a fabric hoop or small frame to keep fabric taut, a washable fabric marker to lay out patterns, and a tidy container to slow clutter. A magnetic pin cushion helps keep pieces neat. Store everything in one place so you can grab it and stitch whenever inspiration strikes.
When choosing colors, aim for contrast that’s easy on the eyes. A light thread on dark fabric or vice versa helps you see stitches clearly. Keep your starter kit consistent to improve accuracy with practice. A single, organized setup speeds learning and makes progress visible.
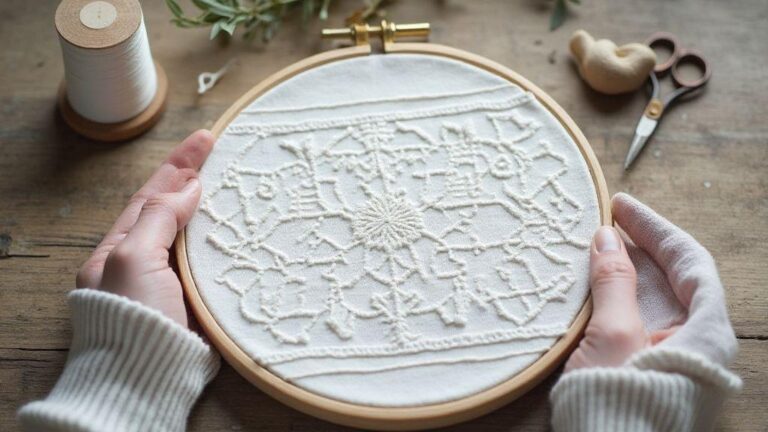
Sashiko embroidery tools you need
Your basic toolbox should feel friendly and reliable. Right needles glide through fabric without snagging, and a comfortable grip makes long sessions easier. Sturdy thread keeps stitches strong, while a ruler helps you maintain neat, even lines. A lighted magnifier or bright lamp reduces eye strain and keeps stitches uniform. Don’t forget a soft cloth to wipe threads and a small pair of scissors for precise snips. With these, you’ll stitch steadily and confidently.
Optional tools that ease practice: a thimble for extra protection, a small needle threader to save time, and a movable frame for larger projects. The goal is comfort and consistency—your hands should feel guided, not fought with.
Arrange your tools so you can reach them without breaking your rhythm. A tidy station helps you stay focused on the thread path rather than hunting for the right tool. As your skills grow, a dedicated space where the basics stay within arm’s reach becomes invaluable.
Quick starter checklist
- Fabric: sturdy cotton or linen, plain weave
- Thread: high-contrast sashiko thread or cotton embroidery floss
- Needles: sashiko needles sized for your fabric
- Pattern tools: ruler, tracing pen or chalk
- Marking: washable fabric marker
- Support: embroidery hoop or frame
- Light: bright lamp or magnifier
- Storage: small box or pouch to keep pieces tidy
Choose sashiko thread types for your project
Sashiko thread choice shapes how your stitching feels and wears. Cotton threads give a soft, traditional look; pearl cotton adds a touch of shine; stranded threads provide thicker lines and richer texture. Cotton is the classic for sashiko—sturdy, easy to work with, and ages well. Pearl cotton adds subtle brightness without being flashy. Stranded threads create bold, rugged lines that age with the fabric. Your project’s mood and fabric weight guide the choice, and you’ll often mix types to achieve the exact feel you want. The right thread makes stitches sit evenly and endure through washes.
Consider how the thread will look after mending. Cotton threads fade gracefully and blend with most fabrics. Pearl threads keep a steady glow to highlight repairs. Stranded threads look rugged and lively, great for making repairs stand out as a feature. For heavy fabrics, stranded or pearl can handle the stress better than thin cotton. Test a small patch first; if the fabric pills or warps, swap to a softer or finer thread. The goal is neat stitches and fabric that ages gracefully.
Match thread weight to fabric
Match thread weight to fabric so stitches balance with the weave. Lighter fabrics suit thinner cotton or pearl threads, while heavier fabrics pair well with thicker stranded threads. If unsure, test on scrap fabric by threading a few stitches with each option. The aim is stitching that sits quietly in the fabric, not crowding the weave or pulling it out of shape. Start light and adjust as you go.
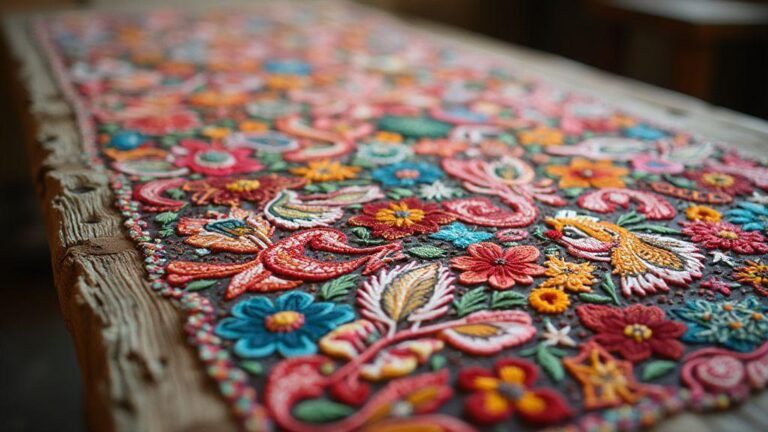
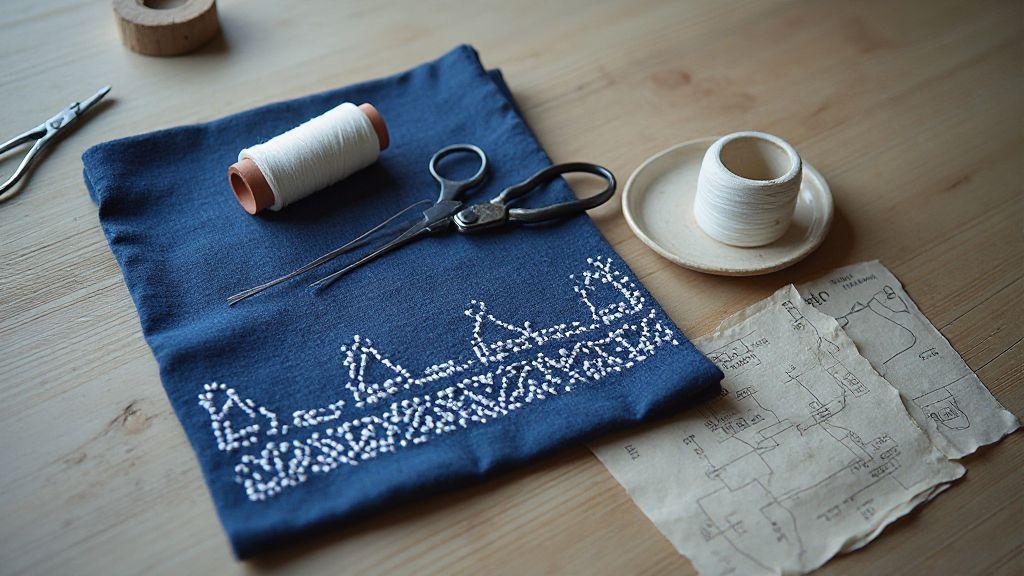
Select sashiko fabric and prepare your cloth
Choose fabric that makes sashiko shine. The cloth sets the stage for every stitch, so pick something you’d wear or use. Indigo cotton and linen are classic choices because their color and texture show stitches clearly, helping you see each line. Indigo offers a bold, traditional look; linen provides a natural, textured finish.
Prepare with a calm routine. Inspect the cloth for frays or loose threads and trim them away. Prewash to remove starch and sizing that can make stitches skip. Lightly press for a smooth surface, and mark your fabric with faint guidelines so you can follow your pattern. Marking helps you stay on track, and you can erase or adjust lines as you work.
Sashiko fabric selection: indigo cotton and linen
Indigo cotton gives a classic look with strong contrast; stitches glide and read cleanly, and the fabric is forgiving for beginners. Linen offers a rougher weave that grips the thread, adding texture. Your mood and use decide the choice: linen for a natural finish or indigo cotton for a crisp, bold look. Both are forgiving when handled with care.
Prewash, press, and mark your fabric
Wash gently to remove starch and sizing. Air dry or tumble dry on low. Shrinkage is okay—plan for it so lines stay aligned. Press the fabric flat with a warm iron, using a pressing cloth if you wish to protect fibers. Mark with light guidelines using chalk or erasable pencil; keep marks faint so they wash out or erase easily. If you plan, you’ll stitch with intention from the first line.
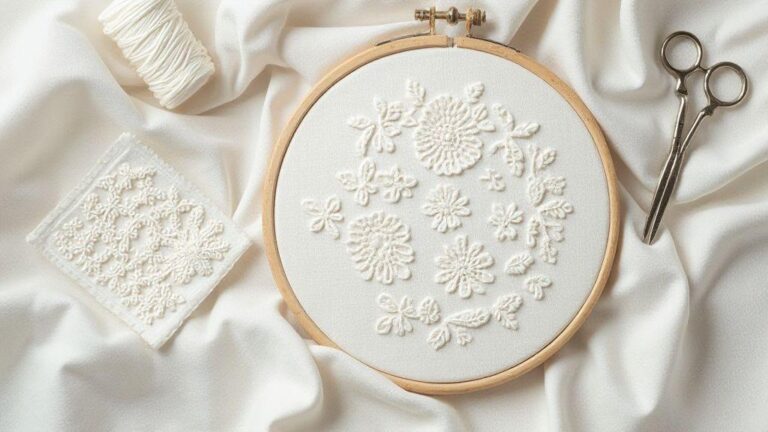
Learn the sashiko running stitch tutorial
The sashiko running stitch is the backbone of many projects, from repairs to decorative patches. It’s about practice and steady rhythm, not perfection. With patience, scrap fabric turns into something you’re proud to wear or display. You’ll learn to start a running stitch pattern that looks deliberate and neat, building confidence as you go.
As you work, your hands remember the motion and your breathing helps keep a calm pace. A relaxed grip and even tension keep the line steady. Start with a simple pattern to establish rhythm and tension before moving to more complex designs.
Sashiko running stitch tutorial: spacing and rhythm
Your spacing sets the overall look. Begin with equal gaps between stitches and adapt slightly on curves. Keep threads close to the fabric surface without puckering. Let your line read as a smooth, continuous stroke. Rhythm matters: let the needle glide at a steady pace, counting stitches to maintain cadence. If you’re working on a curve, adjust spacing to suit the shape while preserving a near-uniform appearance.
Sashiko beginner steps: needle grip and tension
Grip the needle naturally with a relaxed hold, resting the point at the fabric edge. Maintain a comfortable tension—tight enough to secure the thread but not so tight that the fabric puckers. Keep thread length moderate to avoid tangling, and ensure the thread lies flat as you stitch. Practice on scrap to establish a baseline for tension and control.
Start with a simple running stitch pattern
Choose a straight line or gentle curve. Mark light guidelines, thread the needle, and maintain steady tension. Start with a single stitch, then another, keeping spacing even. Let the line trail behind your needle and adjust if you see gaps. Treat your first pattern as a learning tool and notes for future sessions. Aim for even spacing, calm rhythm, and a relaxed grip.
Use sashiko pattern templates and layout tips
Having templates and a clear layout helps you stay on track. Use simple grids or printable charts to map stitches before you thread. Tape fabric down and keep wrinkles away to preserve straight lines. Templates save time and reduce mistakes, especially for boro repairs that must blend with surrounding patches. As your project grows, reuse patterns by printing again or transferring with a light method. Plan your design so you don’t guess where each line goes.
Sashiko pattern templates: transfer methods and scaling
Transfer designs with light boxes, water-soluble pens, or carbon paper. Start with a small swatch to test transfer accuracy and tension. If lines shift after washing, adjust the transfer method or widen lines for visibility. When your piece is larger, scale the pattern while maintaining stitch density and proportion. Practice on scrap first to feel how the marks translate to fabric.
Plan repeat patterns for boro and repairs
Repeat patterns form the backbone of boro. Choose motifs you love and map their placement with a grid to ensure even spacing. Consider fabric wear: repairs should blend with surrounding fabric, while decorative repeats can add texture. Keep repeats simple to read as intentional craft. If more density is needed in one area, add a nearby motif rather than overcrowding.
Complete your first sashiko project and care
Your first sashiko project should feel neat and sturdy. Start with a simple pattern and steady stitches, then finish with a clean edge or binding. The goal is practice, not perfection, so choose a fabric you’re comfortable with and a thread color that makes the stitches stand out. As you work, you’ll hear the quiet rhythm of the needle—that’s your mind settling into the flow, one line at a time.
A calm workspace helps: good light, a comfortable chair, and a steady hoop. Completing a small piece lets you see texture and small mistakes that guide your next adjustments. Label and store finished pieces with care—a photo and a note about the pattern can save confusion later. Build a small archive of samples to reference, making new projects faster and more fun. Sharing progress can spark tips that keep momentum going.
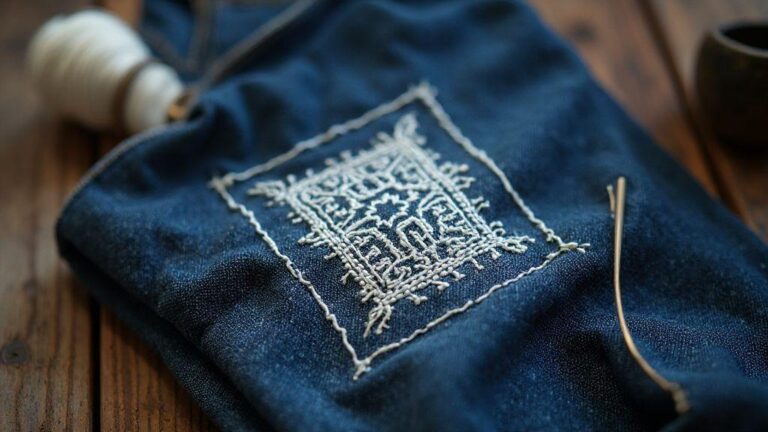
First sashiko project ideas: coaster, patch, sash
- Coaster: small, useful, with a high-contrast thread to showcase the design; finish with a simple running stitch to prevent fraying.
- Patch: sew onto worn jeans or a tote to practice placement and durable stitching; back with sturdy fabric to prevent pull-through.
- Sash: use a larger grid and a simple motif to learn density and line alignment without overwhelming the fabric.
Wash, mend, and store sashiko and boro textiles
Wash sashiko and boro textiles gently with cool water and mild detergent to protect stitches and fibers. Avoid harsh scrubbing; a light hand preserves the pattern. Lay flat to dry to keep stitches in shape.
Mend small breaks promptly: reinsert loosened threads with a fine needle and secure with a small knot or backstitch. This teaches care and helps your work age gracefully, like a well-loved garment.
Store textiles in a dry, cool place. Keep them flat or gently rolled to avoid creasing that could distort stitches. Use a breathable bag or container and keep them away from direct sunlight. With careful storage, your sashiko and boro pieces stay beautiful for years to come.

I’m Sophie Caldwell, the author behind granaboom.com, and I believe hand embroidery is one of the simplest, most relaxing ways to create something beautiful with your own hands. I started this blog to help beginners learn hand embroidery without feeling overwhelmed by complicated instructions or “perfect” results.
Here you’ll find beginner-friendly guides to decorative embroidery stitches, along with clear step-by-step practice ideas and patterns you can use to build confidence. My focus is on making the learning process easy: simple explanations, helpful stitch combinations, and small projects that look polished even when you’re just starting out.
Welcome to granaboom.com—grab your hoop, choose a few colors, and let’s stitch one line at a time.