How to Do a Perfect Backstitch Every Single Time
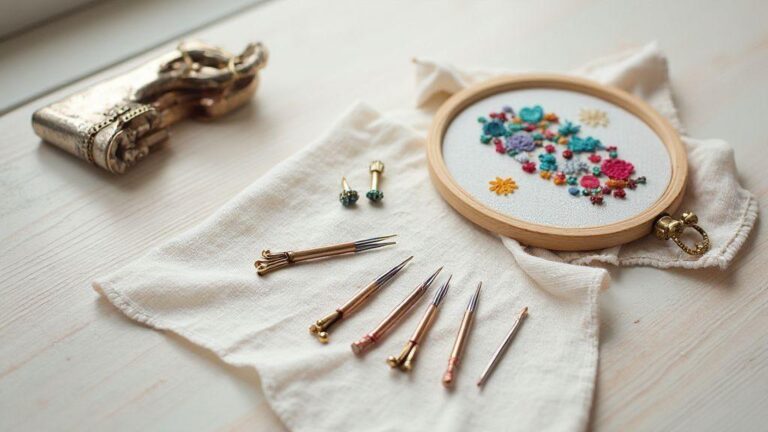
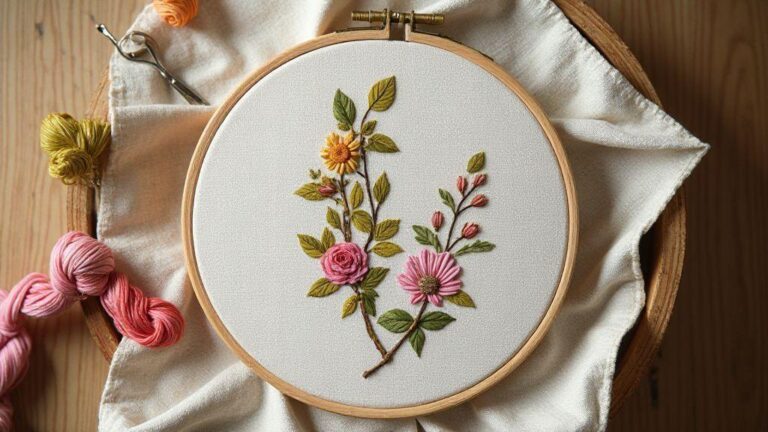
Tools for a Perfect Backstitch
When you learn how to Do a Perfect Backstitch Every Single Time, the right tools make all the difference. Stitches sit neater, fabric stays steady, and your flow stays smooth. Start with a grip that feels natural: a comfortable needle in your hand and thread that slides through the fabric. A good setup helps you move from awkward starts to confident, even stitches in minutes. Think of your tools as the wheels on a bike—keep them close and familiar, and you’ll feel the improvement right away. A beginner-friendly hello-world guide can help you test your setup.
Your hand feels it most when the needle passes through fabric. If the needle is too thick or the thread too thin for the hole, you’ll get skipped stitches or pulled fabric. A needle too small for the thread can bend and snag. Balance a sharp, clean needle that fits your thread with a smooth eye that lets the thread glide. The thread should match your fabric weight: heavy cloth needs sturdier thread, lightweight cloth loves finer thread. With the right match, your backstitch becomes a steady rhythm.
A few extra tools can turn backstitch into a breeze: a needle threader, sharp scissors, and a reliable thimble if you press hard. But the heart of the setup is the needle, the thread, and the fabric moving with you. With these basics right, the rest feels like second nature, and your backstitch lines become clean and confident.
Pick the Right Needle and Thread for Your Work
Your needle choice shapes every stitch. A sharp, medium-length needle works well for most woven fabrics, piercing cleanly with minimal snagging. For delicate fabrics, go slightly finer; for thick fabrics, use a sturdier needle. The goal is clean penetration with minimal distortion. The thread should glide through with a touch of resistance, not a tug of war. For beginners, mid-weight embroidery floss or cotton thread balances strength and flexibility, keeping stitches even as the needle tip glides in.
A too-large needle leaves big holes; a too-small needle bends or fights the thread. Thick threads pull more tension and can snag if the needle isn’t sharp. Start with a standard hand-embroidery needle (size 7–9) and a smooth embroidery thread. As you gain confidence, you’ll recognize when to switch to a finer or thicker option.
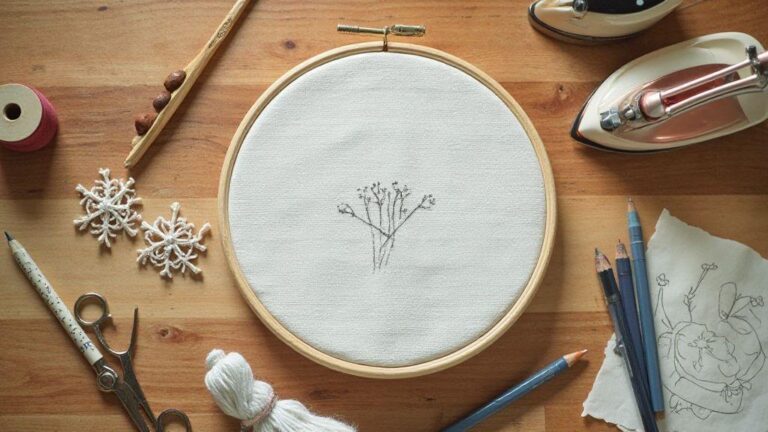
Use a Hoop and Fabric That Keep Your Cloth Taunt
A hoop helps keep fabric taut so stitches don’t distort. If the hoop is too loose, tighten gently; if too tight, you risk puckering. The goal is a calm surface with just enough resistance. You can stretch fabric slightly around the edges, but a hoop provides a reliable frame from the start.
Fabric matters as much as the hoop. Linen, cotton, and blends hold stitches well when taut. If your fabric stretches, press it lightly to remove folds before hooping. For beginners, a small hoop is ideal. Keep the hoop clean and the fabric flat so stitches stay even from start to finish.
Tools checklist
- Needle: sharp, medium length, appropriate for your fabric and thread
- Thread: mid-weight embroidery floss or cotton thread that moves smoothly
- Hoop: size that fits your fabric and allows full movement
- Fabric: taut, clean, wrinkle-free
- Scissors: small, sharp for clean thread snips
- Needle threader (optional): helps thread quickly
- Thimble (optional): protects finger on tougher fabrics
For a quick, guided introduction to basic setup, see this beginner-friendly hello-world guide.
How to Do a Perfect Backstitch Every Single Time step-by-step
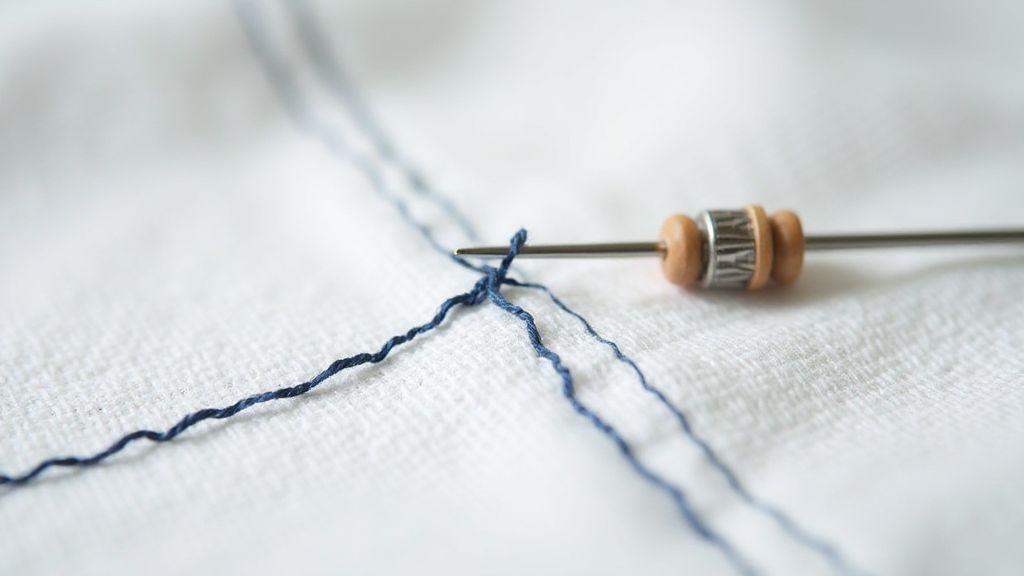
Backstitch is the foundation you’ll rely on. Start with a clean, straight line on a scrap to learn your rhythm. Thread your needle and knot the end so you don’t lose your place. Keep the fabric taut in a hoop or with your non-dominant hand to prevent puckering, and begin with a simple line. The rhythm emerges: small forward stitches, then a tiny backward move that locks the line in place. With practice, your backstitch stays even and your design shines.
Your stitches should sit evenly along the fabric. You’ll see a uniform dash where each stitch ends where the next begins. Start with a small anchor stitch, push forward a short distance, then go back a bit to create a tiny overlap. This overlap keeps the line from slipping. Keep the needle at a consistent angle and don’t pull too tight; you want the thread to lay flat. Finish with a final backward stitch just under the last forward stitch, then knot the back to lock it in.
Practice turns into muscle memory. If the fabric shifts, adjust with the other hand and keep stitching. The goal is a continuous, even line that reads as a single thread across the project. Trim the tail and tuck the end into the back to prevent snagging. With time, your backstitch becomes your go-to for clean outlines and strong seams.
Start, stitch backward, and finish cleanly with this tutorial
Thread and knot, place a small anchor, then push forward a short distance and immediately back to create a tiny overlap. Repeat with a steady pace and consistent stitch length. When you finish, ensure the last stitch sits against the previous one, add a clean backward lock, and trim the tail to tuck it away.
Think of it like laying bricks: each forward stitch is a brick, the backward stitch is the mortar. If gaps appear, ease the thread slightly and re-sew that section. A calm hand and a few repetitions let you perform this motion almost automatically.
Follow a perfect backstitch tutorial for beginners
Keep thread length manageable to avoid tangles. Use a taut fabric and an embroidery hoop. Place a longer anchor to start the line, then begin forward stitches and immediately slide back to form the lock. Keep forward stitches uniform and minimize backward stabs. If the thread bunches, pause, loosen, and re-align. The result should be a smooth, even line invisible on the fabric’s right side.
Quick step guide
- Thread needle and knot end
- Anchor stitch
- Forward stitch
- Backward lock
- Repeat in even lengths
- Finish with final backward stitch, trim tail, tuck away
Backstitch stitch length and tension
Backstitch comes to life with the right length and tension. Short stitches keep lines tight; longer stitches speed up larger areas. The goal is even spacing for a uniform row. Practice helps tension and rhythm settle, keeping hands relaxed and eyes on the line.
Consistency is key. If stitches vary, the design looks messy and puckers appear. Start with a comfortable length, test on scrap, and adjust for straight lines or curves. When you notice the line pulling away, your stitches may be too long or the fabric too tight. Shorten the stitch slightly. Work in short sessions and check the pattern often. Your aim is a clean, even line that carries the design.
Choose stitch length for even lines and smooth curves
Stitch length affects how even lines and curves hold their shape. Start around 1/2 centimeter. Keep stitches evenly spaced for a professional look. Shorten stitches slightly on curves to prevent flattening. Practice on a scrap that matches your fabric, drawing a straight line and a gentle circle to follow. Longer stitches can flatten curves; shorter stitches keep them smooth. For thin fabrics, use even shorter stitches; for thick fabrics, you can go a touch longer but avoid gaps. Let your hands adjust by feel, pausing to check your line.
Set thread tension to avoid puckering or slack
Thread tension is the quiet hero. Too tight, fabric puckers; too loose, the line dips. Test on scrap first. If fabric pulls away or stitches look loose, loosen a notch; if you see puckering, tighten a little. Different weaves need different tension—looser weaves require gentler tension, denser weaves tolerate more pull. Check tension mid-stitch on curves and corners. If you feel the thread tugging, pause and resume with a lighter touch. Keep notes of what works: stitch length, tension, and fabric type.
Length and tension tips
- Start with a scrap sample to dial in stitch length and tension
- Check hoop tension; a loose hoop can mislead you about actual tension
- When in doubt, slow down and stitch smaller
- Keep hands relaxed and wrist loose
- Do quick test runs after any fabric change
For a quick, guided introduction to basic setup, see this beginner-friendly hello-world guide.
How to Do a Perfect Backstitch Every Single Time
Backstitch is your foundation, and confidence comes with practice. Start on a scrap to learn your rhythm. Keep the thread anchored at the start and finish. Your flow improves when your eyes stay on the line and your hands follow the needle with a steady pace. With a steady rhythm, keeping even lines and smooth curves becomes effortless.
Practice daily with small projects. Use bright thread on plain fabric to clearly see your stitches, then switch to your real color and fabric for the final piece. Before you know it, you’ll be saying, How to Do a Perfect Backstitch Every Single Time without thinking, because it’s become second nature.
Common backstitch mistakes and fixes
Backstitching can be finicky at first, but a few tweaks fix most issues. Small tension lapses or uneven spacing show up as puckers or gaps. Keep stitches consistent in length and check your fabric as you sew. If the thread is snug but not tight, you’ll skip fewer stitches and fray less at the needle eye. If trouble arises, pause and rethread, then test a tiny stitch on scrap. A relaxed grip and letting your hand guide the needle helps you maintain a smooth line and steady rhythm.
Watch for warning signs: uneven tension creates a wavy line; too-long stitches look bulky and break easily. If stitches pull the fabric, shorten the stitch length or loosen the hoop. If you see looping on the underside, you may be pulling the thread too hard or using a dull needle. Adjust your grip, switch the needle size, and rethread with fresh floss.
Spot uneven spacing and correct it right away
Pause to fix uneven spacing before continuing. Check needle entry points; a slight tilt can throw off the line. If a stitch is too long or short, rework it immediately. Practicing on scrap helps you spot flaws quickly so they don’t carry into your main project. Counting stitches can help—use a ruler or your finger as a guide for each stitch. If you notice clusters of short stitches, reset and lengthen a little. Redo a few stitches to restore evenness.
Prevent knots, fray, and skipped stitches with simple fixes
Re-thread if the thread looks fuzzy. Use a sharp needle that fits your fabric. Start with a short lead-in to secure the thread, then stitch a few stitches before anchoring. If fraying appears, switch to a thinner thread or smaller needle. For knots, use a short lead-in and stitch a few tight stitches before the proper line. If knots do appear, pause and rethread. Skipped stitches come from inconsistent hand control or an overly stretched fabric—keep tension steady, and hoop the fabric properly. Small fixes add up to neater lines.
Fix mistakes quickly
If a mistake shows up, undo only the affected stitches. Gently pull the thread to reveal the wrong stitch, then slide the needle back through the fabric to remove it. Reinsert the needle in the correct spot and continue. Patch small holes on the back if needed with a tiny dash of embroidery glue. If issues persist, rework the section on scrap fabric before applying it to the main piece. Check needle size and thread type for the fabric you’re using.
Backstitch practice exercises for steady stitches
Backstitch is the backbone of clean hand embroidery. These exercises train your hands to move with intention, not strain. Start slowly, keeping eyes on the line you want to follow. With practice, your fingers learn tiny adjustments that make each stitch sit neatly in place. The goal is a steady rhythm, not speed, so you can match your fabric’s weave and prevent bunching or skipping.
Begin with control: straight, light lines with backstitches along them. Feel the thread glide and notice any snag spots. If you see a knot pattern, slow down and reset your grip. Tug the thread gently at the end so stitches stay snug without puckering. Turn the fabric over to check that front stitches remain even. As you gain confidence, increase the distance between stitches slightly, maintaining a consistent rhythm. By the end, you’ll have a neat, even line that looks machine-made.
Tip: If you’re unsure about tension, test on a small scrap first to see whether backstitches stay uniform.
Do straight-line drills to build speed and control
Straight-line drills build speed and control. Start with short runs of 1–2 inches, then extend to 4–6 inches as control improves. Keep stitches evenly spaced and the thread tension gentle and consistent. If stitches drift, pause, reposition your grip, and remeasure your line. With practice, you’ll make fewer corrections and gain speed without sacrificing accuracy. Record stitch length, tension, and fabric type in a notebook to track progress.
Pro tip: Keep a calm rhythm. If your hand trembles, pause, breathe, and resume with a slower cadence.
Practice curves and lettering to master shape changes
Curves and lettering push backstitch into artistry. Start with gentle arcs, then move to more complex curves. Imagine your line as a soft wave, tracing with tiny, precise stitches. For lettering, think of each letter as a small block to fill with even stitches. Use light guidelines with a water-soluble pen to sketch shapes, erasing as needed. If a curve feels off, adjust your needle angle and shorten your stitch length. For lettering, keep height and width consistent by aligning stitches to a grid. End cleanly by tying off with a few tiny stitches and burying the tail under the fabric.
Remember: How to Do a Perfect Backstitch Every Single Time means keeping your hand steady, your tension even, and your line in sight from start to finish.
For a quick starter reference, this beginner-friendly hello-world guide can help you see a practical application.
Daily practice plan
Commit to a short, focused daily routine: 10 minutes of straight-line drills, 10 minutes of curves and lettering, and a 5-minute backstitch wrap-up on scrap. Track progress in a notebook—stitch length, tension, fabric type, and trouble spots. As confidence grows, extend each block by 2–5 minutes and add more challenging shapes. If you miss a day, resume with a focused warm-up. Your goal is steady improvement, neat stitches, and a visible sign of progress at the end of each session.
Fast consistent backstitch method to achieve neat backstitch every time
This method prioritizes steady moves and a calm hand, not rushed stitches. Grip the needle and floss comfortably, keep the thread taut but not tight, and land short, regular bites with small controlled motions. When you pause, let the thread settle without yanking. With practice, speed rises while precision stays intact, and rows finish with the same neat look.
Keep the fabric steady by pinning or hooping. Let the non-dominant hand steady the fabric while the dominant hand stitches. If stitching drifts, slow down and re-check anchor points. Consistency comes from repeating the same bite size and needle angle. Treat each stitch as a tiny, identical step, and you’ll achieve a fast, neat backstitch that looks tidy on every project.
Use hand position, rhythm, and small motions for speed
Position your hands with a loose wrist and a guided needle. A gentle, regular rhythm keeps you moving, while small, precise motions prevent big gaps. The dominant hand makes deliberate, tiny moves; the other hand steadies the fabric. Start with short, even stitches for a minute, then lengthen slightly as confidence grows. If the first stitch is short, keep the rest the same length for consistency.
Measures stitch length and repeat for consistent results
Choose a standard stitch length, such as three millimeters. Mark lightly or memorize it as you sew. Each stitch should land about the same distance from the previous one. Once even, keep that length for the rest of the row. If a stitch varies, reset from the last even stitch. Repetition trains muscle memory so your hands fall into place without constant measuring.
Fast consistent method summary
Keep the fabric steady, move in tiny, controlled motions, and maintain a calm rhythm. Use a consistent stitch length and repeat it down the row. The result is neat backstitch lines that look professional, with speed that doesn’t sacrifice quality. Practice is essential, and progress comes with every stitch.

I’m Sophie Caldwell, the author behind granaboom.com, and I believe hand embroidery is one of the simplest, most relaxing ways to create something beautiful with your own hands. I started this blog to help beginners learn hand embroidery without feeling overwhelmed by complicated instructions or “perfect” results.
Here you’ll find beginner-friendly guides to decorative embroidery stitches, along with clear step-by-step practice ideas and patterns you can use to build confidence. My focus is on making the learning process easy: simple explanations, helpful stitch combinations, and small projects that look polished even when you’re just starting out.
Welcome to granaboom.com—grab your hoop, choose a few colors, and let’s stitch one line at a time.