Free Folk Art Embroidery Patterns Inspired by World Traditions
Where to Download Free Folk Art Embroidery Patterns Inspired by World Traditions
You’ll find a treasure trove of patterns once you know where to look. Start with Free Folk Art Embroidery Patterns Inspired by World Traditions to set your expectations and goals. Seek sources that explain a pattern’s origins and offer clear instructions, so you can adapt them confidently. When a pattern resonates, save it with a brief note about what makes it special—color choices, stitches, or motifs that evoke a place.
Compare several options before you commit. Some patterns are simple outlines; others come as complete kits with thread recommendations and step-by-step photos. Look for variations that let you practice different stitches or scale the motif to fit your project. If a site offers color palettes inspired by traditional textiles, that’s a big win for staying true to the origin while keeping your project practical.
Finally, check licensing. Aim for patterns labeled for personal use or free for non-commercial projects to avoid surprises and keep your project moving. Build a personal archive of patterns you love to dip into whenever you’re ready to start a new piece.
Museum and library pattern archives
Museum and library archives are gold mines for authentic designs. You’ll often find high-quality scans of traditional motifs compiled from regional textiles. These sources typically include background notes about the image, its region, and common color schemes, helping you stay respectful of the tradition while adapting the design. Look for headings like pattern history or technique notes to get more than a pretty line drawing.
Librarians and community curators can guide you to digitized folios and catalogues that aren’t obvious at first glance. A short description linking a motif to a folk art tradition signals you’re in the right place. Save patterns that include stitch suggestions or recommended thread counts—the small details make translation to a finished piece easier and more authentic.
Craft blogs and community sites
Craft blogs and community sites reveal patterns that are practical for everyday stitches. Writers often share tips on fabric choice, floss colors, and adjusting scale for different projects. These posts break steps into plain language and include tweaks that simplify real-life use. Look for stitching order explanations and stage-by-stage photos to avoid guessing.
Community sites also host variations. A favorite pattern might have several friendly edits, like swapping a flower for a different leaf or adjusting a border for a scarf instead of a wall hanging. If you’re unsure about a motif, discussion threads can point you to versions that match your comfort level. Use these patterns to practice technique and craft your own world-inspired piece.
Quick download checklist
- Confirm the file type works with your software or handwork.
- Look for a short pattern description, origin, and notes on required stitches or fabrics.
- Save a copy in your project folder with a clear label like Free Folk Art Embroidery Pattern – [Origin] – [Year/Source].
- If a preview image is provided, keep it as a reference while you prepare fabric and threads.
- Check licensing again before saving. Ensure the download is for personal use and not a paid product.
- If multiple patterns are included, save each separately to avoid confusion.
- Note the download date to track updates or new notes from the author.
Master Traditional Stitch Patterns You Can Use
Basic stitches: back, satin, chain
Start with three core stitches that form the basis of most patterns. Back stitch creates a solid outline; satin fills shapes with smooth, glossy patches; chain stitch yields a soft, flowing line. Practice these in simple shapes—leaves, small flowers, borders—to feel how each stitch moves the fabric. Texture varies with tension, stitch length, and fabric type. Keep a swatch pad handy to label results and help you choose the right stitch later.
Mix these stitches in a simple border to see how they breathe and interact in one design. You’ll soon spot where each stitch fits best in a larger motif.
How to practice hand-stitched folk motifs
Folk motifs rely on rhythm and repetition. Start by redrawing a small motif from world traditions on your fabric, breaking it into simple parts: center dot, surrounding ring, a couple of leaves or petals. Use back stitch for outlines, satin for fills, and a subtle chain line to connect elements. Keep a notebook of sizes, thread colors, and stitch counts as your personal recipe.
If something feels off, redraw only the problematic part. Changing line weight or stitch order can balance the piece. Remember, folk styles thrive on character and variation, not machine perfection. For inspiration, compare your practice piece to traditional versions and adapt with your own color choices or fabric.
Stitch practice plan
Week 1: master back stitch outlines on small leaves. Week 2: add satin fills to petals. Week 3: weave in a chain line to connect parts. Week 4: repeat a complete small motif with a new colorway. Each week, translate one ready-made folk motif into fabric using three stitches you know. Keep sessions to about 20–30 minutes for consistent progress.
By month’s end, you’ll stitch a small piece that could hang on a wall or sit on a bag. You’ll also have your own Free Folk Art Embroidery Patterns Inspired by World Traditions catalog—your personal ideas turned into reality.
Learn Ethnic Embroidery Motifs and Their Origins
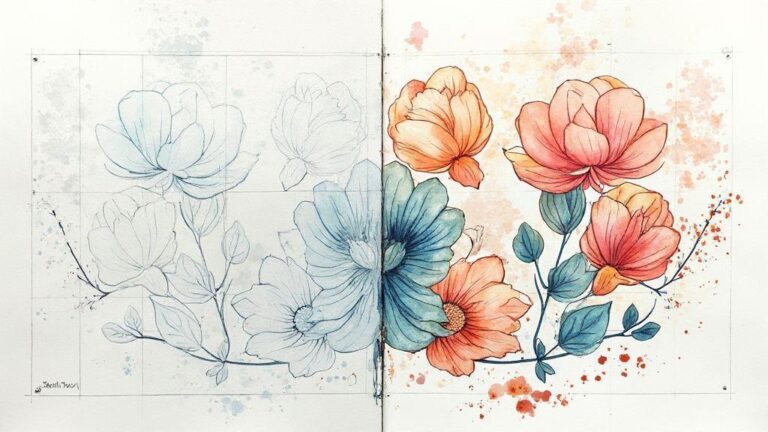
Embroidery tells stories. Studying ethnic motifs reveals threads of history, daily life, and regional techniques. Some designs traveled across borders; others stayed true to a village voice. The goal is to recognize patterns, learn their roots, and translate that knowledge into your projects. By understanding origins, you’ll choose motifs that fit your fabric and purpose with confidence.
Ethnic motifs carry meaning, lineage, and sometimes superstition. Flowers often symbolize growth or abundance; geometric shapes can signify protection or unity; animals may tell local myths. Colors and textile techniques—like needlework, weaving, or beadwork—shape the final look. This is more than pretty stitching; it’s a conversation with past makers.
With origins in mind, you gain a toolkit to adapt motifs with your own colors or scale while honoring the spirit. You’ll also develop respect for the craftspeople who preserved traditions. Mixing patterns from different regions becomes easier when you keep harmony in mind.
Global folk embroidery inspiration by region
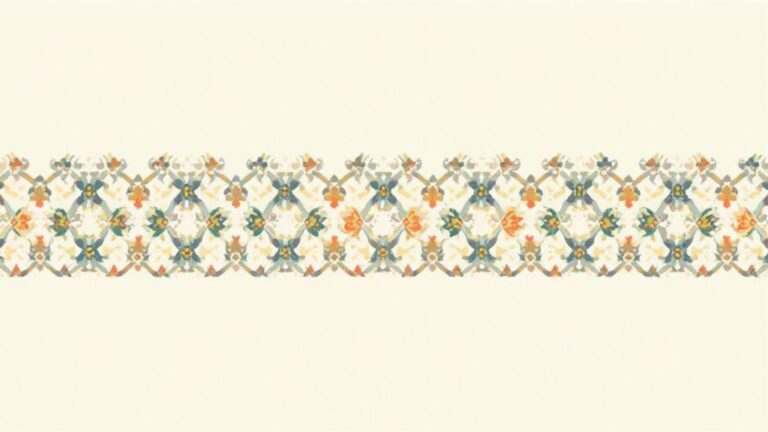
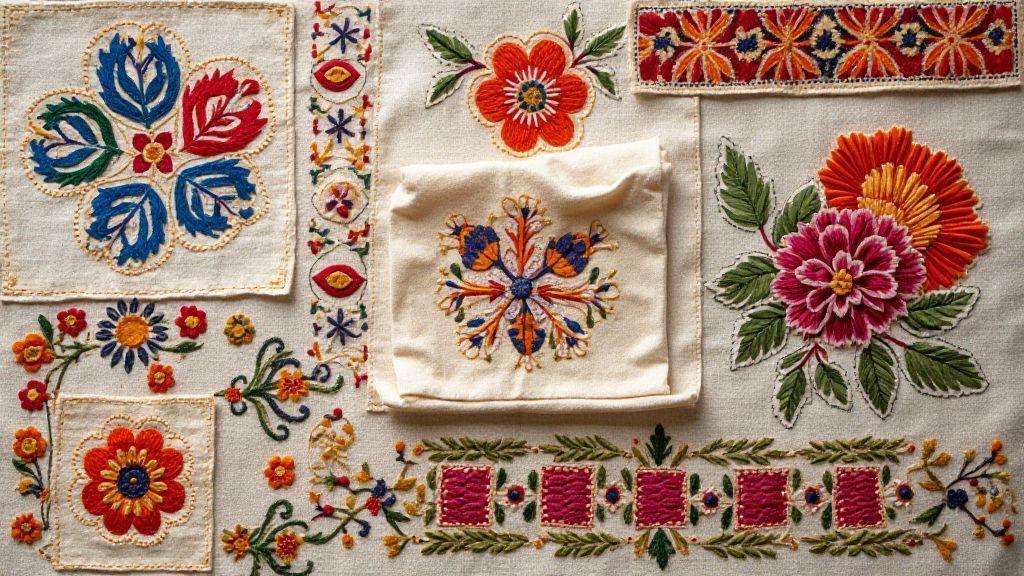
Regions each have a distinct voice in stitch and color. Eastern Europe favors bold geometric lines to celebrate harvests and family ties. The Middle East features lush florals and intricate motifs like a tapestry of history. Asia offers delicate, narrative patterns—peonies, cranes, and lotuses—that reflect philosophy and nature. North Africa uses rich hues and repeated shapes to create a dynamic rhythm. Use these palettes and techniques as a starting point, then personalize for your project.
Begin with one motif from a region you love and practice it on a small piece. Learn thread thickness, stitch density, and how fabric choice changes the result. You can pair a bold geometric border from one culture with a soft floral center from another, but anchor with a unifying element—shared color family or a simple repeating shape—to keep it cohesive. As you study, it becomes easier to select authentic-feeling motifs that remain distinctly yours.
Think of regional embroidery as a language. A single motif can convey a lot when you know the dialect. If unsure, start with easy-to-reproduce motifs and layer in more complex stitches as confidence grows. Your aim is to honor roots while showcasing your personal touch.
Symbol meanings and cultural notes
Every symbol carries meaning. Flowers can signify growth or beauty; leaves may denote abundance. Birds suggest freedom or luck, and animals tell local legends. When selecting a motif, choose a meaning that resonates with your project and convey it through color or placement for clear communication.
Cultural notes matter. Some motifs carry protective or healing wishes, so you might find them near borders or edges. Color also matters; traditional palettes can help honor the craft while you create your own version. If in doubt about a symbol’s meaning, keep it simple and respectful—start with a well-known, positive motif and build from there.
Your takeaway: choose meaningful symbols, then study how stitching style, spacing, and color timing influence the mood. Explaining the motif in your notes or to a friend adds depth to your embroidery.
Quick motif ID guide
To identify motifs quickly, note shape and color. Bold diamonds or zig-zags point to geometric traditional work from regions that favor angular lines. Curved petals and floral clusters suggest floral traditions common in Asia and Eastern Europe. Color palettes—bright primaries versus earthy tones—hint at Central Europe, the Andes, the Middle East, or North Africa.
Test your ID skills by comparing a motif with regional samples in your library or online. Look for the same shapes, borders, or recurring symbols, and note how color shifts mood. With practice, you’ll recognize regional fingerprints in minutes and weave them into your projects confidently.
Hands-On Projects You Can Make with Downloadable Templates
Downloadable templates let you turn ideas into tangible art quickly. They’re designed to be mixed and matched to fit your space or gifting needs, helping you gain confidence as you go. Templates are beginner-friendly and resizeable, so bold shapes and clean lines can make an impact with simple stitches. They’re tuned to encourage steady progress and keep you motivated.
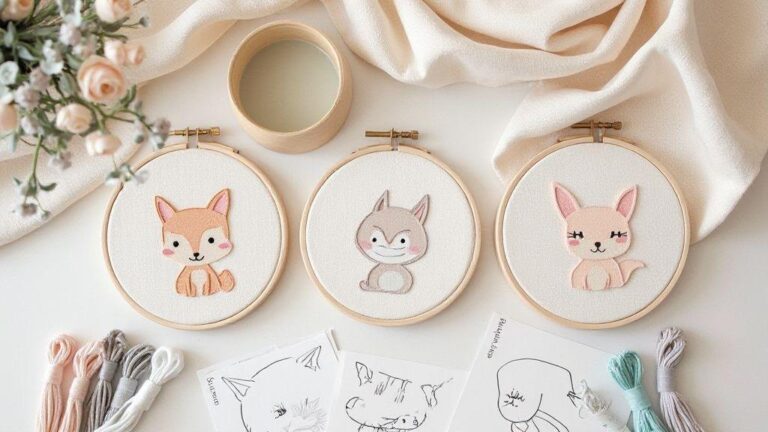
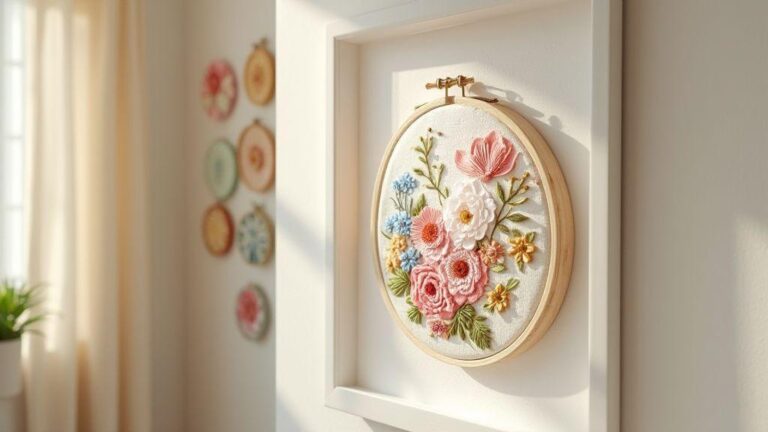
Easy beginner projects: hoop art and patches
Hoop art and patches are perfect for building comfort with the basics. Templates guide you through material choices, tracing shapes, and stitching evenly for a clean, professional look. You’ll develop hand muscle memory as you work, which makes bigger projects feel doable.
Hoop art showcases your color choices and textures. Start with a simple motif and add tiny details as you gain confidence. Patches personalize jackets, bags, or backpacks. Templates help you plan placement, cut fabric cleanly, and apply sturdy backs so patches last.
Printing templates yields clear lines for tracing, even with basic floss. Learn to center the design, secure the fabric in the hoop, and finish neatly. Small, repeated wins build momentum toward more intricate projects.
Projects and supply list
- Fabric in your chosen color palette plus a neutral backing
- Embroidery hoops in two sizes
- Embroidery floss in coordinating colors
- Sharp scissors, fabric chalk, or erasable pen
- Pins, cutting mat, ruler for neat alignment
- Temporary spray adhesive or fusible web for clean edges
- Needle threader and small scissors for trims
- Printed templates and a light source for tracing
Follow templates for gifts and home decor
Templates make it easy to craft thoughtful gifts and cohesive home decor. Pick a theme, print the design, and stitch along guidelines to achieve a coordinated look across items—like a matching hoop art set or a collection of patches for gifting.
Gifts can be tailored by color and size to fit frames, cushions, or totes. Home decor projects from templates help you create elements that tie a room together, such as a small wall hanging or a decorative pillow. Templates keep your design consistent, giving you polished results.
Templates also invite you to mix techniques. Try a satin stitch on one piece and a backstitch on another to compare texture. The more you practice, the more templates become your map from first cut to final stitch.
How You Can Adapt Free Folk Embroidery Patterns Inspired by World Traditions for Personal Style
You can refresh Free Folk Art Embroidery Patterns Inspired by World Traditions with thoughtful tweaks. Start with a core motif, then adjust scale, placement, and stitching style to fit your wardrobe or home. The goal is to preserve the pattern’s spirit while letting your taste shine through. Small changes—like enlarging the center flower or tightening satin stitches—can transform how a design looks on a jacket, tote, or wall hanging.
Adapters are your toolkit. You don’t need to copy a pattern exactly; you can remix elements to suit daily life. For example, a border of birds from a traditional design can become a delicate necklace-like line along a sleeve cuff. Focus on one or two motifs and keep the rest understated to honor heritage while creating something uniquely yours.
Practice gradually. Start with a small project to test adaptations, like a fabric patch or placemat. Seeing the pattern on fabric helps you judge how color choices and stitch thickness affect mood. If unsure, snap a photo and compare daylight versus evening light to gauge tone. Confidence grows with each small success, and you’ll be ready to scale up.
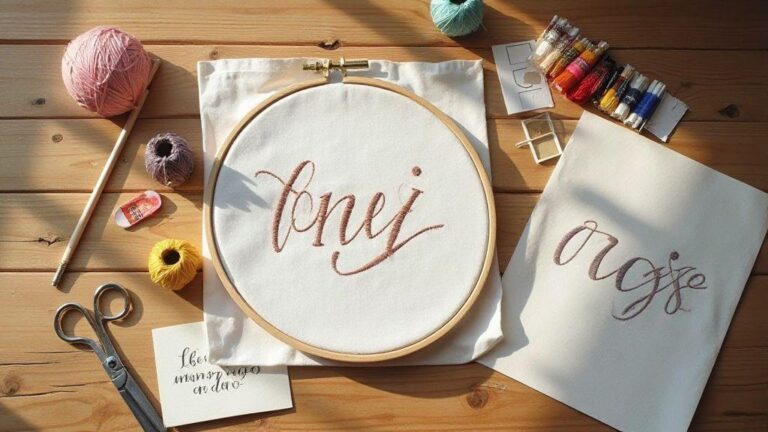
Swap color palettes and thread types
Color is your signature. Swap traditional reds and greens for pastels or earthy tones to match your closet. Try metallic or variegated threads for accent highlights to change texture and finish. Pair a classic folk motif with modern colors—dusty rose, teal, and linen, for example—to make the embroidery feel like your story rather than a strict tradition. For denim or canvas, use heavier threads and larger stitches for durability and impact; for delicate fabrics, choose finer threads and smaller stitches.
Let your go-to outfits guide your palette. If you wear blues, use a navy outline with lighter fills; if you prefer warm tones, use oranges and golds on a cream background. Pull a single accent color from the original motif to retain a thread of authenticity. The aim is a cohesive look that respects the pattern while carrying your personal vibe.
Mix folk art embroidery designs with bohemian embroidery patterns
Blending folk art with bohemian patterns creates a layered, story-rich piece. A traditional floral border paired with a sunburst or crescent adds energy to any space or outfit. The contrast between structured shapes and flowing lines brings dynamic tension.
Keep balance in mind: choose one dominant folk motif and add bohemian accents sparingly. If the folk element is dense, give the bohemian part more negative space. Start with a single pattern and add a small bohemian touch, such as a scattered seed stitch or looping edge, to see how the combination feels.
Simple adaptation tips
- Start small: adjust color or stitch size to test on your fabric.
- Keep the background simple to emphasize the focal design.
- Use a consistent stitch to avoid a busy look.
- For beginners, repeat a single bohemian element around the edge for cohesion.
- With practice, you’ll mix traditions confidently while maintaining your personal signature.
How You Can Respect Cross-Cultural Textile Designs and Copyright
You can create confidently by respecting ownership and consent. Cross-cultural designs require care to avoid misrepresentation or harm. Some patterns carry sacred meanings or legal protections. If you plan to sell or share your work, be ready to explain a motif’s origin, ownership, and your consent process. Ethical practice strengthens your work and your reputation.
Give credit and seek permission when needed
Learn the motif’s origin and owner. When possible, obtain permission before using the design in commercial work. If permission isn’t available, create a respectful variation and document your sources, explaining what you changed and why. Clear attribution in project notes or descriptions helps your audience understand your process and demonstrates your commitment to ethical practice. Even small acknowledgments can go a long way.
Avoid using sacred or trademarked motifs
Sacred motifs or living traditions deserve special care. If a symbol is tied to rites, rituals, or community roles, avoid it in commercial work. Trademarked logos or distinctive marks should also be avoided. When in doubt, choose a different motif or clearly original interpretation. This protects you and the communities behind the designs.
If you’re unsure about a symbol’s meaning, ask questions of the community or a cultural expert. This may feel slow, but it helps prevent costly missteps. Intent matters, but impact matters more. Thoughtful attribution invites conversation and deepens your work.
Ethical use checklist
- Do you know who owns the rights to the pattern or motif? If not, can you identify the source clearly?
- Have you asked for permission or verified licensing before using the design commercially?
- Is the motif sacred or culturally sensitive, and could its use cause harm or misrepresentation?
- Are you providing clear attribution explaining origin, context, and influence on your work?
- Have you avoided copying exact symbols, signatures, or distinctive trademarks?
- Will your version preserve dignity and honor the culture, or could it be seen as stereotyping?
- Have you considered offering a credit or donation to the community that inspired your design?
Free Folk Art Embroidery Patterns Inspired by World Traditions can become a powerful resource when used thoughtfully and respectfully.

I’m Sophie Caldwell, the author behind granaboom.com, and I believe hand embroidery is one of the simplest, most relaxing ways to create something beautiful with your own hands. I started this blog to help beginners learn hand embroidery without feeling overwhelmed by complicated instructions or “perfect” results.
Here you’ll find beginner-friendly guides to decorative embroidery stitches, along with clear step-by-step practice ideas and patterns you can use to build confidence. My focus is on making the learning process easy: simple explanations, helpful stitch combinations, and small projects that look polished even when you’re just starting out.
Welcome to granaboom.com—grab your hoop, choose a few colors, and let’s stitch one line at a time.