DIY Embroidered Denim Jacket: A Step-by-Step Customization Guide
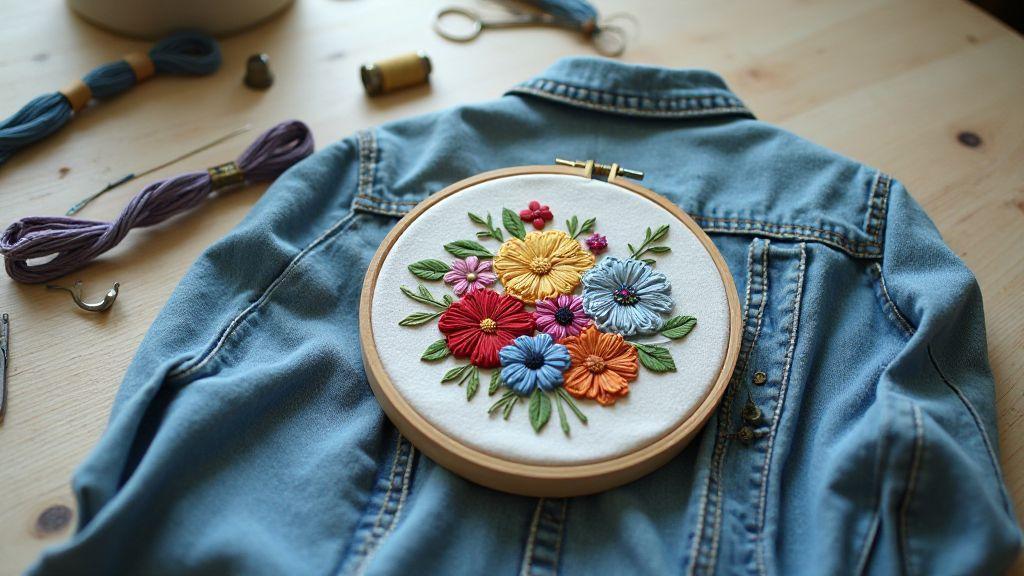
Gather supplies for your DIY Embroidered Denim Jacket: A Step-by-Step Customization Guide
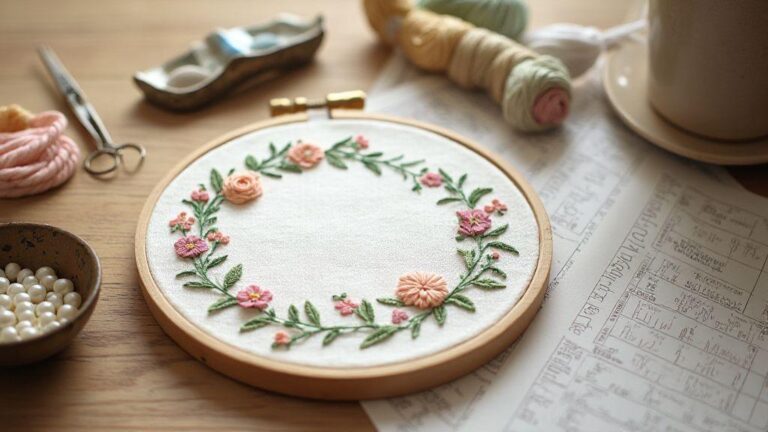
Embarking on a DIY Embroidered Denim Jacket starts with the right tools. When your supplies are organized and within reach, you’ll feel more confident and your project will flow smoothly. Group items by purpose: foundation items, embroidery tools, and finishing touches. Set up a small, comfortable workspace with a drop cloth, calm music, and a cup of tea to keep focus in short, productive bursts. Quality matters: invest in sturdy supplies now so your jacket looks polished and lasts longer. The goal is a finished piece you’re proud of, not a rushed experiment.
Supplies for embroidered denim jacket
Your supply list breaks into base items and embellishment gear. For the base: a denim jacket, embroidery hoop or stabilizer, sharp scissors, a fabric pen or chalk for marking designs, and a micro-fiber cloth for neat stitching lines. For embellishments: embroidery floss in colors you love, beads or sequins for texture, spare needles in different sizes (denim can be thick). Don’t forget grip-friendly scissors, a thimble, and a small garment brush to remove lint. A portable lamp or headlamp helps with close-up work in dim rooms, keeping stitches even and reducing eye strain.
If you’re layering textures or colors, plan your design on paper first. Tracing helps you see balance and avoid crowding, so you stitch with purpose and achieve a cohesive final piece.
Choosing needles, thread, and stabilizer
Pick a sharp needle sized for denim and embroidery (80/12 or 90/14 works well). A thicker stabilizer may require a stronger needle. Thread options include cotton embroidery floss for a classic look, rayon for subtle sheen, and stranded polyester for bold, durable lines. Test stitch types on scrap fabric to choose the right thread.
Stabilizer is essential with denim. Tear-away works for light designs; heavy or cut-away supports dense embroidery on thick fabric. Pair a stabilizer with a hoop for large motifs to keep the fabric flat. Wash-away stabilizer is ideal for delicate fabrics or intricate edges. Always test your setup on a scrap pair of jeans before applying it to the jacket.
Where to buy quality denim supplies
Look for shops specializing in sewing and embroidery. Local fabric stores offer curated denim, needles, stabilizers, and threads, plus experts who can guide you to durable options. Online shops are convenient for specific colors or brands and often have bundles that save money. Check customer reviews for how items hold up with denim. Verify denim weight and match stabilizers to keep stitches flush and puckering-free. If unsure, buy a small pack to test before larger purchases.
Use embroidery patterns and templates for jackets
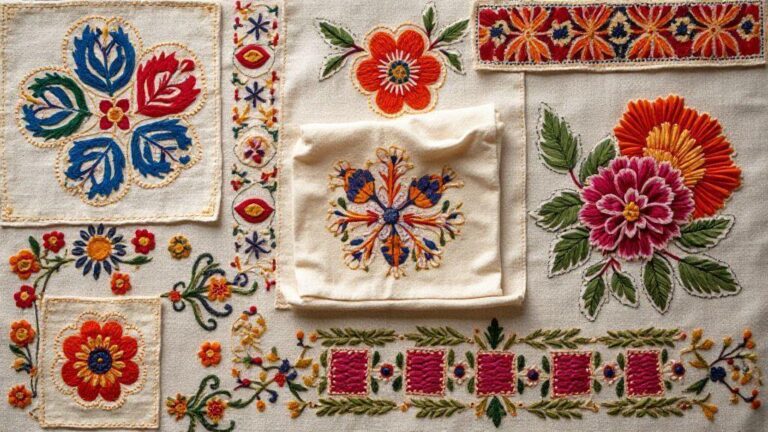
Embroidery patterns and templates are your best friends for a standout jacket. Start with patterns that suit your jacket material and color; on dark denim, light thread or bold, high-contrast designs make stitches pop. Templates help place patterns in perfect spots for balance, and printing patterns gives a precise guide for tracing and stitching. Templates can map multiple stitches at once, keeping the project organized. Swap patterns or mix elements to keep the jacket fresh and personal. Keep a small note on your embroidery hoop with the design name to stay organized.
If you’re unsure where to start, try a simple motif on the back panel first to feel how the thread sits on the fabric. You can adjust sizes or colors later, but a clear plan saves time and nerves.
Embroidery patterns for jackets you can print
Printing embroidery patterns provides a clean, ready-to-trace guide. Print layouts that fit the jacket area precisely, with high-contrast designs for easy visibility. Print multiple sizes to test what looks best on your jacket. Use printer settings that avoid heavy borders; simply print the design with generous margins to tape in place.
After printing, cut patterns with clean edges. Tape them onto your jacket and gently trace lines with a fabric pencil or erasable marker. Align designs with seams or raised pockets so they look integrated, not floating. Printed patterns reduce guesswork and increase accuracy. If you make a mistake, reprint or resize as needed.
Printing isn’t just convenient—it helps you visualize the final look. Layer patterns to test balance before committing to thread colors. Start with a bold centerpiece on the back and smaller accents on the sleeves or pockets for a cohesive result.
How to trace templates onto denim
Trace templates onto denim with precision and minimal holes. Secure templates with painter’s tape to prevent shifting. Use a fabric pencil or chalk that disappears with heat or washing. For curves, take small steps and recheck alignment often. If working on a large panel, trace in sections to keep lines neat. Apply light, steady pressure so lines remain clear but marks are easy to erase.
Resize patterns for your jacket fit
Resizing patterns pays off when your jacket isn’t standard-sized. Measure the area you want to decorate and scale the pattern accordingly (1:1 or 1.5:1 works well). Test print copies on cheap paper before cutting fabric to avoid headaches. For curves, make small incremental adjustments. Re-check placement on the jacket after resizing to maintain balance.
Master hand embroidery techniques for denim
Embroidery on denim can be tackled with the right tools and simple tricks. Choose threads that hold up to thick fabric, set up a stable workspace, and pick patterns that read boldly on blue. Denim welcomes a mix of stitches and textures; steady tension and the right needle help stitches stay clean. Stabilizers or a small hoop can keep layers flat, especially on thick fabric. Pattern placement matters: choose flat areas away from seams that could distort your design. With practice, your pieces become a true reflection of your style.
Experiment with stitches: stretch satin stitches over outlines, add French knots for tiny accents, and mix thread weights to create contrast. Secure knots well and trim thread ends close to the fabric to avoid snagging. Denim loves a sturdy back, so finish neatly and let color, texture, and scale balance each other.
Basic stitches for a beginner embroidery denim project
Starting with basics builds muscle memory. Practice running, backstitch, and satin stitch on scrap fabric before starting the jacket. Thicker denim may feel stiffer, but the right needle and tension still yield clean results. Relax your hands and let the fabric guide you. If you miss a stitch, seam rip and re-stitch without harming the fabric. Test threads on scraps, and keep a small sampler to track progress and guide future designs.
Stitch tips for thick denim and layers
Thick denim requires careful setup. Use a sharp denim needle and sturdy thread. Stitch slowly with tiny stitches to avoid bulk. For seams or pockets, stabilize the area with interfacing or stitch from the back to reduce shifting. If you encounter skipped stitches or breaks, rethread both needle and machine if you’re using one. Work in small, overlapping stitches to build up the design without stiffness. Practice makes perfect, and denim will show patience in the final piece.
Practice stitches on scrap denim
Grab a scrap of denim and create a small sampler: a straight line, a tiny outline, and a few fills. This quick test helps you tune tension, thread, and technique before the real project. Your practice pieces become a handy reference as you transfer skills to your jacket.
Plan your design, placement, and color scheme
Treat your jacket as a canvas. Consider how bold elements and subtle touches fit into your wardrobe and occasions. Sketch ideas, stay flexible, and decide on a color palette that makes patches pop while complementing the denim. Lock in a main focal patch or signature motif. Map layout for back, sleeves, and pockets to ensure balance. Plan a mix of dense embroidery and lighter stitching to guide the eye. Your plan is your north star, guiding every stitch.
Set a practical timeline and gather patches, floss, needles, stabilizers, and markers in your chosen colors. A prepared workspace keeps momentum steady and helps you finish with a cohesive look that feels like you.
Map your layout for back, sleeves, and pockets
Identify the back’s main feature and plan how motifs flow across the panel for natural movement. Balance bold colors with calmer tones to avoid overpowering the design. Consider arm movement when placing designs on the sleeves; a vertical line along the arm reads clean, while rounded patches near the shoulder add dimension. Choose pocket shapes that tuck into the denim’s natural lines and frame edges with subtle accents.
Mark exact stitch positions with chalk, then test-fit patches in place. Step back to assess composition from different angles to catch overlaps or misalignments. If a patch sits near a seam, shift it slightly for a flat, clean look. View the back as your stage and the sleeves as supporting acts—each element should be legible and harmonious.
Mix patches and hand embroidery techniques denim
Blend bold patches with delicate embroidery to create texture and depth. Use larger patches as anchors and finer stitches to add detailing. Outline shapes with backstitches or daisy stitches to give patches a polished edge. If you’re new to freehand motifs, start with simple lines and build gradually. Layer a lightweight patch under a denser motif to create contrast, and add small accents along seams for rhythm. Embrace negative space to let each element breathe. Combine raised stitches with flat fills to add texture and interest. Your goal is a cohesive story told through color, shape, and stitch.
Mark placement with chalk and templates
Lightly mark exact positions with chalk before stitching. Templates help maintain proportions, especially on symmetrical areas like the back or sleeves. Place the template, trace the outline, then remove it to stitch. Regularly check alignment as you work to maintain balance and achieve a professional finish.
Follow a clear step-by-step jacket customization process
Gaining confidence comes from a structured approach. Start by selecting a design, preparing the fabric, and then stitching with patience. Break the project into stages to prevent mistakes and speed up progress. The rhythm—prep, embroider, secure, finish—helps even beginners complete a stylish DIY Embroidered Denim Jacket: A Step-by-Step Customization Guide. Keep tools within reach and workspace clean to prevent tangling and color bleed. Soon you’ll have a jacket that fits your vibe and tells your story.
Prep denim: washing, ironing, and stabilizing
Begin with clean fabric. Wash on gentle, air-dry to preserve fibers, then iron flat. Apply stabilizer or tear-away backing if needed to reduce puckering. Lightly mark your design with a fabric pen to guide stitching without heavy marks showing through the thread. Secure the denim to stay flat while stitching. Use a thick cloth or stabilizer under the area to prevent the needle from sinking too deep. Test a stitch on scrap and adjust tension or stitch length as needed. The goal is steady, even lines.
How to embroider a denim jacket in stages
Tackle embroidery in bite-sized steps: outline first, then fill larger blocks with satin or split stitches. Follow curves slowly and recheck placement often. Keep threads organized with separate bobbins or color spools for different sections. Pause to inspect alignment, and restitch any loose areas before moving on. When a section is complete, secure thread ends on the back and trim close to the fabric to prevent snagging. This staged approach helps your jacket develop personality stitch by stitch.
Secure knots and finish thread ends
Finish each thread with a neat knot, snug against the fabric. Leave a small tail and weave it back into the stitching. Trim excess to avoid stray threads. Ensure every end is tucked away before you finish. A tidy finish protects the design during wear and washing.
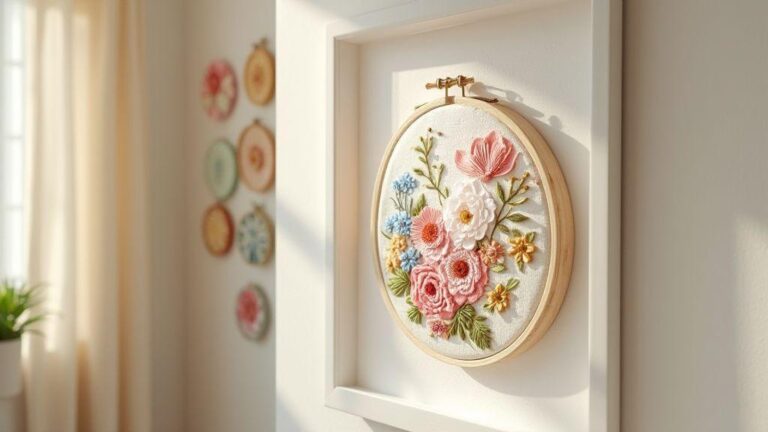
Care, style, and share your finished embroidered jacket
Your jacket is a time-made statement. Care for it with a gentle routine to keep stitches strong and colors bright. Use mild detergent, cold-water cycles, and turn the jacket inside out for washing. Air dry or tumble on low heat, avoiding high heat that can fade threads. If a snag occurs, mend early with a needle and a touch of fabric glue. Store with a breathable cover to protect from dust and sun. When styling, pair with simple pieces to let the embroidery shine, or layer boldly for a statement look. Sharing your creation online can inspire others and spark ideas for your next DIY Embroidered Denim Jacket: A Step-by-Step Customization Guide.
Wash and care tips for embroidered denim jacket
Wash in cool water on a gentle cycle and turn inside out to protect embroidery. Use a mild detergent for delicate fabrics and treat stains softly without scrubbing the embroidery. Lay flat or hang to air dry away from direct sun. Avoid high heat during ironing—use a low heat setting and place a cloth between the iron and embroidery. Good care keeps colors vivid and stitches even, extending the life of your jacket.
Denim jacket customization ideas for everyday wear
Quick ideas can transform your jacket for daily use. Add a small motif on a sleeve or chest for a casual touch, or cluster tiny patterns along the hem for a playful effect. For a bolder look, create a large central design with complementary colors and balance it with plain denim elsewhere. Mix textures and shapes—geometric stitches with floral accents or metallic threads for evening wear. Patches or fabric appliques around the edges can frame embroidery and give the jacket a modern edge. The aim is wearable, intentional design that suits your style, as showcased in your DIY Embroidered Denim Jacket: A Step-by-Step Customization Guide.
Photograph and protect your personalized denim jacket
Capture clear, bright photos in natural light with a clean backdrop. Take multiple angles to show embroidery detail and overall silhouette. Store images in a simple folder or album to track progress and improvement. A breathable garment bag protects the jacket in storage, ready for show-and-tell moments with friends or readers online.

I’m Sophie Caldwell, the author behind granaboom.com, and I believe hand embroidery is one of the simplest, most relaxing ways to create something beautiful with your own hands. I started this blog to help beginners learn hand embroidery without feeling overwhelmed by complicated instructions or “perfect” results.
Here you’ll find beginner-friendly guides to decorative embroidery stitches, along with clear step-by-step practice ideas and patterns you can use to build confidence. My focus is on making the learning process easy: simple explanations, helpful stitch combinations, and small projects that look polished even when you’re just starting out.
Welcome to granaboom.com—grab your hoop, choose a few colors, and let’s stitch one line at a time.