Cross Stitch Basics: A Beginner’s Guide to the Iconic X Stitch
Introduction to Cross Stitch Fundamentals
Cross stitch basics form the foundation of one of the most accessible and rewarding embroidery techniques available today. When you start learning how to cross stitch, you’re embracing a centuries-old craft that combines simplicity with creative expression. The X stitch, also known as the cross stitch technique, requires minimal materials and delivers impressive results, making it the perfect entry point for anyone curious about needlework. Unlike complex embroidery methods that demand years of practice, beginner cross stitch projects teach you the essential skills within hours, not months.
Why Cross Stitch Attracts Modern Crafters
The resurgence of cross stitching for beginners reflects a broader cultural shift toward mindful, screen-free hobbies. You’ll discover that basic cross stitch patterns offer meditative benefits while producing tangible, shareable results. The fundamentals of cross stitch appeal to diverse age groups—from teenagers seeking creative outlets to retirees rediscovering forgotten skills. This embroidery for beginners movement thrives because the learning curve remains gentle, yet the satisfaction feels substantial. You create visible progress with every stitch, building confidence as you complete your first simple cross stitch projects.
The Anatomy of the Perfect X Stitch
Understanding the cross stitch structure means grasping how two diagonal lines intersect to form the iconic X. You execute the basic X stitch by bringing your needle up through the fabric at one corner, then diagonally across to the opposite corner, creating the first half of your X. Next, you return to the starting point and complete the second diagonal, forming a complete, balanced X. This fundamental stitch technique repeats across your entire pattern, with consistency determining the professional appearance of your finished work. The beauty of learning cross stitch basics lies in this repetitive simplicity—once you master one X, you’ve mastered the core skill required for every project.
Essential Principles for Stitch Consistency
You achieve uniform cross stitch stitches by maintaining consistent tension throughout your work. The proper cross stitch method requires you to keep your thread neither too tight nor too loose—imagine the tension of a guitar string that’s perfectly tuned. Your embroidery stitching technique improves dramatically when you establish a rhythm, working methodically across rows rather than jumping randomly across your pattern. The cross stitch fundamentals emphasize that direction matters: most experienced stitchers complete all bottom-left-to-top-right diagonals first, then return to fill in the top-left-to-bottom-right diagonals. This systematic approach to basic needlework ensures your Xs align perfectly, creating a polished, professional appearance that distinguishes quality work from amateur attempts.
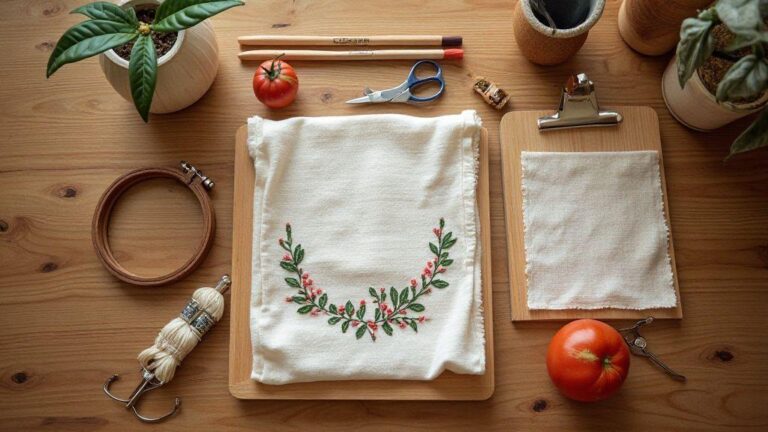
Essential Materials for Your Cross Stitch Journey
Choosing the Right Fabric Foundation
You’ll want to select Aida fabric as your primary choice when beginning your cross stitch adventure. This even-weave fabric features clearly defined squares that guide your needle placement, making it the gold standard for beginner embroidery projects. Aida comes in various counts—14-count represents the most popular choice for starting cross stitch, offering squares large enough to see clearly without requiring magnification. The fabric selection process directly impacts your success rate; choosing appropriate material removes unnecessary frustration from your learning experience. You can also explore linen for cross stitch once you’ve mastered the basics, but Aida provides the forgiving structure that new stitchers need.
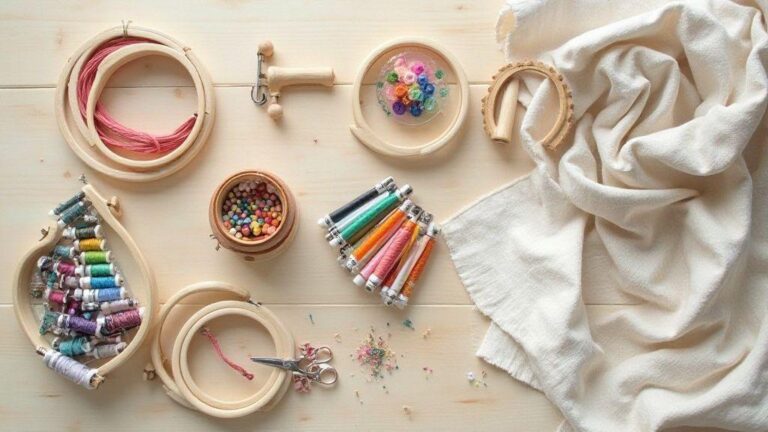
Thread Selection and Color Management
DMC embroidery floss dominates the cross stitch supplies market, offering thousands of colors and consistent quality across batches. You’ll separate your embroidery thread into individual strands—typically using two strands for 14-count Aida fabric—to achieve the proper coverage and appearance. The thread management system you develop early becomes crucial; organizing your colors prevents tangling and keeps your stitching process efficient. Consider investing in a floss organizer or creating a simple system using cardboard and labels. This material preparation step, while seemingly minor, dramatically accelerates your cross stitch learning curve by eliminating frustration and keeping you focused on technique development.
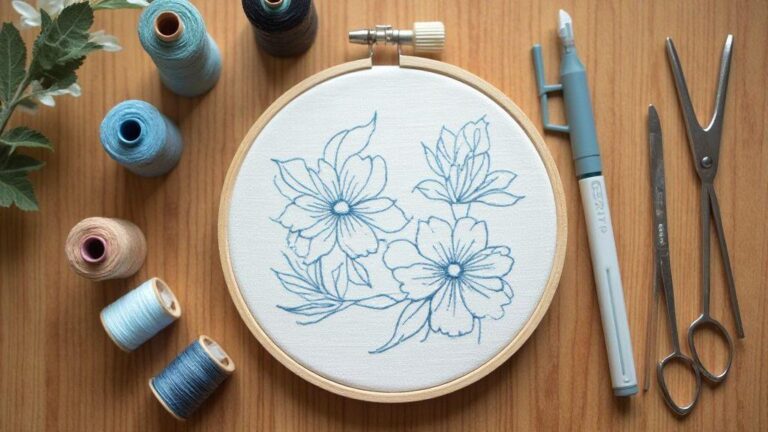
Tools That Transform Your Experience
| Essential Tool | Purpose | Beginner Recommendation |
|---|---|---|
| Embroidery Hoop | Stabilizes fabric during stitching | 6-8 inch wooden hoop |
| Cross Stitch Needle | Pierces fabric without splitting threads | Size 24-26 for 14-count Aida |
| Embroidery Scissors | Cuts thread cleanly | Small, sharp, dedicated pair |
| Pattern/Chart | Guides your stitch placement | Printed or digital format |
| Needle Threader | Simplifies thread insertion | Essential for beginners |
| Magnifying Lamp | Reduces eye strain | Optional but highly recommended |
You’ll notice that quality tools don’t require significant investment—a complete beginner cross stitch kit costs between $20-40. The proper equipment prevents hand fatigue and frustration, allowing you to focus on mastering the X stitch technique rather than fighting with inadequate materials. Your embroidery workspace setup should prioritize comfort and visibility; good lighting transforms your experience from stressful to enjoyable.
Mastering the Step-by-Step X Stitch Technique
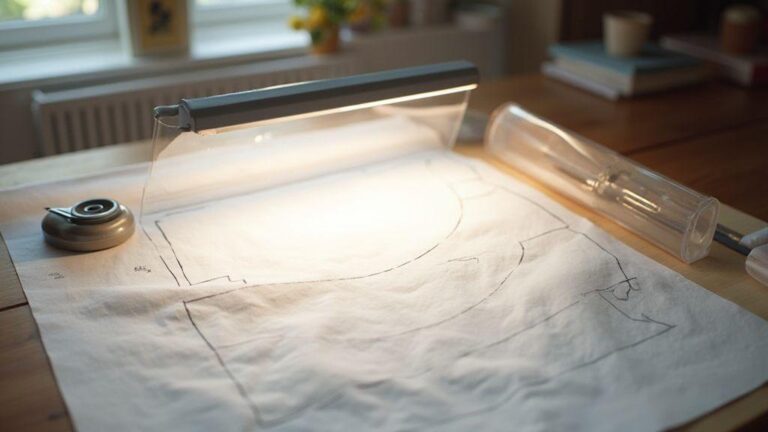
Preparing Your Workspace and Fabric
You begin your cross stitch journey by preparing your fabric properly. First, you locate the center of your Aida cloth by folding it gently in half both horizontally and vertically, then marking this central point with a small stitch or washable marker. This fabric preparation step ensures your pattern centers correctly on your material. Next, you secure your fabric in your embroidery hoop, stretching it taut but not so tight that you distort the weave. The proper tension setup prevents puckering and ensures your stitches sit evenly on the fabric surface. You thread your needle with two strands of embroidery floss, knotting one end to prevent the thread from pulling through during your initial stitches.
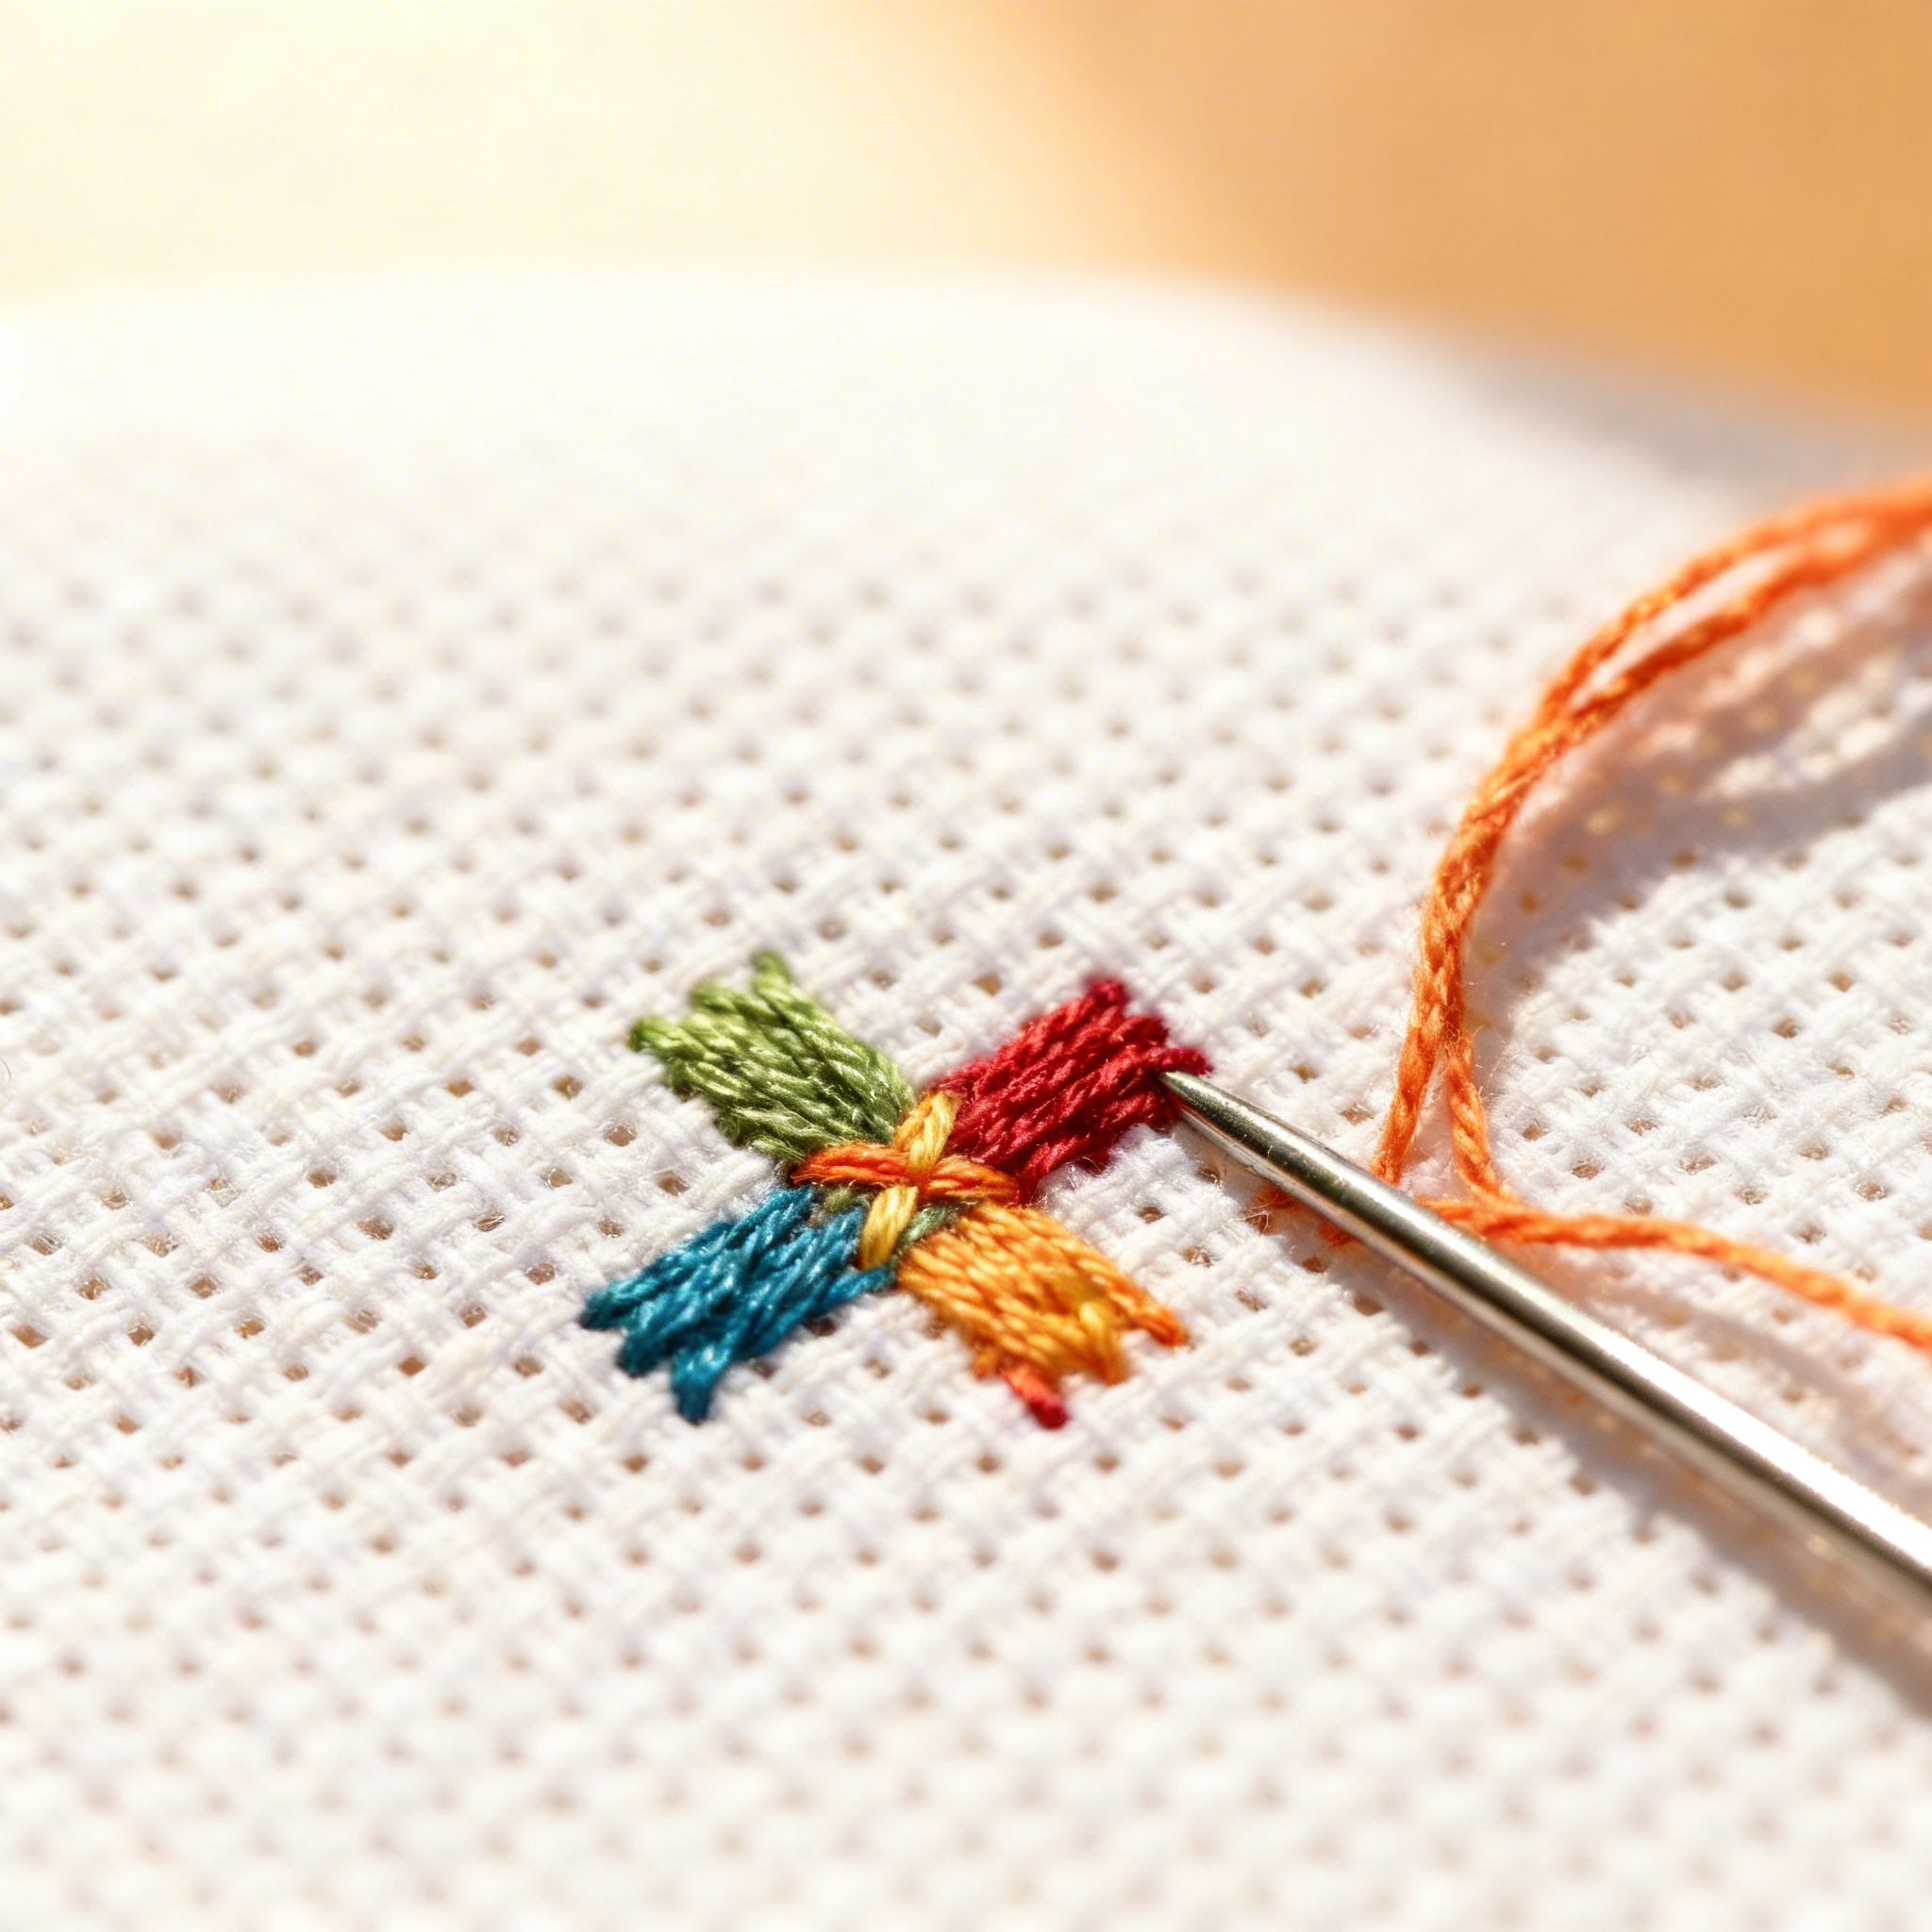
Executing Your First Perfect X Stitch
You create the basic cross stitch through a simple two-step process that you’ll repeat thousands of times. First, you bring your needle up through the fabric at your starting point—let’s call this position A. You then push your needle down diagonally across one square to position B, creating the first half of your X. This bottom-left-to-top-right diagonal forms the foundation of your stitch. Next, you bring your needle back up at position C (directly below position B) and push it down at position D (diagonally opposite), completing your X. This top-left-to-bottom-right diagonal completes the iconic shape that defines cross stitch embroidery.
Building Consistency Across Your Project
You develop stitch uniformity by maintaining identical tension and direction throughout your work. The most effective cross stitch method involves completing all bottom-left-to-top-right diagonals across an entire row before returning to fill in the opposite diagonals. This systematic approach prevents you from accidentally crossing your Xs in different directions, which creates a visually inconsistent appearance. You’ll notice that consistent tension matters more than perfect tightness—slightly loose stitches look better than overly tight ones that pucker your fabric. As you progress through your embroidery project, your hands develop muscle memory, and your stitching speed naturally increases without sacrificing quality.
Finishing and Securing Your Work
You complete each thread by weaving your needle through the back of several stitches, creating a secure anchor that prevents unraveling. You avoid knotting on the back of your fabric, as this creates bumps that show through on the front. Instead, you weave your thread through existing stitches on the reverse side, then trim the excess. This finishing technique ensures your cross stitch piece maintains a professional appearance both front and back. When you finish an entire section or color, you secure your thread this way before moving to your next color, keeping your embroidery work organized and preventing tangling.
Common Mistakes and How to Avoid Them
Tension Problems That Derail Beginners
You’ll encounter tension issues as the most common challenge in learning cross stitch. Too-tight stitches pucker your fabric and create an uneven surface, while too-loose stitches appear sloppy and fail to cover the fabric properly. The solution involves finding the middle ground—your thread should lie flat against the fabric without distorting it. You practice this balance by stitching sample Xs on scrap fabric before starting your actual cross stitch project. Many beginners grip their needle too tightly, transferring tension through their hands; consciously relaxing your grip improves your results dramatically. This tension awareness becomes second nature after completing your first small project.
Pattern-Reading Errors and Miscounting
You prevent miscounting by using a ruler or magnetic strip to track your position on your pattern chart. Many beginners jump between pattern sections randomly, losing their place and creating misaligned stitches. Instead, you work methodically from left to right, top to bottom, following your chart precisely. You mark off completed sections on your pattern to maintain visual reference. This systematic approach eliminates the frustration of discovering errors halfway through your project. Digital pattern apps now offer features that highlight your current stitch, making pattern following nearly foolproof for beginner embroiderers.
Thread Management Disasters
You avoid tangling by keeping your thread lengths short—approximately 18 inches per thread. Longer threads twist and knot as you work, creating frustration and wasted materials. You also prevent thread splitting by using a needle appropriate to your fabric count; a needle too large splits your thread, while one too small requires excessive force. Organizing your embroidery floss by color before starting prevents the chaos of searching for specific shades mid-project. This preparation work saves hours of frustration and keeps your stitching experience enjoyable.
Directional Inconsistencies
You maintain stitch direction by establishing a rule: all bottom diagonals go the same direction, all top diagonals go the same direction. Some stitchers naturally reverse their direction mid-project, creating Xs that face different ways. This inconsistency becomes glaringly obvious in finished work, making your cross stitch piece appear amateur. You prevent this by consciously checking your direction every few stitches, especially when starting a new color or section. This directional awareness develops quickly and becomes automatic as you gain experience.
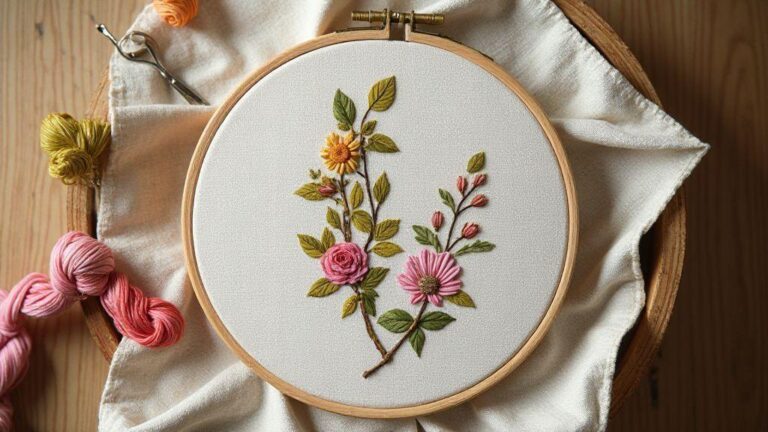
Ideal Beginner Projects to Build Your Skills
Starting Small: The Power of Micro-Projects
You build confidence fastest by completing small cross stitch projects that take 2-5 hours rather than attempting large pieces that require weeks. Bookmarks represent the perfect starter project—they require minimal materials, teach all fundamental techniques, and produce a useful, giftable item. You can complete a simple bookmark using just 2-3 colors and a basic pattern, experiencing the full satisfaction of finishing a cross stitch piece without overwhelming yourself. These micro-projects prove that you can master embroidery basics and create something beautiful, motivating you to tackle larger challenges.
Progressive Difficulty: Building Your Portfolio
| Project Type | Estimated Time | Difficulty Level | Skill Focus |
|---|---|---|---|
| Bookmarks | 2-4 hours | Beginner | Basic X stitch, color changes |
| Small Ornaments | 4-6 hours | Beginner+ | Shaping, finishing techniques |
| Greeting Cards | 5-8 hours | Beginner+ | Mounting, presentation |
| Small Framed Pieces | 8-12 hours | Intermediate | Larger patterns, multiple colors |
| Pillows | 12-20 hours | Intermediate | Larger scale, assembly |
You progress naturally from simple to complex projects, each one teaching new skills while reinforcing fundamentals. This graduated approach prevents frustration while maintaining engagement. You’ll discover that completing five small projects teaches you more than struggling through one massive piece.
Finding Patterns That Match Your Skill Level
You locate beginner-friendly patterns through websites like Etsy, Pinterest, and dedicated cross stitch communities. Free patterns abound for beginner cross stitch projects, allowing you to experiment without financial risk. You look for patterns labeled “beginner,” “simple,” or “easy,” which typically feature fewer than 10 colors and straightforward designs. These accessible patterns focus on teaching technique rather than testing artistic ability. As your skills develop, you gradually tackle more complex designs with intricate color work and advanced stitches.
Pro Tips to Accelerate Your Learning Curve
Optimize Your Physical Setup
You dramatically improve your cross stitch experience by investing in proper lighting—a magnifying lamp or ring light reduces eye strain and reveals details you’d otherwise miss. Your workspace should feature a comfortable chair with back support, as embroidery work requires extended sitting. You position your hoop at eye level rather than in your lap, preventing neck and shoulder strain. This ergonomic setup allows you to stitch for hours without discomfort, accelerating your skill development through extended practice sessions.
Master the Parking Technique
You organize your colors using the “parking” method, which involves leaving your needle threaded with each color at its next stitch location. This color management system eliminates constant rethreading and prevents tangling. You work across your pattern using one color, then move to the next, leaving each needle parked at its designated spot. This efficient workflow increases your stitching speed while reducing frustration from thread management.
Join Communities for Accountability and Support
You accelerate learning by connecting with other cross stitch enthusiasts through online communities, local groups, or social media. These supportive networks provide pattern recommendations, troubleshooting advice, and motivation. Sharing your progress with others creates accountability and celebrates your achievements. You’ll discover that embroidery communities offer free resources, pattern swaps, and friendship—transforming cross stitch from a solitary activity into a shared passion.
Practice Specific Techniques Deliberately
You improve faster by dedicating practice sessions to specific skills—one session focusing purely on tension, another on speed, another on pattern reading. This deliberate practice approach, borrowed from skill-development research, accelerates mastery far more effectively than casual stitching. You keep a practice swatch documenting your progress, visually demonstrating how your stitching technique improves over time.
Your Next Steps: From Basics to Mastery
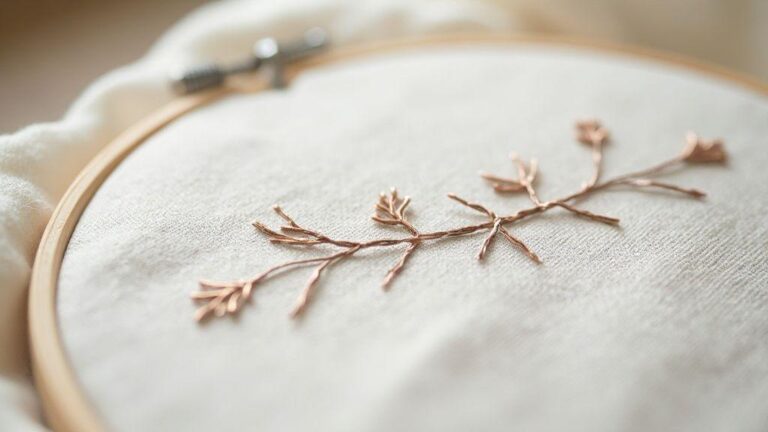
When to Advance Beyond Fundamentals
You’re ready to explore advanced techniques once your basic cross stitch stitches appear consistently uniform and you complete projects without frustration. At this point, you introduce half stitches (single diagonals for shading), backstitch (for outlines and details), and French knots (for texture). These supplementary techniques expand your creative possibilities while building on your solid foundation. You don’t need to master every advanced stitch immediately—instead, you learn them as your projects require them.
Mounting and Displaying Your Work
You transform your finished cross stitch pieces into polished displays through proper mounting and framing. You learn to block your work (gently steaming it into shape), mount it on acid-free materials, and frame it professionally. These finishing skills elevate your projects from craft to art, making them worthy of display or gifting. Many local frame shops offer affordable mounting services, or you can learn to mount pieces yourself using simple supplies.
Creating Personalized Gifts
You leverage your cross stitch skills to create meaningful, personalized gifts that recipients treasure. Custom embroidered pieces featuring names, dates, or meaningful symbols transform ordinary projects into heirlooms. This gift-giving application motivates continued skill development while spreading joy to people you care about. You’ll discover that handmade cross stitch gifts carry emotional weight that store-bought items cannot match.
Conclusion: Your Cross Stitch Journey Begins Now
Cross stitch basics open a door to a rewarding hobby that combines creativity, mindfulness, and tangible results. You’ve learned that the iconic X stitch requires minimal materials and modest skill to master, yet offers unlimited creative potential. Your journey from complete beginner to confident stitcher takes weeks, not years, with consistent practice and proper guidance. You now understand the fundamentals of embroidery technique, the importance of proper materials, and the strategies that accelerate learning. Most importantly, you recognize that every expert stitcher started exactly where you are now—with curiosity and a willingness to learn.
Take action today: gather your materials, select your first beginner pattern, and stitch your first X. You’ll be amazed at how quickly your skills develop and how satisfying this ancient craft becomes. The cross stitch community welcomes you with open arms, ready to support your journey. Your first finished project awaits—and it’s closer than you think.

I’m Sophie Caldwell, the author behind granaboom.com, and I believe hand embroidery is one of the simplest, most relaxing ways to create something beautiful with your own hands. I started this blog to help beginners learn hand embroidery without feeling overwhelmed by complicated instructions or “perfect” results.
Here you’ll find beginner-friendly guides to decorative embroidery stitches, along with clear step-by-step practice ideas and patterns you can use to build confidence. My focus is on making the learning process easy: simple explanations, helpful stitch combinations, and small projects that look polished even when you’re just starting out.
Welcome to granaboom.com—grab your hoop, choose a few colors, and let’s stitch one line at a time.