How to Use Iron-On Transfer Pencils for Embroidery Patterns
Pick the Best Iron On Transfer Pencil
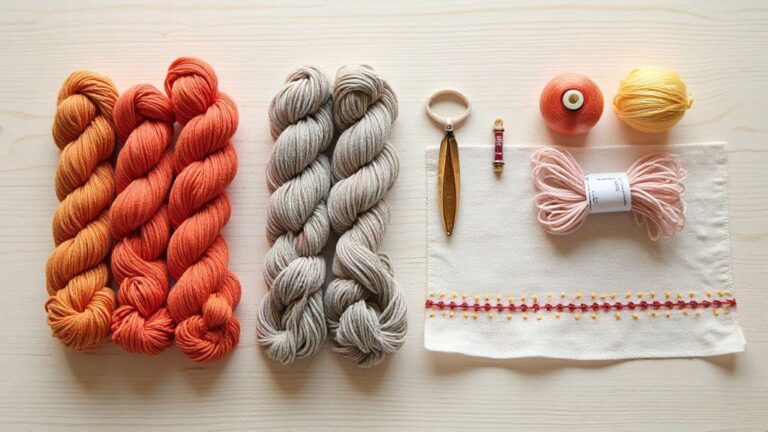
Choosing the right iron-on transfer pencil changes your embroidery setup. Look for a pencil that marks clean lines, washes out easily, and won’t spill or smudge while you trace. A pencil with a smooth lead and comfortable grip makes tracing precise and reduces fabric waste. Choose something sturdy that glides over fabric so you can draw small details without blotches or skipped spots. The right pencil saves time and keeps your embroidery pattern sharp from start to finish.
If you’re new, start with a fabric-marking pencil designed to leave marks that stay during the heat transfer but fade with washing, and explore our beginner resource to get started. Extras like a built-in eraser or a mark that wipes away with a damp cloth speed touch-ups, keeping your pattern neat as you transfer it onto fabric.
Think about how you’ll use the pencil on different fabrics. A pencil that’s too hard may scratch delicate textiles; one that’s too soft might smear. The goal is a clear, erasable line that won’t smudge under the iron. Once you find a pencil that feels right in your hand and on your fabric, your embroidery pattern transfer becomes easier and more confident. How to Use Iron-On Transfer Pencils for Embroidery Patterns becomes second nature when your tools cooperate with you, and you can consult our starter guide for additional tips.
Compare iron on transfer pencils and brands
Brand differences show up in line darkness: darker lines help on busy fabrics but wash out more slowly; lighter lines are easier on delicate fabrics but can be hard to see. Test visibility on your fabric type before choosing. Also check how easily the mark erases—some wipe off with a damp cloth, others require a gentle iron or a fabric-safe remover. For larger projects, a pencil with a longer-lasting mark can save retracing. Look for clear washing guidance and fabric compatibility, and ensure the pencil is designed for hot tools—some marks smear or fade with extended heat. Pick a brand that fits your workflow and budget.
Choose best transfer pencils for fabric by softness
Soft pencils mark easily and erase well on many fabrics, which is gentle on delicate weaves. On light or sheer fabrics, a soft pencil helps you see the line without overpowering the texture. For thick or dark fabrics, a firmer pencil keeps the line visible without blending into the fabric color. Medium softness suits most projects: visible yet easy to wash away. Hard pencils give crisp lines for intricate patterns on sturdy fabrics but can be tougher to erase. Always test on scraps to find the right balance for your project.
Test pencil on scrap fabric
Test on a scrap that matches your project to check visibility, erasing ease, and heat behavior. If the line stays too dark or won’t erase, adjust your choice. Keep a tray of fabric scraps to compare performance. This quick test helps you pick the best pencil for your fabric so you get reliable results every time.
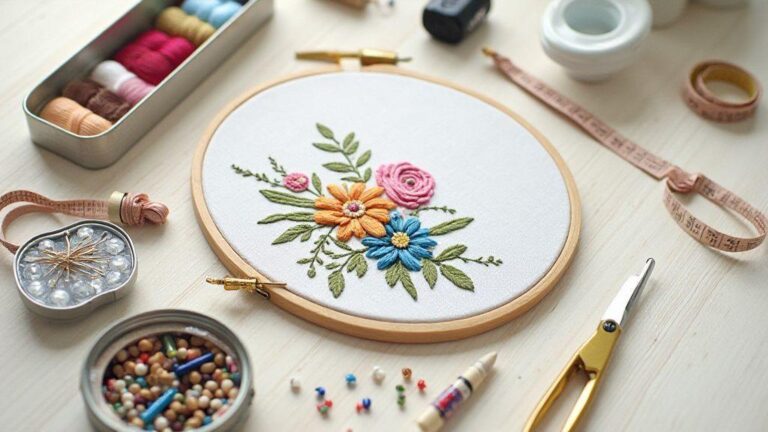
Prepare Fabric for Transfer
Set up fabric before you transfer. Choose smooth, tightly woven material and feel how it sits under your fingers. A clean, flat base helps your pattern stay put and your stitches flow smoothly. When edges are clean and the hand is steady, stitches sit nicer and the final piece looks neater.
Make sure the fabric lies flat and won’t shift under pressure. Wrinkles or loosened fabric lead to crooked transfers. A calm, flat surface gives you predictable lines and fewer stray threads. Keep your workspace simple and organized; clear the table, sharpen needles, and keep transfer tools within reach so your hands stay relaxed.
Wash, dry, and iron before you trace
Wash fabric to remove sizing, oils, or finishes that block transfer. Dry completely to prevent dampness from smearing marks or shifting the pattern. Iron the fabric smooth to create a flat tracing surface, reducing puckering and distortion. A crisp canvas makes for neater lines.
Stabilize fabric with hoop or interfacing
Use a hoop to keep fabric taut while stitching; it prevents waves that can ruin the pattern. If you don’t have a hoop, a thin layer of interfacing behind the fabric helps. Ensure the fabric sits flat in the hoop with even, gradual tension to avoid warping. A steady base makes embroidery feel effortless.
Check fabric grain and tension
Align your pattern with the fabric grain so stitches sit straight. Test a small line first to ensure the grain is correct. Maintain even tension—too tight puckers the fabric, too loose makes stitches look loose. Find a comfortable middle and keep it steady for a crisper finish.
How to Use Transfer Pencils Step-by-Step
Embroidery starts with a clear pattern, and transfer pencils are your first tool to get that pattern onto fabric. Start with a light hand, a clean fabric surface, and the right pencil for your fabric type. Wax-based pencils work well on cotton and linen; graphite or water-soluble options shine on smoother fibers. Trace clean, continuous lines with steady pressure, avoiding heavy shading. Once traced, ensure the pattern sits where you want, then set up your hoop or frame to prevent shifting.
Remove excess graphite or wax that might smear as you work. Lightly brush or roll a soft brush over the surface, or use a clean, dry cloth to lift stray bits. If a line looks faint, retrace with gentle pressure rather than pressing hard all at once. A crisp guide saves time later and keeps stitches neat.
Follow heat transfer pencil instructions closely
When using heat transfer pencils, apply light pressure and check for transfer gaps before stitching. Quick, confident strokes beat hesitant ones. If gaps appear, retrace those areas while the pencil is still warm enough to deposit pigment. Let the fabric rest briefly after tracing, then test a small corner by stitching a single backstitch to ensure visibility without bulk. If the print is too dark, brush lightly with a clean cloth to lighten.
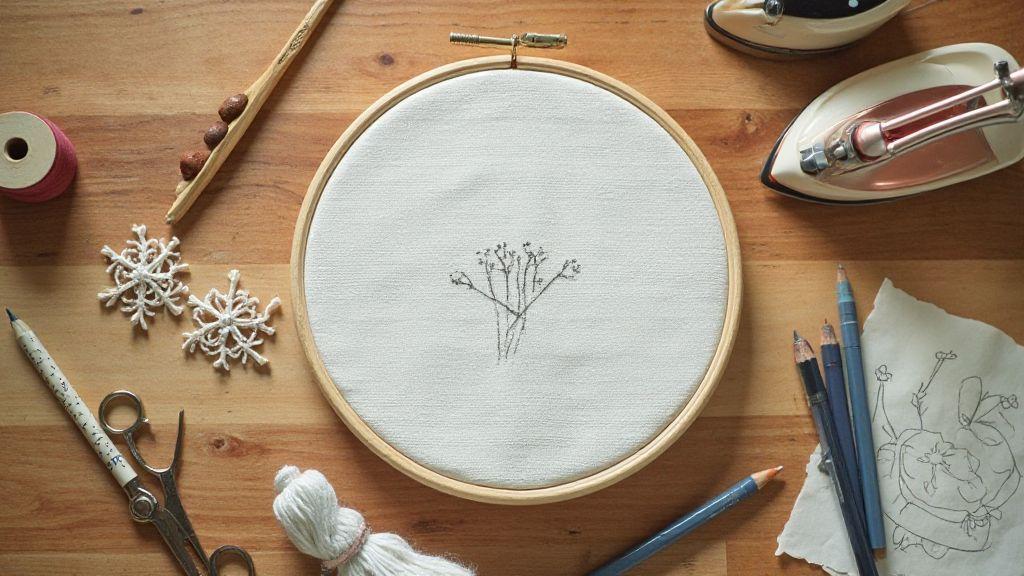
How to Use Iron-On Transfer Pencils for Embroidery Patterns
Iron-on transfer pencils let you place your design precisely where you want it. Print or draw your pattern on the transfer sheet, then press it onto fabric with smooth, overlapping strokes so you don’t scorch any area. Lift the transfer sheet to reveal crisp lines ready for embroidery. If lines blur, rework with lighter, quicker passes next time. After transfer, lines may stay faint yet visible; retrace carefully if needed, avoiding double lines.
Quick Start: How to Use Iron-On Transfer Pencils for Embroidery Patterns
Iron-on transfer pencils provide a clear, washable guide for stitching. Keep strokes steady and even, test on scrap first, and lightly re-trace if necessary for accuracy before you begin stitching.
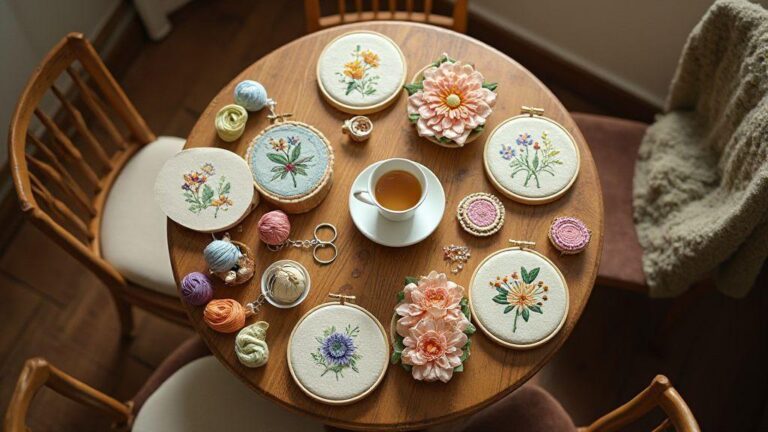
Transfer Techniques for Embroidery Patterns
Transfer techniques move lines, shapes, and stitches from paper to cloth with accuracy. Start simple and repeatable, especially if you’re new to hand embroidery. Some fabrics grab graphite differently and some papers ghost onto the material. The goal is a transfer that guides your threads without permanent marks you can’t remove. Keep your workspace organized, and label patterns so you know which design belongs to which project.
As you gain confidence, you’ll blend multiple methods for larger projects. Test on scrap fabric first, then apply to the final piece to catch smudges or ghosting early. The aim is a clean guide you can follow with every stitch.
Reverse tracing for embroidery to mirror designs
For a mirror image, reverse tracing traces the pattern from the back so it appears correctly when flipped to fabric. This is handy for lettering or symmetrical motifs. Use a light touch so lines don’t bleed through. Test on scrap to ensure the mirror looks right, and adjust tracing pressure and line weight as needed.
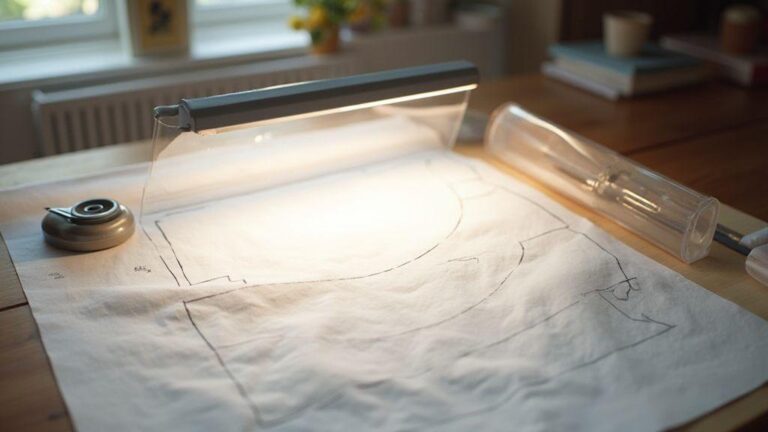
Direct graphite and tracing paper for transferring designs to fabric
Direct graphite transfer lets you skip steps and apply lines quickly. Place tracing paper over the pattern and rub with a pencil to leave a fine line on the fabric. For more complex designs, layer graphite or use a thicker pencil to keep lines visible without smudging. Another option is tracing paper between pattern and fabric: rub the pattern’s back to transfer graphite onto the fabric. This works best on smooth fabrics.
Secure design with tape or pins
Keep patterns from shifting with tape or pins. Painter’s tape along edges or corners holds the pattern flat; pins work for delicate fabrics or larger designs. Ensure a light touch to avoid holes in the fabric and check alignment before stitching. On light fabrics, a quick warm press after positioning can help set the pattern faintly so it won’t slide while you work. Remove pattern and pins once you’re done transferring.
Tips for clean transfer lines
Aim for crisp transfer lines that guide stitches without smudges. Use a light, erasable pencil or chalk that marks well but wipes away easily. Keep the surface flat and steady. If lines wobble, redraw with smooth, confident strokes. Check the backside for faint marks that might indicate where stitches should land. For dark fabrics, a light removable fabric pen that disappears after a light iron or wash can be helpful. Plan lines by marking main shapes and details separately to keep your workflow clear.
Use steady pressure and fine lines for accuracy
Steady pressure keeps lines uniform. Lightly mark with a fine-tipped tool to avoid hard-to-remove marks. If lines fade, re-apply with the same gentle pressure. Practice short, precise strokes to build muscle memory for accurate placement.
Fixing and setting transfer lines with gentle heat
If a line looks fuzzy, a gentle heat can set it without melting marks. Use a low-heat iron or tailor’s press with a cloth between the iron and fabric. Apply heat briefly and evenly. If lines remain faint, re-ink and reheat small sections. Test on scrap first to gauge fabric response. Turn off steam for consistent results, and confirm lines stay in place after setting.
Avoid smudges by handling edges
Handle edges gently to prevent smudges when trimming or adjusting the hoop. Lift the fabric rather than sliding it across the embroidery area. Store fabrics flat away from dust that can cling to marks. If smudges appear, address them promptly with a fabric-safe eraser or clean fingertip.
Fixing Mistakes and Care After Transfer
If mistakes appear after transferring, stay calm and fix them step by step. Small corrections are easier than redoing stitches. After finishing, care for the fabric so lines don’t fade or smear.
Erase stray marks safely without damaging fabric
If a stray mark shows up, remove it with a fabric-safe eraser or a light touch with a pencil eraser. Work in tiny increments to avoid tearing the cloth. A damp cloth can lift pencil lines on some fabrics; don’t soak the material. Check under good light to ensure the mark is gone and the fabric still feels sturdy.
Choose washable methods and test before stitching
Pick a method that washes out clean after stitching. If unsure, test on a small scrap first. Different fabrics react differently to heat and solvents. A safe, rinse-friendly method helps you stitch with confidence on the final piece.
Do a test wash to confirm set lines
Before finishing the project, do a test wash to confirm lines stay in place and wash out clean. Use warm water with mild soap and gently rub the area. If lines remain, adjust technique or switch transfer methods. This step protects your design and saves heartbreak on your main piece. Patience here keeps your artwork intact.
How to Use Iron-On Transfer Pencils for Embroidery Patterns provides a practical guide to getting cleaner, more reliable transfer results, from choosing the pencil to caring for your final piece.

I’m Sophie Caldwell, the author behind granaboom.com, and I believe hand embroidery is one of the simplest, most relaxing ways to create something beautiful with your own hands. I started this blog to help beginners learn hand embroidery without feeling overwhelmed by complicated instructions or “perfect” results.
Here you’ll find beginner-friendly guides to decorative embroidery stitches, along with clear step-by-step practice ideas and patterns you can use to build confidence. My focus is on making the learning process easy: simple explanations, helpful stitch combinations, and small projects that look polished even when you’re just starting out.
Welcome to granaboom.com—grab your hoop, choose a few colors, and let’s stitch one line at a time.