Lavender Embroidery Tutorial: Simple, Elegant, and Perfect for Beginners
Why you should try a lavender embroidery tutorial
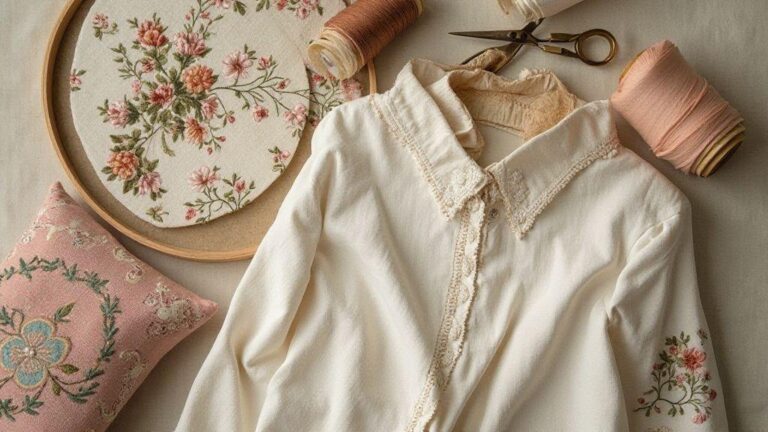
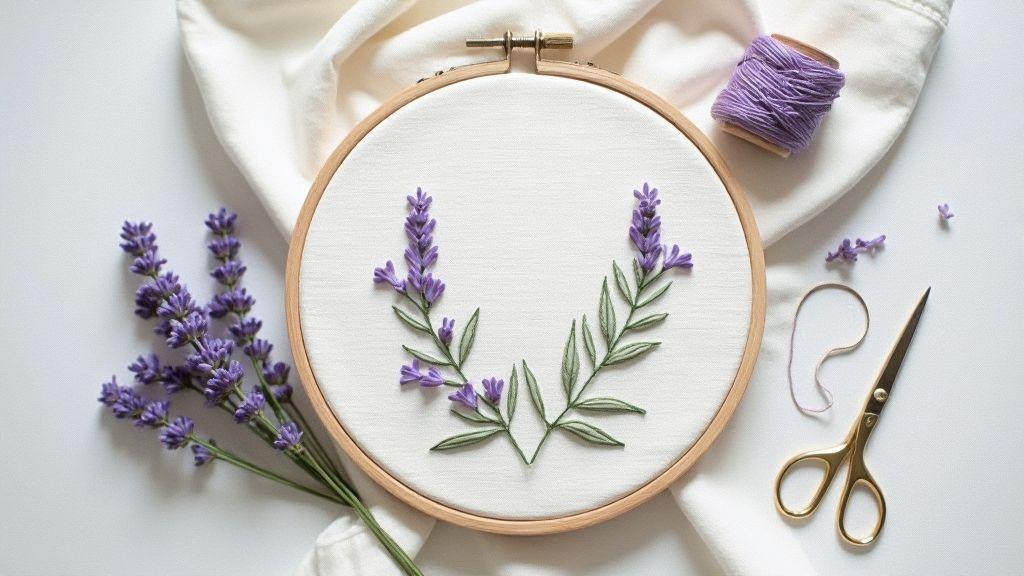
Lavender embroidery is more than a pretty pattern; it’s a doorway into calm crafting. With a hoop, a needle, and a few colors, you can begin a simple, elegant project that grows into a wall hanging or a thoughtful gift. The Lavender Embroidery Tutorial: Simple, Elegant, and Perfect for Beginners is a friendly first step toward confident stitches and tasteful results.
The lavender shape is forgiving, with soft curves and straightforward stems that teach tension without complicating your work. As you follow along, steady hands and patient practice grow together, and the tutorial becomes your map for where to place each stitch and how to finish cleanly. It’s about feeling proud of what you create with your own hands.
Choosing a lavender motif lets you experiment with color—traditional purples and greens, or pinks, blues, or yellows. The more you practice, the more you’ll discover what you enjoy. This simple idea can carry into many other designs.
Real benefits for beginners like you
The lavender shape is forgiving and predictable, helping you build confidence quickly. You’ll practice basic stitches in a calm, repeatable pattern, which makes the technique easier to learn and remember. With steady repetition, your muscle memory improves and lines stay neat. The Lavender Embroidery Tutorial: Simple, Elegant, and Perfect for Beginners gives you a clear path from framing to finishing, so you see progress with every tiny corner you stitch.
Consistency is your friend. Repeating the same shapes teaches how thread tension affects the look of your work, helping you know when to pull gently and when to stop for a polished final piece. These small wins add up fast, motivating you to move on to more complex designs. Lavender is a common motif, so this practice translates well to many patterns.
You’ll also learn practical skills you’ll reuse on every project: how to use a hoop, anchor your fabric, and transfer a design without distortion. Finishing techniques—like knotting and trimming—become second nature, so your piece looks neat every time.
How quick projects build your skills
Short projects consolidate learning. A small lavender design lets you test grip, thread choices, and stitch method without burnout. Completing a piece in one sitting or over a couple of evenings is incredibly satisfying and keeps you engaged for the next project.
Because the design is compact, you can experiment with color without feeling overwhelmed. Try a soft lilac for the petals and a mossy green for the stems, or a bold contrast for the background. Variations teach how color mood, balance, and readability shift the design. You’ll notice your eye steadier at spotting misalignments and learn to fix them on the fly.
Quick projects also build finishing confidence. You’ll learn to trim threads neatly and mount your work in a hoop-ready frame, making your lavender piece gift-ready or display-ready. Finishing a project from start to finish gives you momentum for larger ventures.
Choose fabric, thread, and tools that fit you
Stitching grows with you when you choose the right basics. Pick fabrics that move under your needle, threads that glide smoothly, and tools that feel right in your hand. Assess how much you want to practice each week, your preferred fabric feel, and your budget. A thoughtful setup makes projects enjoyable rather than frustrating.
The right gear makes you want to stitch again and again. If you’re tentative with new stitches, choose forgiving materials that still look neat. For bold color work, use threads that hold color well and resist fraying. Your choices should fit how you work, not the other way around.
Keep notes as you try things: which fabrics stitch cleanly, which threads hold their shade, and which tools felt clumsy at first but improved with use. Your future projects will thank you for the clarity, and your skills will grow faster when your gear matches your style and pace.
Best fabrics: cotton and linen for easy stitching
Cotton and linen are friendly entry points. They move under your needle and make mistakes easier to fix. Cotton is versatile, forgiving, and comes in many weights—great for practice or simple projects. Linen has natural stiffness that helps stitches sit neatly and gives a crisp look. Start with cotton for practice, then try linen to feel how it handles texture.
Cotton tends to show color brightly and stays smooth under pressure, which helps you learn tension and stitch length without drama. Linen can be tougher at first, but your embroidery will look professional once you get the hang of it. Mixing both in projects teaches you how different fabrics respond to stitches without overwhelming you. You’ll notice your stitches line up better and your fabric pucker less as you go.
Needles, hoops, and floss types to buy first
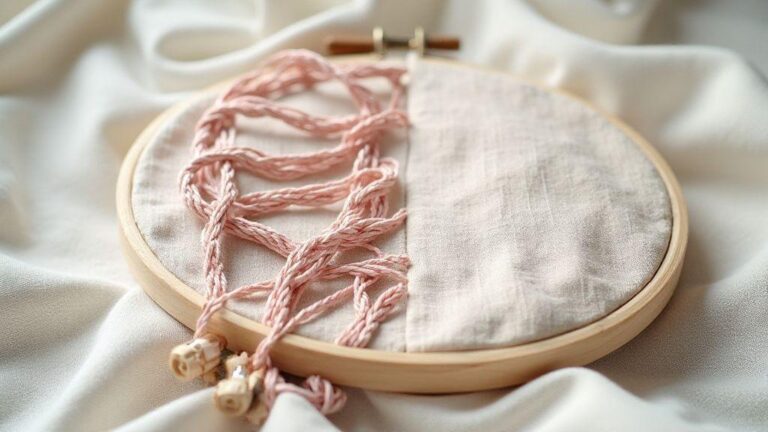
Begin with a small, reliable set. A sharp embroidery needle or fine tapestry needle helps you slip through fabric easily. A hoop or frame keeps fabric taut, making stitches even and neat. For floss, choose a few colors you love and a brand known for consistent thickness. You’ll thank yourself later when you’re not fighting frayed ends or broken threads.
Pick a hoop size that fits your hands and project. A 6–8 inch hoop is a comfortable starting point for most practice pieces. Needle size matters: too big leaves large holes; too small can bend easily. Cotton embroidery floss is a good first choice for smoothness and shade variety. If you want more, you can add a few metallics or variegated threads later.
Starter kit packing list
Keep your starter kit simple and sturdy. You’ll want a small bag, fabric scraps, a few needles, a floss organizer, and compact scissors. Include a hoop, a water-soluble pen for marking, and a thimble for comfort. Pack a few color threads you love and a basic pattern so you have something to practice right away. Make sure your kit is easy to carry and easy to use, so you stay motivated.
Lavender Embroidery Tutorial: Simple, Elegant, and Perfect for Beginners
Lavender is a soft, forgiving subject for beginners. Use gentle stitches like backstitch and satin stitch to outline and fill the petals. Start with light purple and a touch of green for stems. Practice keeping your stitches even and your pressure steady. You’ll see your lavender bloom emerge with calm, rhythmic progress.
If you want a tiny challenge, add a few French knots in the center of the blossoms for depth. Don’t worry about perfection; your Lavender Embroidery Tutorial: Simple, Elegant, and Perfect for Beginners will improve with each stitch. You’ll finish with a piece you’re proud to display or gift.
Learn three simple lavender embroidery stitches
Embroidery lets you bring lavender fields to fabric. In this section, you’ll master three easy stitches that create graceful stems, buds, and tiny blossoms. You’ll feel confident as you stitch along, adding gentle texture without overwhelming your fabric. You can finish a small lavender motif in one sitting, and you’ll see your hands turning thread into color and scent.
Starting with the basics, you’ll keep stitches neat and even. A steady hand and calm pace make the stems look natural, not stiff. Your goal is a light, leafy line that breathes with each stitch. With practice, your lavender will look like a breeze drifting across your project, not a chore.
As you work, think about how each stitch fits the design. The stems aren’t long banners; they’re soft recurrences of line and shape. When you finish, you’ll feel the confidence that comes from stitching something delicate yet sturdy. This is the heart of the Lavender Embroidery Tutorial: Simple, Elegant, and Perfect for Beginners.
Use stem stitch for stems and lines
Stem stitch gives you smooth, rounded lines that feel alive. Start with a small satin-like base along your line, then wrap your thread gently as you move forward. Keep stitches evenly spaced and don’t pull too tight; you want a gentle curve that flows. The stems will look plush, not flat, because the stitch wraps around the line with a soft, continuous feel.
As you practice, use stem stitch to outline the tallest stalks and the quiet curves between buds. If you pull too tight, the line may kink; loosen a bit, and it breathes. A steady rhythm helps your stitches stay uniform, giving your lavender a cohesive look. Work in short, confident moves: start with a small dot at the base, then bring your needle up just ahead of the last stitch. The result is a clean, subtle line that holds its shape.
Create buds with lazy daisy and French knots
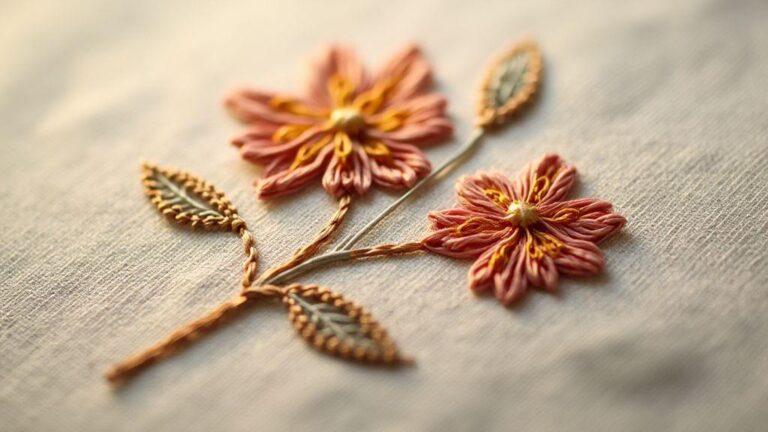
For buds, lazy daisy stitches form the rounded petals, while French knots add tiny centers. Place a small thread loop for each petal, then bring the needle up near the stalk and stitch down through the loop to secure. Space daisies so they look like a gentle cluster along the stem. The combination of daisy loops and bright knots creates a soft, springy bloom.
French knots stitch in the tiny centers that catch light. Start with a couple of wraps around your needle, then insert near the last daisy. Pull gently to snug the knot, but don’t over-tighten. When you line up several buds, your lavender reads as a field of tiny blossoms moving with the wind.
If spacing feels tricky, practice on scrap first. The rhythm—loop, pull, place, repeat—becomes second nature, and your lavender will glow with its simple texture.
Stitch order to save time
Sequence matters when you stitch lavender. Start with the main stems first to give a guide for the buds, then place the daisies along the stems at consistent spacing. Finish with the French knots in the centers to add little points of brightness.
For larger pieces, plan your rows. Stitch the leftmost stem, finish its buds, then move to the next stem to avoid crisscrossing threads and wasted time. A simple order keeps your fabric smooth and your thread tension steady, helping you finish faster without sacrificing the delicate look.
Follow a beginner lavender embroidery pattern with confidence
Break the pattern into simple moves and you’ll gain confidence quickly. Precise lines, even stitches, and a calm pace lead to steady progress. Keep threads smooth and fabric flat; tug too hard and petals twist, ease up and stitches stay neat. Work in short bursts, then assess alignment. Think of the pattern as a garden map: small, intentional steps yield a beautiful overall view. Your goal is clean lines, balanced spacing, and a soft, cohesive look that feels effortless.
As you practice, your hand learns the rhythm. Your first jasmine-like curves become steady, and corners stop puckering. Remember to keep the fabric taut in a hoop or frame, and pause if you feel tense. With each pass you’ll create a lavender cluster that looks delicate but holds firm.
How to transfer and trace a beginner lavender embroidery pattern
Transferring the design starts with a light, erasable method. Use a fabric pen or erasable pencil to trace the outline, keeping lines thin and clean. Practice on scrap fabric first to steady your hand when you move to the main project.
Once the outline is visible, use a light source to see the trace through the fabric if needed. Keep tracing subtle to avoid heavy lines showing through stitches. Pin the fabric tight and double-check pattern placement. A precise start helps lavender shapes stay balanced as you work.
When you begin stitching, choose a simple outline stitch such as backstitch or split stitch to define petals and stems. If lines shift, re-tension your fabric and adjust your grip. Consistent alignment from start to finish maintains a clean, professional look.
Scale and place your design on different projects
You can resize the lavender motif to fit various items—from a pocket to a wall hanging. Measure the space first, then proportionally scale the pattern. Redraw lines slightly thicker or thinner depending on final size. Remember that the same stitch count can look different when scaled, so adjust gaps and angles to preserve the design’s flow.
Placement matters. On a garment, try along a sleeve seam or near the neckline for subtle interest. On a pillow, center the pattern with a tidy border. For a tote bag, consider fabric movement and balance; a larger bloom can stay visually balanced on sturdy material. Your aim is a cohesive look across projects, not a copied sticker.
When scaling, test on scrap fabric first to see how petals bend and how tightly you should pull stitches. You’ll learn proportion and rhythm, keeping lavender graceful whether tiny or bold.
Practice drills to master the pattern
Start with short drills focusing on one part of the pattern. Practice the basic petal shape until curves feel natural, then move to the stem. Repetition builds muscle memory, making the full pattern glide more smoothly. Keep a small notebook of tips you discover—how to hold the needle, where to pause for tightening.
Next, weave the petals together in a single row, then add the stem in its own row. Finally, do a complete pass on a scrap piece to measure consistency and adjust tension. Compare your drills to previous attempts to track progress. The goal is reproducibility: every pass should feel familiar, like you’ve done it a thousand times.
Add elegant details with decorative stitches and techniques
Small stitches can make a big impact. Decorative stitches add depth and personality to labels, pillows, or wall pieces. Keep stitches neat and let the fabric’s texture show through. Decorative stitches create rhythm and glow; a simple flower outline with a few well-placed stitches can be quiet and elegant, especially when you let mood and texture guide color choices.
As you practice, your projects will look more professional and you’ll enjoy the process more as stitches become part of your design voice. These techniques lift your work from basic to refined without adding complexity beyond your reach.
Use satin and split stitch for shaded petals
Satin stitch creates a smooth surface for petals. Fill shapes with long, even rows, keeping stitches close but not overlapping. For shading, use a lighter thread at the petal edge and a slightly darker shade toward the center to build depth.
Split stitch offers a textured, painterly look. Split the previous stitch at the needle to create subtle ridges. Use lighter shades near the edges and deeper tones toward the center. A combination of satin and split stitches gives petals life and dimension.
Vary stitch length within a petal to create natural gradients. Maintain even tension so the surface stays flat and color transitions are seamless. Your finished petals will look polished and thoughtful.
Add texture with whipped backstitch and seed stitch
Whipped backstitch adds a soft, rope-like texture that pops against flat fills. Outline or fill with regular backstitch, then whip the needle around the line to create a gentle twist. Keep the whip consistent and light so the texture reads clearly but remains elegant.
Seed stitch provides a dotted, grainy texture, perfect for pollen centers or background speckling. Use small, tight stitches in a balanced pattern to simulate organic texture. This stitch gives your piece a handmade, tactile quality.
Mix whipped backstitch and seed stitch thoughtfully to let your embroidery breathe. Use whipped backstitch for defined edges and seed stitch for soft ground, creating a cohesive, textured look.
When to layer stitches for a luxe look
Layering adds depth, but balance is key. Start with a solid base fill or outline, then add a secondary stitch to highlight or embellish. Too many layers can feel crowded; too few can read flat. Let the bottom layer stay calm and let the top layer shine. Use layering for focal flowers, borders, or small motifs that deserve emphasis. A satin fill with an overlaid whipped backstitch edge, or a seed stitch ground under a satin petal, yields a luxe finish that remains cohesive.
Practice layering on a swatch first to see how colors mingle and textures catch the light. Plan layers in advance for larger projects: map the base, then place the accents. With careful layering, you’ll achieve a couture-like finish that elevates the Lavender Embroidery Tutorial: Simple, Elegant, and Perfect for Beginners.
Finish, care, and creative project ideas for your work
Finish with a clean frame or hoop to keep lines sharp, a simple backing, and a thin border to hide knots. Consider whether the piece will be a wall hanging, pillow, or card to choose the best finishing method. Creative ideas include pairing lavender embroidery with dried lavender sprigs for scent, or adding light doodles or tiny bead accents for subtle texture. The finish sets the mood and helps your work stay vibrant over time.
Care is simple but important. Avoid prolonged direct sun, store in a cool, dry place, and hand wash gently if needed. Press with low heat and a cloth between the iron and embroidery to protect stitches. UV-protective framing and rotating display can keep colors bright.
For more ideas, upcycle traditional embroidery into modern decor. Try lavender circles on a tote bag, small clusters on a pocket, or a trio of motifs on a notebook cover. Create themed mini-collections like Lavender Fields at Dawn or Herbal Calm for cohesive gifts. Let lavender stay the star while simple stitches guide the design.
Wash, press, and care for hand embroidery lavender pieces
Wash by hand in cool water with mild detergent, rinse well, and gently press out water with a towel—avoid wringing. Lay flat to dry and use low heat if you must press, placing a cloth between iron and embroidery. A light touch keeps texture alive and colors bright. Lightly steaming can refresh wrinkles without soaking threads. For storage, keep lavender embroidery in a breathable container or fabric bag.
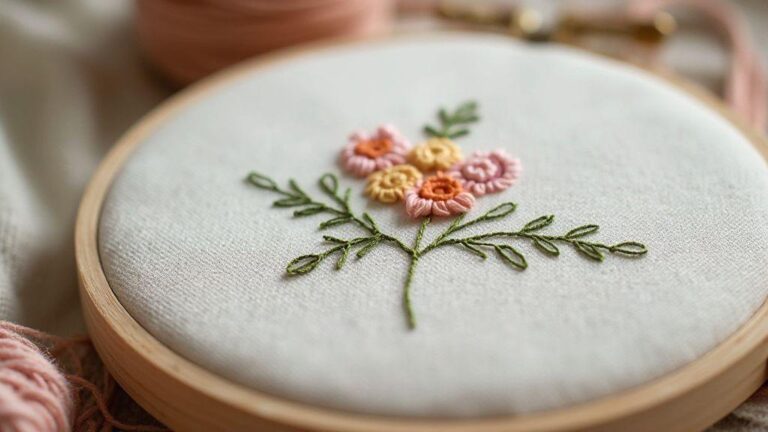
Easy projects: hoop art, pillows, cards, and gifts
Hoop art is a quick win: mount the piece in a ready-made hoop, back it simply, and hang. Pillows provide a larger canvas—try a lavender field across the center or a border of tiny sprigs. Cards and gift tags are small treasures; a few stitches create a big impression, especially with simple packaging.
For a cohesive look, stitch a small lavender motif on matching items—three cards, or a pillow and tote in the same colorway. These beginner-friendly projects are quick to finish and make thoughtful gifts that feel personal without being fussy.
Quick tips to gift or sell your DIY lavender embroidery project
When gifting, pair the piece with a note about lavender symbolism or care tips, and consider including a sachet for fragrance. Presentation matters: a simple wrap or keepsake box elevates the handmade piece. If selling, price materials and time, not just the finished look. Include clear photos and care steps, and mention the Lavender Embroidery Tutorial: Simple, Elegant, and Perfect for Beginners to invite others to try it themselves.
Packaging that protects and delights helps, too. A firm backing in a coordinating color, a lint-free bag, and a handwritten tag can transform a small hoop or card into a polished gift. Your warmth and careful craft are your best selling points, so share the calm lavender feel in your product story.

I’m Sophie Caldwell, the author behind granaboom.com, and I believe hand embroidery is one of the simplest, most relaxing ways to create something beautiful with your own hands. I started this blog to help beginners learn hand embroidery without feeling overwhelmed by complicated instructions or “perfect” results.
Here you’ll find beginner-friendly guides to decorative embroidery stitches, along with clear step-by-step practice ideas and patterns you can use to build confidence. My focus is on making the learning process easy: simple explanations, helpful stitch combinations, and small projects that look polished even when you’re just starting out.
Welcome to granaboom.com—grab your hoop, choose a few colors, and let’s stitch one line at a time.