Free Mushroom & Cottagecore Embroidery Patterns
Find Free Mushroom & Cottagecore Embroidery Patterns
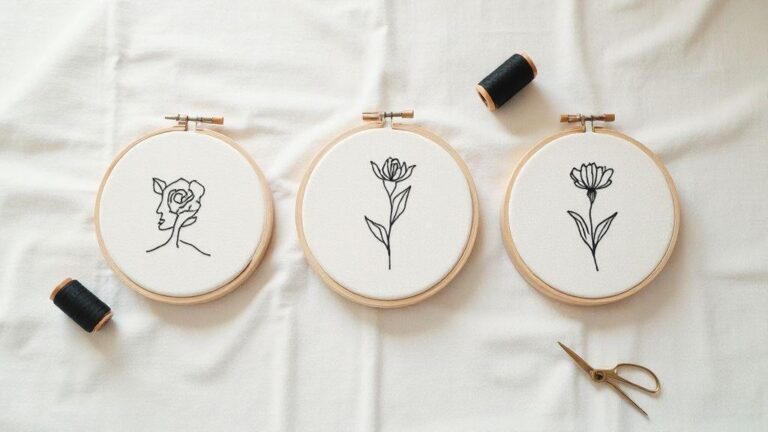
You’re hunting for patterns that spark whimsy without breaking the bank, and Free Mushroom & Cottagecore Embroidery Patterns hit that sweet spot. These designs mix tiny forest charm with cozy, homey vibes you can stitch on tote bags, aprons, or pillow hems. Pick patterns that match your skill and fabric on hand to avoid frustration. Start with a simple mushroom or small forest scene, then build to layered stitches like satin and French knots. This project rewards patience with ready-to-use pieces you’ll love to show off.
If you keep your goals in mind, you’ll spot patterns that feel like a stroll through a mossy glen. Look for clean linework, clear symbol guides, and a sensible number of colors. The right pattern will feel doable, not overwhelming, and you’ll finish with a sense of accomplishment. Save favorites, group by difficulty, and queue one easy project before a bigger one. Before you know it, you’ll have a tiny collection ready for frames, banners, or giftable patches.
Ultimately, you want patterns that respect your time and your style. Seek designs that translate well to your chosen fabric, whether linen, cotton, or felt. You’ll enjoy the process more if the designs aren’t too dense and you can see progress with each stitch. Remember, the goal is charm you can carry daily—not a museum piece. With the right picks, you’ll weave forest magic into your wardrobe and home in no time.
Trusted sites for free mushroom embroidery patterns
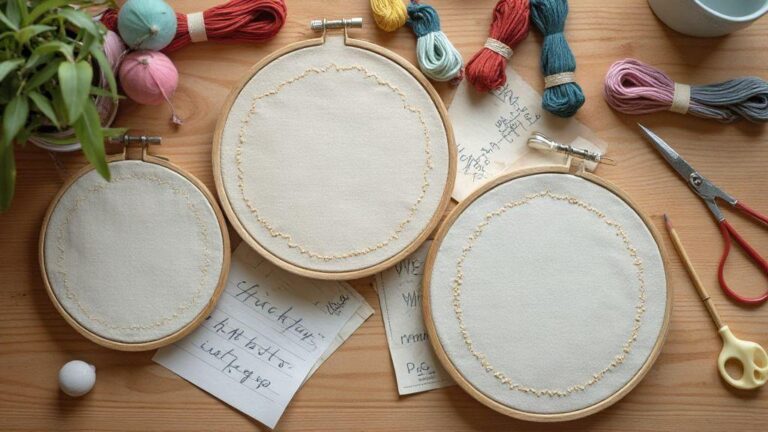
You’ll want to start with sites that regularly update their catalogs and post clear, printable files. Look for patterns with straightforward color guides and simple symbols, so you don’t spend extra time decoding instructions. Check blogs by experienced stitchers who share not just the pattern, but tips on fabric choice and needle sizes. When you land on a trusted site, bookmark the specific mushroom or cottagecore collections so you can return for restocks or new releases. You’ll feel confident that what you download will work well with your current hoop size and thread brands.
A clean, distraction-free download flow is a good sign. You should be able to click a single button, save the file, and open it without fumbling through extra pages. Look for patterns that come with a short stitch guide or a printable color chart. If you see user comments, skim them for notes about tricky parts or common misreads in the symbol key. A site that offers both black-and-white outlines and color-filled designs gives you flexibility to test ideas on scrap fabric before committing to your final piece. In short, pick sites that respect your time and your project goals.
What printable mushroom embroidery designs include
Printable designs typically come with a clean, high-contrast line drawing you can trace onto fabric or print directly. You’ll often see a color key or a small legend showing which thread shades to use, plus a suggested stitch list for each color. Some packets include multiple size options, so you can scale the design to a coaster, wall hanging, or cushion cover without guessing at proportions. Others add tips on fabric prep, hoop tension, or finishing touches like framing or turning a larger piece into a quilt square. The more complete the package, the smoother your first stitching session will feel.
You might also find printable bundles that pair a mushroom motif with a tiny cottage scene or woodland creatures. These kits give you a cohesive look across projects, perfect for building a coordinated set for your home or a gift. If you’re new, look for designs that include a single-page instruction sheet with starter tips. You’ll begin with confidence and finish with a small, satisfying victory you can admire on your shelf or corkboard.
Quick download tips
- Use a reliable browser and save to a clearly labeled folder like Embroidery Patterns → Free Mushroom.
- If multiple formats are offered, choose the one your software handles best (PDF for print, SVG for scalable outlines).
- Open the color key before you print, and print only the page you need to conserve ink.
- Print in grayscale when tracing to see contrast against fabric texture.
- Save a quick note about the fabric and hoop size to keep prep organized.
Simple Mushroom Stitch Patterns for Beginners
Embarking on mushroom embroidery is a friendly way to build your skills. Simple shapes and clean stitches yield charming results, even for beginners. In this section, learn how to approach mushroom designs that grow with you. Your goal is to finish pieces you’re proud of and enjoy the process as you practice.
You’ll see how textures change the look of a mushroom—from the cap to the dotted stem. Think of it like painting with thread: layer color, shade, and small details to bring the design to life. As you practice, small improvements—a bit tighter stitching, cleaner outlines, better spacing—add up to stitches you’ll want to display.
With the right starter ideas, you can turn a simple motif into a reusable pattern. Keep expectations modest and give yourself time to practice. Before you know it, you’ll thread your needle with confidence and notice your own growth with each project.
Basic stitches you’ll use: back, satin, French knot
- Back stitch creates neat, continuous lines for stems and outlines.
- Satin stitch fills curved shapes with a smooth, glossy finish for a cozy cap.
- French knots add tiny seeds or dots for texture on the cap.
Back stitch is forgiving and steady, ideal for beginners. Satin stitch may feel tricky at first but yields crisp fills with steady hands. French knots are small but mighty—practice on scrap fabric, then place them where you want little speckles. Keep threads taut but not tight for even, consistent stitching.
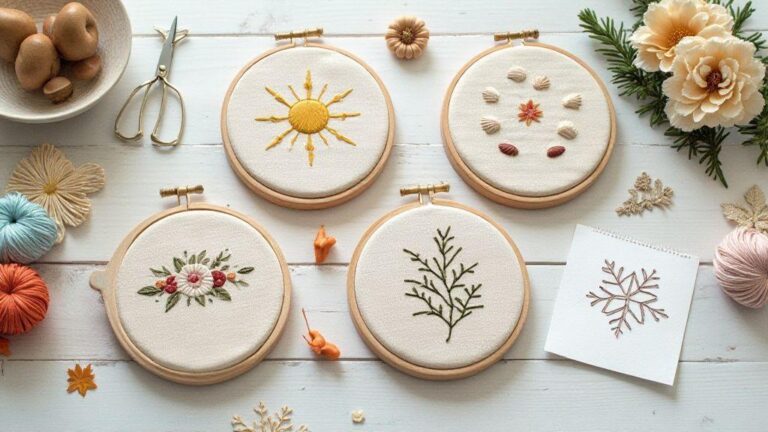
Starter patterns and hand embroidery mushroom templates free
Starting with a few simple shapes builds confidence. Look for small mushroom silhouettes—a rounded cap on a short stem—or a repeating cluster. Free Mushroom & Cottagecore Embroidery Patterns are a great starting point, offering templates to trace or print. Print at a size that fits your fabric and practice on a scrap swatch first.
Transfer the pattern with light tracing or a fabric marker, outline with back stitches, fill the cap with satin stitches for a velvety look, and use small French knots for tiny details. Practice spacing so the final piece feels balanced. If a pattern feels too large, scale it down; if too small, repeat elements to fill the area.
Practice tips
- Start with a single mushroom on scrap fabric before moving to a real project.
- Use a hoop to keep fabric taut for even stitches.
- Work in short sessions to avoid fatigue.
- Preserve a small sample of your stitches to track progress.
Printable Mushroom Embroidery Designs for Your Projects
Printable designs let you plan your stitch work before you thread your needle. With a few paper copies, try different colors, sizes, and placements on fabric scraps. This approach saves fabric and time, giving you a clear roadmap for each project. Whether you’re making wall art, a tote, or a linen set, printable templates help you stitch confidently. You’ll see the difference when outlines are easy to trace and adapt.
Printing yields clean lines and consistent shapes, guiding fabric cutting and hooping so you don’t chase misaligned seams. You can scale designs to fit garments or accessories, keeping the whimsical spirit on small stitches. Printable mushroom designs are a shortcut to polished results and calmer stitching sessions.
If you’re new, start with one basic cap and stem and add elements later. Keep a small set of favorite templates on hand to mix and match. The more you print and trace, the more you’ll see how tiny size changes affect the final feel. Your creative framework grows with each print, while you stay in control of every stitch.
How to print and trace templates accurately
- Ensure your printer settings match paper size and scale (100% is typical, but test as needed).
- If something looks off, adjust size in the source file rather than stretching the print.
- Secure the fabric to the template with light spray adhesive or tape to prevent shifting.
- Trace with a fine pencil or erasable fabric marker, keeping a steady hand.
- Practice on muslin scraps before touching your main project.
Tracers and transfer methods matter. For dark fabrics, test carbon transfer or heat-erasable pens on a corner first. Use a no-mark approach with water-soluble pens if you prefer. Label templates with size, color, and placement to save time across projects. Consistent templates keep stitching predictable and professional.
File types: PDF, PNG and scaling for fabric
- PDF files are ideal for crisp, scalable templates that print consistently.
- PNGs are handy for quick screen viewing and color ideas before printing.
- For fabric, plan scaling: up for pockets or front of a pillow, down for small sleeves. Always print a test page to confirm size before cutting fabric.
Material checklist
- Embroidery hoop large enough for your design
- Sharp needles in a few sizes
- Embroidery floss in your chosen colors
- Fabric suited to your project (cotton, linen, canvas)
- Pencil or erasable fabric marker for tracing
- Repositionable fabric spray or tape to hold templates
- Scissors, thread snips, and a fabric ruler
- Printed templates in PDF or PNG format for tracing
With these essentials, you’ll be ready to dive into your mushroom embroidery. Keep a dedicated tray for hoops and threads to stay organized and finish faster.
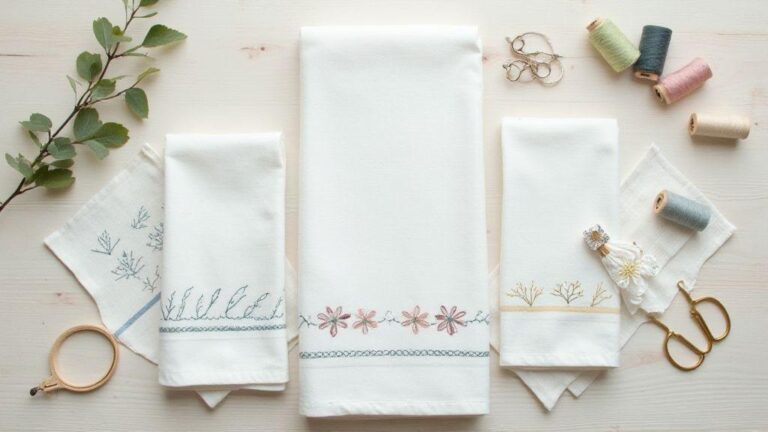
Cute Cottagecore Stitch Patterns and Motifs
For your stitching days, cottagecore motifs drift onto fabric with simple stitches and sweet ideas. Start with tiny flowers, daisies, and little houses that feel like a storybook scene. These patterns look charming on aprons, tote bags, or a weekend throw pillow. The charm comes from gentle, approachable shapes that invite you to pick up your needle again and again.
Mix petite critters with botanical details—like a bumblebee over a bloom or a mouse behind a leaf. Keep lines clean and stitches small for a delicate look. Use a limited color palette—creams, soft greens, and a touch of rose—to keep everything cohesive. A cohesive palette helps the eye move smoothly across the piece, creating a calm, unified feel.
If you want a quick win, try a trio of tiny motifs in a sampler: a blossom heart, a cottage, and a striped fence. You’ll finish fast and still have something finished and adorable. Personalize it with your favorite florals or a tiny initial—your garden, your cottage, your style, all stitched up.
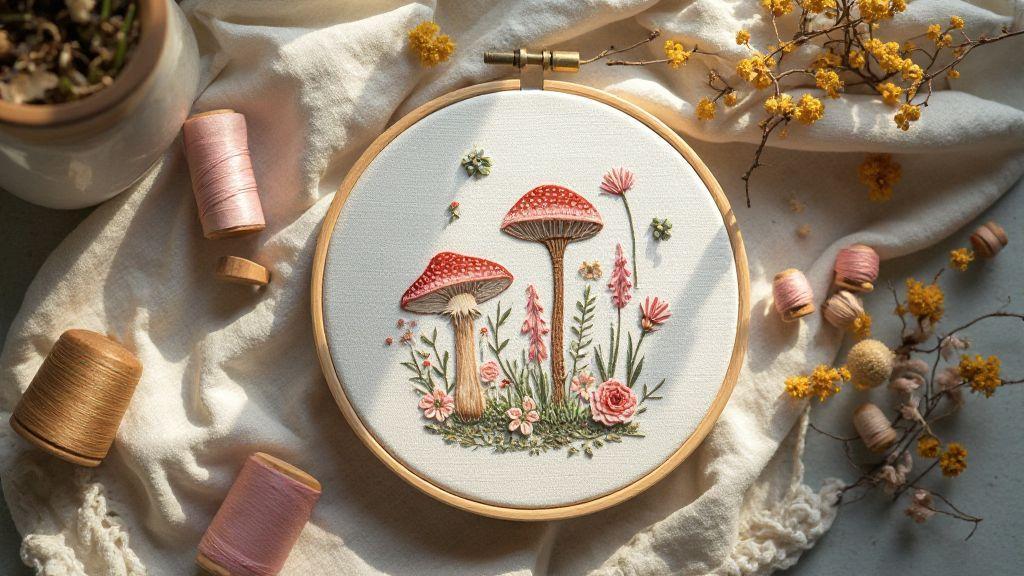
Boho mushroom embroidery motifs to mix with florals
Boho mushroom motifs pair beautifully with florals for a playful, free-spirited vibe. Stitch a small mushroom with scalloped edges beside a bouquet of daisies, letting the cap be bold and rounded. The mushrooms don’t have to be realistic; curved lines and dots read as whimsy in a folk-art style. Balance sizes and colors to avoid crowding: one larger mushroom with a couple of smaller ones works well. earthly tones—sage, terracotta, cream—with pops of coral or blush keep things cohesive. Use satin for the cap and backstitch for stems to add texture without clutter. Negative space helps the composition breathe.
A practical starter: a single large mushroom beside a bouquet of wildflowers. This anchors the scene while soft petals drift around it. This approach makes it easy to build a larger, cohesive panel later, using the same motif family.
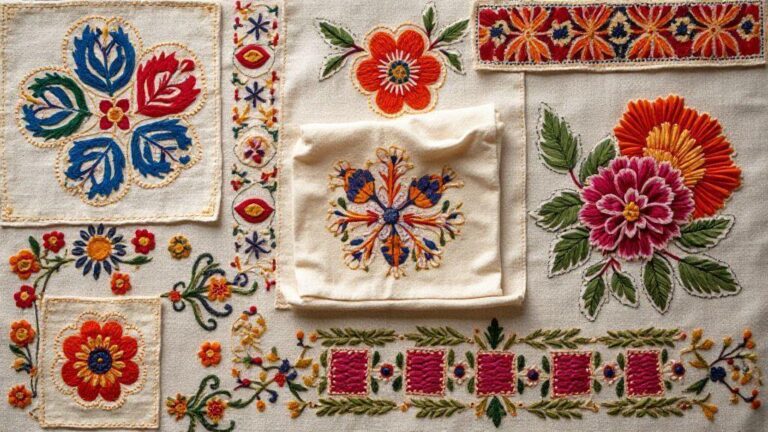
Vintage Cottagecore Embroidery Patterns You Can Copy
Vintage cottagecore patterns offer simple shapes and timeless charm. Look for teapots, potted herbs, and framed birds. These designs typically rely on straightforward stitches—backstitch, satin, and a few French knots—so you can finish without overwhelm. Copy a vintage sampler layout and add your own tiny touches for a balanced blend of old and new.
Thoughtful spacing is key. Leave room for your signature: initials, a small crest, or a tucked-in heart. Use softer threads to mimic an aged look, or brighter shades for a modern twist. Copy a cottage kitchen scene—a teacup, a loaf of bread, and thyme in a vase—and stitch with a limited palette and neat stitches for a nostalgic, homey piece.
Style Pairing Guide
Think in layers: base florals, accents like mushrooms or critters, and a final border or framed edge. Start with a soft floral base, then add boho or vintage accents, and finish with a tidy border or title banner. Choose a core color family you love—creams, sage greens, blush pinks—and add one or two contrasting accents to guide the eye. Match fabric and thread to the look you want: washed linen for vintage vibes, cotton poplin for clean brightness. Use stranded cotton for a classic finish or variegated thread for depth. Your piece should feel intentional, not crowded.
Turn Patterns into Hands-On Cottagecore Projects
Patterns are blueprints for cozy, real-life crafts. Treat them as invitations to create functional décor you can touch, hang, and use daily. See each pattern as a seed your hands can grow into a display-worthy piece. Practice helps color, texture, and scale work together to wrap your space in warmth.
Aim to move from pattern to product with ease. Start small, then build to larger pieces you’ll love living with. If a motif feels dated, tweak the colors or stitches to fit your room. Use patterns as jumping-off points, not prisons. Adjustments can turn a plain hoop into a charming art piece or a patch into a quilt square you treasure. Document your process with photos and notes to build a little library you can reuse. The goal is joy and function—finish something you’ll wear, hang, or display daily.
Make hoops, patches, and home decor from patterns
Turn patterns into everyday joy with hoops and patches. Choose a beloved pattern, pick fabric you love, and stitch at a calm pace. The result is décor that reminds you of patience and steadiness. Display a hoop on the wall or patch a tote, jacket, or pillow to weave texture and color into your space. Start with near-neutrals and add an accent later for balance.
Patches are small but mighty—great for repurposing old garments or linens. You can sew patches onto tote bags, denim jackets, or cushions to add texture. Choose a pattern that scales well to patch size and use a simple straight stitch or a clean satin border for a crisp look. The tiny stitches add up to cozy charm, keeping your pieces intentional and cohesive.
Home decor from patterns can be as simple as framed embroidery or a small wall hanging. Treat each piece like a tiny heirloom: framed art, a mini hoop with a seasonal motif, or a table runner. Use sturdy fabrics for durability. When you hang your finished piece, the cottagecore vibe shifts the room toward comfort. The key is to pick patterns you truly love and let your hands guide the rest.
Simple steps to finish and frame your work
Finishing turns a pattern into a real, usable piece. Secure threads, trim loose fibers, and smooth edges. Frame by stretching fabric over a hoop or mounting it on a small frame. A simple backboard or mat elevates the piece without losing the handmade feel. Consider a natural wood frame or a soft pastel to complement the colors. A quick fabric sealant or light ironing helps preserve the look, especially in sunlight.
Step-by-step project flow
- Pick a pattern and scale it to your fabric size.
- Cut fabric with extra for framing or mounting.
- Stitch with a simple, consistent pattern; keep tension even.
- Finish edges and secure threads; trim excess.
- Mount and display or frame your piece.
Your approach should be steady and simple. Following these steps helps your finished pieces look thoughtful and well-made.
Forest Mushroom Embroidery Pattern Download Free and Licensing
You can find a forest of cozy embroidery ideas with a Forest Mushroom Embroidery Pattern Download Free. This collection is designed to let you weave whimsy into projects without costly kits. Print patterns with gentle mushrooms, ferns, and woodland sprites that look great on scarves, tea towels, or wall art. It’s a starting point that stays simple enough for beginners but interesting enough to keep you stitching. The more you use these patterns, the more cushions, totes, and hoops tell your story in tiny, thread-filled chapters.
Downloading is just the first step. Check the pattern lines and notes to scale for your fabric. Some designs fit A4 sheets, others suit larger hoops. You’ll learn to adjust size and stitch density to fit your project. Pair a forest vibe with natural threads like linen or cotton to help the mushrooms pop. Small changes—like a bright red cap or a cream dot—can change the mood of your piece. Your finished work becomes a quiet story you can hang or gift.
If you’re after a cohesive set, keep color cheats handy. A simple palette—sage green, mushroom brown, and cream—lets you repeat the look across pieces. Keep a stash of staples that coordinate well with most forest motifs. For a touch of sparkle, a bit of metallic thread on cap edges adds a subtle glow without overpowering the rustic vibe. This approach gives you flexibility and consistency so your projects feel connected rather than patchy.
Check copyright and commercial use before you stitch
Always check copyright and commercial use before you start. Look for licensing notes with any Free Mushroom & Cottagecore Embroidery Patterns you download. If a pattern is personal-use only, respect that limit and avoid selling items made from it. If a license allows commercial use, note any restrictions, such as limited print runs or required credit lines. This upfront clarity saves headaches later.
If in doubt, contact the creator or hosting site. A quick message can confirm whether you can sell a tote bag or framed hoop with the design. Many creators grant permission with simple terms, like keeping the designer’s name on the piece or not altering the core design. Understanding these rules helps keep your projects legal and creative.
If you’re sharing online, respect attribution requests. Some designers want a mention in your post or a link back to their shop. Printing credits on a tag or label is another clean option. Respecting these wishes protects your relationship with creators and keeps the embroidery community thriving.
Where to find boho mushroom embroidery motifs and whimsical cottagecore embroidery ideas legally
You can find boho mushroom motifs and whimsical cottagecore ideas legally on pattern libraries and creator shops with clear licenses. Look for notes like personal use only, commercial license available, or royalty-free with attribution. This clarity helps you plan how to use the design across items you might sell or gift. Bookmark trusted sources and recheck licenses when you download—licenses can update. A well-chosen bundle can become the backbone of several projects—a wall hanging, a pillow, and a small embroidery hoop—so you get more mileage from one download.
If you want variety, seek creators who offer layered files or multiple colorways. These options let you experiment within a single licensing framework. A good bundle can support many projects and keep your shop or gallery cohesive.
Legal and print notes
When printing forest patterns, match printer settings to the file’s paper size. For PDFs, check scale—some patterns print at 100%, others at a reduced size to fit a hoop. Test print a small version before committing to a full batch. If you’re unsure about print quality, print a test swatch on plain paper to confirm lines and spacing look right on fabric.

I’m Sophie Caldwell, the author behind granaboom.com, and I believe hand embroidery is one of the simplest, most relaxing ways to create something beautiful with your own hands. I started this blog to help beginners learn hand embroidery without feeling overwhelmed by complicated instructions or “perfect” results.
Here you’ll find beginner-friendly guides to decorative embroidery stitches, along with clear step-by-step practice ideas and patterns you can use to build confidence. My focus is on making the learning process easy: simple explanations, helpful stitch combinations, and small projects that look polished even when you’re just starting out.
Welcome to granaboom.com—grab your hoop, choose a few colors, and let’s stitch one line at a time.