Simple Border Patterns for Embroidering Towels and Linens
Beginner towel embroidery borders you can master
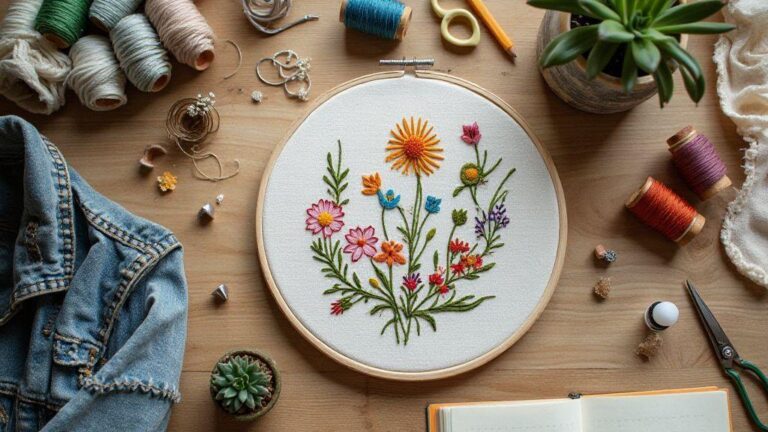
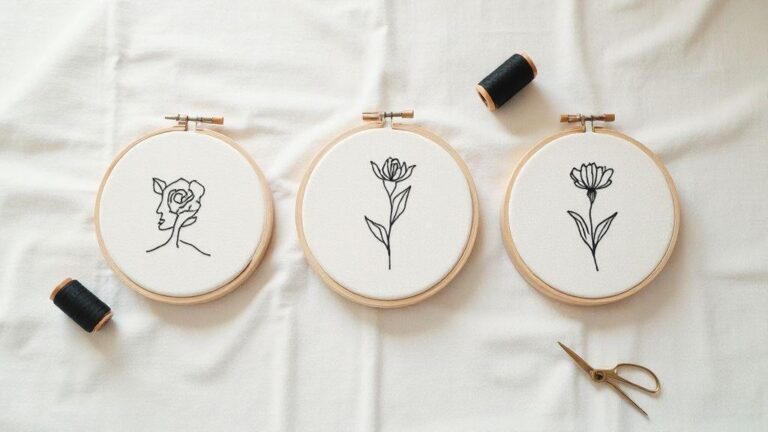
You’re ready to add charm to towels, and borders are a smart place to start. With Simple Border Patterns for Embroidering Towels and Linens, small repeatable motifs can look polished on every towel. Tackle one border at a time to build confidence, then mix patterns as you grow.
Your first borders should feel doable. Choose a width that fits tea towels or guest towels, and practice a few stitches along the edge. Notice how the fabric behaves and how your threads sit—this helps you avoid puckers and gaps later. As you gain familiarity, switch from straight lines to tiny motifs like berries or leaves that repeat along the edge.
Keep goals simple at first: a straight border, a dotted edge, and a tiny repeating motif. You’ll be surprised at how much your towels improve with steady practice, and you’ll soon stitch faster with neater threads and a touch of custom detail.
Simple Border Patterns for Embroidering Towels and Linens basics
Starting with core ideas makes embroidery smoother. Begin with a clean edge and a light touch so your border sits flat. A simple running stitch along the edge creates a clean, classic look and helps you measure evenly for a straight border.
Next, practice a small motif repeat. A tiny leaf or row of dots can look refined with just a few passes. Repeat the motif evenly to feel balanced rather than busy. With practice, borders become a simple, elegant signature on all your towels.
As you grow, mix borders on different towels: a straight line on one, a dotted line on another, and a tiny leaf motif on a third. You’ll learn how color, stitch length, and spacing change the feel without changing the technique, keeping results cohesive and varied.
Basic stitches: backstitch, satin, running
Backstitch provides a clean outline and sturdy edges for borders. Satin stitch fills small areas with smooth color; start with short, evenly spaced stitches and stop short of the edge to avoid bulging. Running stitch offers a light, airy border with a dotted line effect—keep stitches even and tension gentle to prevent puckering.
Quick tips to build your skills
- Practice on scraps before towels to save fabric and nerves.
- Use a light grip and slow, steady hands for even stitches.
- Mark a faint line along the border to keep things straight.
- Choose thread color contrast to see stitches clearly while learning.
- Finish with a light wash to set stitches and test pull.
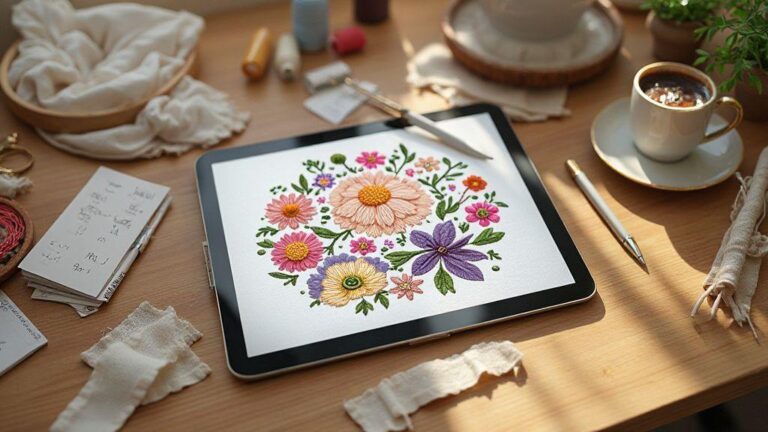
Transfer templates and hand embroidery border patterns for linens
Bringing border designs to towels and linens is easy with simple transfer ideas. Start with reliable templates that fit your project size, then tweak spacing for balance. Opt for timeless patterns with clean lines, tiny florals, or simple geometric borders to keep towels stylish wash after wash. Good templates help you stitch faster and keep edges straight.
Gather linens and set up a calm workspace: lay the fabric flat and align edges to avoid pull. Begin with a single repeat and measure the space between repeats for an intentional look. When finished, press lightly from the back to keep edges crisp. Think about ends too—a neat finish like a clean corner or simple miter keeps borders looking right after laundering.
Tracing templates and hoop placement
Tracing templates give precise lines to follow, ideal for consistent borders across several towels. Tape templates in place, then trace with a light pencil or erasable marker. If you use a hoop, position fabric so the border sits where you want it on the towel. Anchor the fabric at the hoop edge and adjust so the border sits about half an inch from the edge for a clean finish.
Hoop placement matters for neat stitches. If the border runs along the edge, use a smaller hoop near the edge and maintain even tension. Do a quick test stitch on a scrap to confirm tension and distance before starting the real work. Relax your grip and square your shoulders to stay aligned with the border line.
Choose a look: floral, geometric, scalloped or minimalist
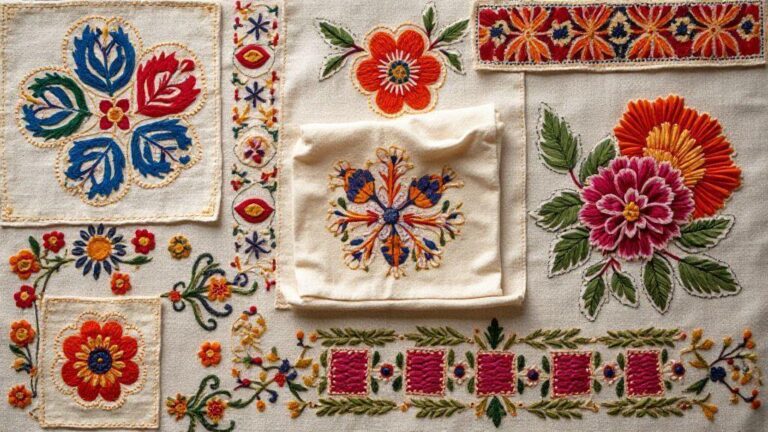
Pick a look that fits your space. Floral borders feel warm for kitchens or lounges, geometric borders offer a modern vibe, scalloped edges add vintage charm, and minimalist patterns stay quiet and sleek. Consider room colors and fabric type—some looks shine on linen, others on cotton. Try a small sample swatch to test how stitches sit in the fabric. If the stitches disappear on a busy pattern, you’ve gone too bold; if a single thread pops, you’ve found good contrast. Your choice guides stitch density, thread color, and the overall rhythm of the finished piece. If unsure, start with a floral border on linen and move to geometric on a towel for variety.
Floral border stitches for linens
Floral borders bring softness and a touch of nature. Use light, curving stitches that mimic petals and vines. Start with a simple satin stitch for petals, then add delicate stems with a fine backstitch. Use two to three thread colors that blend with the fabric for a subtle look. Keep spacing even and stitches snug so the border lies flat. A tiny bead can be an accent, but keep it restrained. Finish with a light press from the back to set stitches and prevent puckering.
Geometric border patterns for towels
Geometric borders add order and modern charm. Start with a repeatable motif—small squares, diamonds, or a row of triangles. Use one color first to gauge how the pattern sits, then add a second color for contrast if desired. Keep stitches even and lines crisp for a durable edge. As you gain confidence, try staggered rows or mirrored motifs for rhythm. Finish with a neat backstitch along the inner edge.
Match style to room and fabric
A border should mirror the room’s vibe and fabric’s feel. Minimal borders suit sleek towels; scalloped borders suit linen for timeless charm. If the room is busy, keep borders simple to let the fabric shine. If the space is calm and neutral, a gentle floral border adds warmth. The border should support the space, not compete with it.
Quick stitch designs and short projects
Quick stitch towel border designs for fast gifts
Aim for gift-ready borders that finish in minutes. Choose simple, mirrorable motifs, quick to stitch, and sturdy enough to launder. Use a basic running stitch or a short backstitch with coordinating thread. Align the border the moment you lay out the design to ensure clean, straight edges.
You can pick a bold, contrasting motif against a neutral border for impact. A clear rhythm—spacing, a short motif, a pause—creates a design that feels intentional.
15–30 minute patterns to try
In a short session, try a row of small diamonds or tiny clovers near the edge. Use symmetrical designs for easy placement. If you want color, add one contrasting thread to the motif while keeping the rest of the border simple. Finish in around 20 minutes for a gift-ready towel.
Simple border patterns for towels for last-minute work
When time is tight, go for a bold line along the edge with a tiny motif every few inches. A zigzag or wave along the edge creates texture with minimal steps. Choose finer thread for delicate looks, or thicker thread for punchy contrast.
Fast embellishments that look professional
For a professional finish, emphasize symmetry, spacing, and tight stitches. A small repeatable motif with a straight border line often looks refined. Stitch from the outer edge toward the towel body to avoid loose threads, and use one bold color for the motif against a neutral border.
Tools and thread: needles, hoops, and stabilizers
Choosing the right tools makes towel and linen embroidery smooth.
- Needle: size 70/10 or 80/12 for lightweight towels; 90/14 for thicker pile. Sharp needles glide best; universal or top-stitch needles work well for terry.
- Hoop: small, fabric-fitting hoop to keep stitches even.
- Stabilizers: tear-away for simple borders; cut-away for dense fills; wash-away top layers for pile fabrics.
- Thread: polyester embroidery thread resists washing and keeps color bright; cotton embroidery thread gives a softer hand on linens. Keep bobbins wound with matching colors.
Stabilizers match your fabric and thread to prevent puckering. Test stitches on scraps first, and ensure the stabilizer is properly placed behind the towel or linen before stitching.
Best needles and thread for towels and linens
For towels, a sharp needle in 70/10–80/12 range works well; bump to 90/14 for thick pile. Polyester thread lasts through washing; cotton thread gives a softer feel on linens. Rewind bobbins with the same thread used in stitching to maintain tension. A light stabilizer helps prevent edges from stretching.
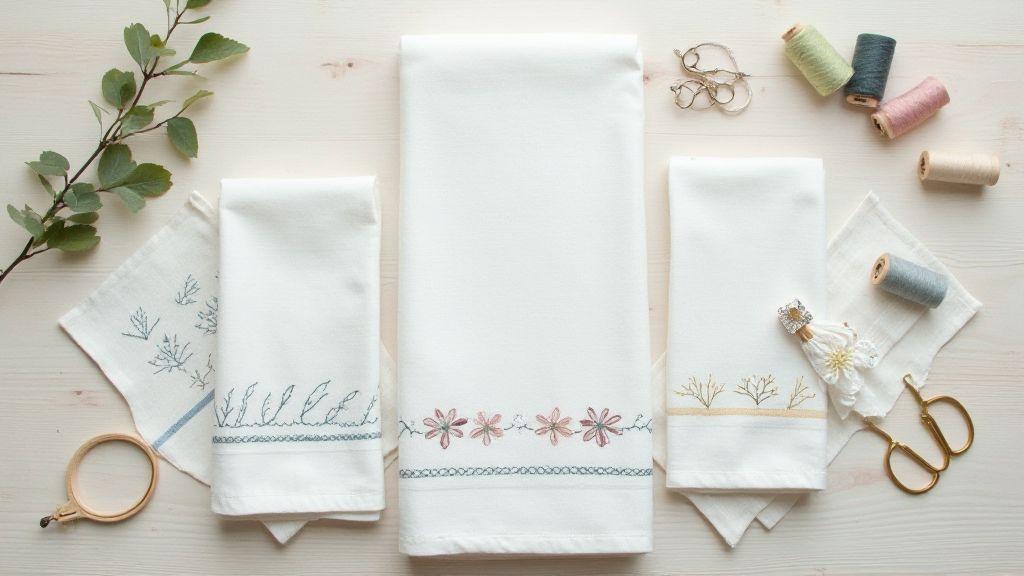
Easy linen border embroidery designs and supplies
Borders on linens add character without heavy work. Start with a simple edge border on runners, napkins, or pillowcases. Hoop carefully and use a light touch to avoid distortion. Choose designs with even stitches and minimal color changes for beginners. A small satin stitch for edges and a backstitch to anchor ends keep borders clean. Press gently from the back and trim any loose threads to finish.
Choose designs that fit your fabric width and leave a margin from the edge. Try a two-tone border for a modern look or a single color for classic style.
Choose supplies that make sewing easy
- Sharp needle 70/10–80/12; upgrade to 90/14 for thick pile towels.
- Polyester embroidery thread for durability or cotton for linen softness.
- Lightweight tear-away stabilizer for borders; cut-away for dense fills.
- Small embroidery hoop that keeps fabric flat.
- Wash-away stabilizer for pile fabrics.
Finish, wash, and care your embroidered linens
Care for embroidered linens to keep colors bright and stitches sturdy. Wash separately the first few times, then on a gentle cycle with cool water and mild detergent. Avoid chlorine bleach; air-dry or use low heat. Fold or roll flat to prevent creases. Treat stains gently and test a small area first. A careful wash routine preserves the border and the fabric.
Prewash, stabilizer, and measuring placement
Prewash fabric to reduce shrinkage. Use a light stabilizer for delicate linens, removing it after stitching as directed. Measure placement carefully, marking lightly to keep borders straight after washing. Anchor with pins or removable markers to prevent shifting during sewing.
Vintage linen border embroidery motifs and care
Vintage borders require extra care. Wash gently in cool water, trim fraying with sharp scissors, and store with tissue to prevent rubbing. Iron on low heat with a protective cloth to avoid heat damage. Protect colors from sun and harsh cleaners to keep the look timeless.
Washing tips to keep stitches bright
Wash in cool water on a gentle cycle with similar colors. Turn items inside out to reduce abrasion, and avoid chlorine bleach. Air-dry flat to prevent stretching. If ironing, use a low setting and press from the reverse side to keep stitches vibrant.

I’m Sophie Caldwell, the author behind granaboom.com, and I believe hand embroidery is one of the simplest, most relaxing ways to create something beautiful with your own hands. I started this blog to help beginners learn hand embroidery without feeling overwhelmed by complicated instructions or “perfect” results.
Here you’ll find beginner-friendly guides to decorative embroidery stitches, along with clear step-by-step practice ideas and patterns you can use to build confidence. My focus is on making the learning process easy: simple explanations, helpful stitch combinations, and small projects that look polished even when you’re just starting out.
Welcome to granaboom.com—grab your hoop, choose a few colors, and let’s stitch one line at a time.