Do You Really Need a Hoop? Alternatives for Hand Embroidery
Do You Really Need a Hoop? Alternatives for Hand Embroidery
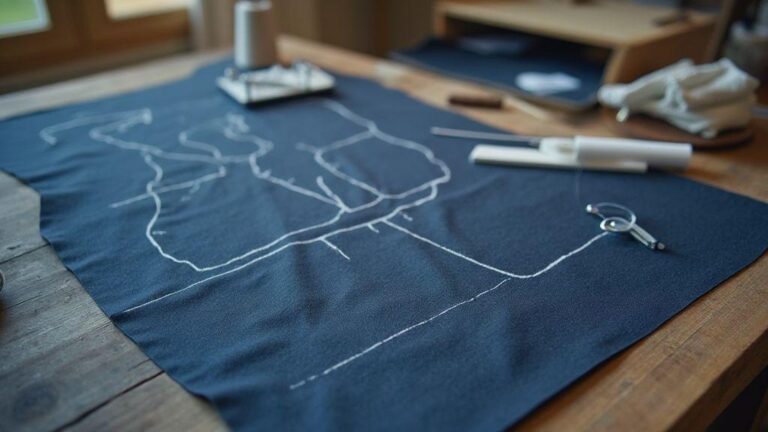
When you’re new to hand embroidery, you might wonder if a hoop is essential. The short answer: no. A hoop can help keep stitches neat, but you can start without one. Practice on scrap fabric or a towel secured to a flat surface. The key is to keep the fabric taut enough to move your needle easily, so you don’t wrestle with tugging fabric or skipped stitches. If the fabric is soft or stretchy, pin or tape the edges to a stable surface to prevent threads sinking in. Think writing on a page: a steady surface helps straight lines, but you can improvise without a desk.
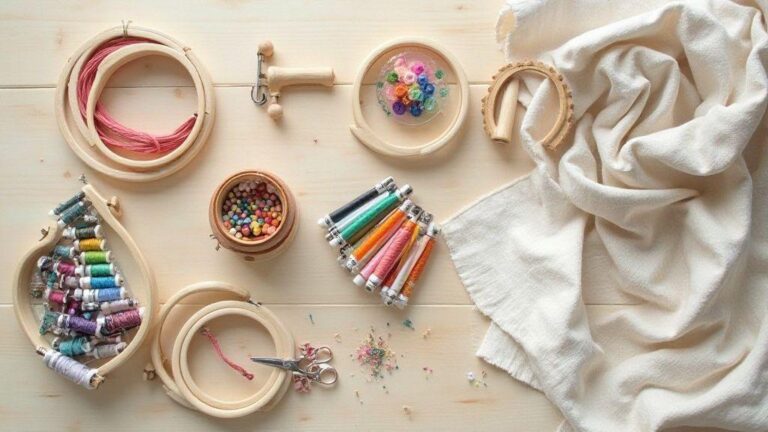
Alternatives can be just as comfortable and effective. Use a trusted flat surface like a sturdy clipboard or cork board with fabric stretched and clipped. A lap frame or sit-upon frame can hold fabric flat in your lap. Tape fabric to a smooth table or use a magnetic board with light grip. The goal is control and stitches landing where you want. On garments, flatten the area with your hand or sandwich it between layers to steady as you sew.
Results differ with or without a hoop, so try both. With a hoop, fabric stays taut and stitches stay evenly spaced. Without a hoop, you may get more texture or a looser look—exactly right for some styles. For simple backstitch or satin stitch, a hoop can provide cleaner lines; for textured fillings or freehand embroidery, skipping the hoop invites reliance on grip and wrist movement. Your preference will grow as you try both.
When a Hoop Helps Your Stitches
Crisper lines and even tension come from the hoop. The hoop keeps fabric taut so your thread passes cleanly. It’s especially useful for small designs or tight stitches, where consistent stitch length and uniform gaps matter. In projects you’ll wash or wear often, a hoop helps prevent distortion while you stitch.
It’s faster to learn with one in the mix. A hoop provides a reliable frame to practice basic stitches like running stitch, backstitch, and satin stitch. With less fabric wobble, you’ll see progress more quickly. Once you’re confident, you can test your skills by removing the hoop and stitching freely.
When You Can Skip the Hoop
Skip the hoop when you want more texture and flexibility. Not using a hoop lets you feel every move of your needle and thread, producing a looser, more organic look that suits rustic styles. It’s also handy for large projects where a hoop would get in the way. If your fabric is stiff or thick, you may find it easier to grip and guide without a hoop.
Use your hands and clever holds to keep fabric steady. Pin the fabric to a stable surface or tape the edges to a board to stop shifting. A flat, firm surface with gentle tension is enough once you get the hang of it. For garments, stabilize with a layer of muslin or an old towel. Practice a few stitches, adjust your grip, and you’ll find a rhythm that works for you.
Quick pros and cons of embroidery hoops
- Pros: They keep fabric taut for neat stitches, reduce fabric drift, and help beginners learn even tension quickly. They’re portable, affordable, and great for small designs; you’ll often see faster early progress with a hoop.
- Cons: They can be bulky on large projects, may leave marks on delicate fabrics, and can restrict wrist movement. They’re not ideal for very stretchy or very thick fabrics and can slow you down if you’re working freely.
How You Can Embroider Without a Hoop
Embroidery can yield great results without a hoop. When you hold your fabric steady with your hands, you gain control right where you need it. Practice builds confidence, and stitches become cleaner as you learn to stretch gentle tension with each pass. Remember, the goal is clean stitches, not perfect tension every time.
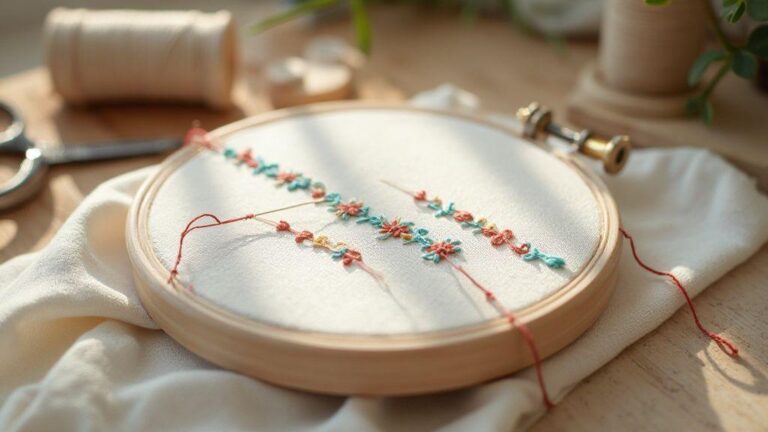
Start with simple patterns that don’t pull on the fabric too much. Straight lines, tiny leaves, or dots are ideal. If thread twists, pause and re-tug to relax it. A little tug goes a long way. The more you practice freehand, the more natural your movements will become, and your hands will remember the rhythm you create.
If you’re working on a busy surface, choose light fabrics or use a stabilizer temporarily to prevent shifting. You don’t need a hoop to get neat results, but a calm workspace helps you focus on your stitches rather than fighting the fabric. With time, you’ll learn to read the fabric’s pull and adjust on the fly.
Hand embroidery without hoop techniques
Rely on your fingers and a steady touch to guide each stitch. Let your non-dominant hand hold the fabric flat, while your dominant hand slides the needle smoothly through the fibers. If the fabric bunches, pause, loosen your grip a touch, and reposition. This keeps lines neat and the fabric from puckering.
Anchor stitches at the start and end of a motif to hold your design in place and reduce shifting. When you finish, press lightly from the back with a clean cloth to set stitches and remove loose loops. Use short, controlled motions rather than long, jerky pulls. If you’re sewing on clothing, practice on a scrap first to learn how the fabric behaves. Do You Really Need a Hoop? Alternatives for Hand Embroidery shows you can stay flexible and still achieve tidy work.
Simplest steps to stitch without a hoop
- Start with clean, flat fabric and a straightforward stitch like backstitch or running stitch. Thread a comfortable length of floss and tie a small knot. Bring the needle up from the back and go straight down to form a clean line. Finish with a tiny back stitch to secure.
- Keep your grip light and your hand close to the work. Move slowly and check tension often. If you see puckering, ease up and adjust your grip. A calm approach helps you keep stitches even and precise.
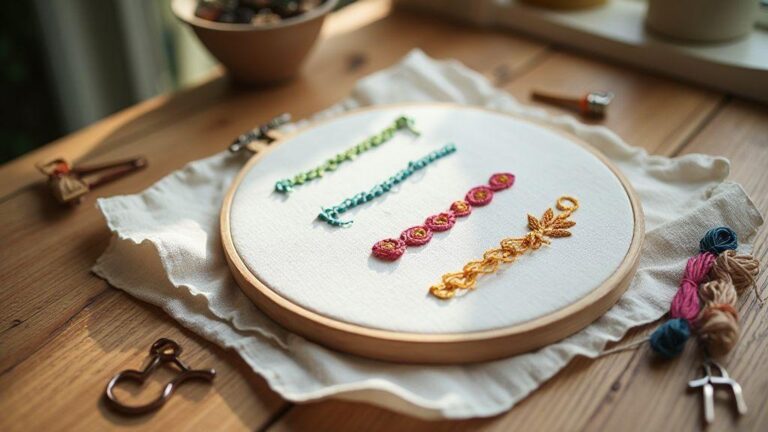
- Practice a few small motifs daily to see steady progress. Your freehand work will become more confident and sharper without needing a hoop.
Tensioning Methods for Your Hand Embroidery
Tensioning steadys fabric so stitches stay neat. If fabric sags, lines will look loose; if too tight, fabric might pucker. Start with a simple setup and adjust as you go, especially when switching stitches. Think of tension like a bridge cable—an even pull across the piece keeps each stitch just right.
Experiment with different methods to find what works for you. Your hand and eyes will learn to feel when the fabric is just right. A little practice goes a long way, and stitches line up more evenly as you become aware of how the fabric behaves under tension. The goal is flat fabric and snug but breathable thread.
Remember, tension isn’t one-size-fits-all. Different fabrics, threads, and needles change how tight feels. Start light and adjust as you sew. Your hand will tell you when to loosen or tighten, and your finished piece will show the care you gave at every stitch.
Using basting and pins for even tension
Begin with basting stitches to hold fabric in place and keep tension even across the area. Basting acts as a gentle guide, preventing shifts as you work. Pin fabric taut in small sections, especially along curves or corners, and check tension by lifting the work gently. Remove pins and basting as you start actual stitches. This keeps fabric from shifting mid-stitch and helps your stitches land where you want.
Weights and clamps as tensioning methods for hand embroidery
Weights pull fabric taut without piercing it, while clamps secure corners or edges for a firm working border. This is great for larger projects or fabrics that slacken as you stitch. Repurpose household items like small tins or washers as weights, and use binder clips or sturdy clips as clamps. Combine weights with a light stabilizer on the back for tricky areas to reduce pulls and puckers and achieve cleaner results.
Best tension tips for neat stitches
Keep the fabric steady at all times and check tension often. Avoid over-tightening, which can distort or stiffen the fabric. If tension becomes an issue, loosen slightly and continue. Practice at a mindful pace to keep lines balanced, and take breaks to recheck your setup.
Hoop Substitutes and Frames You Can Try
Embroidery without a traditional hoop is doable, with options that fit your project and mood. Start with one substitute for a small project to feel the tension, then switch if needed. The goal is smooth stitches with steady tension, not stretched or puckered fabric.
Common hoop substitutes for embroidery
A self-healing cutting mat with a grippy edge can hold lightweight fabrics; a sticky lint roller or painter’s tape can pin edges to a soft surface. A small embroidery frame with adjustable tension offers steady control without the bulk of a hoop. A magnetic board works for tiny motifs where you only need to hold a corner briefly. Mounting fabric on a cork board or foam core with straight pins lets you pull fabric taut in sections. A strip of double-sided tape along the edge helps on firmer fabrics.
Using frames for hand embroidery and when to choose them
Frames are portable and reusable, ideal for long sessions or large patterns. They help keep fabric evenly taut and reduce fatigue, especially with repeat stitches. For textured stitches or dense fills, frames keep fabric flat and tension even. Start with a small frame on a flat table, then practice rotating the fabric to maintain even stitches.
Choosing the right substitute for your project
Choose based on fabric type, stitches, and how long you’ll stitch in one sitting. For slippery fabrics, a cork board with pins helps prevent shifting; for crisp outlines on even-weave fabrics, a small frame or magnetic board might be best. For quick, small motifs, tape or a simple substitute can save setup time. Comfort and availability matter—test a few options on a scrap to find what feels natural.
Lap Embroidery vs Hoop: Which Fits Your Project
Lap embroidery rests fabric on your lap or a flat surface with no frame, giving freedom to move and adjust tension as you stitch. It’s forgiving for large, soft fabrics and simple shapes and saves setup time. A hoop holds fabric tight for precise shapes, small details, or dense stitching, helping you see tension clearly and reducing puckering. For many beginners, starting with lap embroidery and adding a hoop for tricky sections can be the best approach, or you can switch mid-project as needed.
Benefits of lap embroidery for steady work
Laps embroidery lets you rotate the fabric and adjust tension by feel, which builds rhythm without a stiff setup. It’s well-suited to larger fabrics like linen or cotton blends and helps you maintain momentum.
When a hoop improves speed and accuracy
A hoop flattens stitches and reduces fabric movement, making it ideal for tiny details or consistent spacing. It’s especially helpful for lettering, petals, or geometric motifs and for delicate or pucker-prone fabrics.
Match method to fabric and design
For large, soft fabrics and flowing lines, start with lap embroidery and switch to a hoop for small parts or dense details as needed. A magnetic or clip frame can offer quick setup and easy adjustments. Do You Really Need a Hoop? Alternatives for Hand Embroidery: start with lap work and switch to a hoop only where steadiness is required; test both methods on a scrap and follow what feels natural for your design.
DIY Embroidery Clamps and Mounts You Can Make
DIY clamps and mounts can improve embroidery steadiness without buying a hoop. Start with simple builds and customize as you gain confidence.
Simple DIY embroidery clamps and mounts
Use a sturdy wooden frame with tightening screws and wing nuts to press fabric quickly. If you don’t have clamps, a large binder clip with a cardboard backing works for small practice pieces. A cork or foam backing can grip fabric gently, mounted on a tabletop with a small block underneath the frame. A sandwich method, like cling wrap or a thin plastic sheet between fabric and clamp, reduces snagging and keeps stitches even.
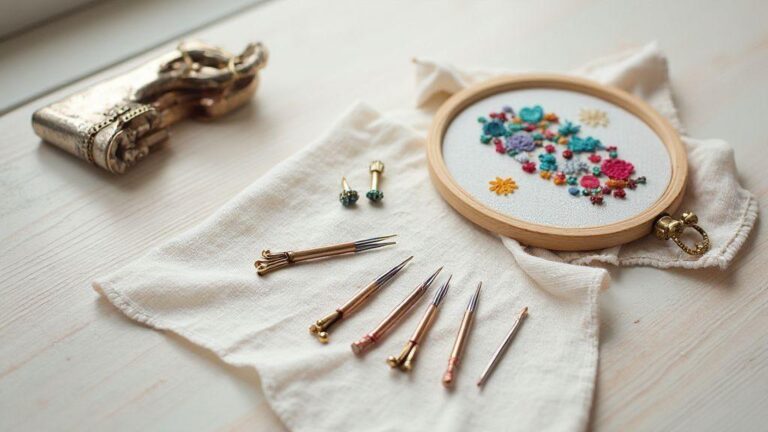
Tools that act as hoop substitutes for embroidery
Flat, stiff surfaces can help you keep lines straight. Cardboard or a thin cork board can grip fabric with light pressure. Tape the edges to hold fabric without pulling too tight. A magnetic pinboard with magnets and clips lets you reposition fabric as you stitch. If concerned about marks, place a thin muslin layer between fabric and magnets.
Safety and care for homemade mounts
Ensure clamps don’t pinch skin or snag threads. Tighten screws slowly to avoid crushing fibers. Keep the workspace clear to prevent accidental tugs. If wood edges roughen threads, sand or tape them. Clean mounts after use to remove dust and fibers. Store mounts flat or hanging to keep fabric wrinkle-free. With care, your DIY clamps stay reliable and comfortable to use.
Do You Really Need a Hoop? Alternatives for Hand Embroidery offers flexible approaches to stitching, whether you prefer lap work, hoops, or a mix. By testing substitutes on small projects, you’ll discover the method that yields the neatest, most satisfying stitches for your fabric and design.

I’m Sophie Caldwell, the author behind granaboom.com, and I believe hand embroidery is one of the simplest, most relaxing ways to create something beautiful with your own hands. I started this blog to help beginners learn hand embroidery without feeling overwhelmed by complicated instructions or “perfect” results.
Here you’ll find beginner-friendly guides to decorative embroidery stitches, along with clear step-by-step practice ideas and patterns you can use to build confidence. My focus is on making the learning process easy: simple explanations, helpful stitch combinations, and small projects that look polished even when you’re just starting out.
Welcome to granaboom.com—grab your hoop, choose a few colors, and let’s stitch one line at a time.