Long & Short Stitch Tutorial: The Foundation of Realistic Shading
Long & Short Stitch Tutorial: The Foundation of Realistic Shading
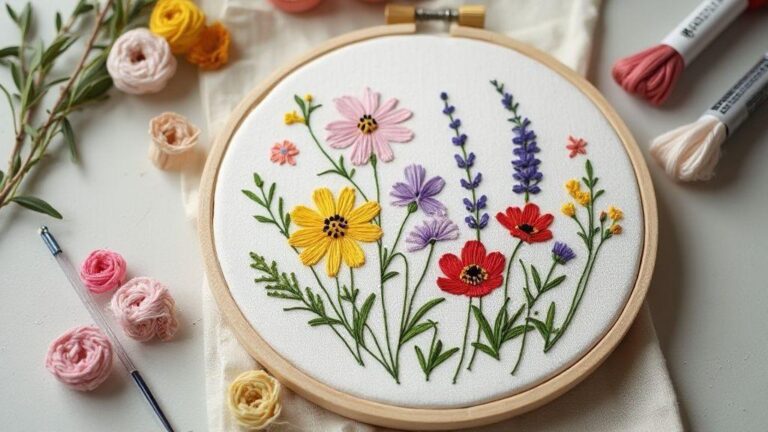
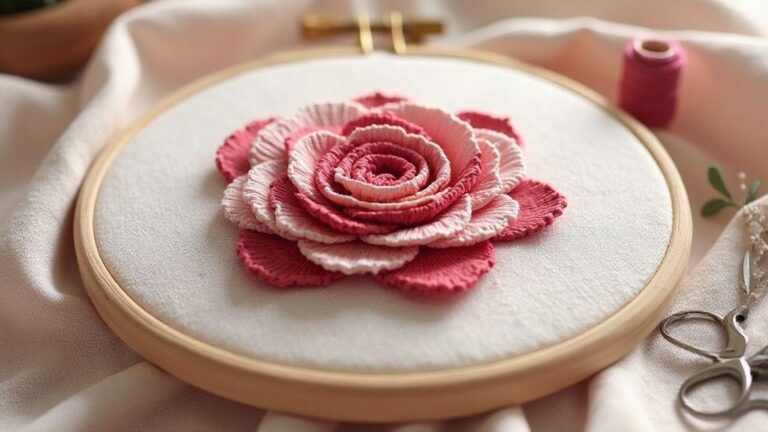
You’re about to learn a simple, powerful way to add life to your embroidery. The Long & Short Stitch Tutorial: The Foundation of Realistic Shading creates smooth shading and depth, turning flat fabric into a picture. This guide shows how small steps stack up to a realistic look—clear, practical, and ready to start now.
Think of it as painting with thread: your needle is the brush and the fabric is the canvas. By the end, you’ll blend colors and build soft transitions without rough lines, giving your work a polished look without complicated steps. Ready to shape your stitches? Your embroidery journey begins here.
How you start long and short stitch techniques
Begin with a plan for light, midtone, and shadow. Set your fabric taut, choose a color order, and start with a long stitch that runs with the shape, then fill with shorter stitches to blend. Keep the needle nearly parallel to the fabric and let stitches overlap slightly to hide gaps. This rhythm makes transitions feel natural.
Place your first stitches with awareness of edge direction. Use longer stitches for light areas and shorter ones where color fades. Expect a gradual shift from long to short as you move across the area. Don’t rush the breaks—tiny stitches soften the line where colors meet, creating a smooth transition rather than a harsh band.
How you trace shapes and mark color areas
Outline shapes lightly with pencil or a washable fabric marker to guide long and short stitches. As you work, fill within traced boundaries and guide new stitches along the edge to blend into the next color if needed.
For color areas, start with a base shade for light, add a midtone, then choose a darker shade for shadows. Layer colors gradually with slight overlap to achieve a soft edge. Test a small patch on scrap fabric to preview the blend if you’re unsure.
Quick beginner stitch rhythm
Begin with a few long stitches in the direction of the shape, then add short stitches to fill gaps. Keep stitches evenly spaced and avoid pulling the thread tight. Practice this sequence on scrap fabric to lock in the motion, then adjust as you go. If a line looks too sharp, extend the next stitches slightly to float the color into neighboring shade. Consistency builds confidence and a comfortable tempo.
Your color blending for realistic shading
Choose colors that sit next to each other on the color wheel. Start with a light base, then add a slightly darker shade for shadows. Aim for soft blends rather than abrupt jumps. Test blends on scrap fabric and squint to see where shadows fall—this habit saves rework.
Treat threads like painters’ brushes: layer them. Start with a base, add midtones, then a hint of shadow. Use longer stitches where light hits and shorter ones where depth is needed. If you see harsh lines, adjust tension and try another pass. Mixing warm and cool tones can mimic natural light, with occasional lighter or darker threads mid-stroke to soften edges.
How you blend threads long and short stitch
Long and short stitches are your shading workhorses. Blend by laying long stitches in lighter areas and short ones for more texture. Start with a light thread and sweep across with a few long stitches, then fill with shorter, overlapping stitches for a smooth gradient. If the transition is abrupt, blend along the seam with a midtone. Keep thread control loose enough for soft results. When approaching a shadow edge, switch to a darker shade and let longer stitches blend into shorter ones. Practice on scrap fabric to ride the curve of the design confidently.
If a mistake occurs, cover it with a few extra stitches of the neighboring shade. Layering creates a seamless glide from light to dark, like sunlight filtering through leaves.
Which colors to layer for realistic embroidery shading tips
Base with a shade close to the fabric, then add two or three midtones for depth. One main shade plus a cool tone to hint shadow works well. Layer instead of replacing; each new color should nudge the previous one.
Test blends on scrap. A tiny color swap can change the shading mood. A cooler underlayer beneath warm light can make highlights pop. Don’t fear a whispered contrast; shading thrives on balance, not loud color clashes. Keep transitions soft by using midtones between base and darkest shade. If a color feels off, redraw a step or two in your mind before re-stitching. Your piece will benefit from patience.
Simple thread blending steps
- Start with a light base, then add a midtone.
- Introduce a darker shade in small increments where shadow falls.
- Use long stitches in light areas and short stitches in shadow, blending at the edges.
- Test on scrap fabric and adjust until you get a seamless gradient.
Your thread layering and tension control
You guide every stitch. Layer threads like a painter, adding lighter colors on top of darker tones to create dimension. For decorative stitching, layering helps you build subtle shadows with thin passes first, then bolder threads where you want pop. Keep your base color harmonious with the top layers, aiming for a natural shift from light to shadow without harsh stripes.
Work in passes, spacing them a little and varying stitch length. If lines feel harsh, ease back and let colors melt together. Practice on a small sampler to see how layering reads on fabric, building confidence for real projects. Balance is key: enough layers for depth, but not so many that the fabric puckers or the color becomes muddy. Check shading from different angles and back off if a line dominates too much.
How you layer threads to build depth with thread layering shading techniques
Layering starts with a plan: where light would hit, place a light thread first, then add midtones with slightly richer threads, and finally drop in the darkest colors to push creases and folds forward. Short, overlapping stitches can simulate subtle gradations, but watch stitch density so the fabric reads cleanly.
Choose tools wisely: a finer needle for delicate shading, looser tension for a smoother lay. Blend colors on the fabric by letting threads kiss at the edge of a stitch, rather than stamping solid blocks of color. Maintain even spacing so layers read as one cohesive surface.
Experiment: try three or four layers on a small motif and compare with a single-layer version. You’ll quickly feel how added depth changes the look, and your instinct will sharpen from seeing which combinations read most realistically.
How you adjust tension to avoid puckering
Tension matters for smooth shading and clean edges. If the fabric goes slack, stitches flare; if too tight, puckering destroys texture. Do a test stitch on scrap to dial in a comfortable middle ground. Work with a light touch: loosen top thread slightly if it pulls too much; tighten a bit if stitches gape. If puckering appears at edges, slow down and recheck the fabric’s grain alignment.
Tip: use a stabilizer or interfacing for fabrics prone to puckering, especially with multiple passes. Lift your piece to check for tucked fabric in tight spots. If you see puckers, ease tension and smooth the area in your next session.
Tension check routine
1) Run a small stitch sample to confirm the top and bobbin threads mesh. 2) Ensure the fabric lays flat. 3) Adjust tension in small increments. 4) Restitch the sample and compare. 5) Proceed with your project using the same settings.
Your fabric, needle, and thread choices
Choosing the right trio is crucial. Start with a fabric that holds stitches well—linen or evenweave cottons offer stability. The thread should glide smoothly through the fabric; choose a needle that suits the thread weight and the surface you’re aiming for. A sharp needle works for tight detail; a ballpoint suits satin-like textures. Consistency in needle size and thread weight across the design helps unify the shading.
For shading, opt for fabrics that don’t stretch excessively. A tight weave gives clean lines and better bite for delicate threads. Cotton perlé or rayon silk blends can look smooth and luminous, depending on the base. Always test a small sample with the intended stitch to see how stitches sit and color layers layer.
If you switch fabrics, note changes in stitch density and shading readability. The right fabric, needle, and thread make your stitching read like a painting, not a collection of stitched lines.
Which fabric gives the best base for realistic shading embroidery
A tight, even weave is ideal. Linen or high-thread-count cottons grip threads for natural color blending and clean stitch lines. If a softer look is desired, a slightly looser weave can work, provided the shading still reads clearly.
Test swatches on two fabrics (tight and slightly looser) to compare how colors blend in long and short stitches and how edges soften. The best base supports graceful color transitions, like a watercolor wash that holds the detail.
Which needles and thread weights suit long and short stitch techniques
Use a medium needle for long and short stitches—neither too sharp nor too blunt—so you control placement without tearing the fabric. Match needle size to thread weight: finer threads need thinner needles; thicker threads benefit from sturdier needles. Balance thread weight with fabric: heavier fabrics pair with thicker threads and larger needles; lighter fabrics with finer threads and smaller needles.
Thread weight affects shading readability: lighter shades can be split into finer filaments for gentle blends; darker colors can be slightly bunched for depth. Aim for mostly uniform stitch length to keep shading seamless. Remember: the needle guides the thread; the thread shapes the color wall you build.
Prep your materials checklist
Gather base fabric, several needle sizes, and multiple thread weights. Have a cutting mat, scissors, and a fabric pen to map shading. A magnifier helps with tiny details. Prepare a few practice swatches to test shading before the final piece. Label threads by color family and weight to avoid mix-ups. A tidy workspace helps you flow through long and short stitches and see your shading evolve.
Your long and short stitch step by step workflow
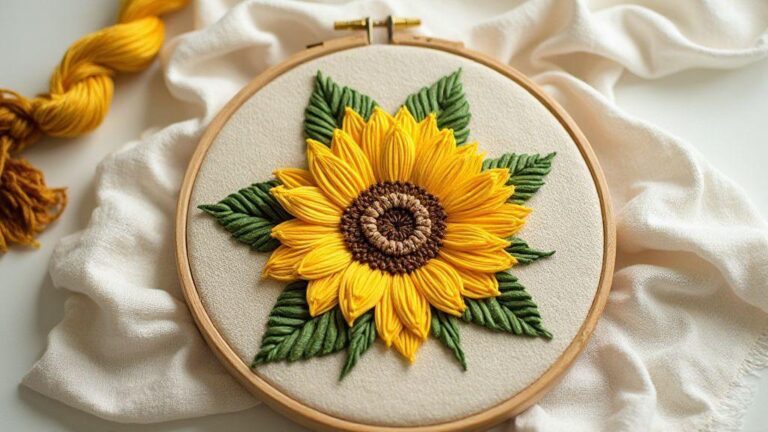
Start by choosing thread colors with a simple plan, like laying out a garden. Use a clean fabric and fresh needle, threading a manageable length. Work in small, deliberate motions and check progression from a few inches away. The layers of color will come to life as you see how each stitch adds depth and texture. Keep tension even and align stitches; the steady rhythm makes the long and short mix feel natural.
Map values and highlights first to avoid muddy zones. Begin with the lightest color for highlights, placing longer, parallel stitches along the contour. Then add midtones with shorter stitches to blend into the light areas. Maintain a mental ladder of shade steps; each stitch should connect to the next shade without skipping. If a highlight seems too bright, blend it gently with adjacent mid-tones.
Next, stitch in horizontal rows for smooth color blending. Move steadily across, keeping stitches evenly spaced and aligned. When you reach a new color, taper stitches slightly to blend into the next row and avoid obvious seams. Practice this row technique to achieve a cohesive, watercolor-like effect. If a harsh edge appears, adjust tension or rework a small section to restore flow.
Practice piece plan
Create a small, controlled study to test long and short stitch play. Choose a tiny shape with a clear light source (a leaf with bright highlight and deep shadow works well). Gather 3–4 thread shades and lay out a simple grid on your fabric. Stitch in rows, blending colors, and compare with your reference. Use this rehearsal to note tension changes or color jumps. This plan keeps you focused and helps you replicate the look later with confidence.
Practice troubleshooting and advanced shading tips
Shading like a thread painter, you’ll fix gaps or uneven areas calmly. Check fabric tension and needle choice first. If shading jumps or looks blotchy, slow down, align lines, and settle on a controllable stitch length. Keep a small hoop handy and test a quick sample on waste fabric before the actual project. Your goal is consistency, not perfection on the first try.
If gaps appear between passes, add a tiny, fine stitch in the same direction with a lighter thread to bridge it. Even stitching depth helps the shading stay smooth. For muddy colors, fade between shades with micro-steps rather than bold transitions. Layering is your friend for depth, not one bold stroke. If densities feel uneven, reset posture, keep the hoop steady, and guide the needle with the wrist. Rotate the fabric to maintain eye level with the line. Tiny habits add up to a professional finish.
How you fix gaps and uneven shading in an embroidery shading tutorial
Gaps are easier to spot from a distance; fill them with a delicate pass using a shade slightly lighter or darker than the neighbor. Lay a single line across the gap and blend into adjacent stitches. Small, precise touches restore continuity without adding noise.
Uneven shading often comes from inconsistent stitch length. Develop a steady rhythm: pause at stitch ends, then resume with the same length. If a section looks flat, add micro-splits or a whisper of a stem stitch in a slightly different direction to lift subtlety. If layers stack too densely, lift a thread with a tiny crochet hook to soften the edge. Shading should gradate smoothly, like a gentle sunrise.
How you add texture with tiny stitches and split stitch accents
Tiny stitches create a velvet-like texture that reads depth from afar yet feels tactile up close. Use a crisp thread with even tension, placing small clusters along shape edges to imply fabric grain or fur direction. Split stitch accents add crisp definition without harsh lines; start with a short backstitch, then split the thread as you move to create a jagged, lively outline. Use split stitches sparingly to separate color blocks or emphasize curves. Alternate between many tiny stitches and a few longer passes to mimic real surface variation. For extra punch, add a few horizontal or diagonal micro-stitches to suggest directionality, like fabric brushing in the wind.
If you’d like to explore even more, this Long & Short Stitch Tutorial: The Foundation of Realistic Shading remains your go-to resource for turning stitches into a painterly finish.

I’m Sophie Caldwell, the author behind granaboom.com, and I believe hand embroidery is one of the simplest, most relaxing ways to create something beautiful with your own hands. I started this blog to help beginners learn hand embroidery without feeling overwhelmed by complicated instructions or “perfect” results.
Here you’ll find beginner-friendly guides to decorative embroidery stitches, along with clear step-by-step practice ideas and patterns you can use to build confidence. My focus is on making the learning process easy: simple explanations, helpful stitch combinations, and small projects that look polished even when you’re just starting out.
Welcome to granaboom.com—grab your hoop, choose a few colors, and let’s stitch one line at a time.