What Is Sashiko? The Complete Beginner’s Guide to Japanese Embroidery
What Is Sashiko? The Complete Beginner’s Guide to Japanese Embroidery
What sashiko means and why you’ll love it
Sashiko is a traditional Japanese stitching style that looks simple but carries character. It’s easy to learn and yields visible results quickly. Using a running stitch to create geometric patterns, you only need thread, a needle, and fabric. The act of stitching can be meditative, a calm rhythm that helps you slow down. Stitches stay tidy and forgiving if you slow down, and designs can be plain or bold, making sashiko ideal for beginners who want room to grow. Think of sashiko as a portable tiny art project that personalizes everyday clothes and linens.
How sashiko began as practical mending in Japan
Sashiko began as a practical craft to reinforce worn fabric and mend holes in workwear, focusing on warmth and longevity rather than decoration. The simple running stitches added strength where fabric wore thin, forming tiny geometric patterns. Over time, this practical technique evolved into a beloved art form that remains honest and usable.
Quick history snapshot
Rooted in rural Japan among fishermen, farmers, and makers, sashiko patterns started as simple lines echoing daily tasks. In the Edo period, designs grew more elaborate yet stayed accessible to common people. A mid-20th-century revival brought renewed interest, and today sashiko is enjoyed worldwide while honoring its community-minded beginnings.
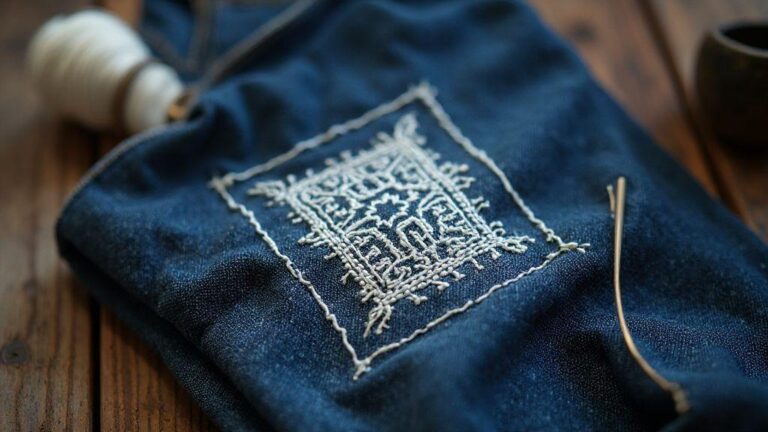
What is sashiko? The Complete Beginner’s Guide to Japanese Embroidery
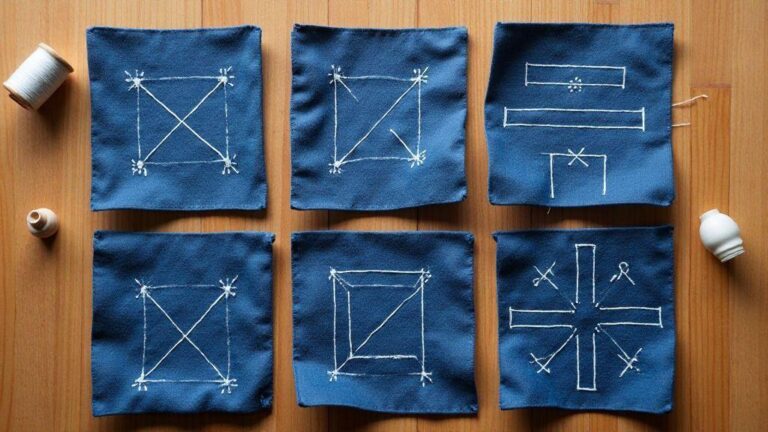
Sashiko is a simple running stitch that creates small, strong, decorative designs on fabric. It’s most often seen as white cotton thread on indigo cloth, producing a clean, geometric look. Beginners typically start with basic patterns—straight lines, squares, and simple diamonds—to learn control and tension. The joy comes from steady improvement: stitches become even, lines straighter, and a sense of pride grows with each project. You don’t need to be an artist to enjoy sashiko—just start with calm stitches and let the pattern guide you.
Sashiko materials and tools you need
Starting with the right tools helps you stitch with confidence and calm flow. Build a small, reliable kit you can grab and go, so you spend more time stitching and less time hunting for supplies. Choose tools that feel comfortable in your hand and stay consistent.
Sashiko thread, needles, and fabric choices
- Thread: 12–20 weight thread gives clean, bold lines on dark or light fabrics. Test a scrap to ensure the stitch sits neatly.
- Needles: A sharp sashiko needle with a short, sturdy shaft supports precise stitching. On heavier fabrics, a slightly thicker needle may help, but keep the point sharp.
- Fabric: Start with tightly woven cotton or linen for a firm grip that keeps stitches even. Plain surfaces help you see the white thread clearly; you can experiment with contrast later.
- Tips: Keep tension steady and avoid frayed edges or skipped stitches. Choose fabrics and needles that feel comfortable in your grip.
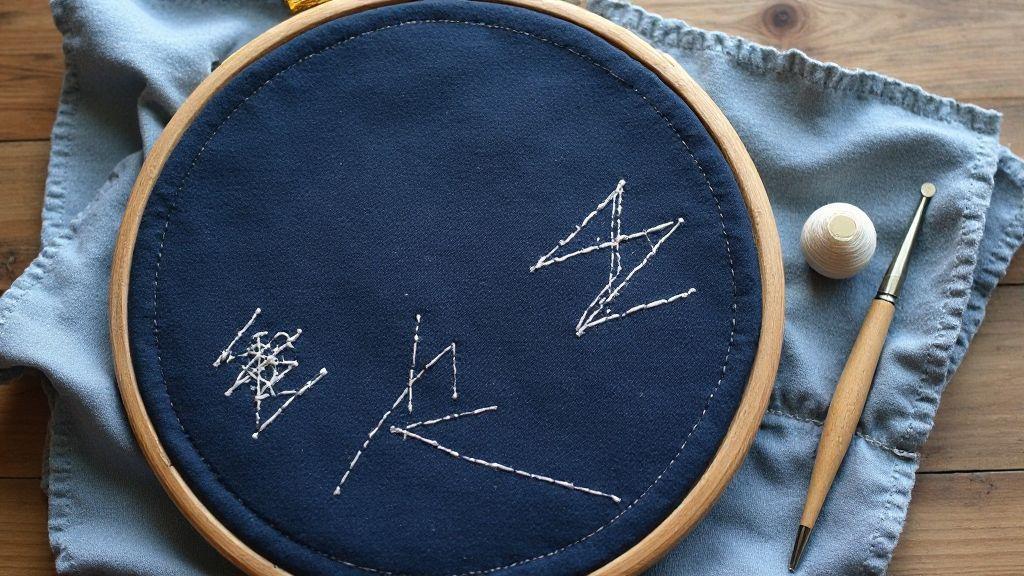
Optional tools: hoops, templates, and marking pens
Hoops can keep fabric taut for larger pieces, though they’re not required for every project. Templates and marking pens help map the design first; use erasable markers to keep marks from showing on fabric. Light, clear templates help your stitches read cleanly.
Essential kit list
Pack a compact set: thread, needles, fabric, scissors, a thimble if you like extra protection, a ruler, and a small scrap for testing. Include spare needles and a cloth for cleanup. A few marked fabrics help you test tension before you start.
Sashiko embroidery techniques for beginners
Sashiko turns simple stitches into sturdy, decorative fabric. Start with a basic line pattern to learn how the thread sits flat and the fabric remains steady. Mastery comes from a calm, relaxed hold, steady fabric tension, and a patient pace. Over time you’ll build a library of stitches you can reuse, moving from basic patterns to more complex designs. The running stitch forms the foundation; as you gain control, you’ll layer patterns and add texture.
The running stitch and rhythm you’ll learn
The running stitch uses even, small gaps as you move the needle in and out. A steady rhythm—breathing with your stitches—keeps lines clean and spaces even. Keep thread lengths modest to avoid tangling and unnecessary waste. Don’t worry about a stitch being off by a hair; sashiko embraces small imperfections that blend into a graceful whole. This rhythm becomes natural and your hand moves with minimal thought.
How to count and keep even spacing
Counting helps you keep lines uniform: track how many fabric threads each stitch covers and maintain consistent spacing. Lightly mark the fabric to stay aligned, and check marks every few stitches to catch drift early. Precise spacing matters as much as stitch length; drills that emphasize even spacing translate into more intricate designs with confidence.
Practice drills to build speed
Begin with rows of even stitches. Start slowly and gradually increase pace while preserving precision. Add a second line beside the first to build muscle memory for spacing and alignment, or practice back-and-forth lines to improve tension as you change direction. Consistent practice turns a beginner’s glide into a confident technique.
Sashiko patterns and designs to try
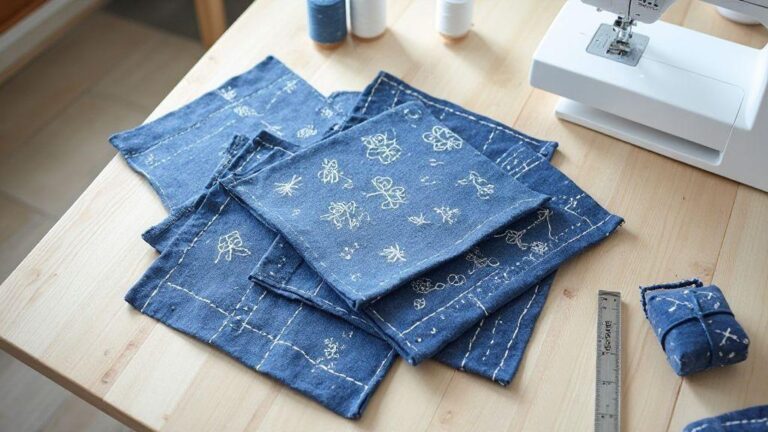
Patterns open up a world of texture and meaning. Begin with classic motifs, then blend in your own ideas. Use sturdy fabrics like plain cotton or linen to keep the pattern readable. Start with a small sampler—square or rectangular blocks filled with motifs—to compare how each design feels when stitched. Bold geometric shapes read clearly; delicate lines offer a thoughtful, quiet look. As you stitch, notice how thread color and density alter mood. You don’t need perfect lines at first—practice will teach you to guide the needle with calm hands.
- Consider practical uses: a sashiko panel on a tote, a denim jacket patch, or a framed motif for wall art.
- Repetition helps you build confidence; try matching motifs in a strip to practice switching shapes. Maintain even stitches and avoid pulling fabric too tight.
Traditional motifs like asanoha and shippo
- Asanoha (hemp leaf): crisp lines and a strong geometric vibe. Use short, even stitches with clean edges; plan a repeating grid or draw a light guide on fabric to keep alignment.
- Shippo (seven treasures): a curvy, circular motif. Start with a simplified version—interlocking circles or a repeating circle motif—with generous spacing to keep each circle readable. Smooth transitions are key.
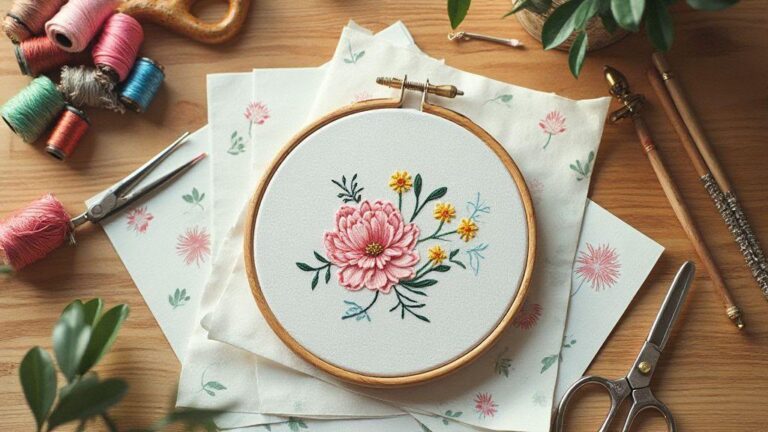
Mixing traditional motifs with a modern palette feels fresh. Try navy Asanoha on natural linen or soft pink Shippo on white cotton. The goal is even stitches and clean lines; a touch of contrast can shift the vibe.
How you can create simple modern patterns
Translate traditional lines into modern designs by adjusting scale and color. Shrink motifs to tile-like panels on totes, or replace the classic white-on-indigo with complementary colors for a contemporary feel. Combine motifs in a strip to create rhythm, and use negative space to reveal a secondary pattern. When stitching on garments, ensure the pattern flows with the piece—diagonal lines on seams can look striking. Start with simple sketches, test on scraps, and plan before you stitch.
Pattern transfer tips
Mark patterns lightly with a pencil, or use transfer paper. Keep lines delicate to erase later. For thick fabrics, trace through with a fine needle to leave a barely visible guide. Space lines evenly and stitch in short, controlled passes. Lift the needle straight up after each stitch to avoid distorting the fabric. Wash out the guide gently after stitching to remove marks.
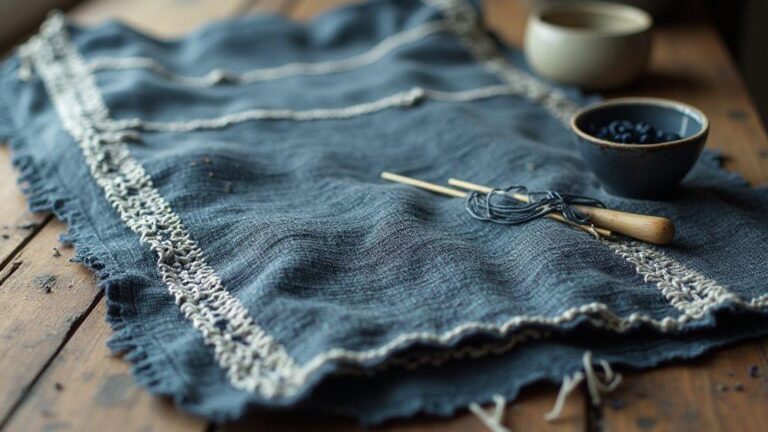
Sashiko mending and boro repair methods
Combine sashiko stitches with boro repair to revitalize worn cloth. Select fabric with visible wear and use running stitches as decorative reinforcement, not just patching. For boro, layer patches and blanket stitch around edges to secure them. Choose thread colors that blend in or provide bold contrast. Start at the holes or weak spots, stitching across to distribute tension. For larger repairs, patch behind the fabric and sew with running stitches or a zigzag border. Finish with longer stitches along wear lines to read as intentional design.
How you use sashiko to strengthen worn cloth
Map weak areas and plan stitches to distribute stress. Use short, evenly spaced running stitches to form a subtle grid that holds fibers together. Layer diagonals to spread tension, and anchor fraying edges with careful stitches. Maintain consistent thread length and tension for durability. A gentle wash and press settle the stitches, and the repair often reads as a small design element.
Layering and boro patchwork principles
Plan how many patches and where they’ll sit. In boro, stack scraps to cover worn areas and sew with running stitches. Edge finishing is usually left raw or treated with a zigzag or running stitch. Patch slightly over worn edges to keep fabric flexible. Patchwork should honor the garment’s history; let the stitches show with purpose, not concealment. Balance weight distribution and fabric compatibility to avoid pulling or sagging. Test patches on similar fabric before applying to the final piece.
Durability and care tips
Lightly wash repairs to soften them, test for stress points, and iron to keep stitches flat. Avoid heavy friction on cuffs or seat seams unless reinforced. If a patch lifts, re-stitch the edge. Regular checks help catch loose threads before they become tears.
Sashiko beginners guide: projects and tutorials
You’ll find concrete projects that teach basic stitches without overwhelming you. Choose sturdy fabrics and clear patterns for practice—think a jacket patch, a simple drawstring bag, or a pincushion. The aim is steady, even stitches that build texture and confidence. Start with forgiving fabrics, transfer patterns clearly, and adjust needle size and thread tension to prevent puckering.
Easy projects for your first stitches
- Small scrap patch on denim knee or a simple curtain tieback for practicing running stitches and variations.
- Beginner pincushion to experiment with grids and back finishing for neat edges.
- Fabric bookmark or pocket patch to practice straight lines and curved edges.
Where to find clear sashiko stitching tutorials
Look for beginner-friendly tutorials that show grip, needle angle, and thread path. Printable guides with grids and stitch counts help you practice without rewatching steps. Choose tutorials that progressively build from straight lines to simple shapes.
A simple step-by-step starter plan
- Gather basics: a sharp needle, sashiko thread, lightweight fabric, and a simple pattern.
- Mark the fabric with chalk or a water-soluble pen.
- Practice the running stitch on a small square to achieve even lines.
- Try a parallel-line pattern to learn spacing and rhythm.
- Finish with a clean back stitch along the edges to secure your work.
In short, this What Is Sashiko? The Complete Beginner’s Guide to Japanese Embroidery offers a concise path from basic tools and stitches to creating patterns, mending, and finishing with confidence. Whether you’re patching an old garment or decorating a tote, sashiko invites a calm, focused approach that turns everyday fabric into something quietly beautiful.

I’m Sophie Caldwell, the author behind granaboom.com, and I believe hand embroidery is one of the simplest, most relaxing ways to create something beautiful with your own hands. I started this blog to help beginners learn hand embroidery without feeling overwhelmed by complicated instructions or “perfect” results.
Here you’ll find beginner-friendly guides to decorative embroidery stitches, along with clear step-by-step practice ideas and patterns you can use to build confidence. My focus is on making the learning process easy: simple explanations, helpful stitch combinations, and small projects that look polished even when you’re just starting out.
Welcome to granaboom.com—grab your hoop, choose a few colors, and let’s stitch one line at a time.