How to Make an Embroidered Throw Pillow Cover
Gather tools for How to Make an Embroidered Throw Pillow Cover
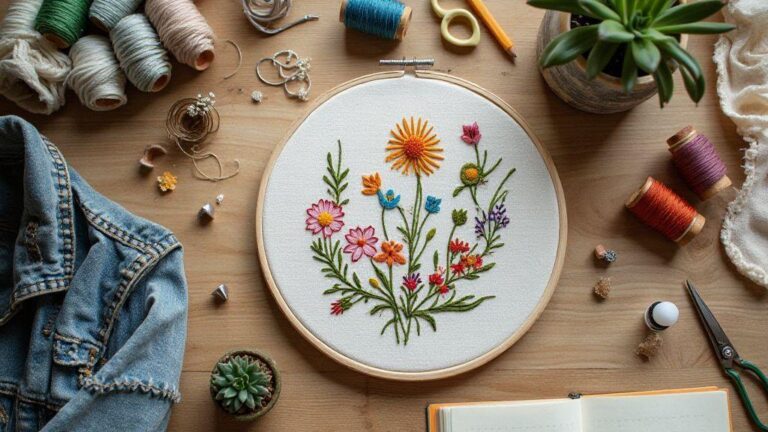
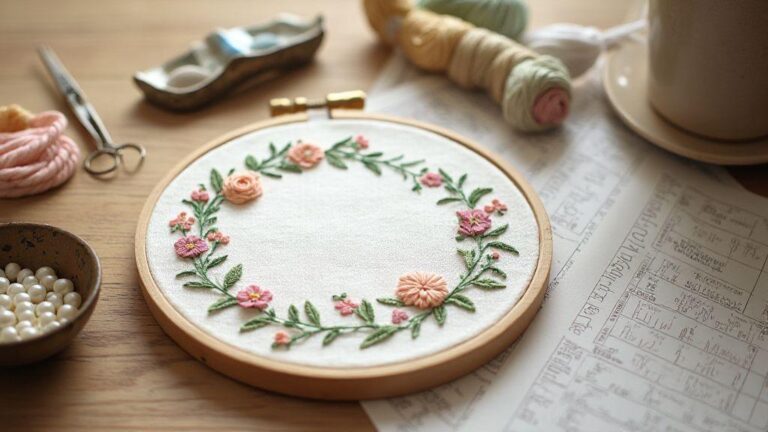
You’ll get the best results with the right tools at hand. Have sharp fabric scissors, a seam ripper for quick fixes, a measuring tape, and a fabric marker or chalk to draw your pattern confidently. Keep pins nearby to hold fabric in place, and set up a well-lit workspace so every stitch is clear. Your embroidery hoop should fit comfortably on the pillow front and keep fabric taut. Have spare needles for backstitch or satin stitch, plus extra hand-sewing needles. A thimble protects your finger, especially on thicker fabrics. Bring a small bottle of embroidery floss in your chosen colors, and a pre-wound bobbin or matching thread to avoid color-matching delays.
For machine stitching, have a reliable sewing machine, a walking foot if you have one, and a thread clip or scissors to trim threads neatly. A fabric brush or lint roller helps remove stray fibers, and a stabilizer is useful for lightweight fabrics to prevent puckers. Organize everything in a small craft caddy or tray so you can grab what you need without breaking your flow.
Quick materials checklist
- Fabric (enough for your pillow size)
- Embroidery hoop (size fits your design)
- Sharp fabric scissors
- Fabric marker or chalk
- Pins and pin cushion
- Embroidery floss in chosen colors
- Embroidery and hand-sewing needles
- Bobbin and thread
- Thimble
- Stabilizer (optional for lightweight fabrics)
- Sewing machine and compatible foot (optional)
Fabric choices for your pillow
Choosing the right fabric changes everything. For a soft, cozy feel, pick sturdy cotton or linen that holds embroidery well. Velvet looks luxe but requires a stabilizer and sharp needle. Cotton duck or canvas provides a bright, crisp background that’s durable and easy to work with. If your pillow will see a lot of use, choose a fabric that’s easy to clean and fade-resistant.
Texture matters too. A smooth weave yields clean stitch edges, while a subtle texture adds depth. If unsure, test a small sample on scrap fabric to see how thread lays and whether you need extra stabilizing. Cut fabric slightly larger than your pillow insert to leave room for neat seams. If fraying is a concern, finish edges with a zigzag stitch or serger and press flat before you embroider.
Needles, thread, hoops, and stabilizers
- Use a sharp embroidery needle for precision; a universal needle works if you don’t have embroidery needles.
- Match thread to fabric color and stitch type; bold threads stand out, subtle threads blend.
- Choose a hoop size that fits your design and keeps fabric taut.
- Stabilizers help with lightweight or stretchy fabrics; select cut-away or tear-away as needed.
- If fabric shows through, consider a double layer of fabric or extra stabilizer.
Lightweight woven fabrics (cotton, linen): stabilizers prevent wrinkles and puckers
Medium to heavyweight fabrics (canvas, denim): durable stitching; stabilizers optional if fabric holds well
Textured or velvet fabrics: stabilizers and careful needle choice to avoid snags
How to Make an Embroidered Throw Pillow Cover
- Start with a clean, pressed fabric square slightly larger than your pillow insert.
- Mark your design lightly, then hoop the fabric to keep stitches even.
- Embroider your pattern with steady, even stitches; don’t rush.
- Remove the fabric from the hoop and finish any loose threads.
- Sew around the edges with a straight stitch, leaving an opening for the insert.
- Turn right side out, insert the pillow form, and hand-stitch or machine-sew the opening closed.
- Press again for a neat, professional finish.
How to Make an Embroidered Throw Pillow Cover can be a fun, simple project when you keep your tools close and choose fabrics you love. Your new pillow will bring personality to your space and show that you can stitch beautiful things with the right setup.
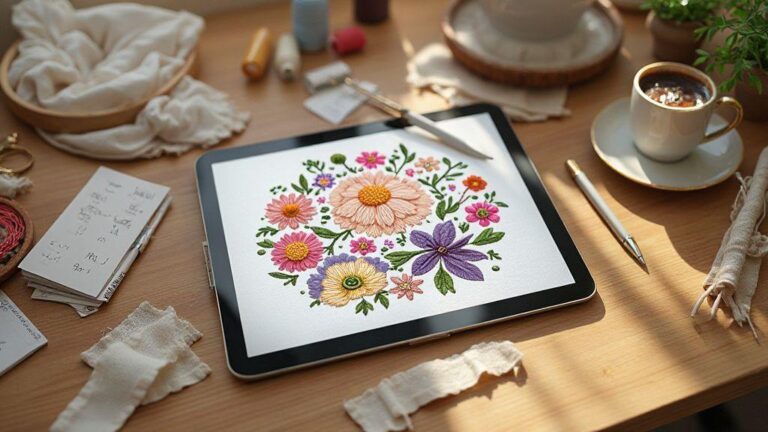
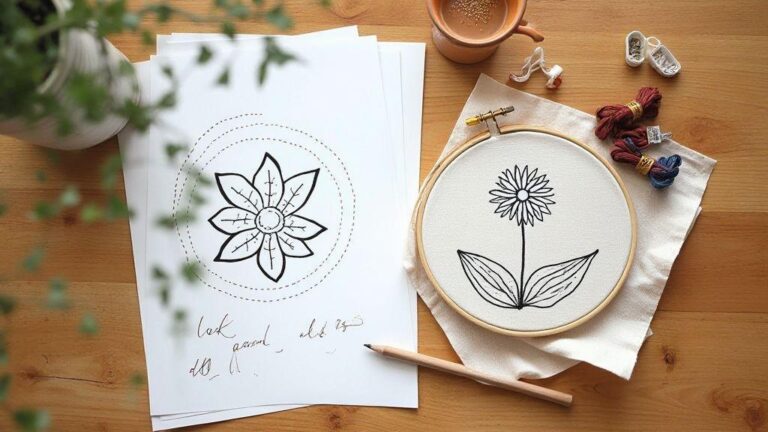
Use patterns and templates for DIY embroidered pillow cover tutorial
Patterns and templates are shortcuts to neat, repeatable embroidery on a pillow cover. Start with a simple pattern that fits a standard pillow front. Trace it onto fabric, then stitch inside the lines for a crisp look. Templates let you place the same design in multiple spots on different pillows for a cohesive collection. Practice to learn which stitches read best on each fabric, and note tweaks that make a design pop.
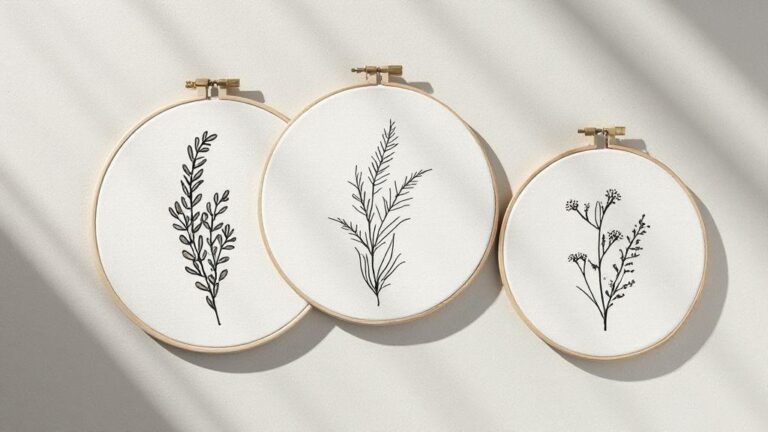
Find simple hand embroidery pillow cover patterns
Look for patterns with bold shapes and clear outlines. Simple flowers, leaves, or geometric blocks work well. Ensure the design fits the pillow front to avoid crowding. Print or draw your pattern on sturdy paper, then cut it out. If unsure about scale, test the template on scrap fabric first. Once you have a few easy patterns, mix and match across covers to build a cohesive set. Practice on scrap fabric before committing to a real pillow cover to choose stitches and test your transfers.
Create and resize paper templates correctly
Begin with your final pillow size in mind. For an 18×18 inch cover, cut the template slightly smaller to account for seam allowance and fabric shrinkage. A design around 14×14 inches works well, leaving room for borders. Check printer or hand-drawn scales carefully; print a test page and measure. Label templates with size and design name for reuse. Cut templates with clean edges and use light grip tape or washi tape to hold them in place during transfer. If needed, lightly pin the template or trace with a temporary fabric marker.
Best transfer methods
- Carbon transfer sheets, light graphite, or water-soluble markers work well on natural fabrics.
- For delicate fabrics, place a thin tissue layer to prevent ghost lines.
- A lightbox can help: tape the template above fabric stretched in an embroidery hoop and trace with a water-soluble pen.
- On busy or dark fabrics use fabric chalk or disappearing ink; marks should vanish after washing.
Keep lines gentle and evenly spaced. If ghosting appears after washing, re-press and remove with a damp cloth. The goal is a clean, stitched outline that looks seamless.
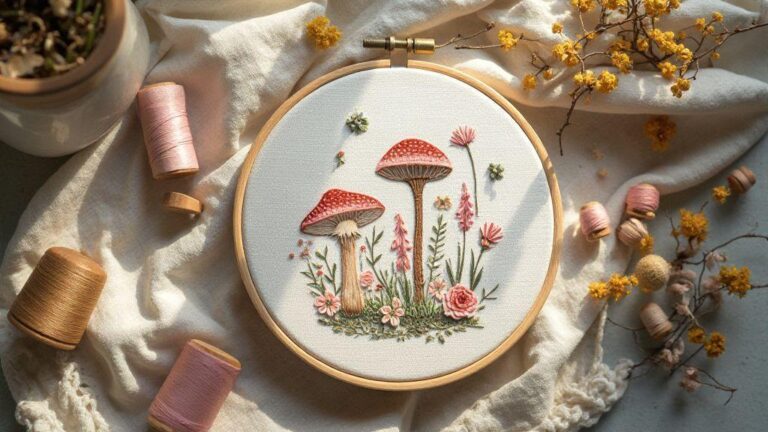
Learn simple embroidery stitches for pillow covers
Embroidery is approachable with a few essential stitches. Start small and build confidence. Three basics—Backstitch, satin stitch, and French knot—cover outlines, fills, and tiny accents. Backstitch provides a strong line, satin stitch fills areas smoothly, and French knots add tiny textured dots. Practice on scrap fabric first, then transfer to your pillow cover. Keep stitches even and tension steady, especially on curves.
As you practice, you’ll see these stitches working together to form your design. Choose a compatible fabric and thread weight so stitches sit neatly. With time, your pillow cover will look polished and uniquely yours.
Backstitch, satin stitch, and French knot basics
- Backstitch creates clean, continuous lines; keep stitches uniform in length and spacing.
- Satin stitch fills with flat, long stitches; aim for even coverage and minimal show-through.
- French knots add small, textured dots; wrap the thread around the needle and pull through to form a neat knot.
Stitch length, tension, and spacing tips
Stitch length and spacing affect readability. Shorter stitches suit fine lines; longer stitches cover more area. Moderate tension helps avoid puckering; test on scrap first. Mark fabric lightly to guide spacing until you gain confidence. Maintain even rhythm across stitches for a balanced look.
Practice stitches on scrap fabric
Begin with Backstitch to outline a simple shape, then fill with satin stitch and finish with a few French knots. This warm-up builds your skill and confidence before you work on a real pillow cover. Keep your practice area organized, and use a small hoop to maintain fabric tautness.
Choose hand or machine embroidery for a throw pillow cover guide
You’re deciding between hand and machine embroidery, and your choice shapes pattern, texture, and time.
- Hand embroidery gives personality and subtle shading; ideal for a unique, slower-paced piece with delicate details.
- Machine embroidery speeds up production and provides consistent results, great for multiple pillows or bold shapes and fonts.
You can blend approaches: start with hand-drawn texture and finish with machine precision for a polished edge. How to Make an Embroidered Throw Pillow Cover is within reach with the right approach.
When to pick hand embroidery for detail
Choose hand embroidery for fine lines, shading, or a handmade feel. It’s ideal on natural fabrics like linen or cotton and works well for small runs or one-offs.
When to use machine embroidery for speed
Use machine embroidery for speed, exact spacing, and repeatable designs. It’s perfect for monograms, bold fills, and scalable patterns across several pillow covers.
Hooping and stabilizer basics
Hoop the fabric to keep stitches even and the design centered. Use a suitable hoop size and secure tension to avoid puckering. Stabilizers help with woven, delicate, or dense stitches. Match stabilizer to fabric weight and stitch type for a smooth finish.
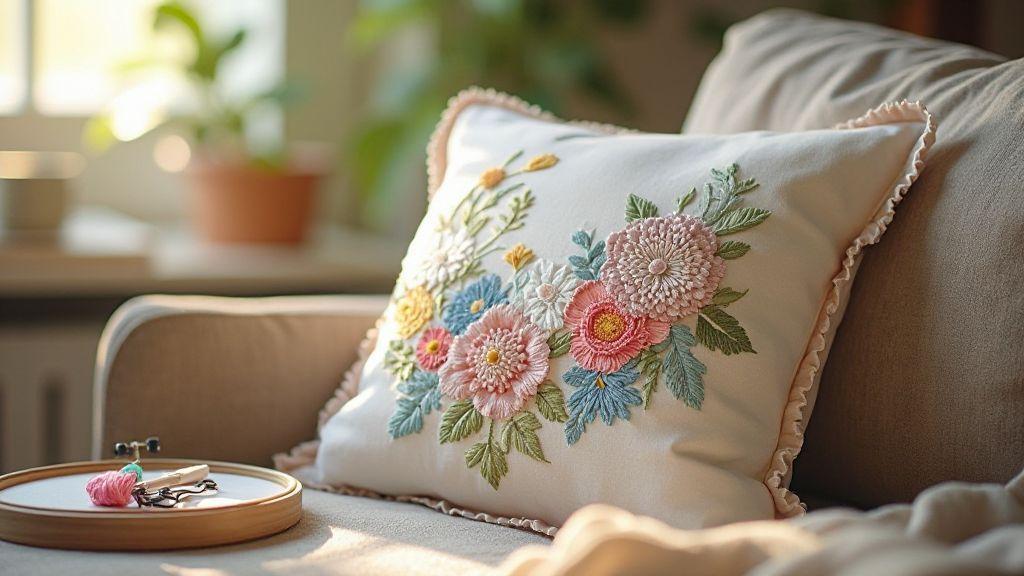
Sew and finish your embroidered pillow cover
You’re near the finish line. Sew the front and back panels, add a zipper or envelope back, and finish edges to protect the embroidery. If you’re following a pattern, align the embroidered front with the back panel to avoid skew. Baste first if needed, then sew with an even stitch for a clean edge. A neat seam keeps the embroidery front and center when the pillow is in use.
If you choose a zipper, align and baste before sewing with a zipper foot. For an envelope back, cut two back panels and stitch along the outer edges, leaving the center open for insertion.
Trim, press, and secure thread ends. Remove loose threads, press seams gently, and finish with a light touch to avoid puckering. Inspect the back for stray threads and ensure a smooth surface that sits flat against the inner pillow.
Start a beginner embroidered cushion cover project
Embroidery is a friendly weekend craft. Start with plain fabric, a small hoop, and a simple motif like a geometric shape or a tiny flower. Choose colors you love and stitch at a relaxed pace. As you practice, your stitches will become steadier and lines straighter. Sew the sides to form a simple pillow slip, add seam allowance, insert a pillow form, and close the opening. Press the finished cover to smooth the fabric and set your stitches.
If you want extra texture, add a simple edge stitch around the design for a polished look. Keep colors bright by washing hands first and using a damp cloth to wipe away stray threads.
Step-by-step DIY embroidered pillow cover tutorial
Choose a small-scale design, print or trace onto stabilizer, and pin fabric over it for stability. Start with Backstitch or satin stitch in a few colors. Work in small sections, check tension, and adjust as needed. Remove the hoop, trim excess fabric, sew the sides with a 1/4 inch seam, and turn the cover inside out. Slip in the pillow form and close the opening with neat stitches or a hidden zipper. Press to finish and enjoy a display-ready cushion cover.
If you want extra texture, add a simple edge stitch around the design. To keep colors bright, wash your hands before you start and keep a damp cloth handy for stray threads. Your careful method yields a durable cover you can reuse with different inserts and even swap designs seasonally.
Fix common mistakes and simple fixes
If lines look wobbly, slow down and re-thread. Check hoop tension if puckering occurs. For skipped stitches, re-thread and stitch in small sections. If colors bleed, wash in cold water or pre-wash fabrics ahead of time.
Care and washing tips
Treat the embroidered cushion cover gently: turn inside out, use a delicate cycle with cold water, and air-dry flat. If using a dryer, choose low heat with a dry towel to minimize movement. Iron on low with a pressing cloth, and store in a breathable bag to keep colors bright and fibers from snagging.
How to Make an Embroidered Throw Pillow Cover is a rewarding project that blends technique with personal style. With the right tools, fabric choice, patterns, and careful finishing, your custom pillow cover will elevate any space and remind you that a little stitching can yield big impact.

I’m Sophie Caldwell, the author behind granaboom.com, and I believe hand embroidery is one of the simplest, most relaxing ways to create something beautiful with your own hands. I started this blog to help beginners learn hand embroidery without feeling overwhelmed by complicated instructions or “perfect” results.
Here you’ll find beginner-friendly guides to decorative embroidery stitches, along with clear step-by-step practice ideas and patterns you can use to build confidence. My focus is on making the learning process easy: simple explanations, helpful stitch combinations, and small projects that look polished even when you’re just starting out.
Welcome to granaboom.com—grab your hoop, choose a few colors, and let’s stitch one line at a time.