10 Free Floral Embroidery Patterns for Absolute Beginners
Why 10 Free Floral Embroidery Patterns for Absolute Beginners Work
Embarking on embroidery is easier when you start with patterns designed for beginners. You’ll see solid, simple outlines that invite your stitches without overwhelming you. With patterns sized for quick wins, you build confidence, practice basic stitches, and finish small projects that feel rewarding from the first stitch. These patterns teach the flow of embroidery and how to choose fabric, hoop correctly, and plan color choices. Small, repeatable steps help your hands steady and your stitches become even, keeping you capable from day one. By starting with these free floral templates, you gain a low-risk entry point to try different stitches and see what you enjoy. Finishing a pattern gives you a keepsake to use or gift, fueling momentum and creativity.
A quick note on beginner-friendly patterns
Beginner-friendly patterns feature clear lines and simple shapes—larger petals, straightforward stems, and minimal filling. They minimize guessing so you can focus on basics, often using just a few stitches like backstitch and satin stitch to build confidence. Clear instructions matter too, showing where to start and finish, with simple color guides to avoid dithering. Keeping the design small fits busy schedules and provides frequent senses of achievement to stay motivated.
How simple designs speed your learning
Simple designs let you practice a few stitches and feel the rhythm quickly, building muscle memory as you repeat stitches across petals and leaves. Finishing a small blossom or stem provides a quick win and a clear goal for the next pattern. Patterns that build on the same stitches create an efficient learning curve, helping you progress from straight to curved lines and eventually light shading.
Tools and materials you need to start
Gather a small, sturdy kit to make every stitch easier. Use smooth floss and reliable needles, and keep a sharp, clean hoop for easy visibility and fabric tautness. Choose a needle suited to your fabric, and have small scissors handy to trim threads without distorting your work. A soft mag-fix or tape helps secure loose threads. Organize your threads in a simple floss bobbin or organizer to swap colors without mess. With these basics, you’re ready for your first patterns.
Starter kit: needles, hoop, floss, scissors
Choose a hoop that’s not too tight or too loose; 6–8 inches fits most small projects. Use a few needle sizes (often a 7 or 8) and keep a couple of blunt needles for delicate fabrics. Start with a basic floss set: neutral, light, dark, and a bright shade to practice contrast. Sharp, small scissors are essential for clean cuts. Keep your kit in a small bag or box so you’re ready to stitch anytime.
Choosing fabrics and stabilizers for beginners
Start with smooth, even-weave fabrics like cotton or linen, which grip threads evenly and keep stitches neat. Avoid very stretchy fabrics at first. Light-colored fabrics help you see stitches clearly. Stabilizers give extra support on non-plain fabrics or delicate projects; a light tear-away stabilizer works well for practice. Test your fabric and stabilizer on a scrap before committing to the piece to save frustration.
Where to buy affordable supplies
Beginner bundles at craft stores or online include a hoop, floss, needles, and scissors to practice without breaking the bank. Thrift stores and local markets can yield good-condition hoops and scissors. Look for sales to keep costs down while you practice and improve.
Learn the basic stitches in simple floral stitch patterns
Focus on the stitches that form petals and stems: backstitch for outlines, satin stitch for filling petals, and French knots for tiny centers or buds. Keep threads taut but not too tight to maintain even stitches. Backstitch outlines anchor your design, satin stitch fills with a glossy color, and French knots add texture and dimension.
How to do backstitch, satin stitch, and French knot
- Backstitch: start at the point, stitch forward, then return, creating a clean line suitable for stems and edges.
- Satin stitch: fill areas with tight, even stitches in neat rows for a solid color.
- French knot: wrap the thread around the needle a few times, pull through to form a tiny raised dot.
When to use each stitch in flower designs
Backstitch provides structure for outlines; satin stitch gives solid color for petals; French knots add texture at centers or along veins. A simple daisy can start with backstitch for outlines, satin stitch for petals, and French knots in the center for a focal point.
Practice exercises to build confidence
Outline a simple bouquet with backstitch, fill petals with satin stitch, and finish centers with French knots. Start small, keep stitches parallel, and maintain even spacing to achieve cohesive texture.
Best free sources for easy flower embroidery designs free
Look for beginner-friendly sites with clear, easy-to-download patterns. Seek patterns labeled beginner, easy, or starter, with guides on hoop size and stitch choices. Sites that organize designs by flower type and skill level help you jump from a daisy to a rose with ease. Some pages highlight the exact pattern you want, sometimes featuring 10 Free Floral Embroidery Patterns for Absolute Beginners as a highlighted option. PDFs or PNGs with clear outlines are ideal for printing or tracing, and beware sites that require sign-ups unless you’re truly getting value.
Top websites for free floral embroidery patterns
Choose sites that label files as free and provide direct downloads. Some sites pair patterns with short how-to guides on transferring, prepping fabric, and selecting needles, plus a small FAQ to answer common questions like hoop size or thread counts. If patterns rotate monthly, you’ll enjoy fresh flowers to stitch while growing your skills.
How to download free printable floral embroidery patterns safely
Download only from trusted sources with direct file links (PDF or PNG). Avoid sites that push software installs. Use a current browser and scan files for malware. Save patterns to a clearly labeled folder (e.g., Embroidery – Free Floral). PDFs with color guides or stitch instructions save time, and keep a record of where you downloaded each file.
Checklist for checking pattern licenses
- The pattern is free for personal use
- Commercial use is allowed if you plan to sell finished pieces
- Attribution requirements are noted and followed
- The file isn’t part of a paid bundle
- Save a copy of the license text with the file
Follow step-by-step flower embroidery tutorials
Guided tutorials build clarity; start with easy stitches (a simple stem or a basic satin stitch) and layer in leaves and petals as confidence grows. Keep fabric taut, monitor tension, and compare your work to the reference image to catch missteps early. Take a quick photo after each step to track progress and develop your own style, balancing colors and shaping petals to taste. A steady routine makes every flower feel alive.
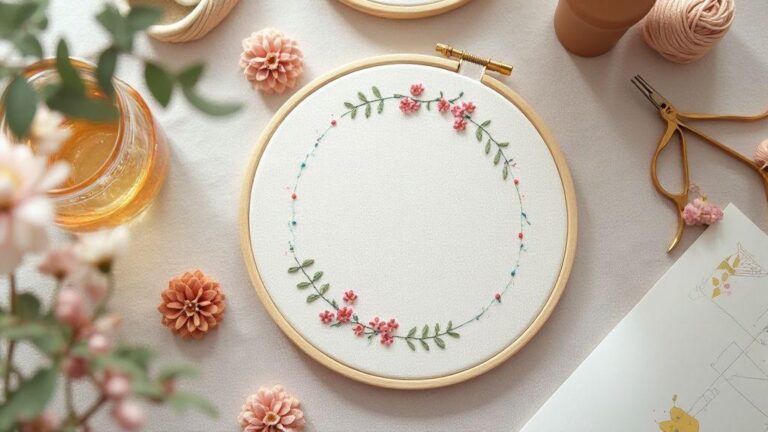
Short beginner-friendly floral embroidery templates to try
These templates are simple, quick, and forgiving. Start with a tiny daisy or a single rose to practice basic stitches. Print or trace them onto fabric with light lines, then cover with thread. If petals look wonky at first, that’s part of learning—your eye will smooth them with practice. Minimal templates finish quickly, fueling motivation for bigger projects. The 10 Free Floral Embroidery Patterns for Absolute Beginners can be a helpful reference as you choose templates that match your mood.
If you want a quick win, grab the 10 Free Floral Embroidery Patterns for Absolute Beginners and pick a template that fits. Use these as practice or as building blocks for your own designs, and you’ll see steady growth.
Video vs written tutorials: which helps you more
Video tutorials show real-time hand motions and tension, helpful for tricky stitches. They let you pause and practice at your own pace, especially for visual learners. Written tutorials are concise and easy to skim, acting as a checklist you can save and reference. The best approach blends both: learn the motion with video, then use a written guide for precise steps and stitch counts.
A simple project plan for your first piece
Plan a tiny project you can finish in one sitting: one flower template, a single color palette, and a simple stem. Hoop your fabric, prepare threads, and set a 20–30 minute timer. Focus on even tension and clean color transitions, press gently to set stitches, and inspect edges for loose threads. A small finish gives real accomplishment and a blueprint for your next piece.
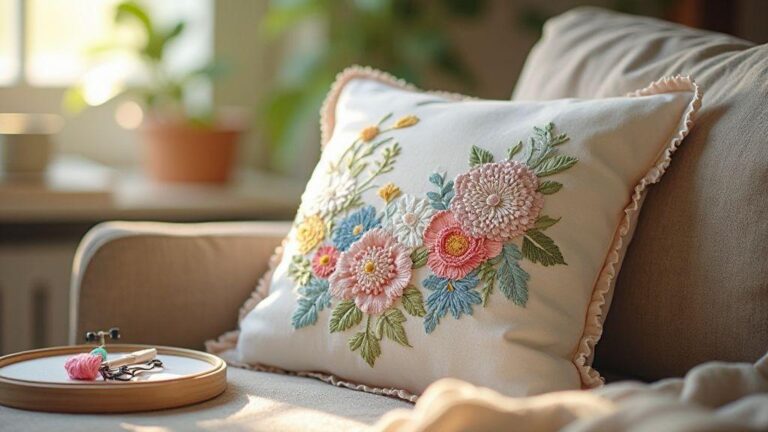
Beginner embroidery floral project ideas and next steps
Begin with small projects that yield quick wins: a single stem on a tote bag or a tiny bouquet on a beginner pillow. Choose designs with clean shapes and limited colors to stay in control while you learn. Gather a few basics—a small hoop, a sharp embroidery needle, a handful of floss colors, and sturdy fabric like cotton or linen blends. When you finish, document your favorites to build a personal library for future reference. Set a small goal for each session (15 minutes for a leaf, 30 minutes for a small bouquet) and gradually increase the challenge as you improve.
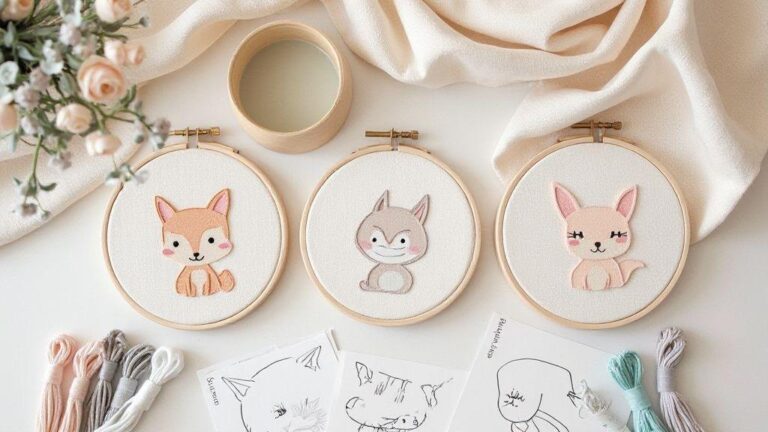
Quick free beginner embroidery patterns floral you can finish fast
These patterns finish quickly and teach core stitches without sacrificing accuracy. Print small, trace lightly, thread with a single color, and switch colors only when ready. Completing several fast pieces provides quick wins you can mount on cards, bookmarks, or frames. Label each pattern with a note on what you learned to track progress and recognize your growth. These fast pieces also reinforce which stitches feel most natural for you, building confidence to tackle larger designs.
You’ll find that the 10 Free Floral Embroidery Patterns for Absolute Beginners are particularly handy as reference throughout this quick-practice phase.
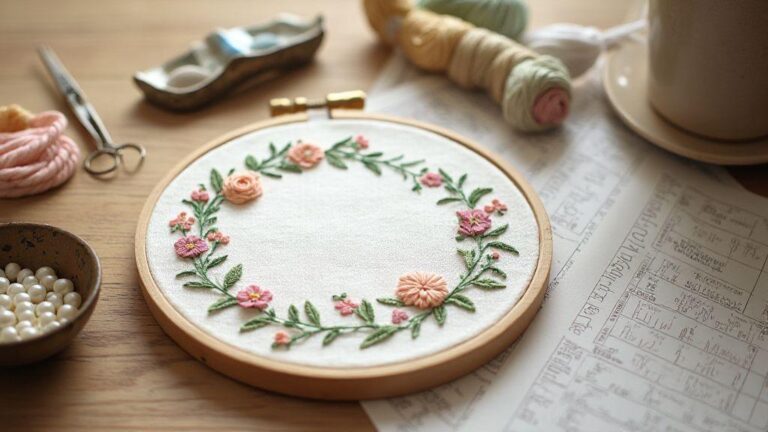
How to combine patterns into a sampler to track progress
Create a sampler by laying out several small patterns on one cloth to form a compact collage. Use the same fabric and hoop size to focus on stitch and color choices. Group similar stitches, balance light and dark colors, and label each section with completion date and stitches used. A well-organized sampler helps you see progress, refine technique, and plan future projects. Include a simple key for color names, stitch types, and any tweaks to reuse designs later.
Finishing, care, and framing tips for your work
Finishings elevate practice to keepsakes. Wash gently with mild soap, air-dry, and press on a clean, cool surface (avoid direct heat on threads). Frame or mount in a ready-made hoop frame for a neat display. Protect from direct sunlight to prevent fading and store in a breathable bag when not on display. For washing later, hand wash in cool water and lay flat to dry to preserve your stitches.
If you’d like to revisit the starting point, remember the phrase 10 Free Floral Embroidery Patterns for Absolute Beginners as you continue exploring beginner-friendly projects and expanding your floral sampler.

I’m Sophie Caldwell, the author behind granaboom.com, and I believe hand embroidery is one of the simplest, most relaxing ways to create something beautiful with your own hands. I started this blog to help beginners learn hand embroidery without feeling overwhelmed by complicated instructions or “perfect” results.
Here you’ll find beginner-friendly guides to decorative embroidery stitches, along with clear step-by-step practice ideas and patterns you can use to build confidence. My focus is on making the learning process easy: simple explanations, helpful stitch combinations, and small projects that look polished even when you’re just starting out.
Welcome to granaboom.com—grab your hoop, choose a few colors, and let’s stitch one line at a time.